This post may contain affiliate links. Please see our disclosure policy.
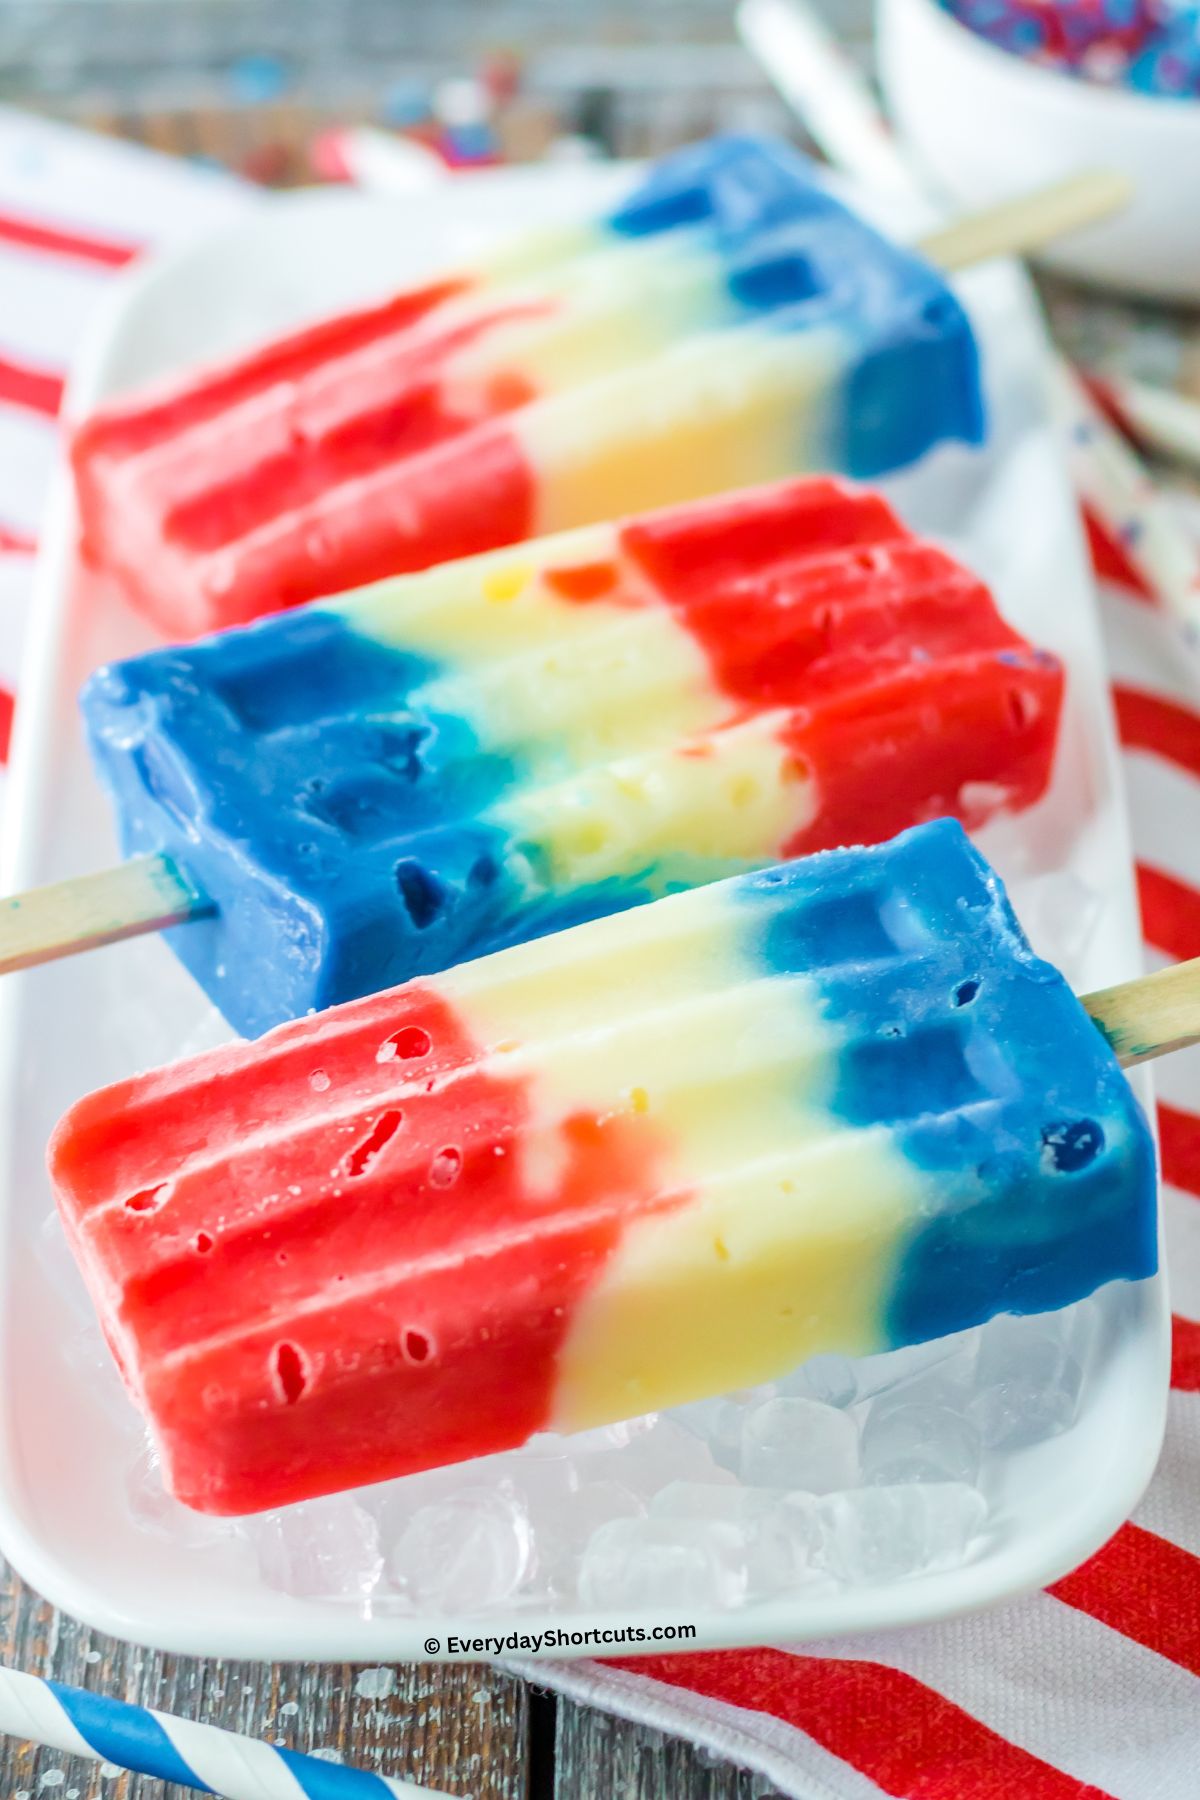
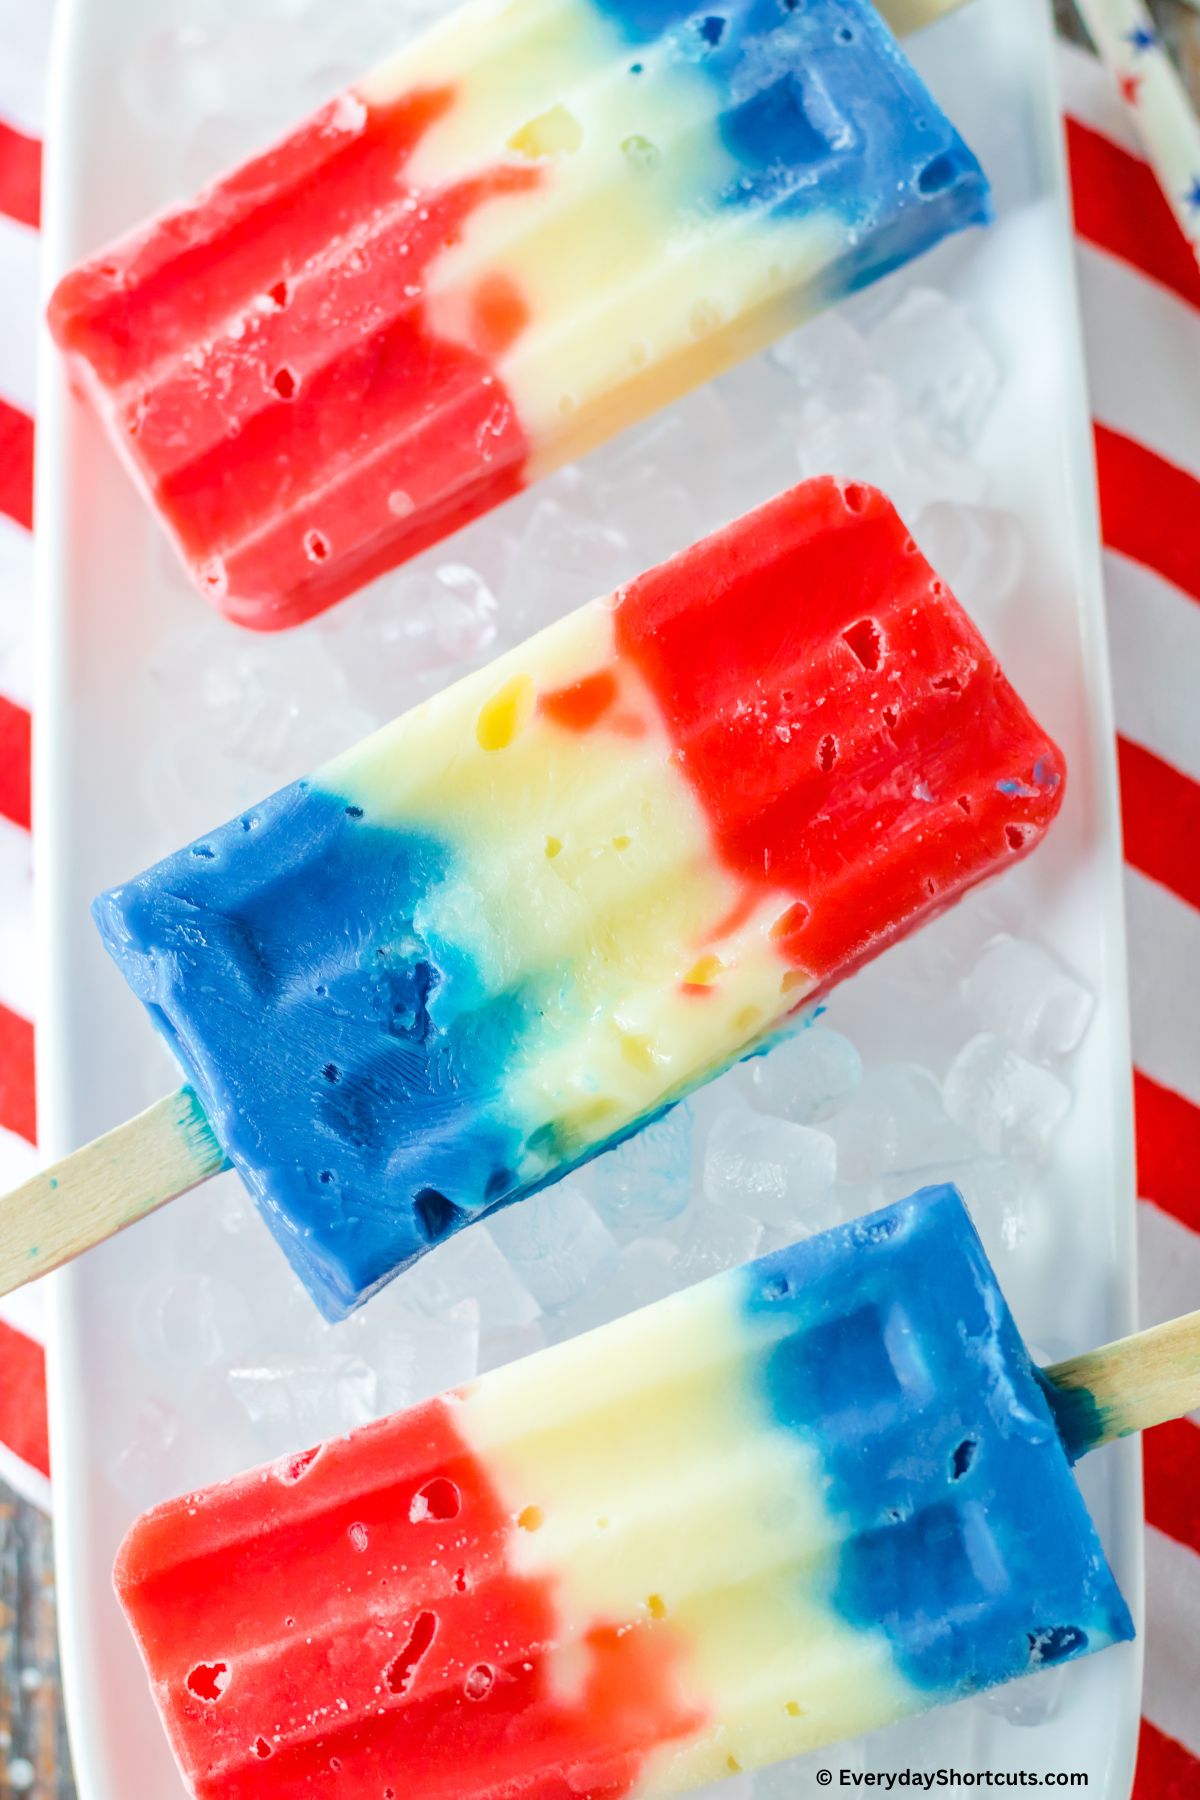
Beat the heat with these sensational Red, White, and Blue Pudding Pops—an absolute must-have for summer!
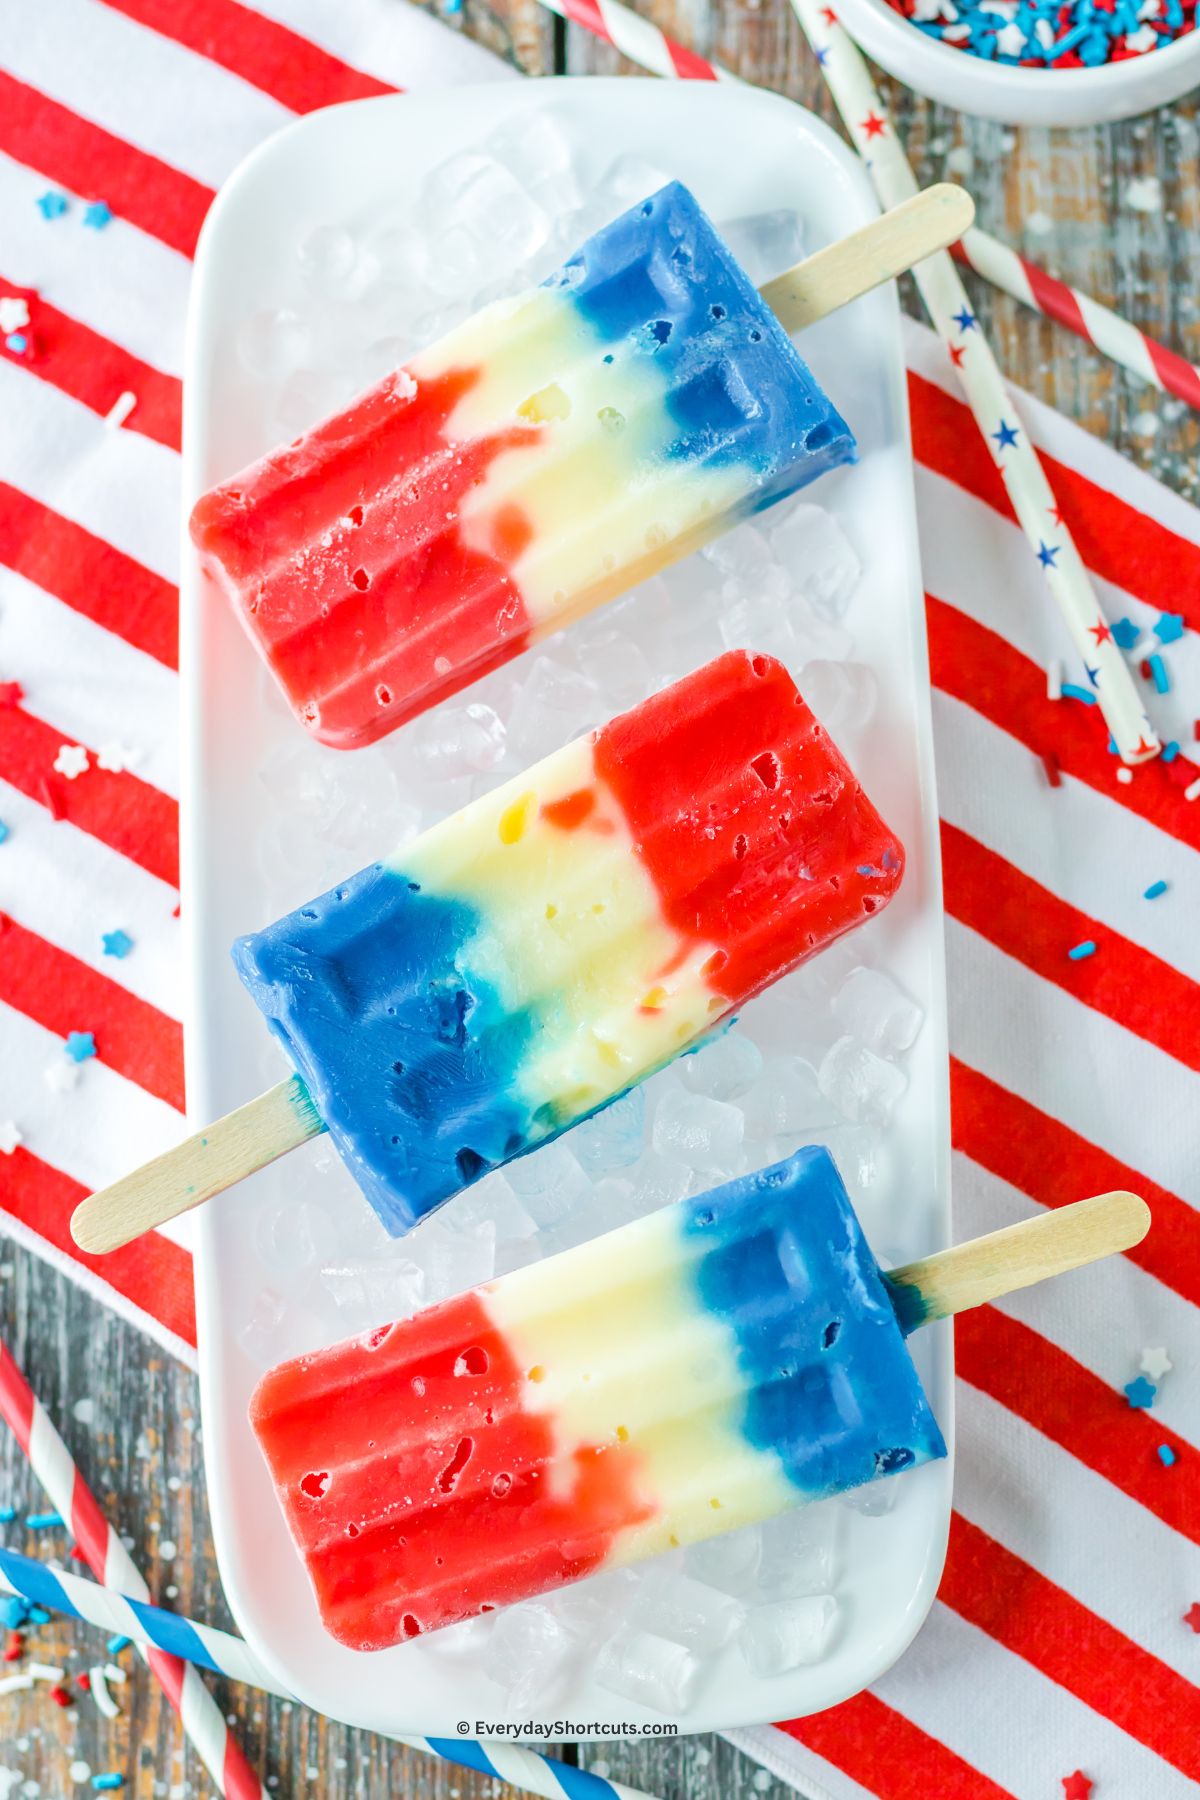
Take a trip down memory lane—do you recall the sheer joy of devouring pudding pops during your own childhood? I certainly do. They were always a special treat, the perfect way to cool off after a day filled with endless play and adventure.
Now, imagine elevating that nostalgic experience with a patriotic twist. Enter the red, white, and blue pudding pops—a delightful variation on the classic treat, tailor-made for Memorial Day, July 4th, or any patriotic holiday.
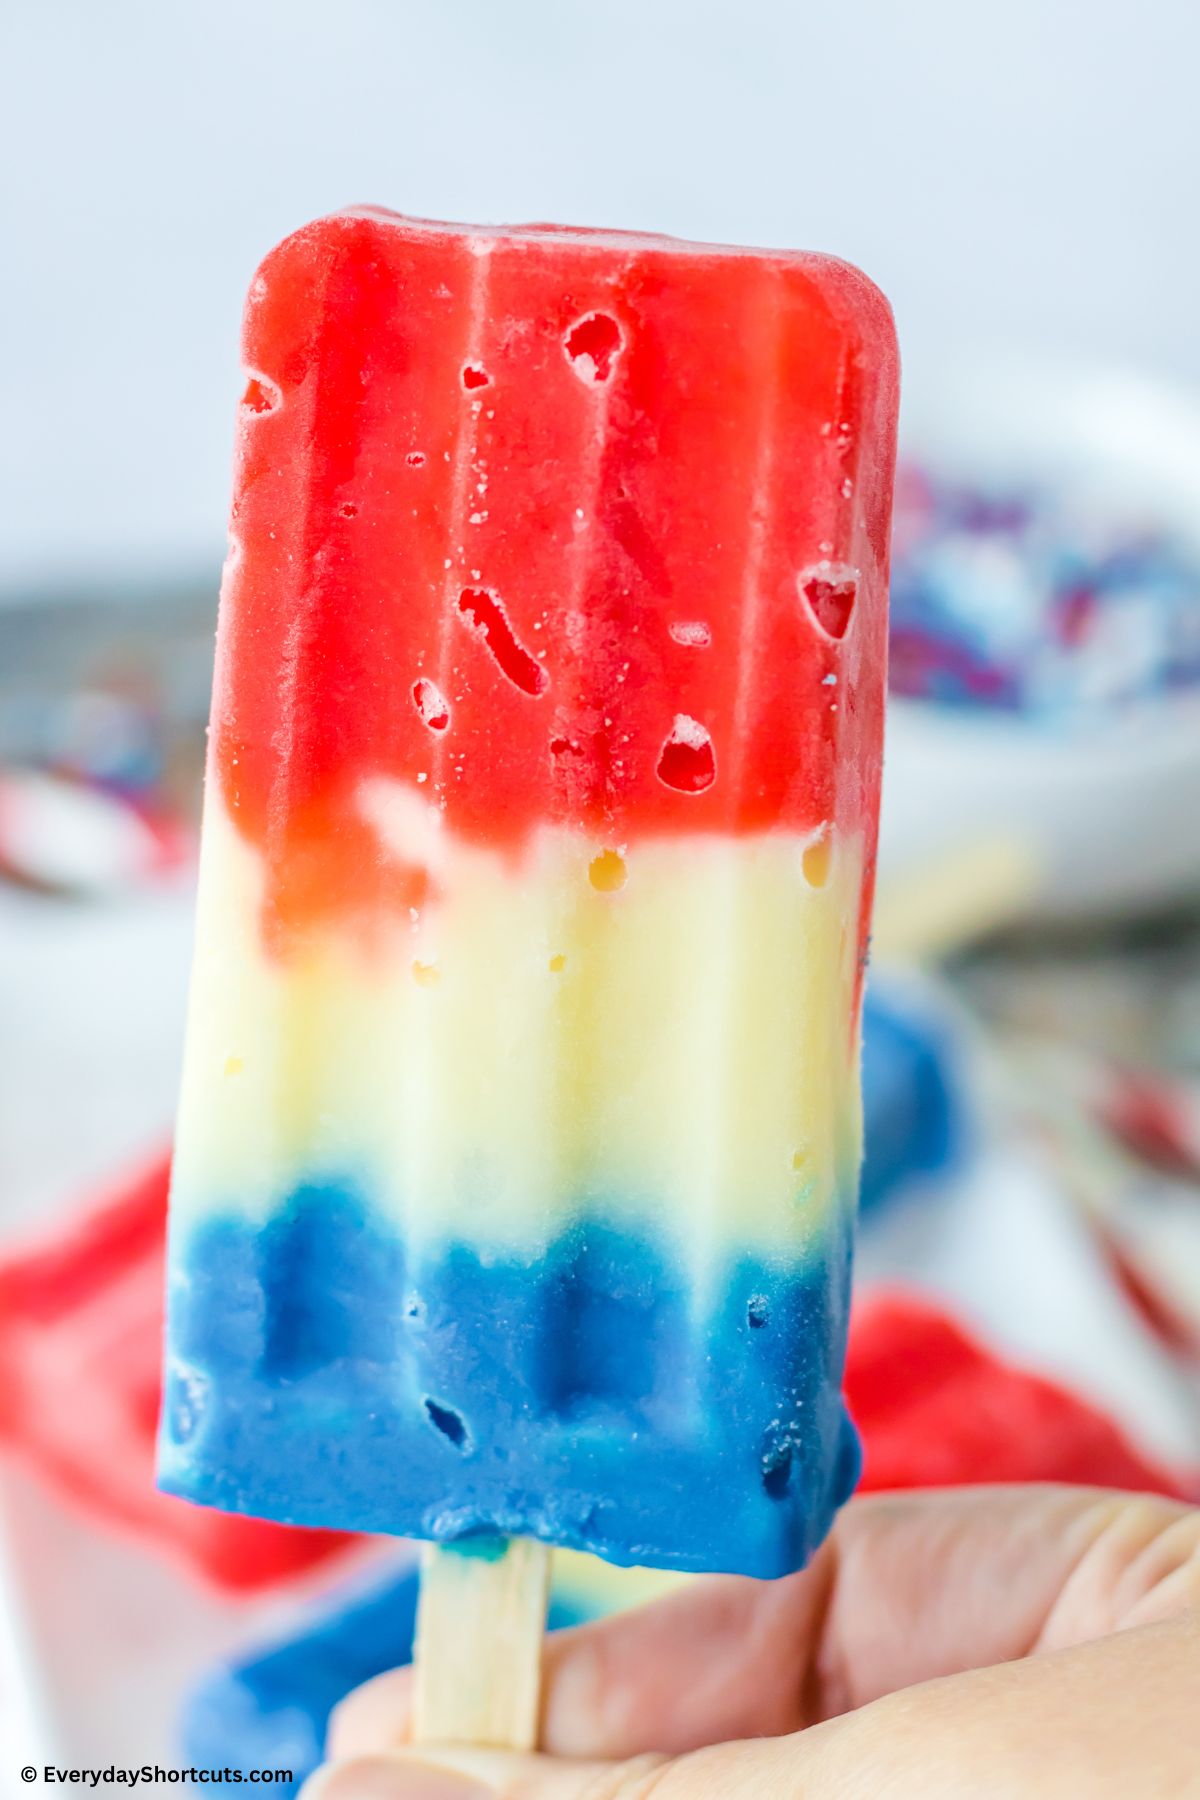
Crafting these delectable, patriotic treats is an absolute cinch; you’ll only need three basic ingredients that are likely already in your pantry.
Once they’re ready, these homemade pudding pops will surpass any store-bought variety in terms of their luscious creaminess, decadent richness, and irresistibly smooth texture—an opinion I wholeheartedly stand by.
So, bid farewell to the ice cream truck and savor the superior goodness of these homemade delights.
Why This Recipe Is So Popular
- Just 3 ingredients to make
- Kid-friendly
- Can be made ahead of time
- Quick and easy treat
- Refreshing and cooling
- No bake treat everyone loves
- Versatile
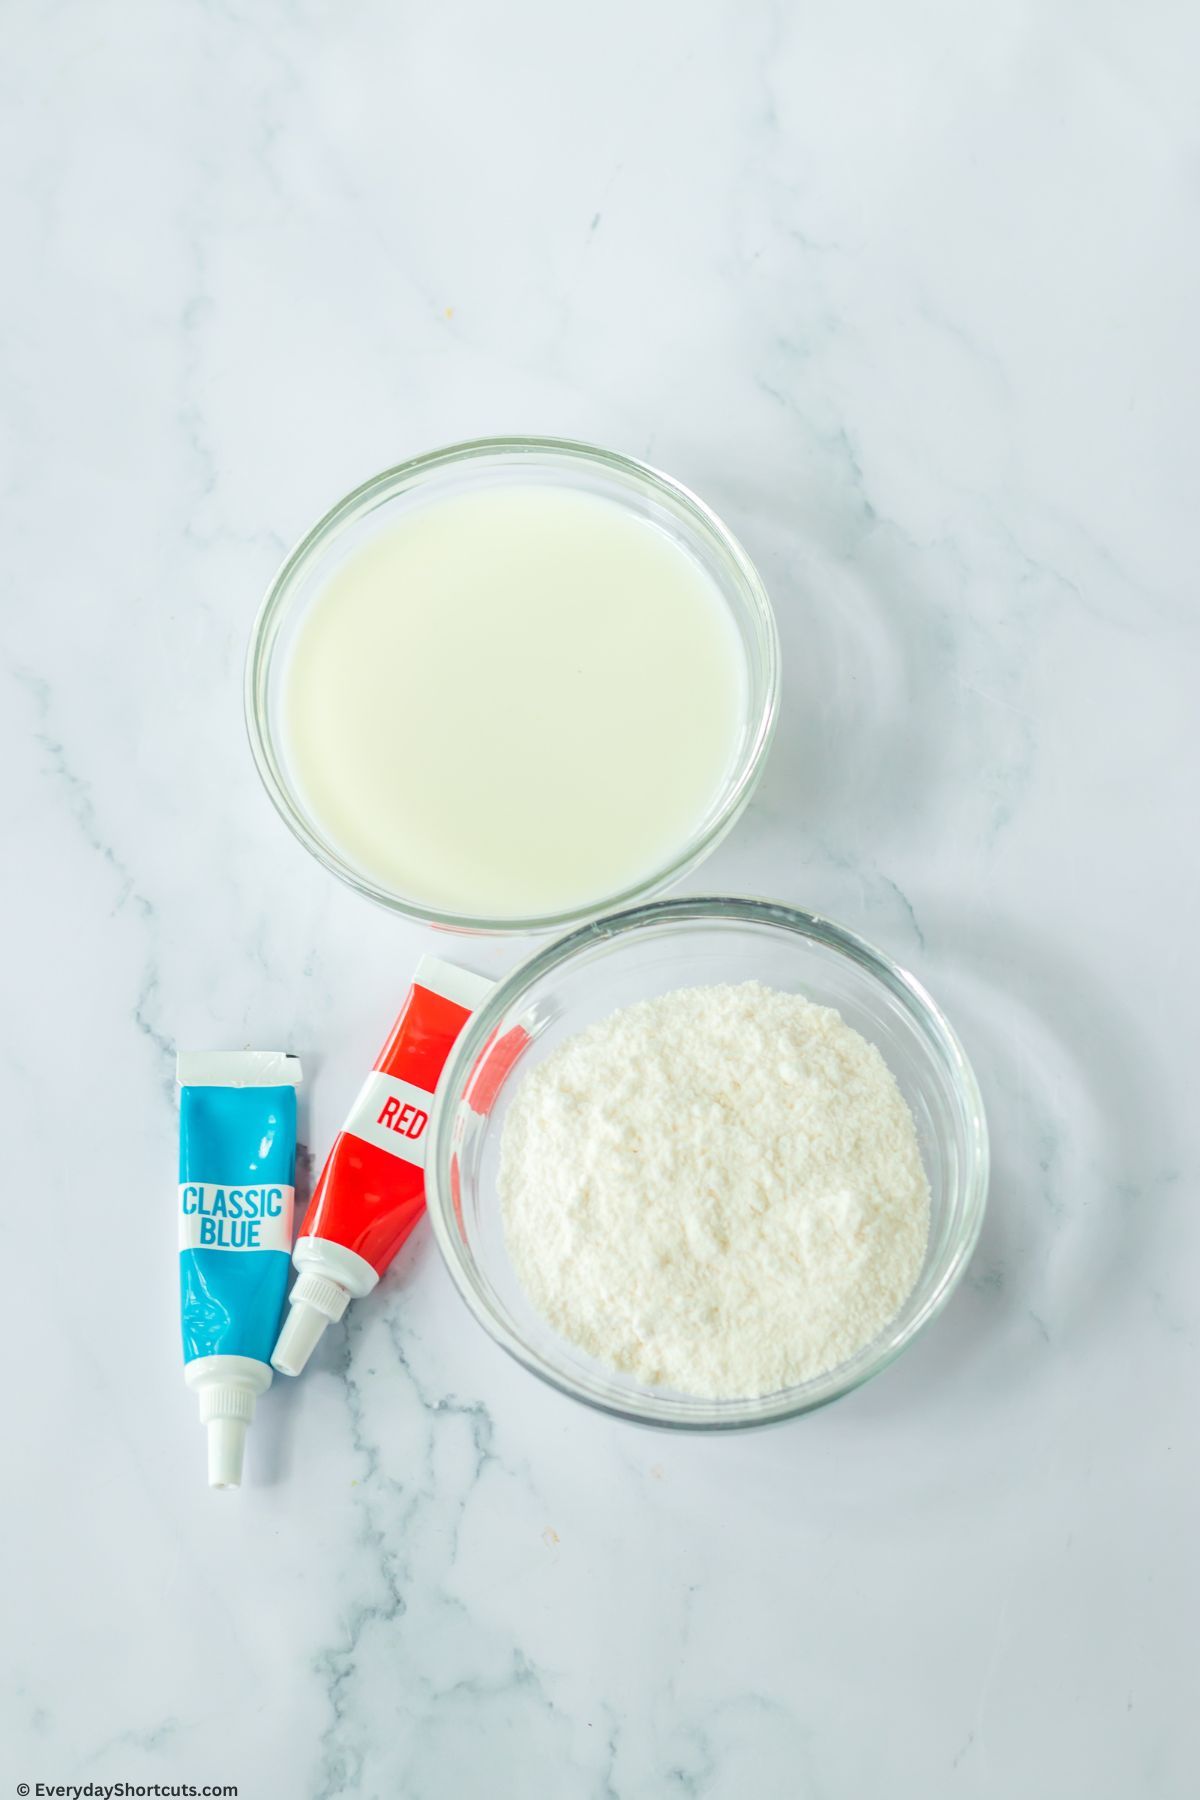
What You Need
- White chocolate instant pudding mix
- Whole milk
- Red food coloring
- Blue food coloring
- Ziploc bags
- Silicone popsicle mold
Recipe Variations
- Make any kind of flavor you’d like using any flavor instant pudding mix. We love banana pudding pops too!
- Can make them each one solid color or opt for timeless chocolate and vanilla flavors.
- Add fresh berries such as strawberries or blueberries to the mix for a different texture and flavor.
- Make it dairy free using coconut or almond milk.
- Can use vanilla pudding instead of white chocolate.
How to Make Red White and Blue Pudding Pops
Step 1: Prepare the pudding mixture. In a large bowl combine the white chocolate pudding with the milk and whisk until combined. Separate pudding mixture into 3 separate bowls.
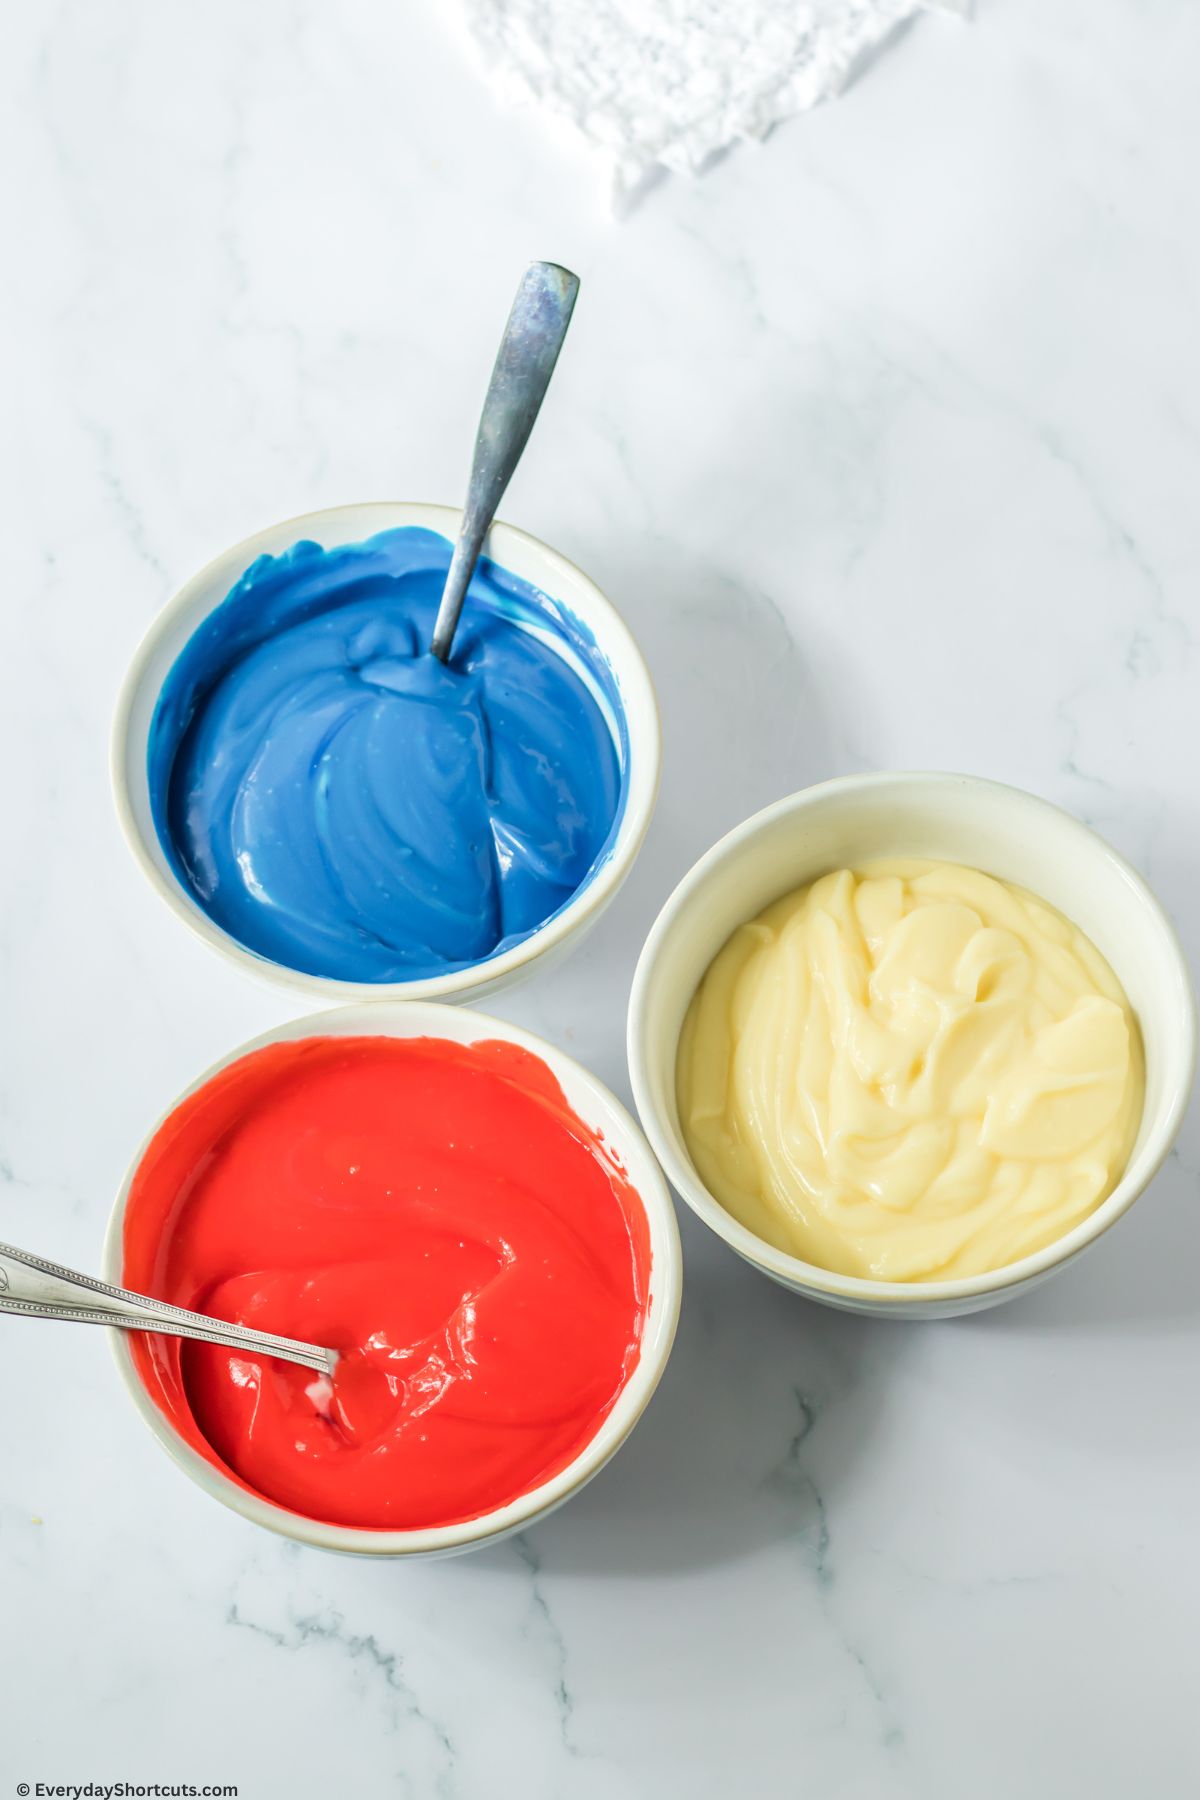
Step 2: Add the colors. Add red food coloring into one bowl until desired shade and whisk together. Repeat with the blue food coloring in a separate bowl. Leave the third pudding mixture white.
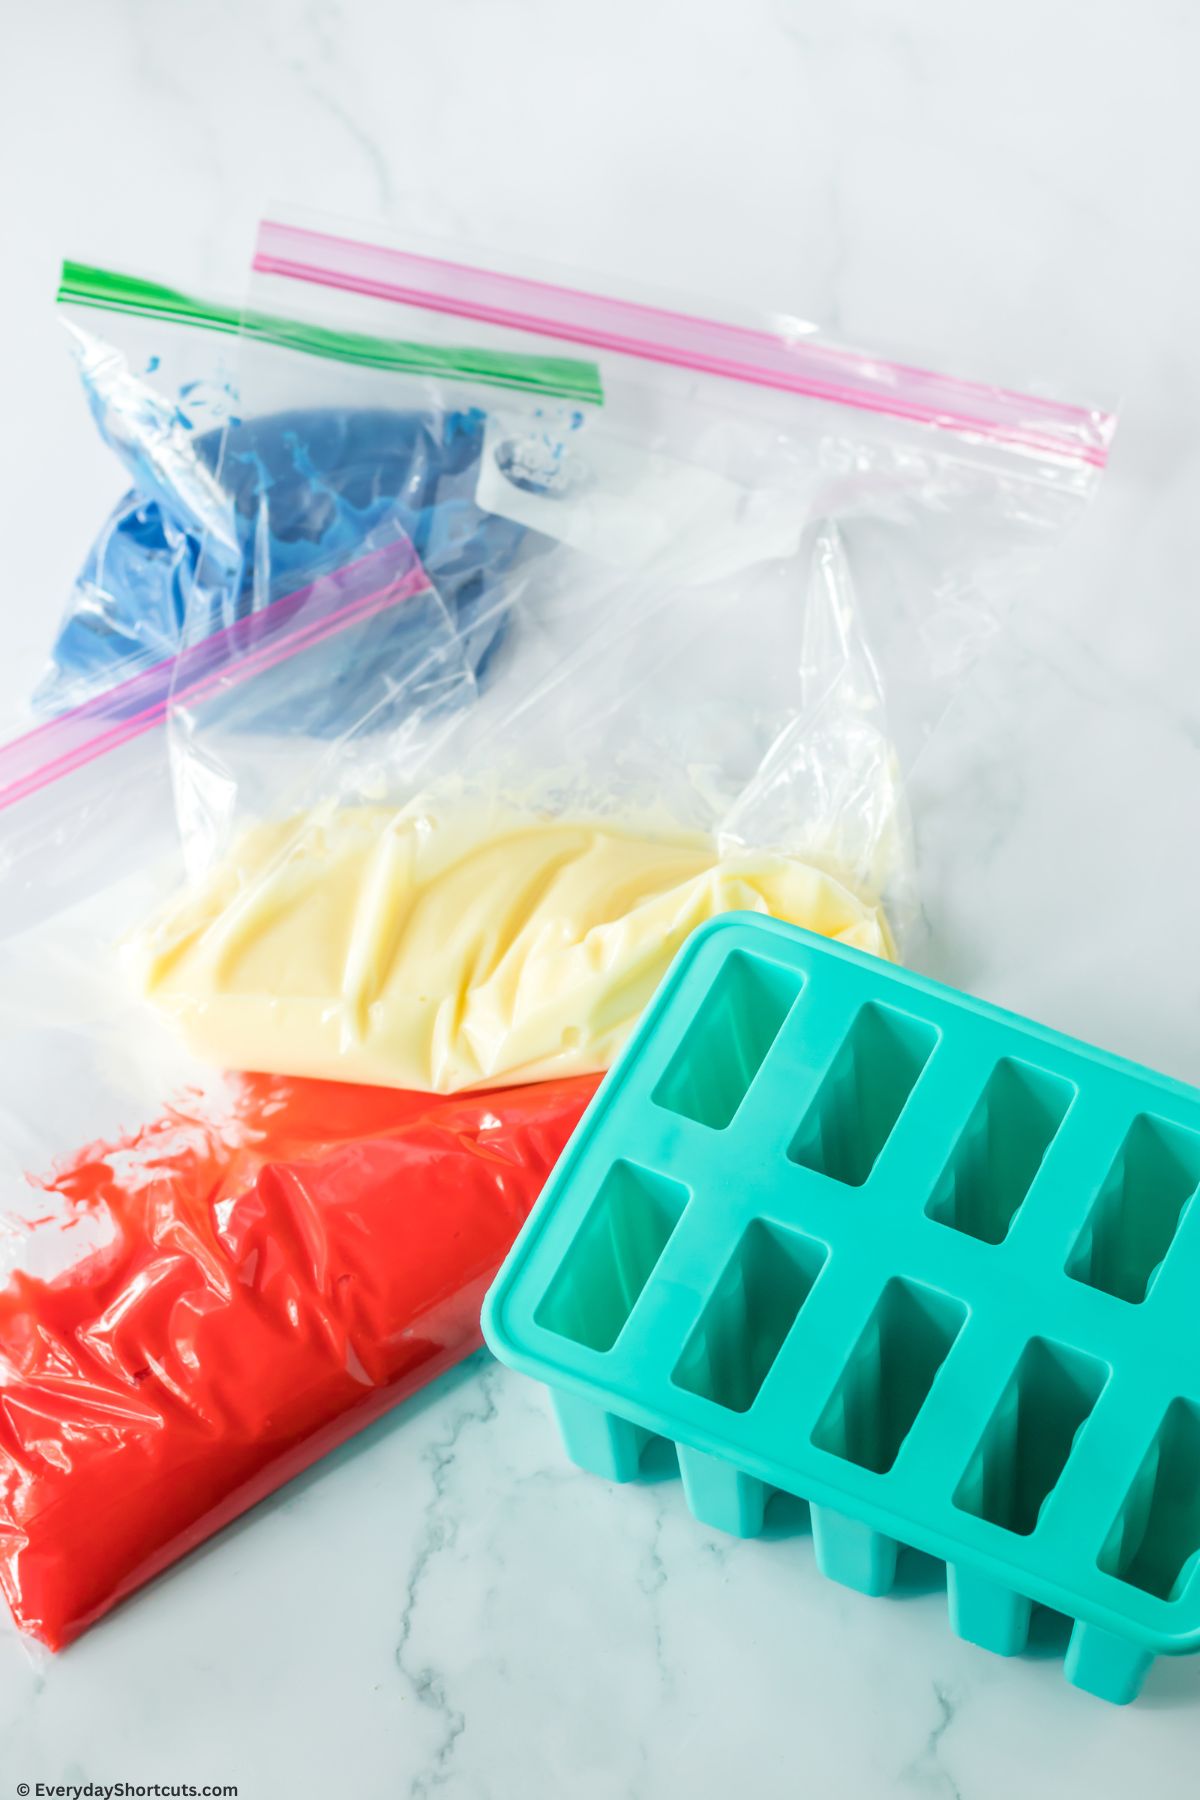
Step 3: Prepare the pudding bags. Add each color pudding into their own ziploc bag. Seal and snip off the end.
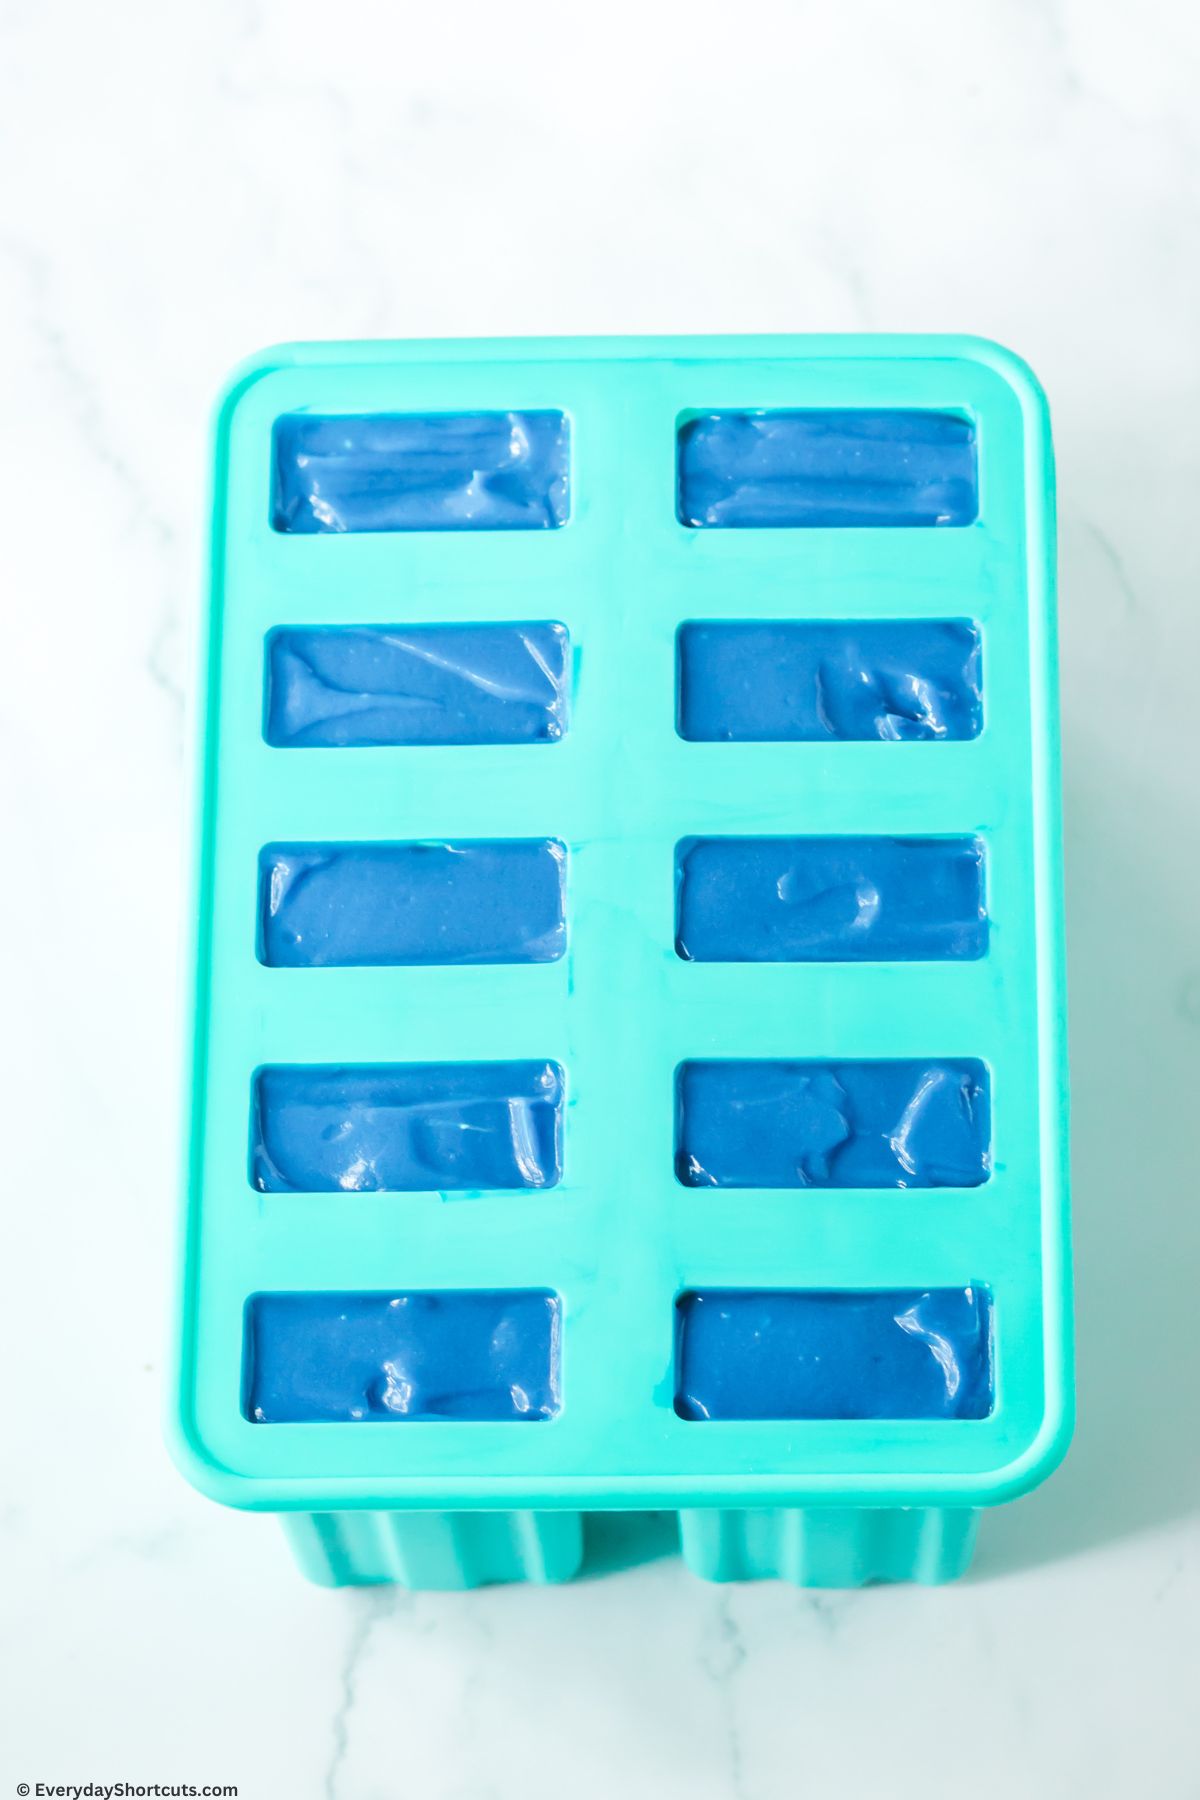
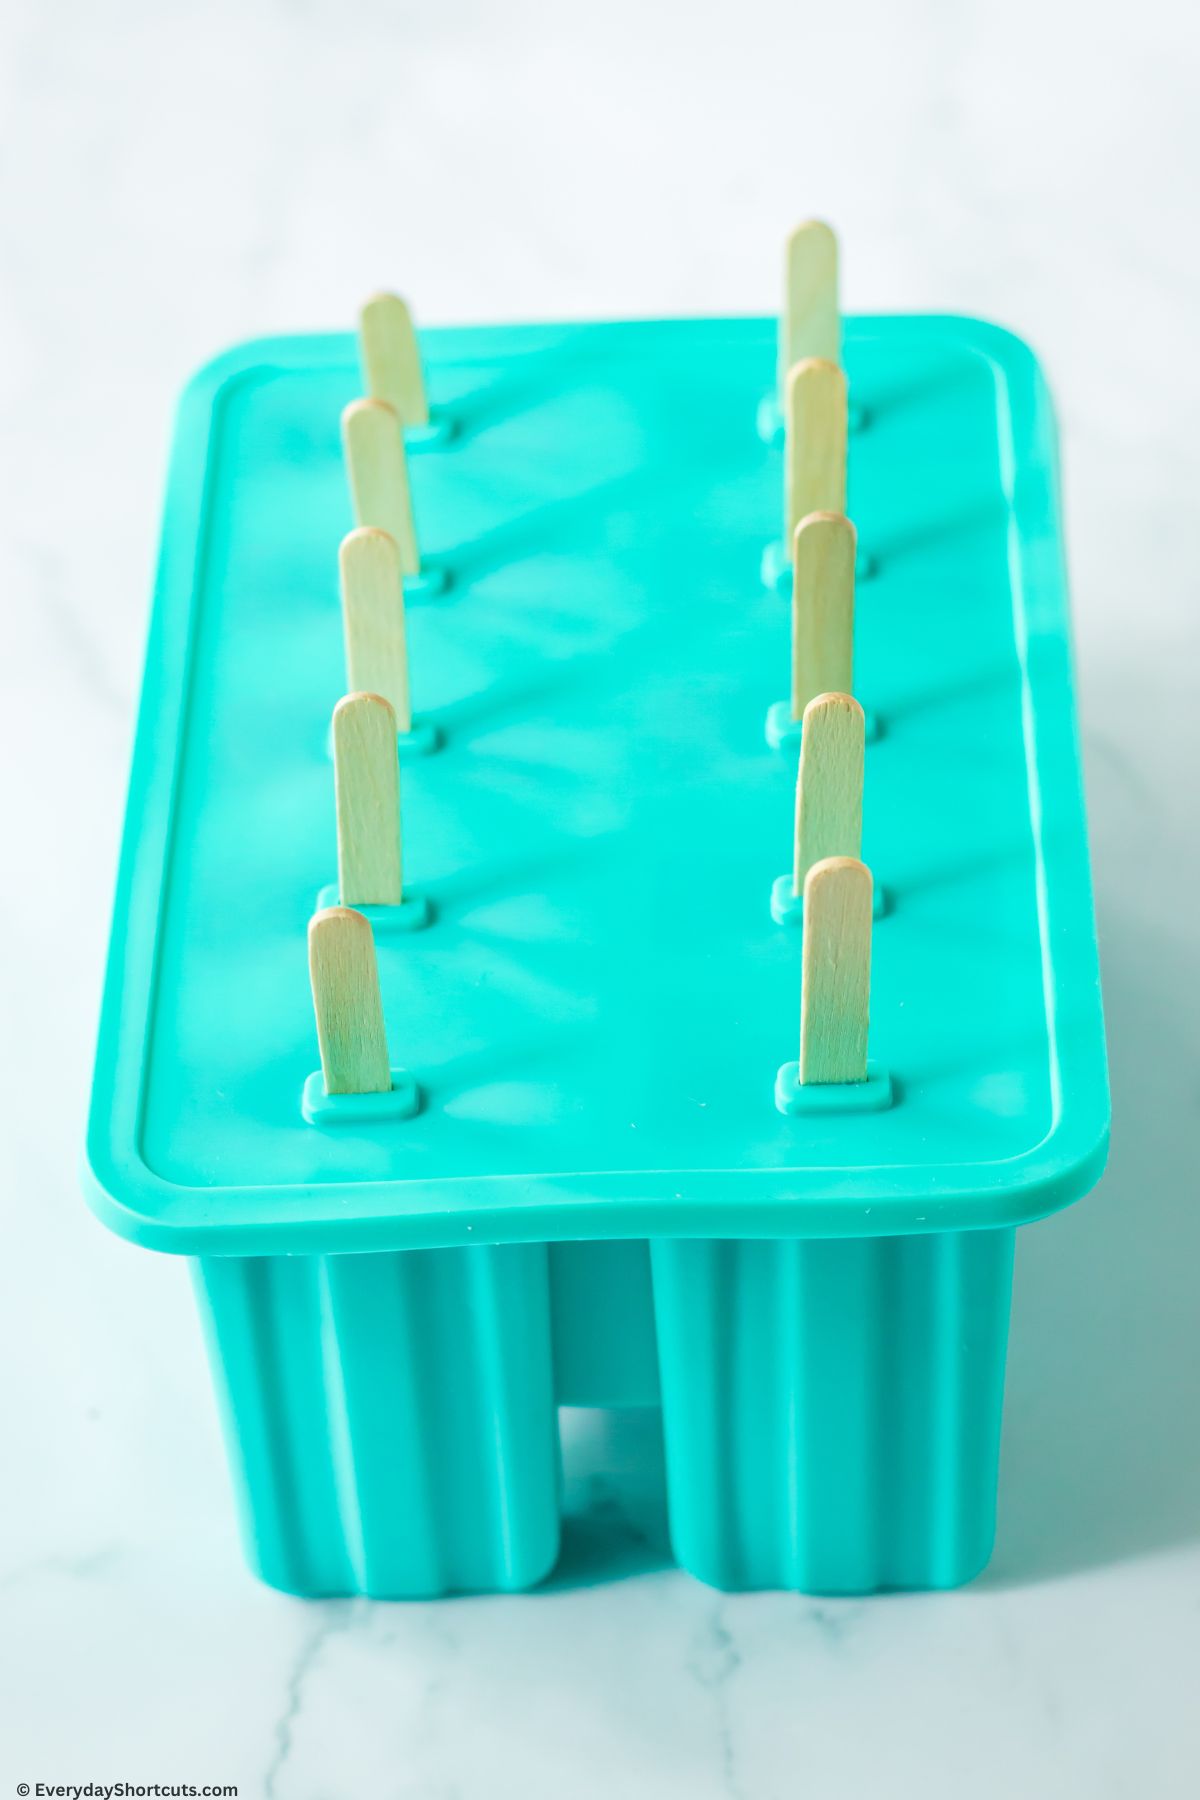
Step 4: Make the pudding pops. Pipe the red pudding a third of the way up the popsicle mold. Repeat with the white pudding and then the blue. Place the lid on the popsicle mold and place the sticks in but leaving enough sticking out to be able to hold.
Step 5: Freeze and enjoy. Place popsicle mold on a flat surface in your freezer for 4-6 hours. Remove from mold and serve!
Recipe Tips
- Make sure to freeze for the allotted time to be sure they set correctly.
- Don’t have a popsicle mold? Use paper cups and stick a popsicle stick in after you’ve filled it with the pudding mixture.
- Don’t push popsicle sticks (also called craft sticks) all the way down. Leave some room so there is enough to hold the stick.
- Prepare them in advance for an ideal stash to have on hand when the kids yearn for a sweet summertime indulgence.
How to Store
Keep pudding pops stored in molds in freezer. Can use popsicle bags to keep them fresh in the freezer and great for making big batches at a time.
FAQs
Run the mold under warm water for about 10 seconds and gently pull out out mold.
Pudding pops are a lighter option especially if you use skim milk and sugar-free pudding.
More Patriotic Desserts
- No Bake Red White and Blue Lush
- Walking Berry Pretzel Salad
- Red White and Blueberry Dessert
- Twizzler Sparkler Cake
- Gluten Free Patriotic Berry Pie
Recipe
Red White and Blue Pudding Pops
Ingredients
- 3 3.3 ounce boxes white chocolate instant pudding
- 5 cups whole milk
- Red food coloring
- Blue food coloring
- 3 ziploc bags
- Silicone popsicle mold
Instructions
- Step 1: Prepare the pudding mixture. In a large bowl combine the white chocolate pudding with the milk and whisk until combined. Separate pudding mixture into 3 bowls.
Step 2: Add the colors. Add red food coloring into one bowl until desired shade and whisk together. Repeat with the blue food coloring in a separate bowl. Leave the third pudding mixture white.
Step 3: Prepare the pudding bags. Add each color pudding into their own ziploc bag. Seal and snip off the end.
Step 4: Make the pudding pops. Pipe the red pudding a third of the way up the popsicle mold. Repeat with the white pudding and then the blue. Place the lid on the popsicle mold and place the sticks in but leaving enough sticking out to be able to hold.
Step 5: Freeze and enjoy. Place popsicle mold on a flat surface in your freezer for 4-6 hours. Remove from mold and serve!
Nutrition Disclosure
Nutritional facts are estimates and are provided as a courtesy to the reader. Please utilize your own brand nutritional values to double check against our estimates. Nutritional values are calculated via a third party. Changing ingredients, amounts or cooking technique will alter the estimated nutritional calculations.



Leave a Reply