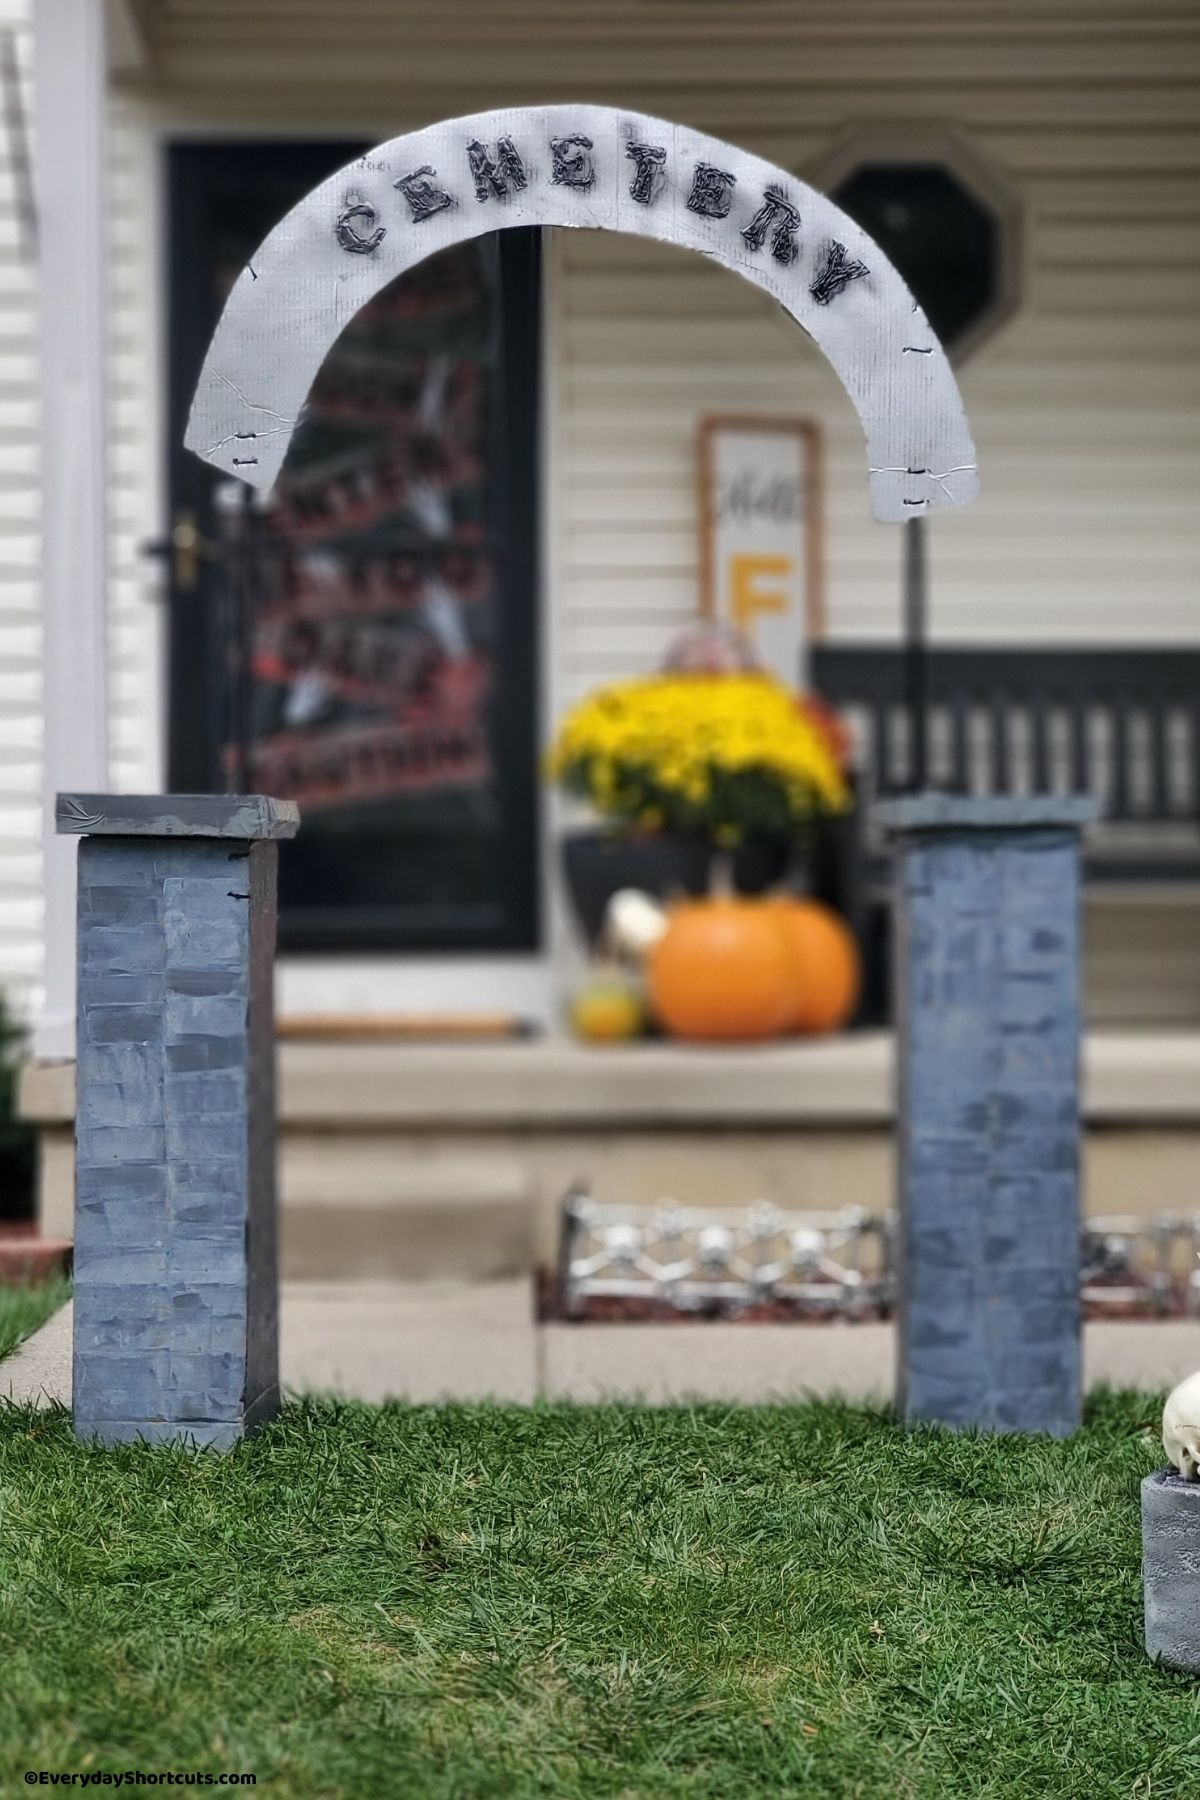
Set the mood for your Halloween cemetery with these DIY cardboard columns. These columns can be customized to any size, lightweight and easy to move around.
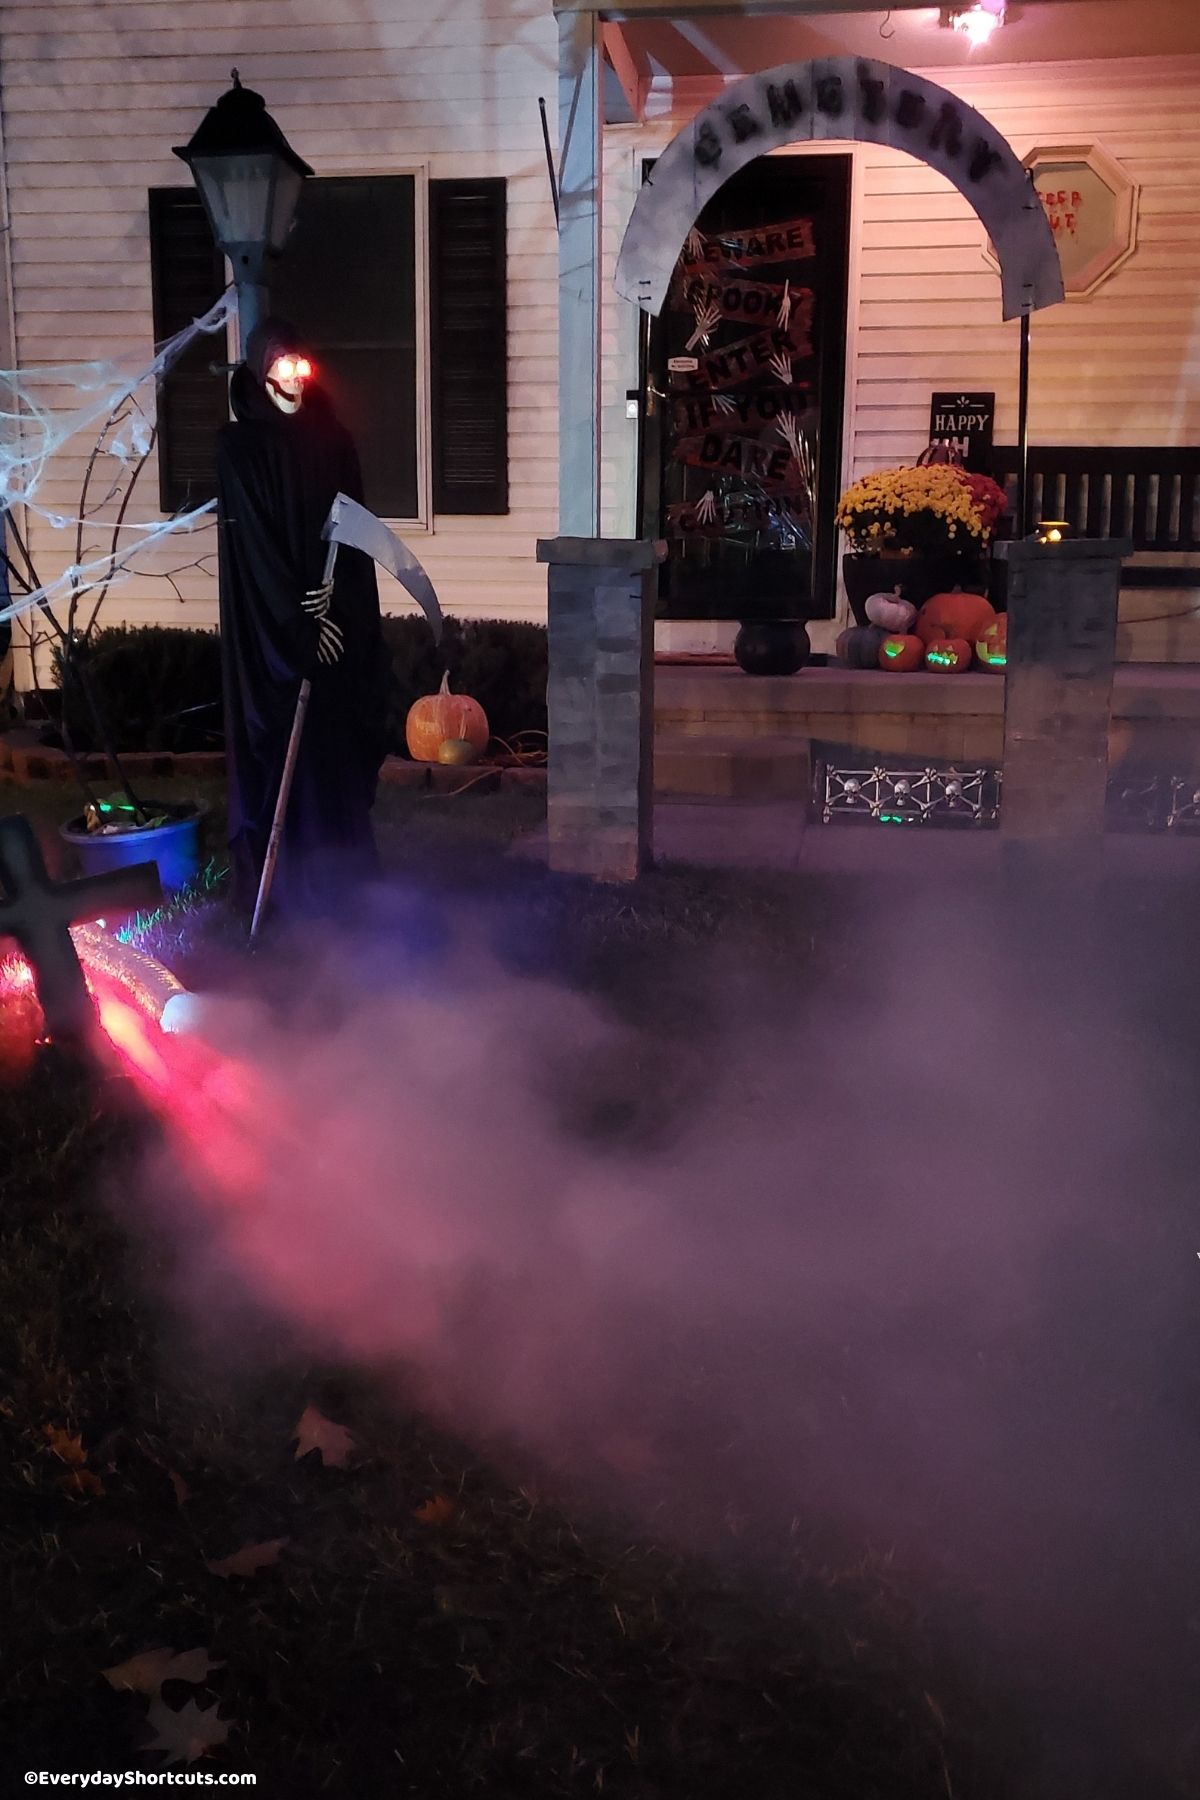
Making a Halloween Cemetery entrance is a great way to add some spooky atmosphere to your front yard or porch.
One of the most important elements of a cemetery entrance are the columns that set the entrance.
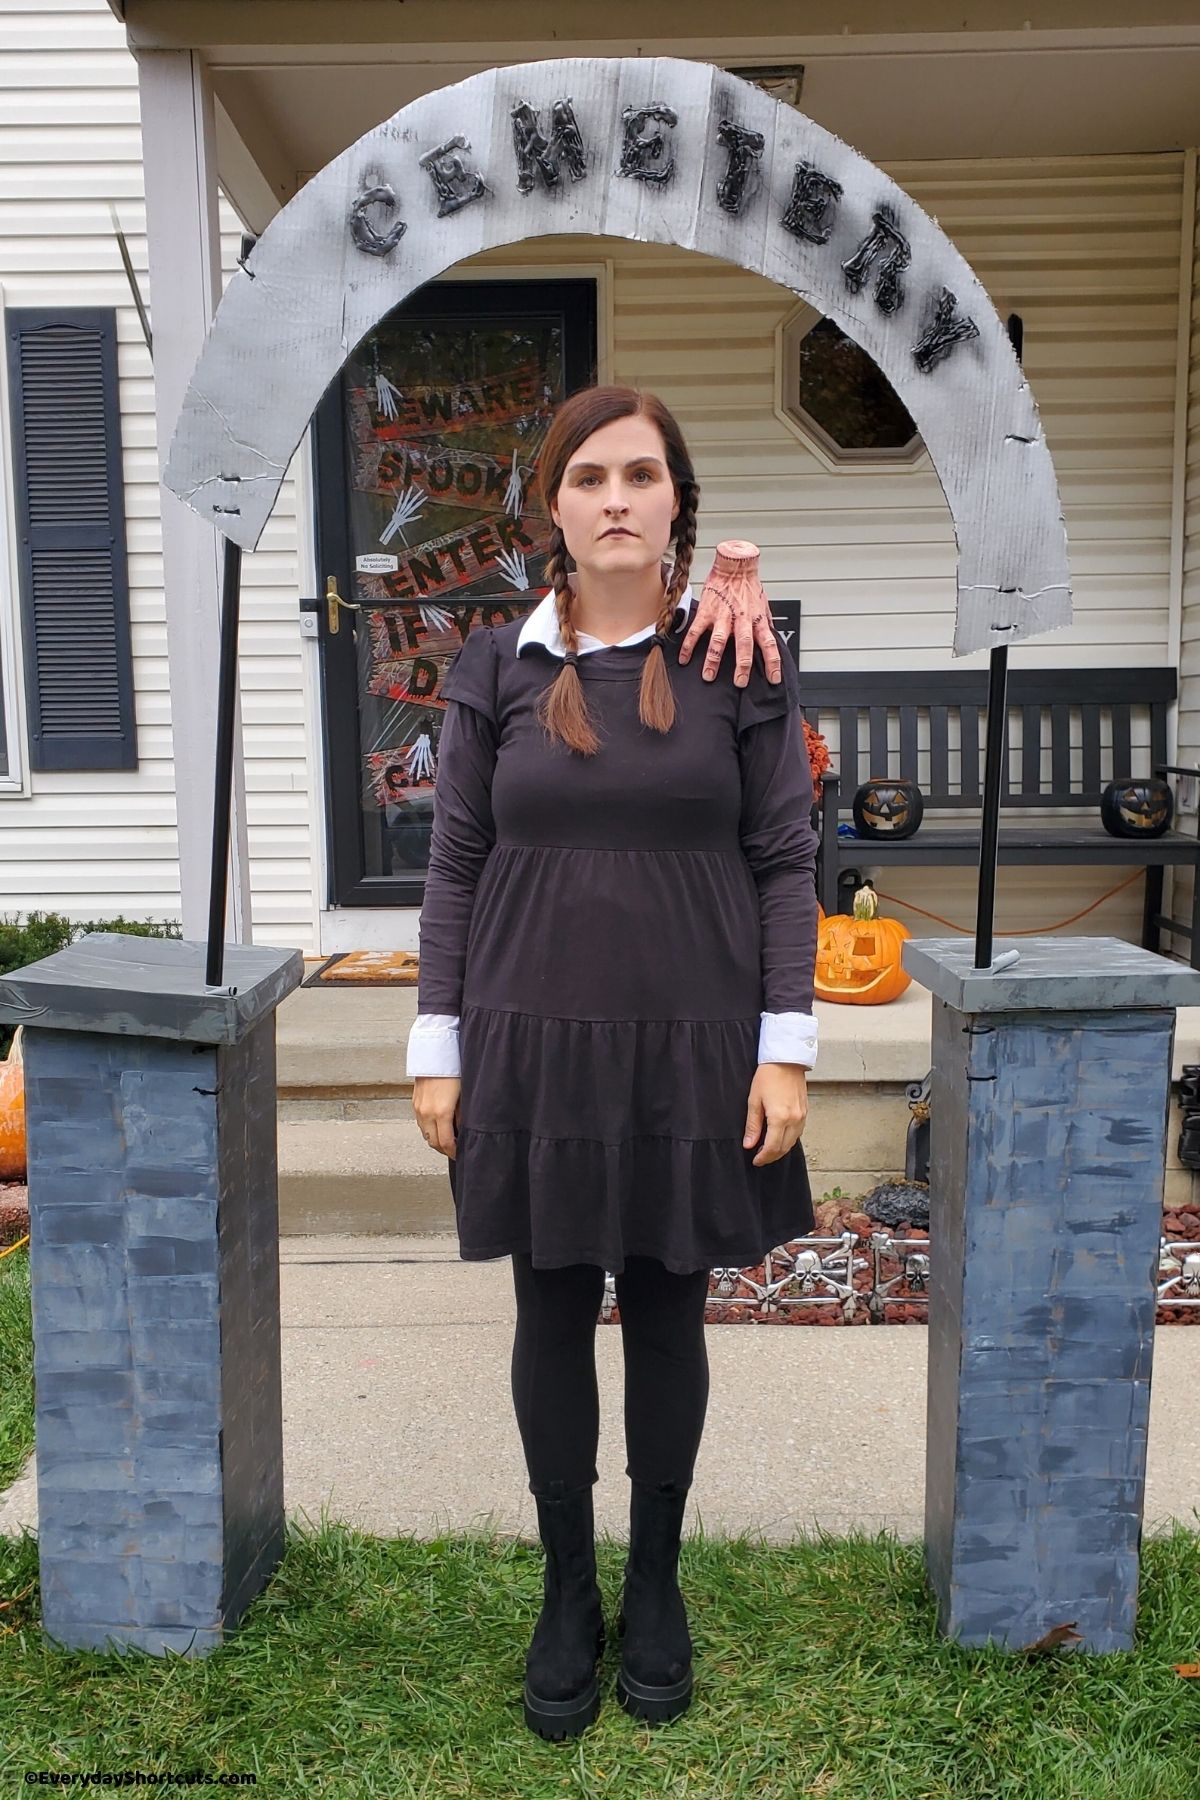
These columns can be made out of a variety of materials, but for a budget friendly and easy option, cardboard is a great choice.
In this tutorial, I will show you how to make your own Halloween cemetery columns out of cardboard. Let’s get started!
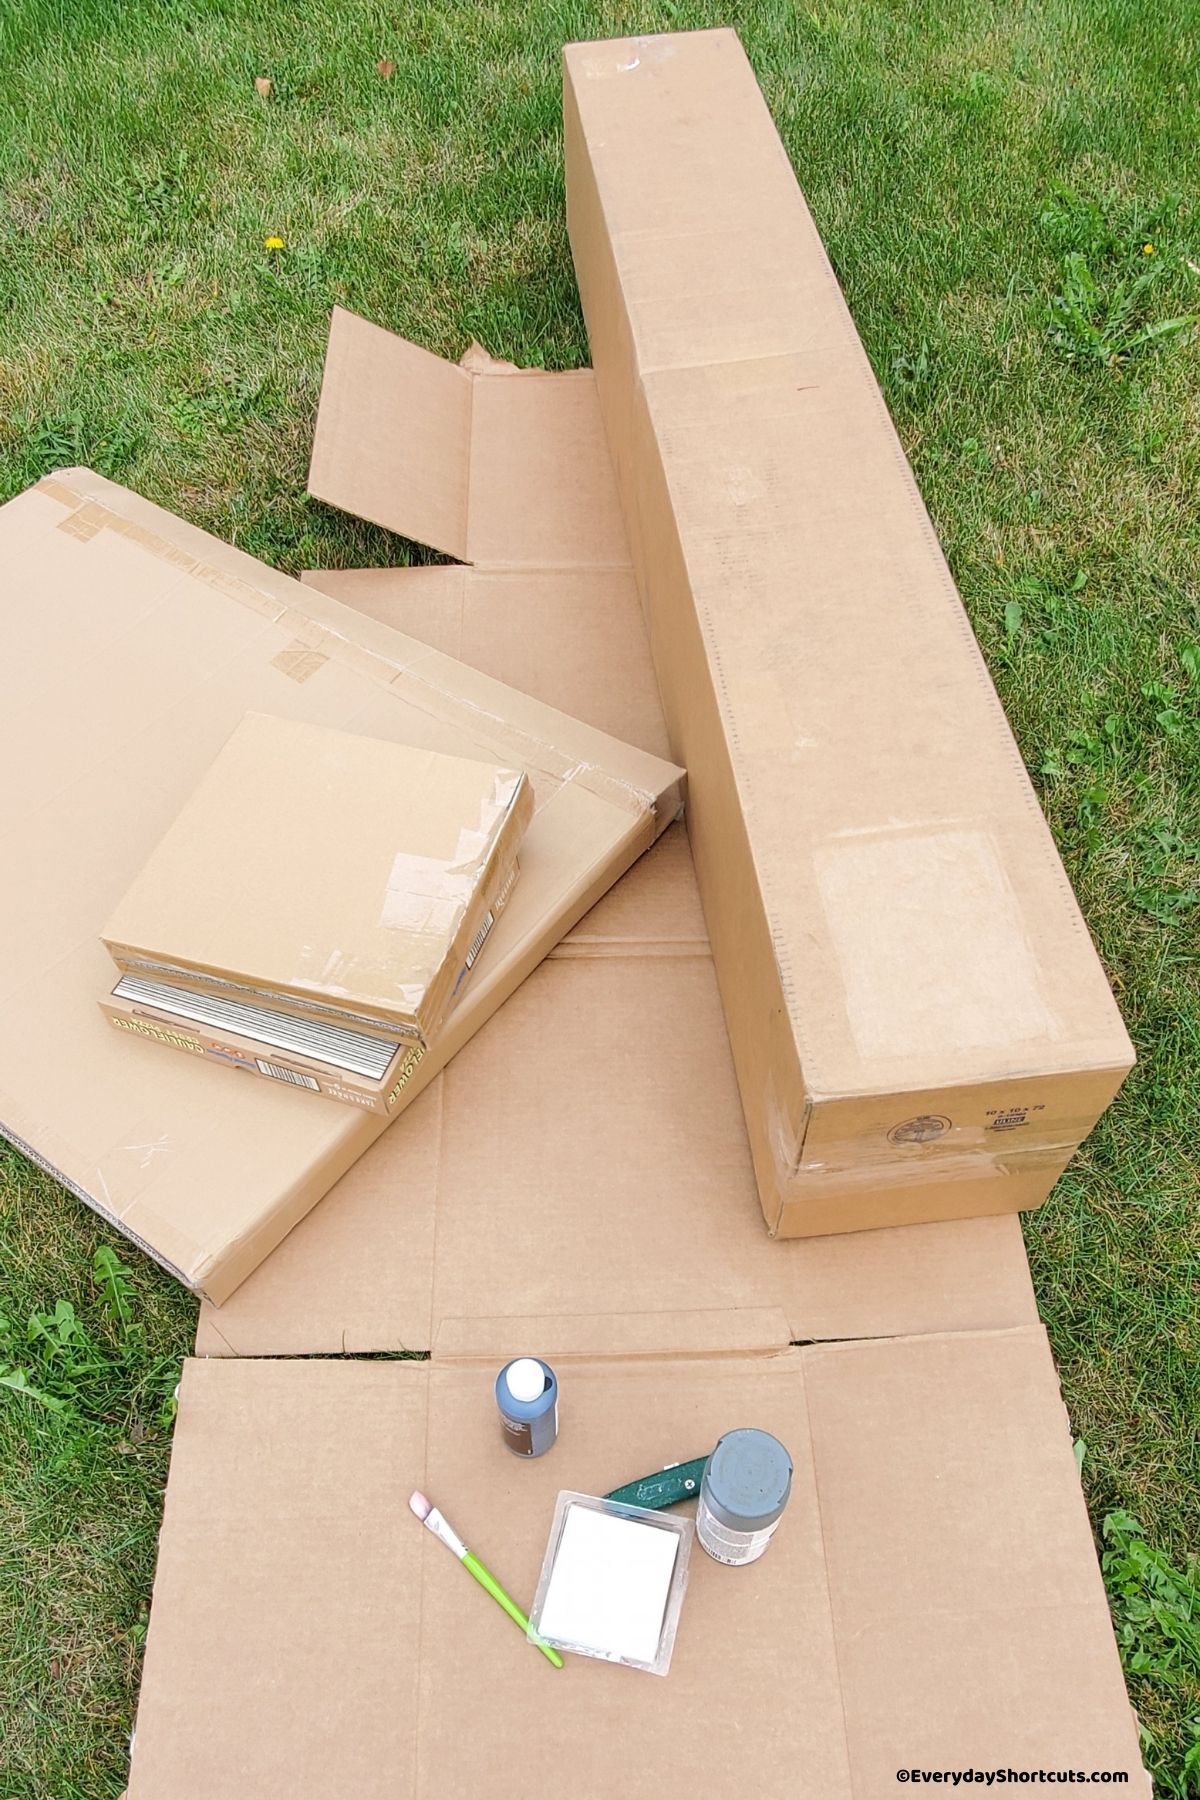
Materials Needs
- Tall cardboard box, cut into 2 pieces (or if you want it tall, use 2 tall boxes)
- 2 square boxes slightly larger/wider than the top of the tall box (I used 2 pizza boxes)
- One long piece of cardboard to make cemetery sign
- Gray paint (choose one that is waterproof)
- Gray spray paint
- Silver spray paint (optional)
- Black paint or spray paint
- Sponge
- 2 broomstick handles or wooden sticks
- Zip ties
- Hot glue gun and glue sticks
- Scissors
- Utility knife or box cutter
- Protective sealant spray
How to Make Halloween Cemetery Pillars
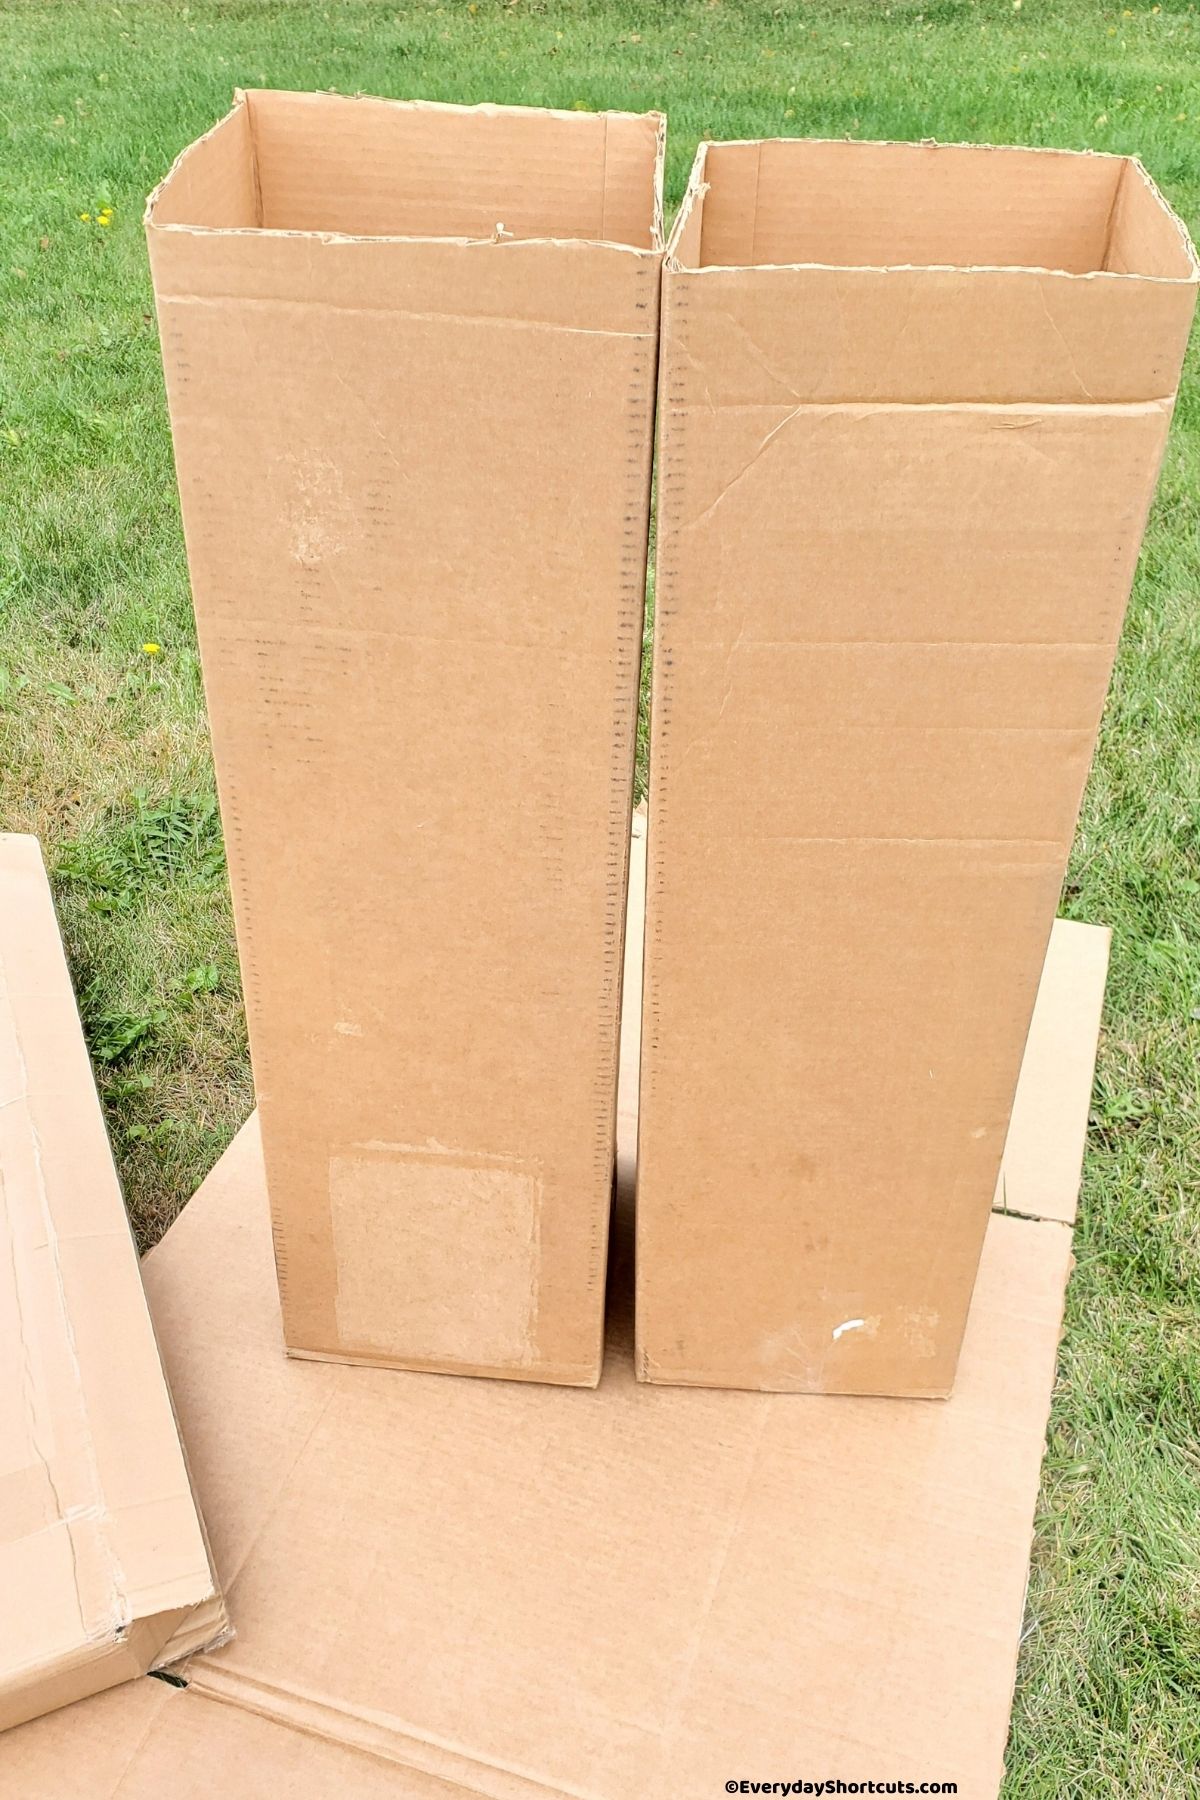
To start building your columns, cut the tall cardboard box in half (or use 2 tall boxes) to your desired height using a sharp utility knife.
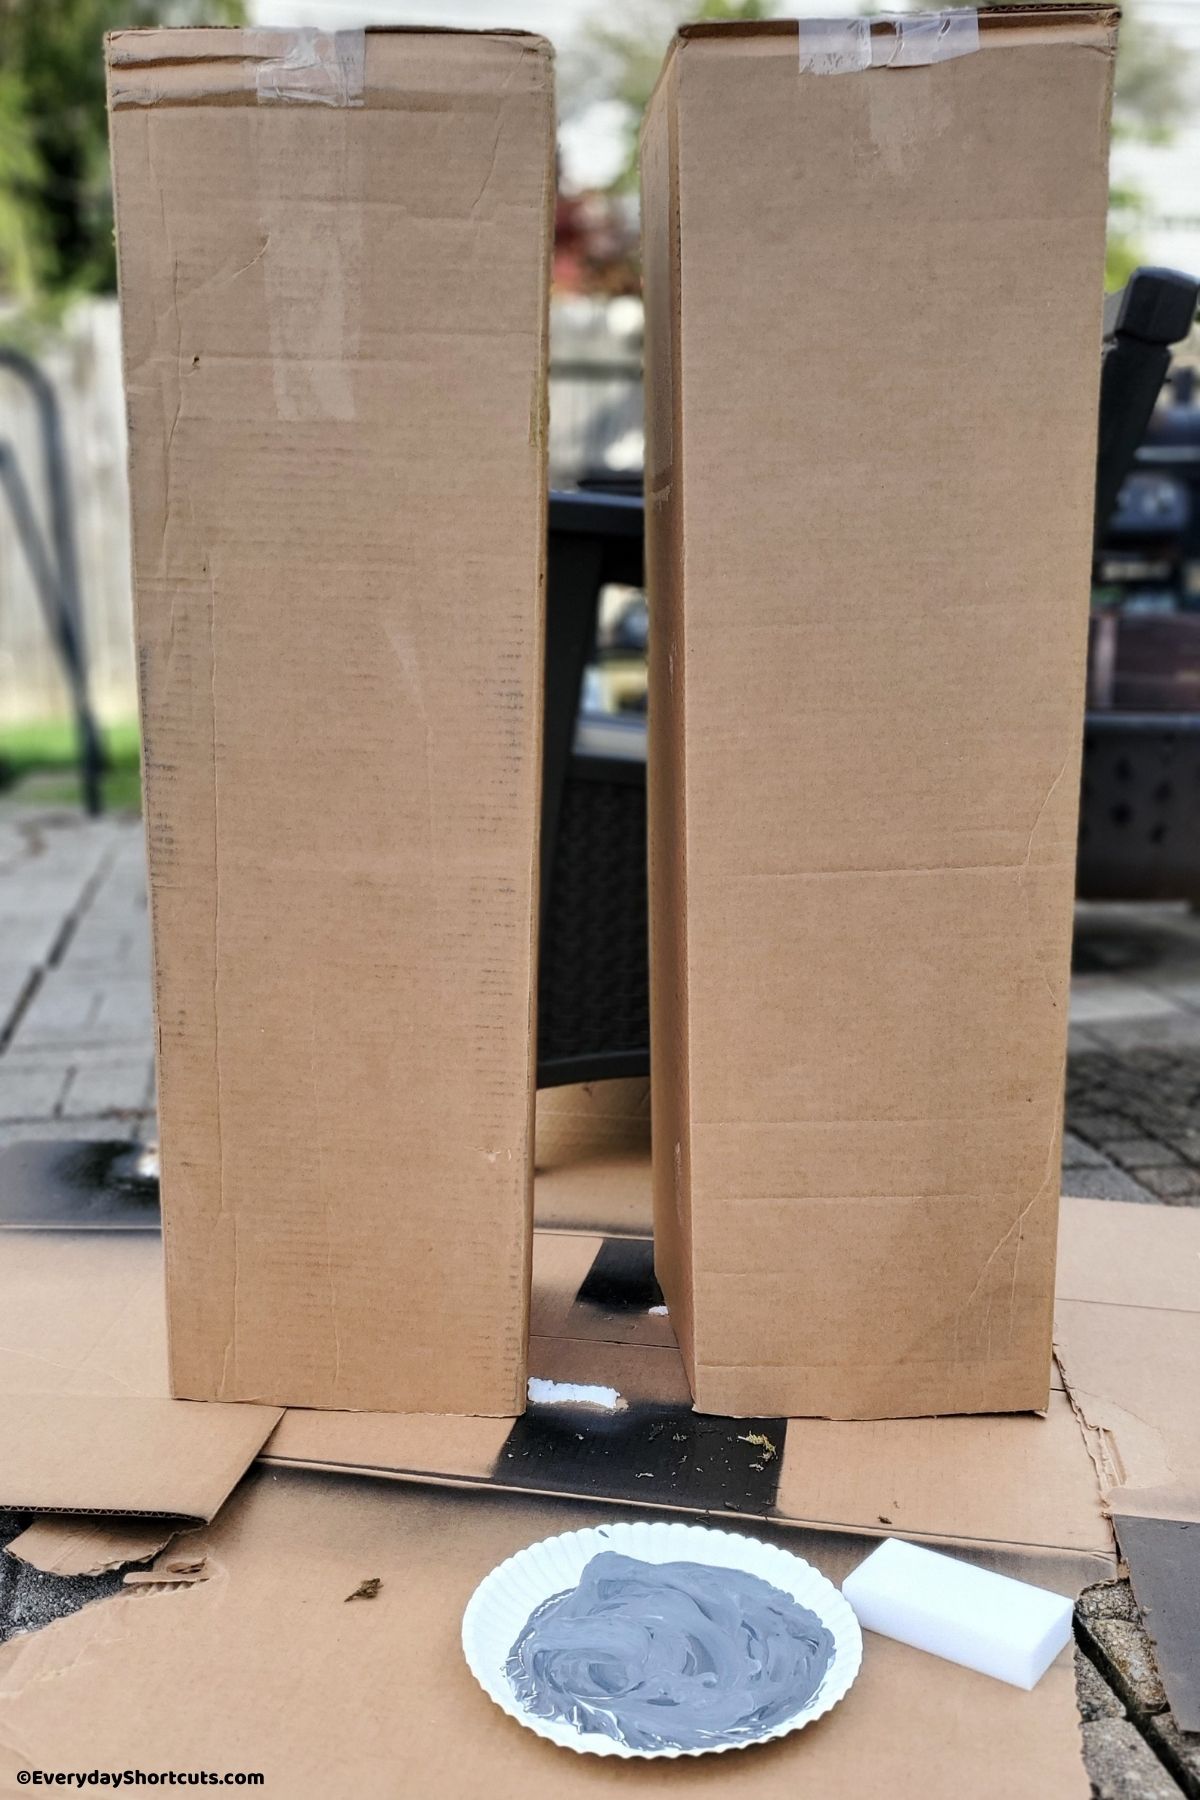
Tape the bottoms and tops of each box to secure the flaps.
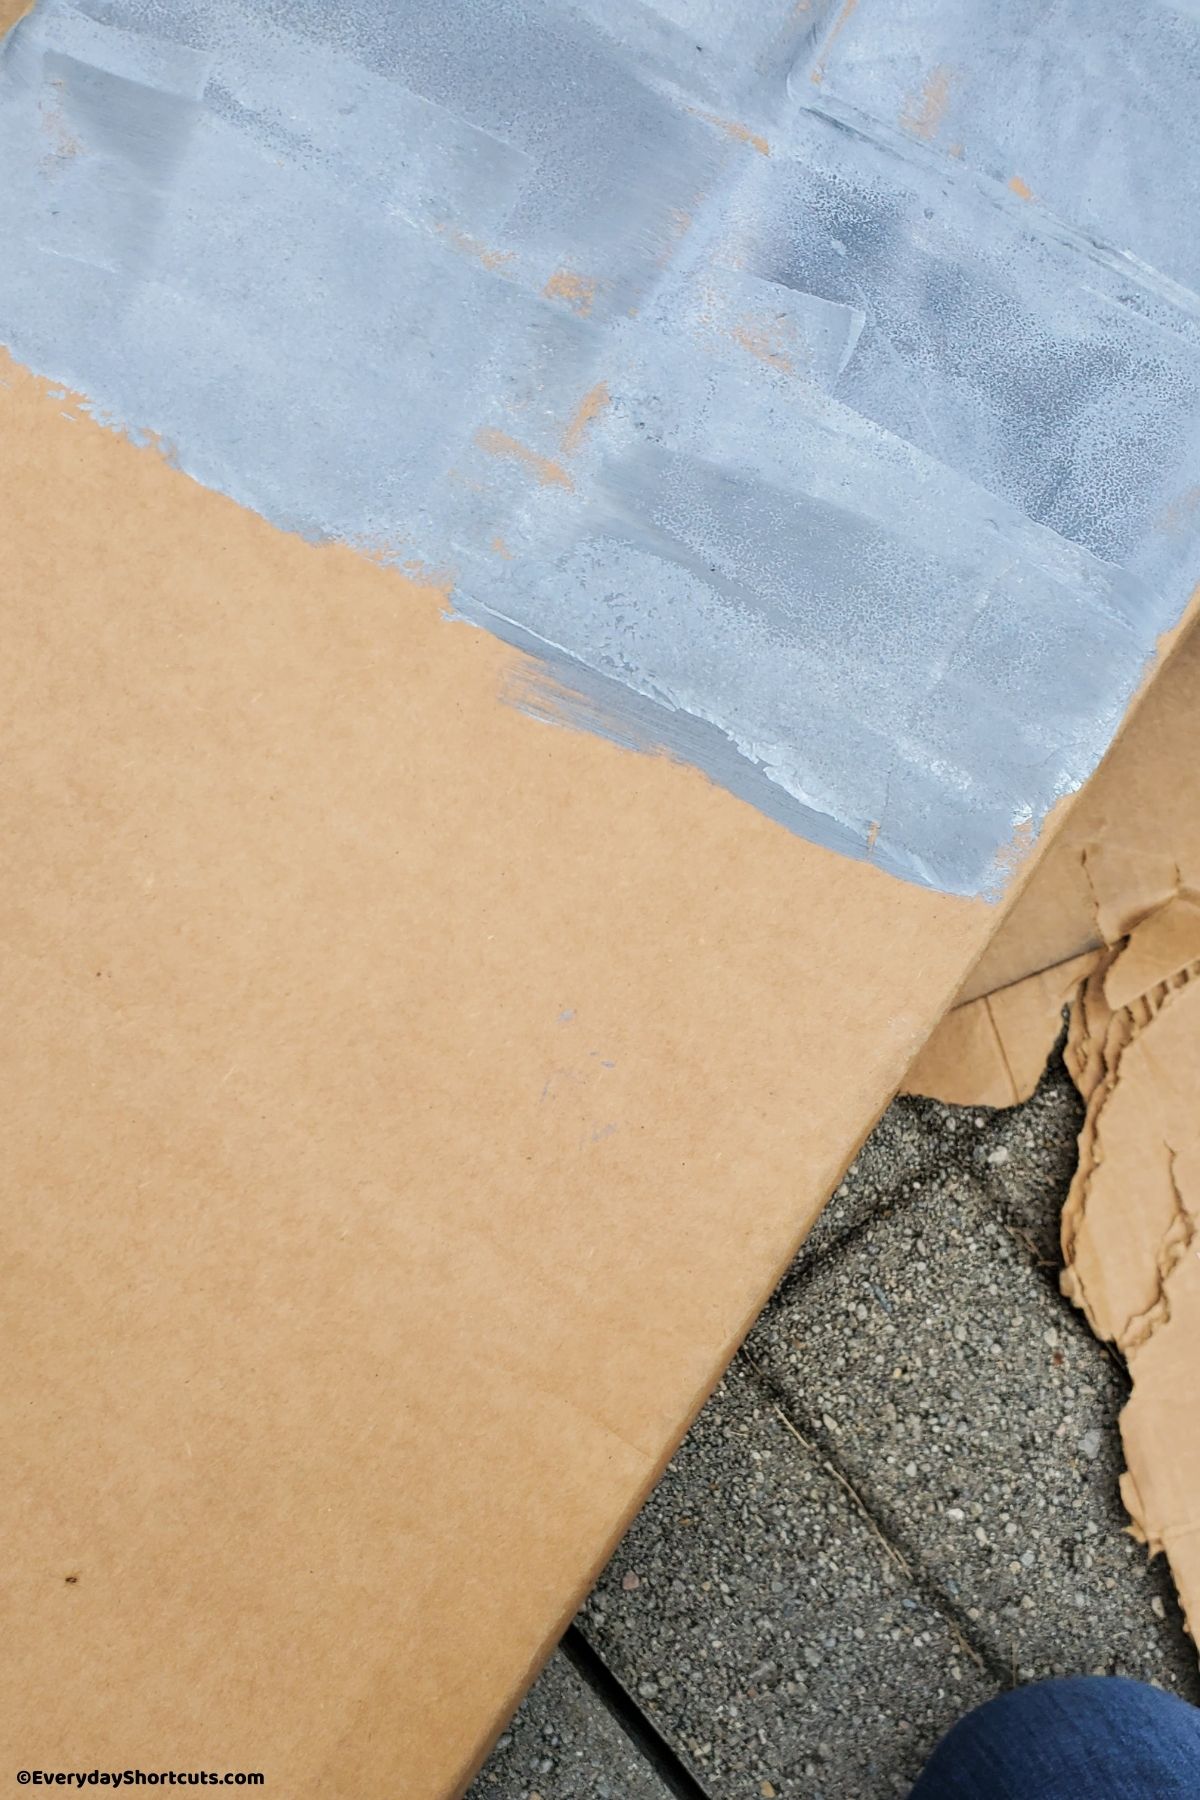
Using a sponge, dip into gray paint and press firmly on the box to make a brick like pattern.
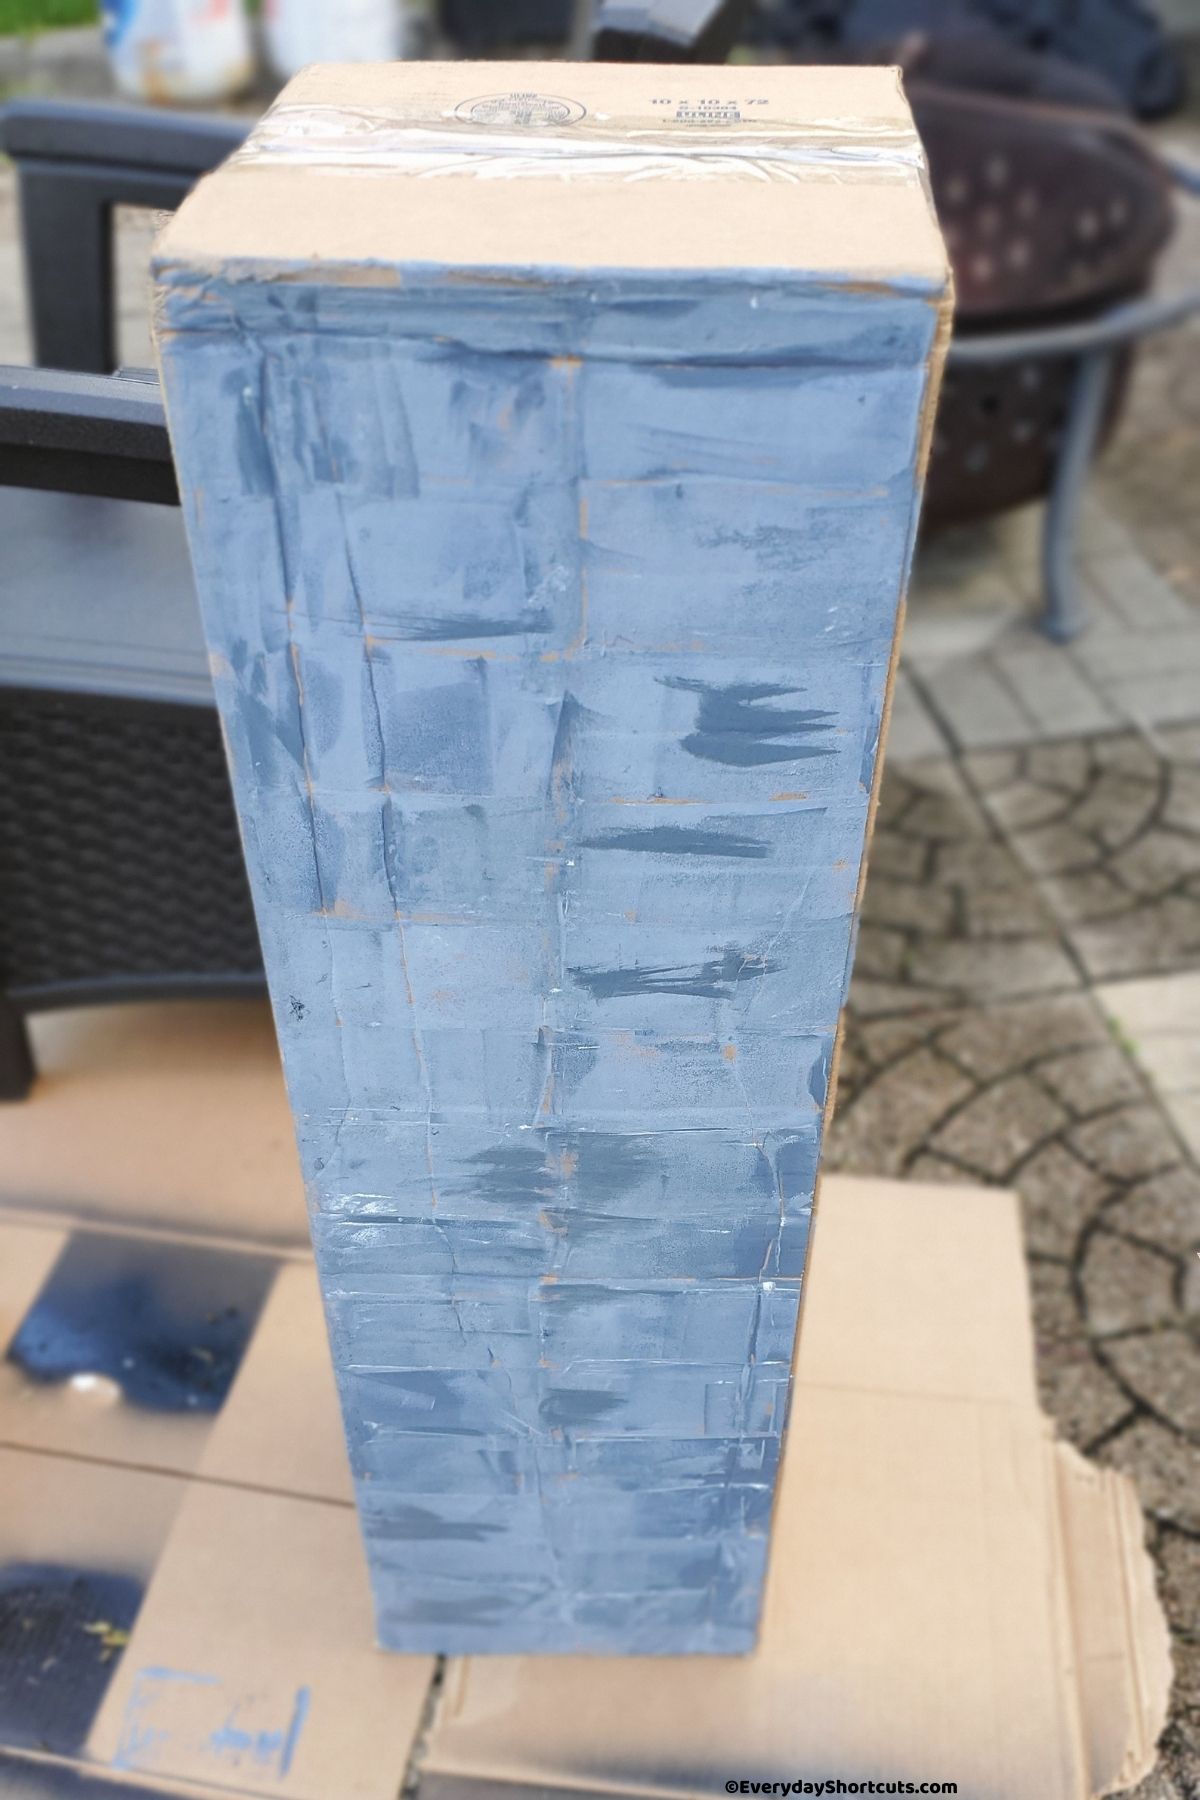
Continue until the entire surface is covered on both boxes and allow to dry.
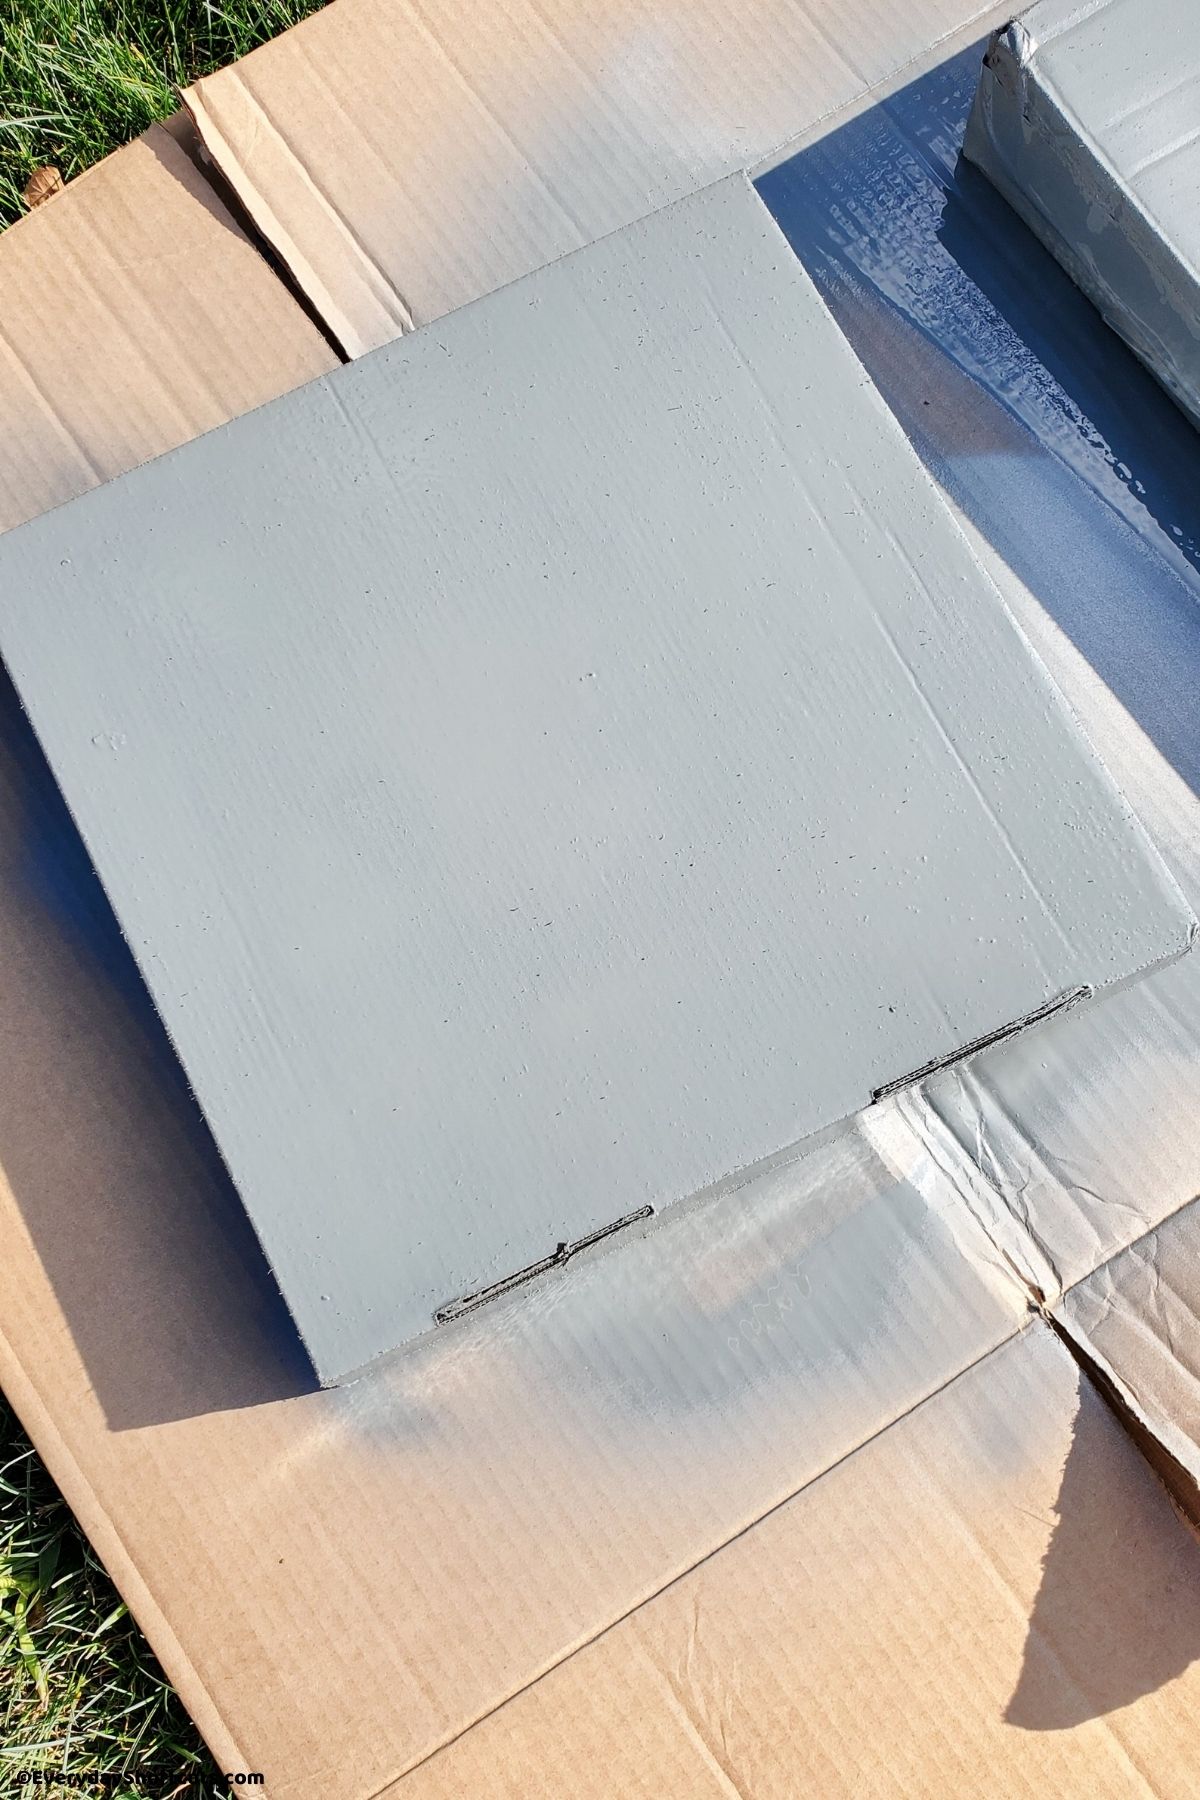
Spray paint the top square boxes with gray spray paint and allow to dry.
Next, add the square boxes that are slightly wider on top of each tall box and use hot glue or adhesive tape to securely attach.
Using a large box, cut out an arch sign to the size you want.
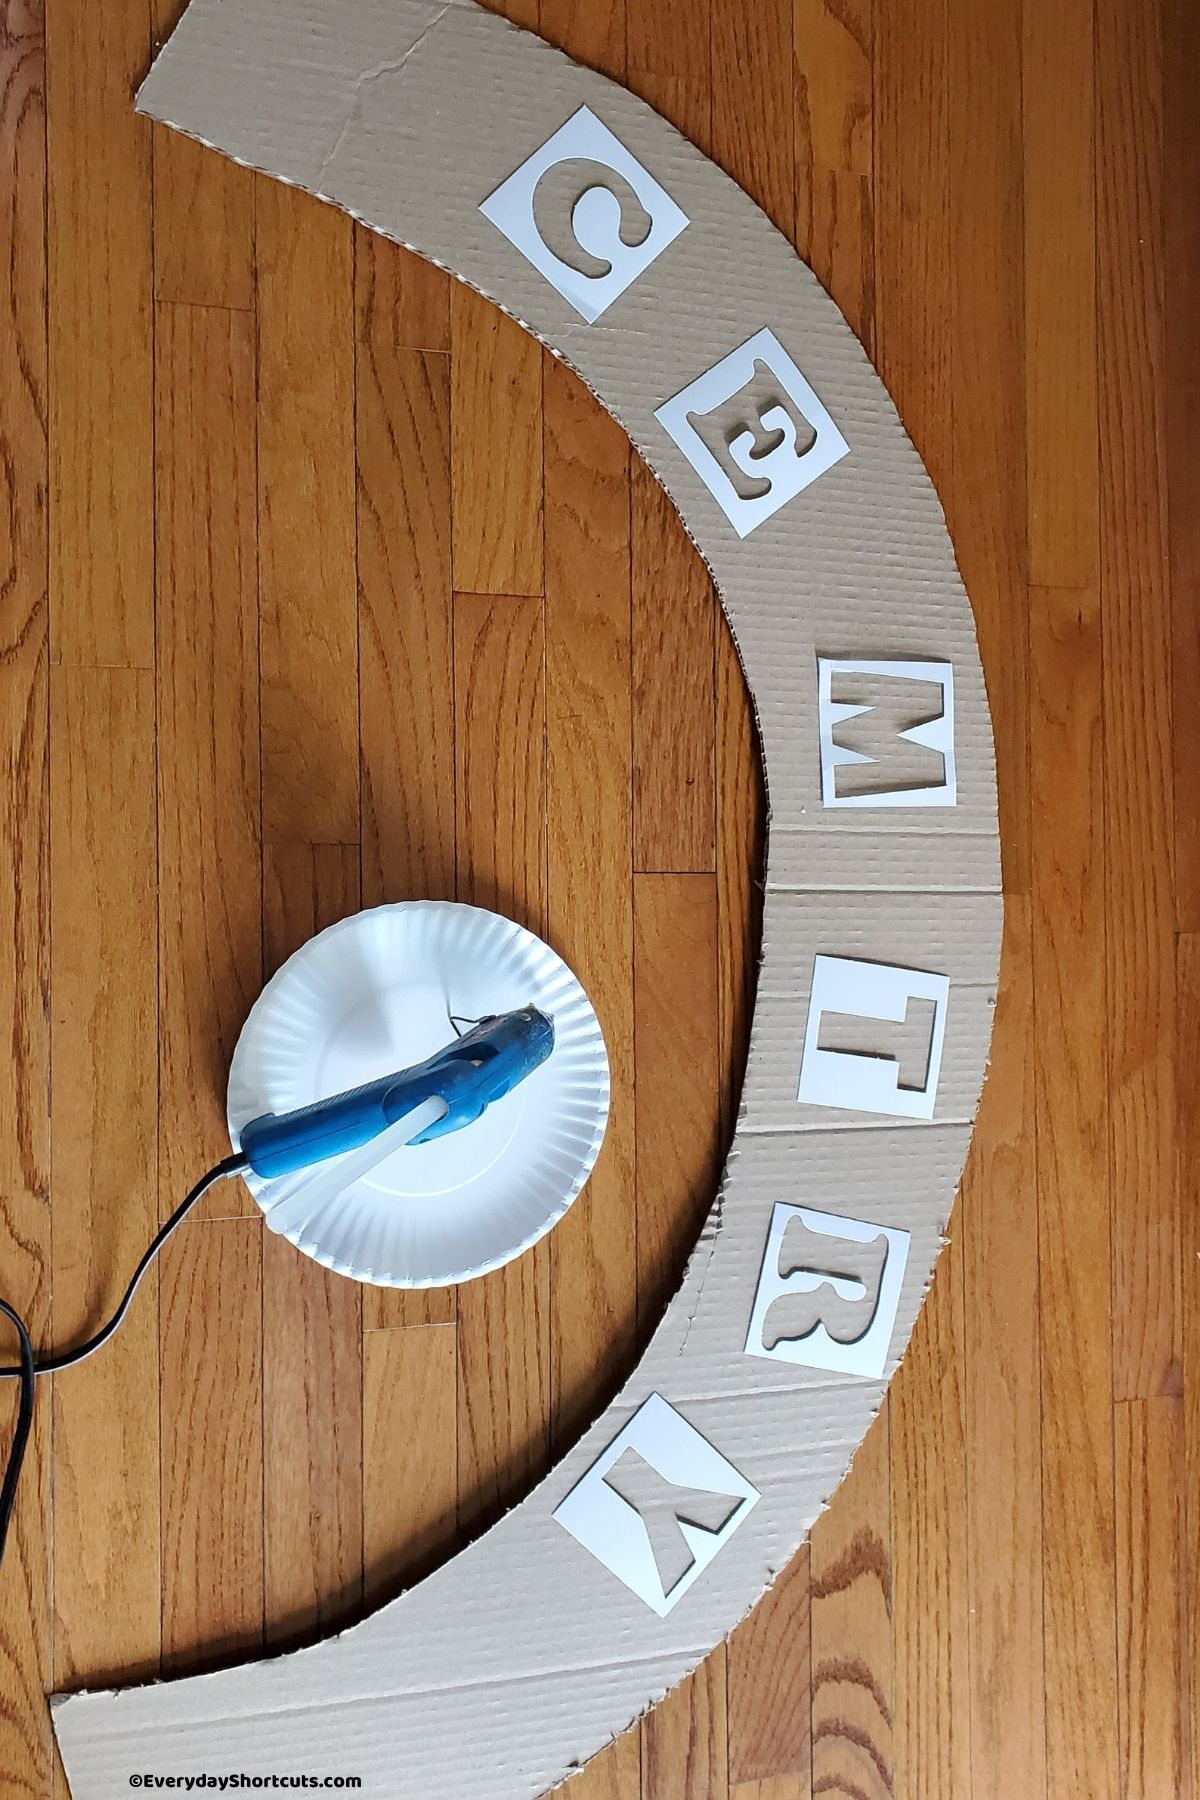
Layout stencils (or freehand) spelling “Cemetery” (will need to use the “e” more than once). Using a hot glue gun, trace the inside of the stencils.
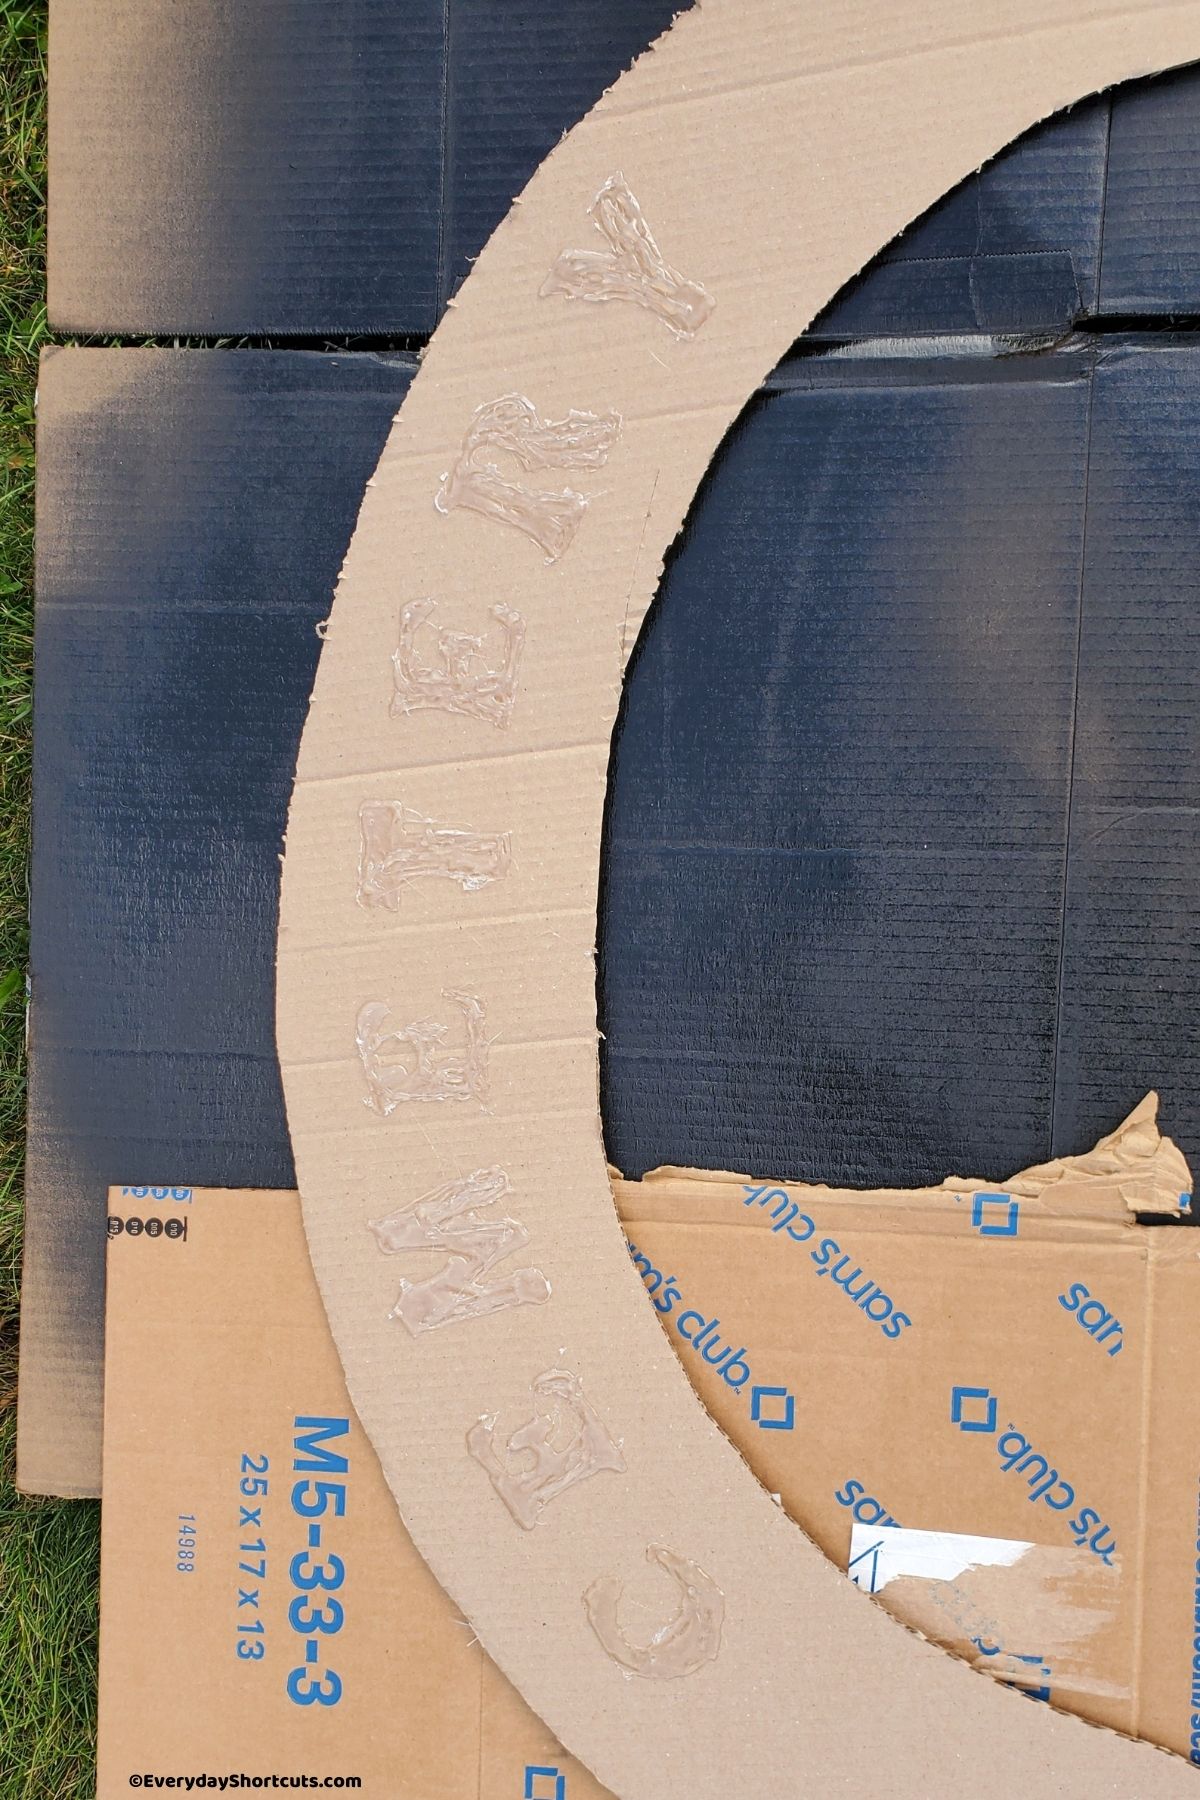
Spray paint silver or gray and allow to dry. Paint with black paint over top of letters and allow to dry.
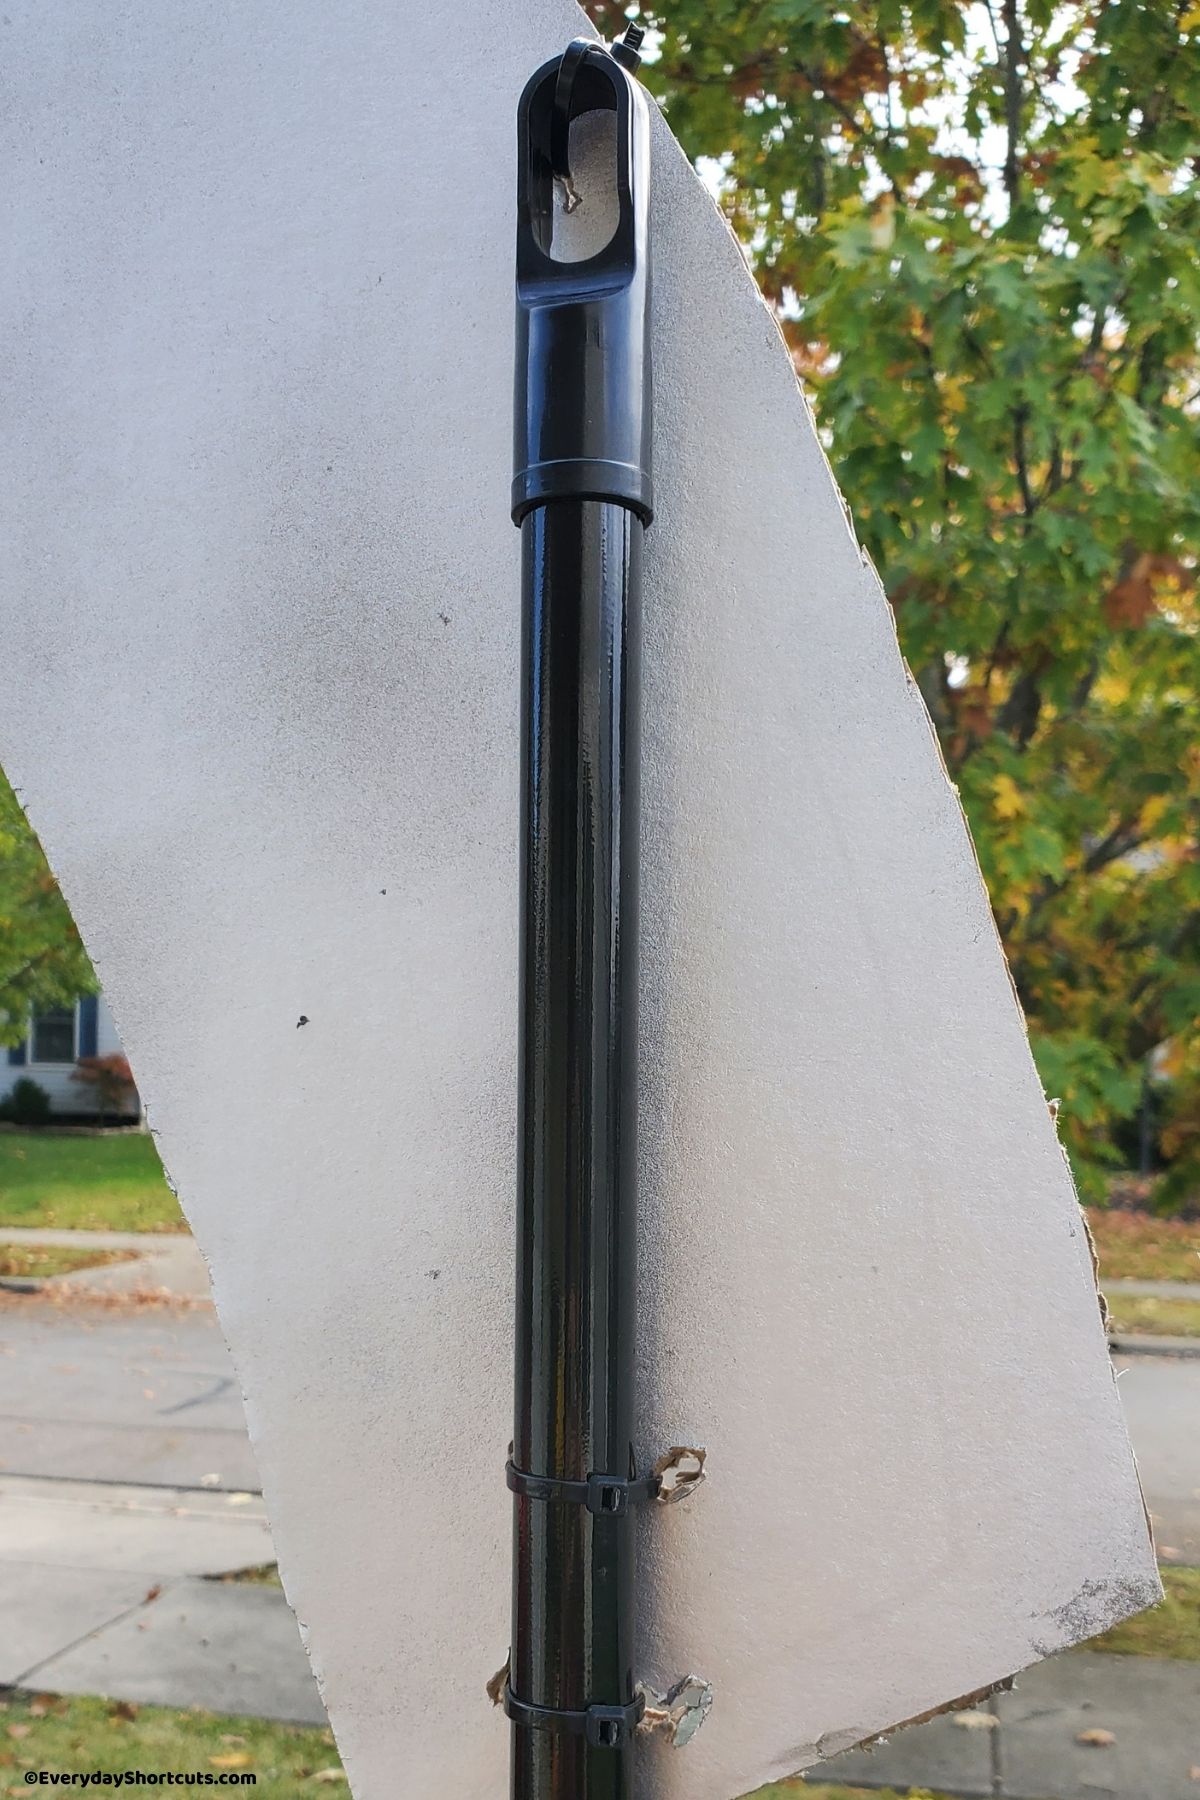
Poke 2 holes on each side of sign and one at the top and secure poles with zip ties.
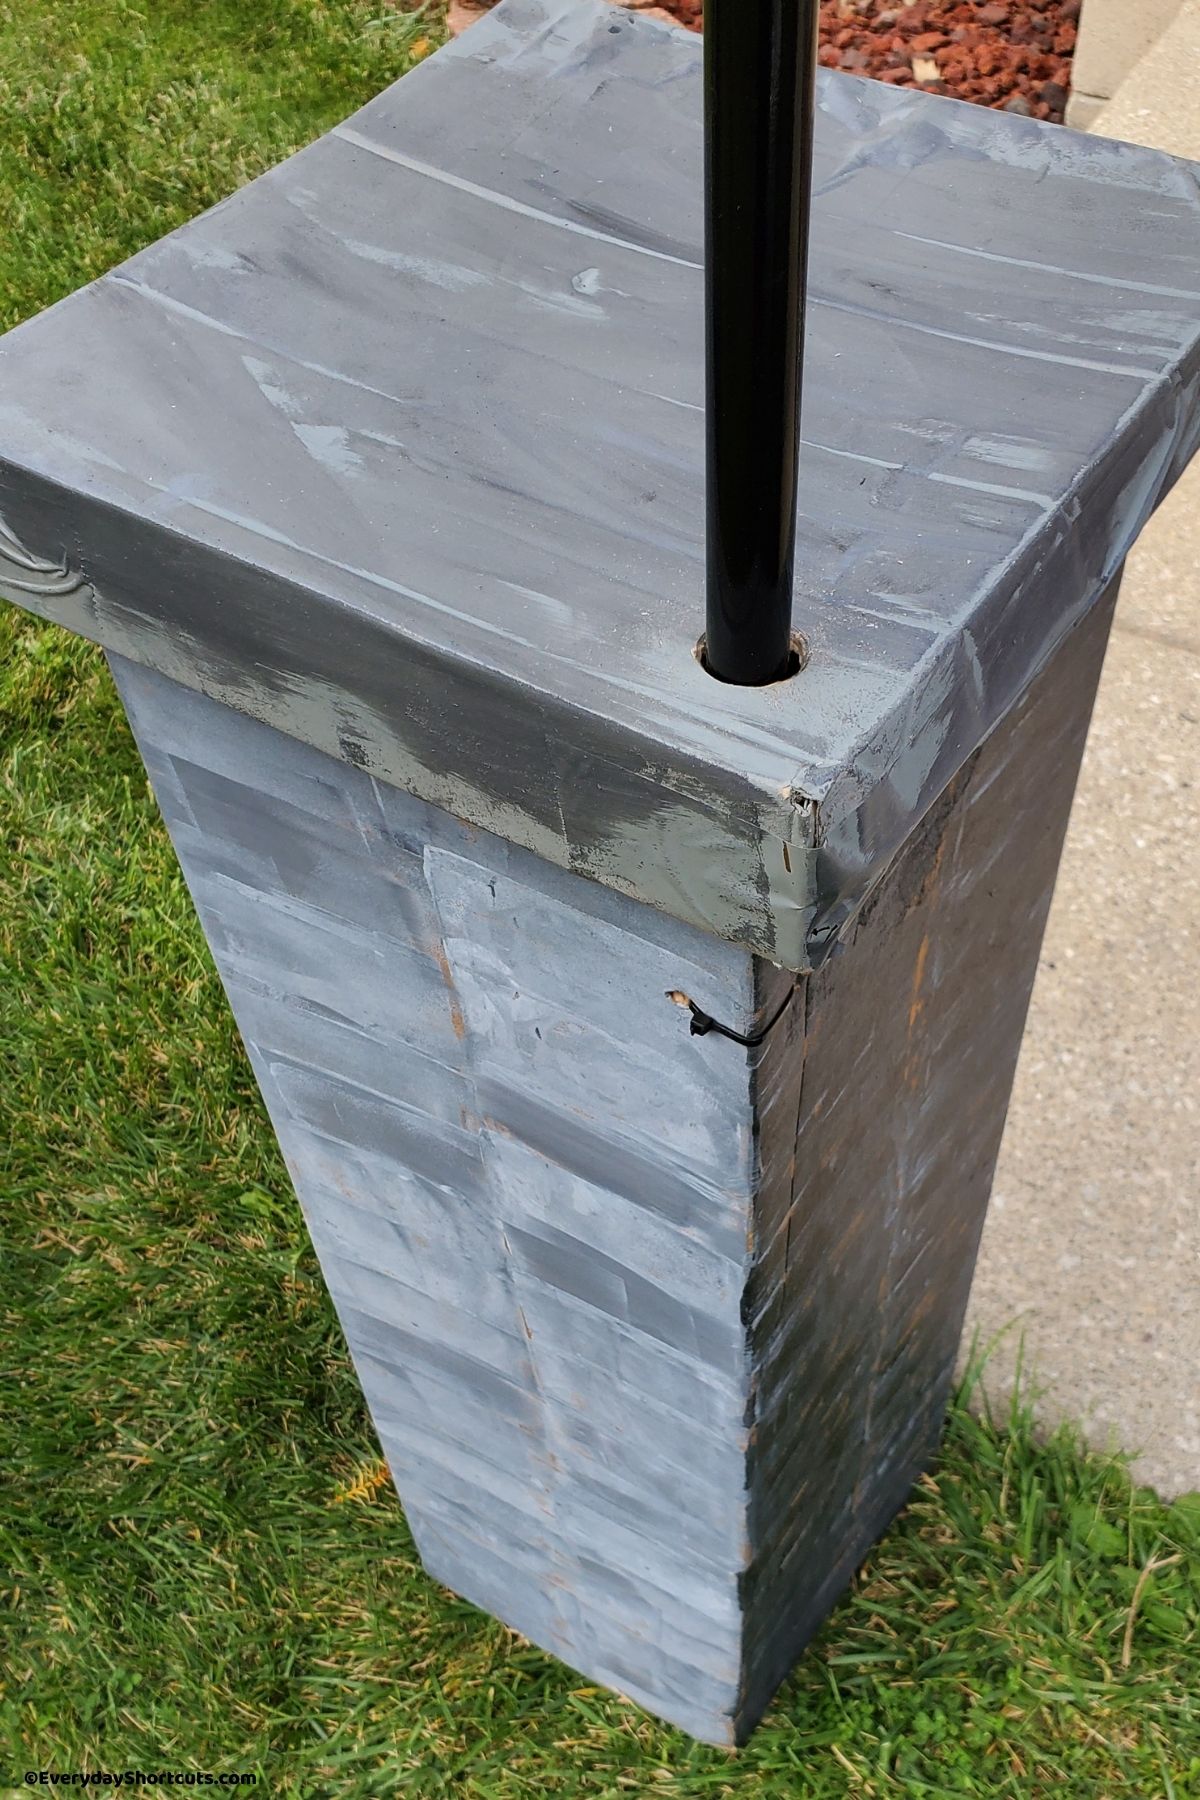
Carefully drill a hole in the tops of each tall box and put broomstick or wooden pole into each hole. Adjust the poles to the size you want and secure with zip ties by poking holes with a screwdriver where the pole ends.
Cover the columns and cemetery sign with protective sealant to weatherproof.
Place your cemetery columns in your graveyard (I secured them from falling over with cinder blocks and placing the pillars over top).






Leave a Reply