

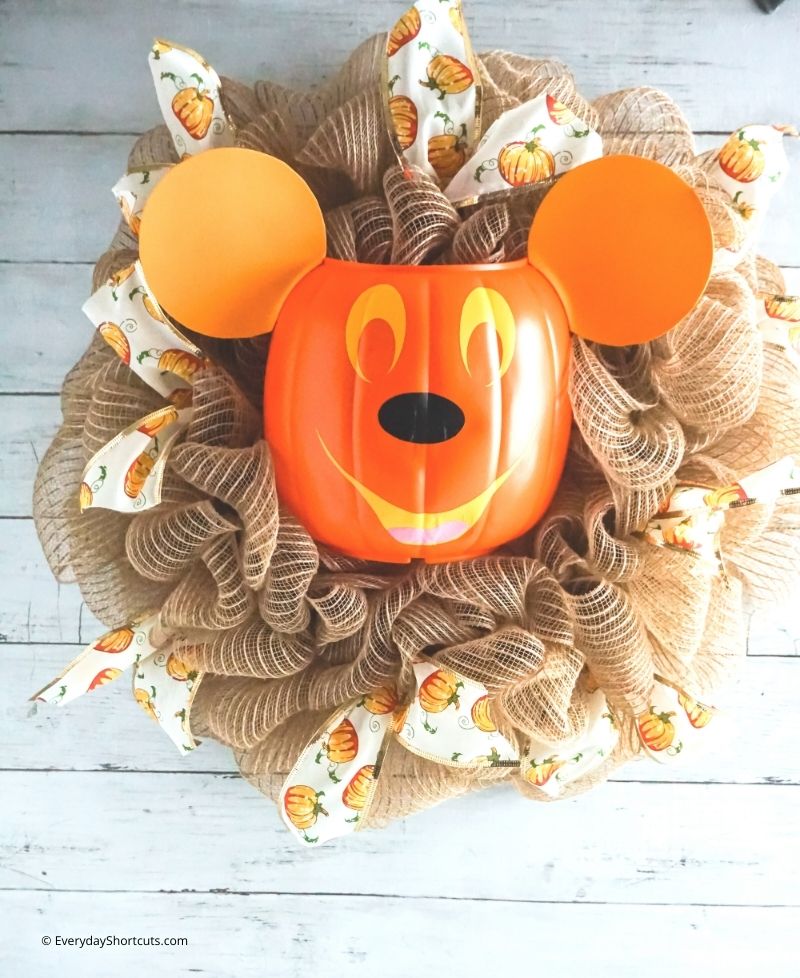
Bring the Disney magic home this Halloween with this DIY Mickey Mouse Pumpkin Wreath tutorial! It’s so cute and easy to make!
I love going to Disney around Halloween time and seeing all the decorations. As you walk throughout the park, you will notice how beautifully decorated it is including my favorite Mickey Pumpkin Wreath.
This Mickey Halloween Wreath can be found at Walt Disney World during Mickey’s Not So Scary Halloween Party but since you can’t purchase a Mickey Wreath you’ll have to make one yourself. I’ve prepared a simple tutorial on how to make your own DIY Mickey Mouse Pumpkin Wreath to hang it up every fall season.
Supplies Needed
- Wire Wreath Form
- Orange Pumpkin Bucket
- 4-6 inch Burlap Ribbon
- 2-3 inch Fall Pumpkin Ribbon
- Floral Wire
- Orange Craft Foam
- Heat Transfer Vinyl in Black, Pale Yellow and Pink
- Cut File for Face and Ears
Tools Used
- Hot Glue Gun & Glue
- Wire Cutters
- Scissors
- Painter's Tape
- Cricut Explore Air 2 or Cricut Maker
- EasyPress Mini
How to Make a Mickey Mouse Pumpkin Wreath
Download the SVG cut file for the face and ears and upload it to Cricut Design Space. Cut out the following: 1 nose shape from the black heat transfer vinyl, 2 eyes and 1 mouth from the pale yellow heat transfer vinyl, 1 tongue from the pink heat transfer vinyl.
Weed each of these shapes from the vinyl. Cut two ear shapes from the orange craft foam.
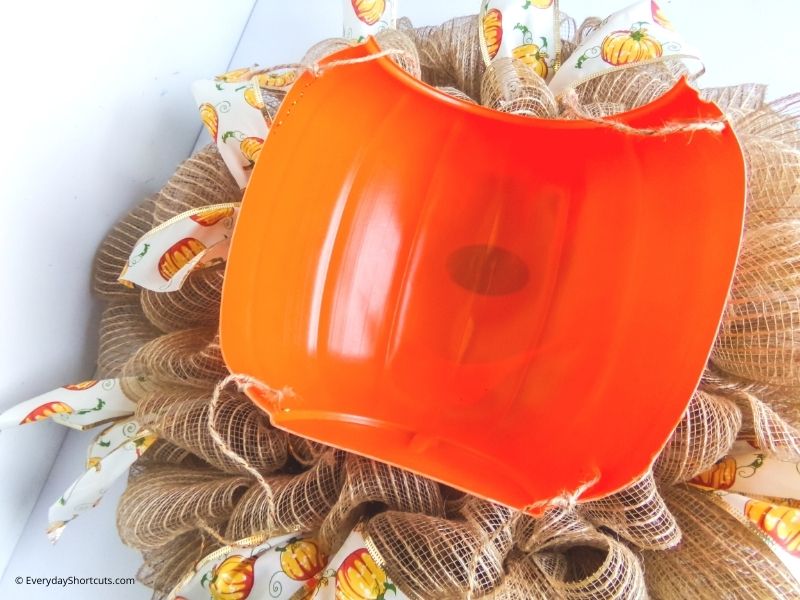
Cut the orange pumpkin bucket in half, removing the front portion.
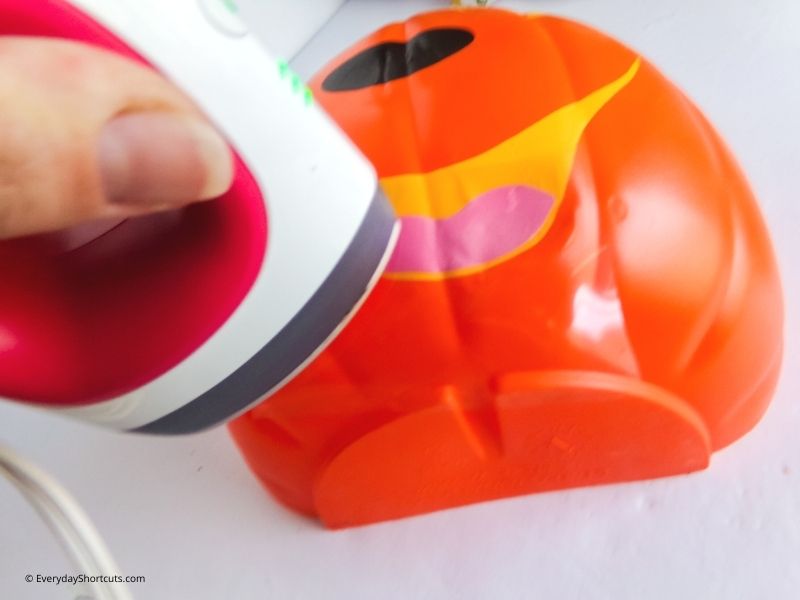
Using the EasyPress Mini, position the eyes, mouth, tongue and nose, then press them onto the front of the pumpkin bucket. Set aside.
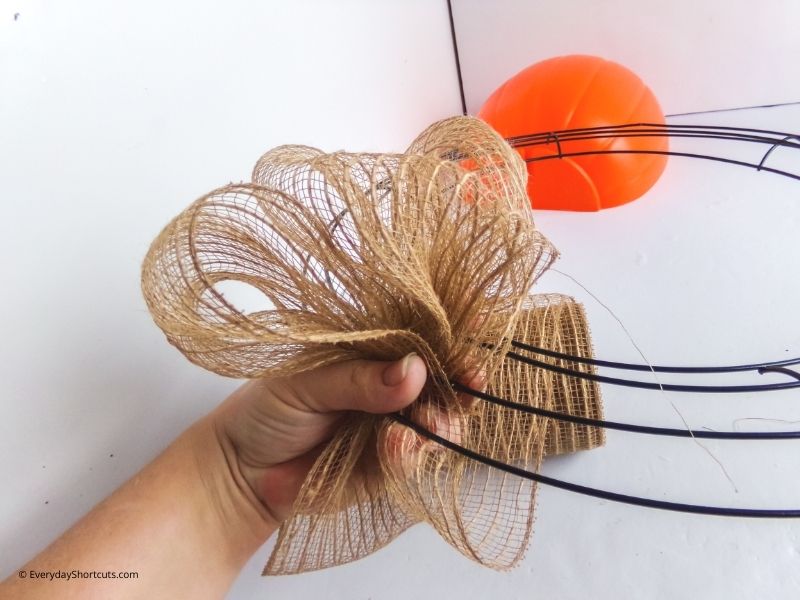
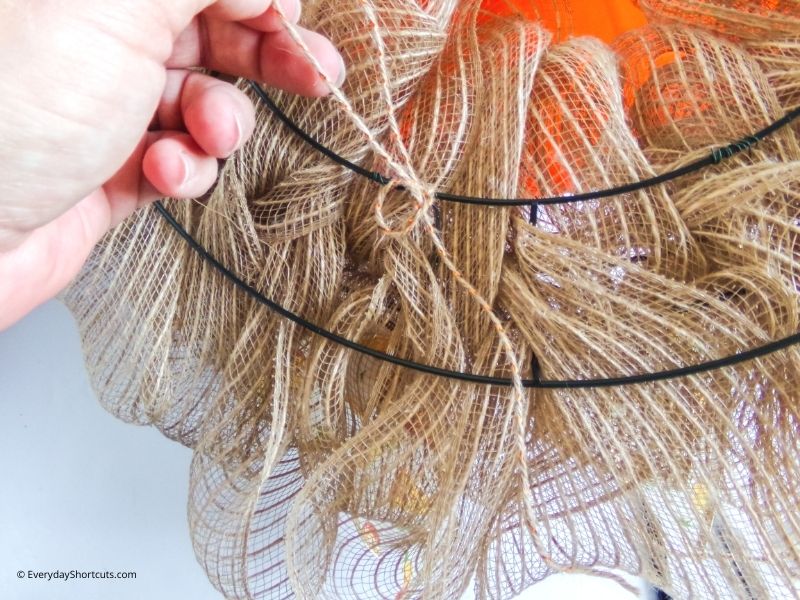
Attach one end of the burlap ribbon to the inside ring by tying it on and adding a bit of hot glue to hold the knot in place. Fold up a loop in the first slot, then pull up a matching sized loop into the second (middle slot), then repeat once more by folding a matching loop and pulling up into the 3rd slot (outside ring).
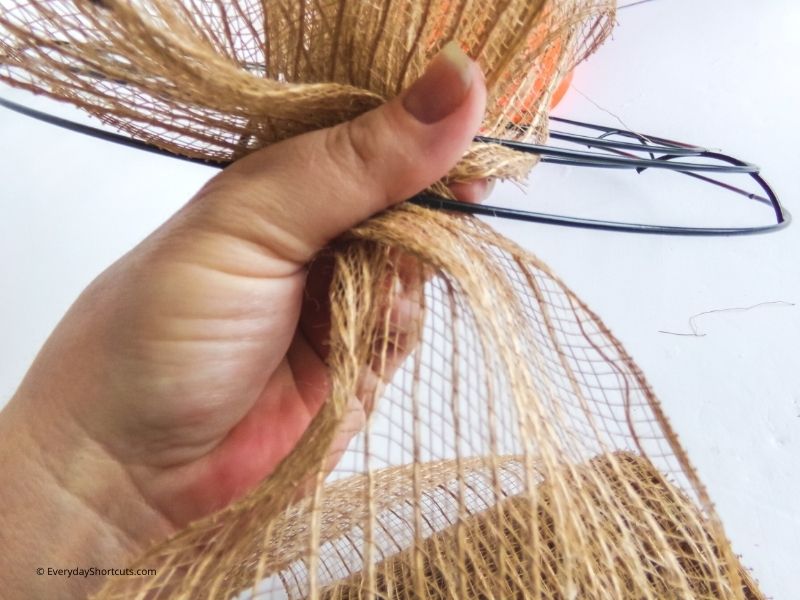
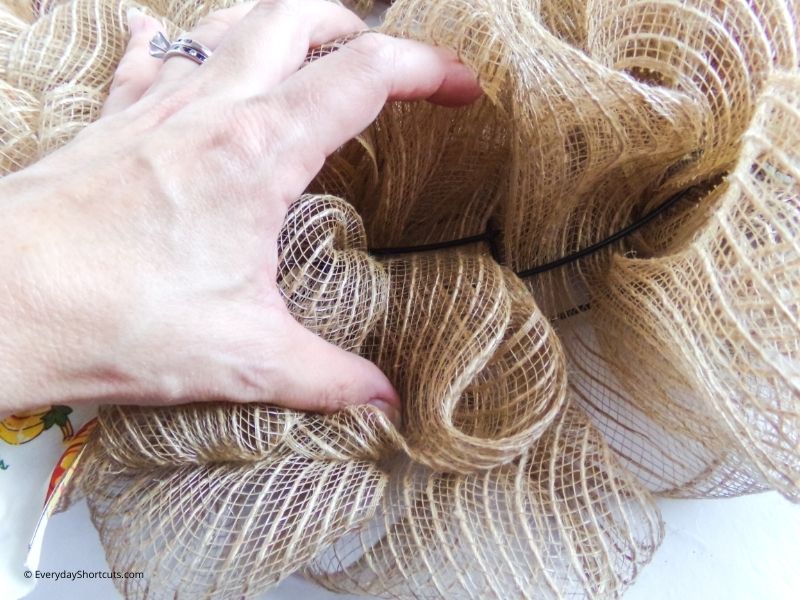
Twist the burlap ribbon a full twist in your hand, then repeat the process starting with the inside ring and pulling up a loop.
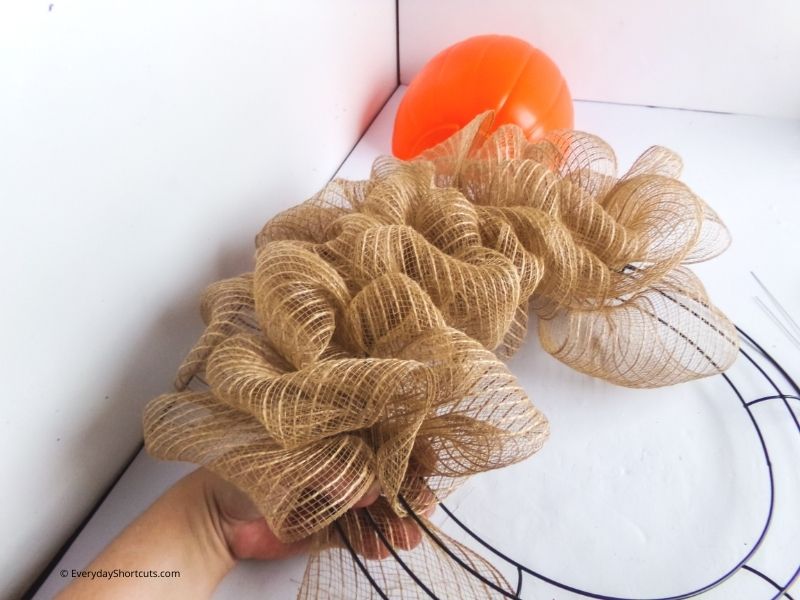
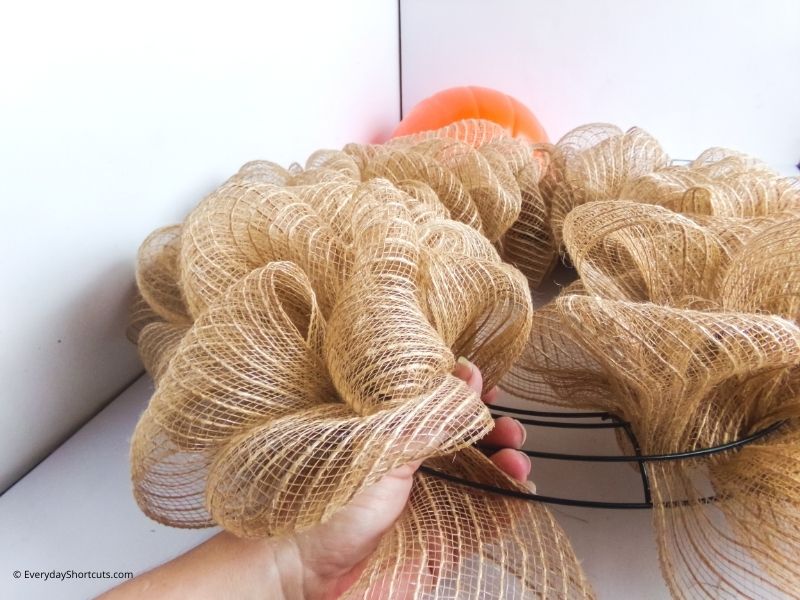
Each section of the wreath should have 5-7 loops pulled up, filling the space. Once you have made it around the wreath, tie off the end and hot glue it in place.
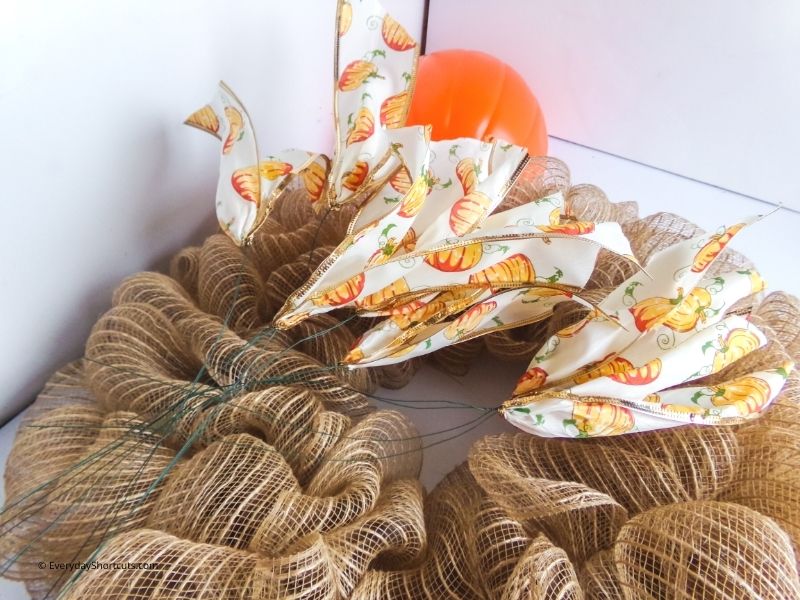

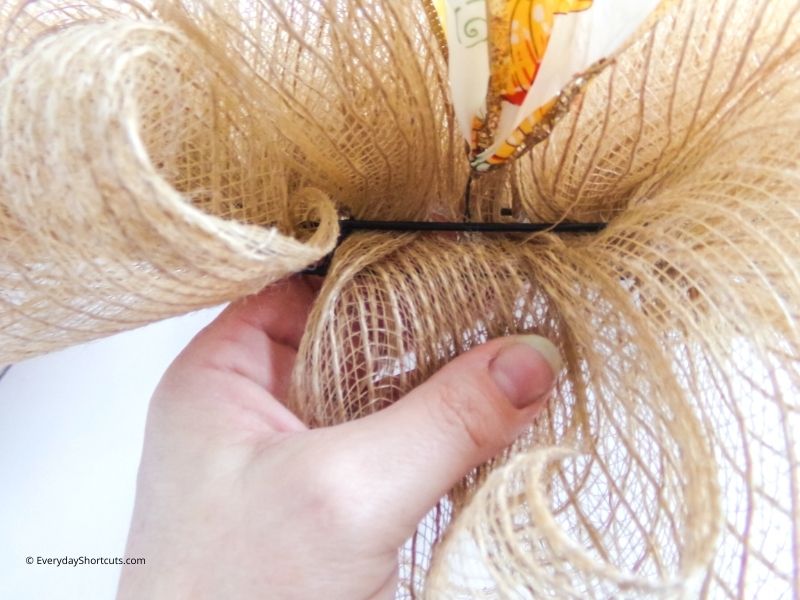
Repeat with the pumpkin ribbon.
When the wreath is all completely filled in with the ribbon, turn it over.
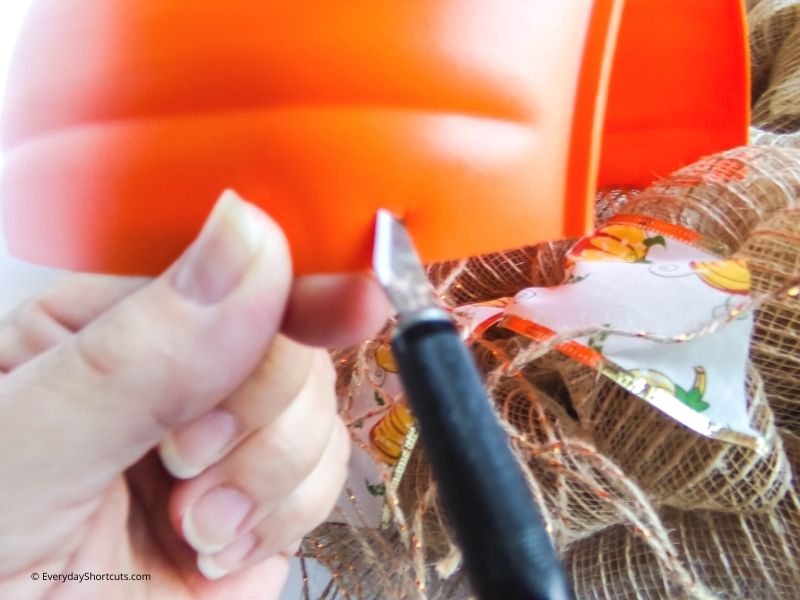
Using the tip of your hot glue gun or the wire cutters, place two holes in the back of the pumpkin bucket half on either side of the top and two holes on either side of the bottom.
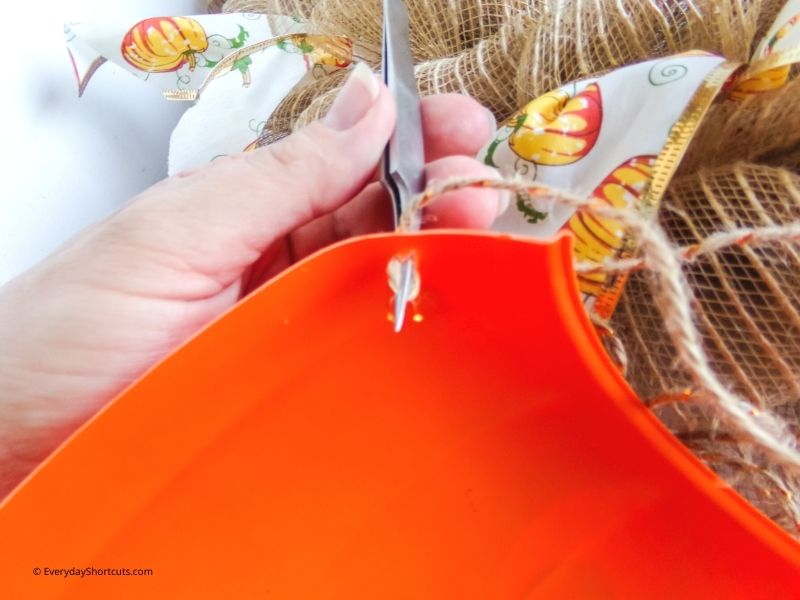
Thread a floral wire through each hole and use these to secure the bottom of the pumpkin to the wire wreath form top/side and bottom/side.
Hot glue the two craft foam ear shapes onto the sides of the pumpkin.
Add a 15-16 inch long length of ribbon to the top of the wreath as a hanger and enjoy!


Leave a Reply