

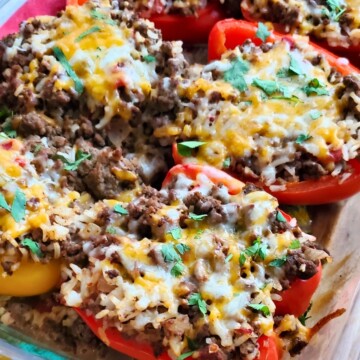
This Stuffed Bell Peppers recipe is an easy and flavorful meal that is perfect for a busy weeknight. The peppers are filled with a delicious mixture of ground beef, rice, and vegetables, and then topped with cheese for a satisfying and hearty dinner.
I love stuffed veggies prepared with my favorite fillings such as Philly cheesesteak peppers, broccoli cheese stuffed chicken and these stuffed bell peppers with ground beef and rice. They are my go-to recipes when I want a hearty and comforting meal and most requested from my family.
Not only are these stuffed peppers easy to make, but you can customize the filling to your liking, making this recipe perfect for picky eaters and those with dietary restrictions.
Some options to customize them are by using ground turkey instead of beef, adding in different vegetables like corn or black beans, or using quinoa instead of rice. You can also top them with different types of cheese or even a homemade sauce for added flavor. The options are endless!
Give this recipe a try and enjoy the comfort of every bite!
Stuffed Bell Peppers Ingredients
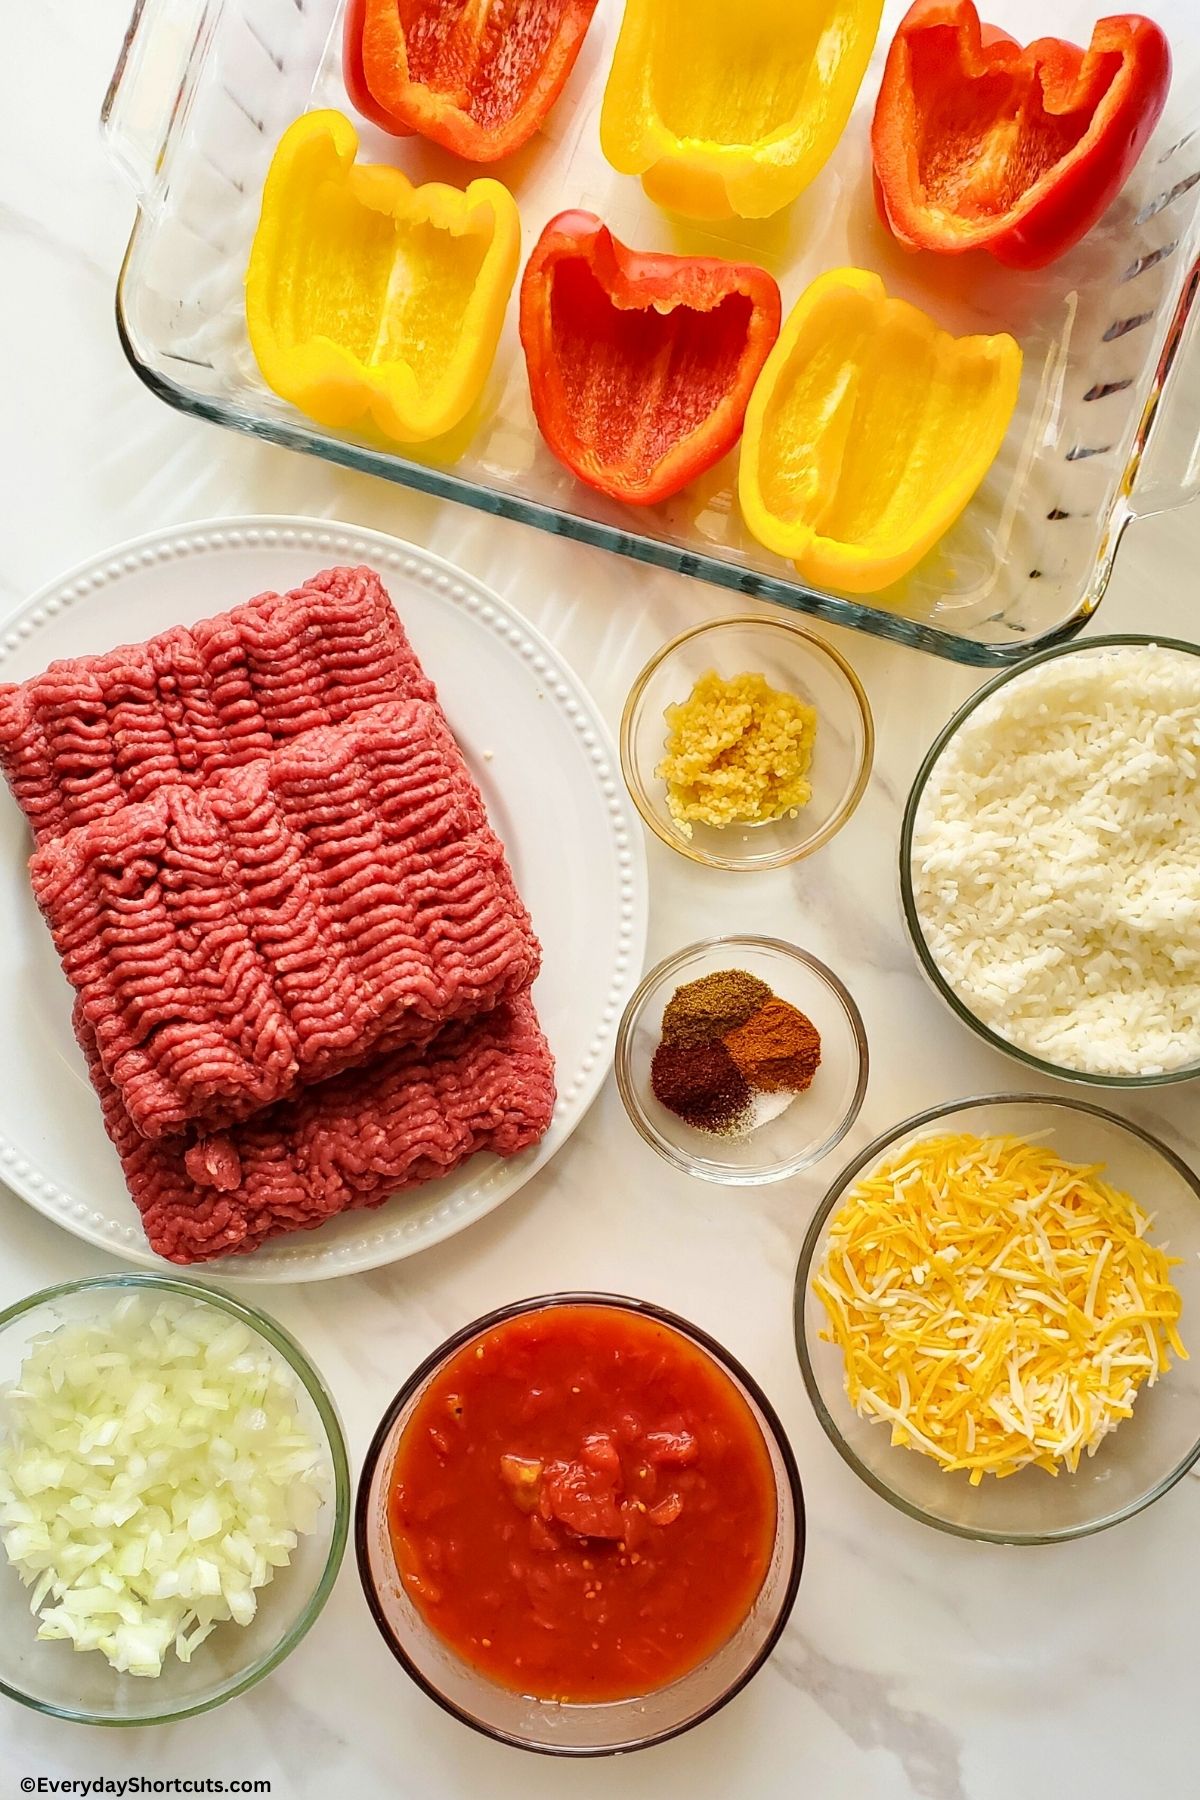
- Bell peppers (any color)
- Lean ground beef
- Cooked rice
- Rotel tomatoes (diced tomatoes and green chilies)
- Onion, finely chopped
- Garlic, minced
- Chili powder
- Cumin
- Paprika
- Salt and pepper to taste
- Shredded cheese (cheddar, Monterey Jack, or your choice)
- Fresh cilantro or parsley for garnish (optional)
Recipe Variations
- Use any kind of meat you’d like such as ground beef, ground turkey or pork.
- For a meat-free option, stuff your bell peppers with a mixture of cooked quinoa, black beans, corn, diced tomatoes, and spices like cumin and chili powder. Top it off with some shredded cheese before baking for a delicious vegetarian meal.
- Add some heat by adding diced jalapenos into the mixture or topping with hot sauce.
- Put an Italian spin on your stuffed bell peppers by using a filling with Italian sausage, diced tomatoes (preferably fire-roasted), rice and grated Parmesan cheese.
How to Make Stuffed Bell Peppers
Preheat oven to 375 degrees F.
Cut off the tops of the bell peppers. Slice in half and remove the seeds and membranes from the inside. Rinse the peppers with cold water and set them aside.
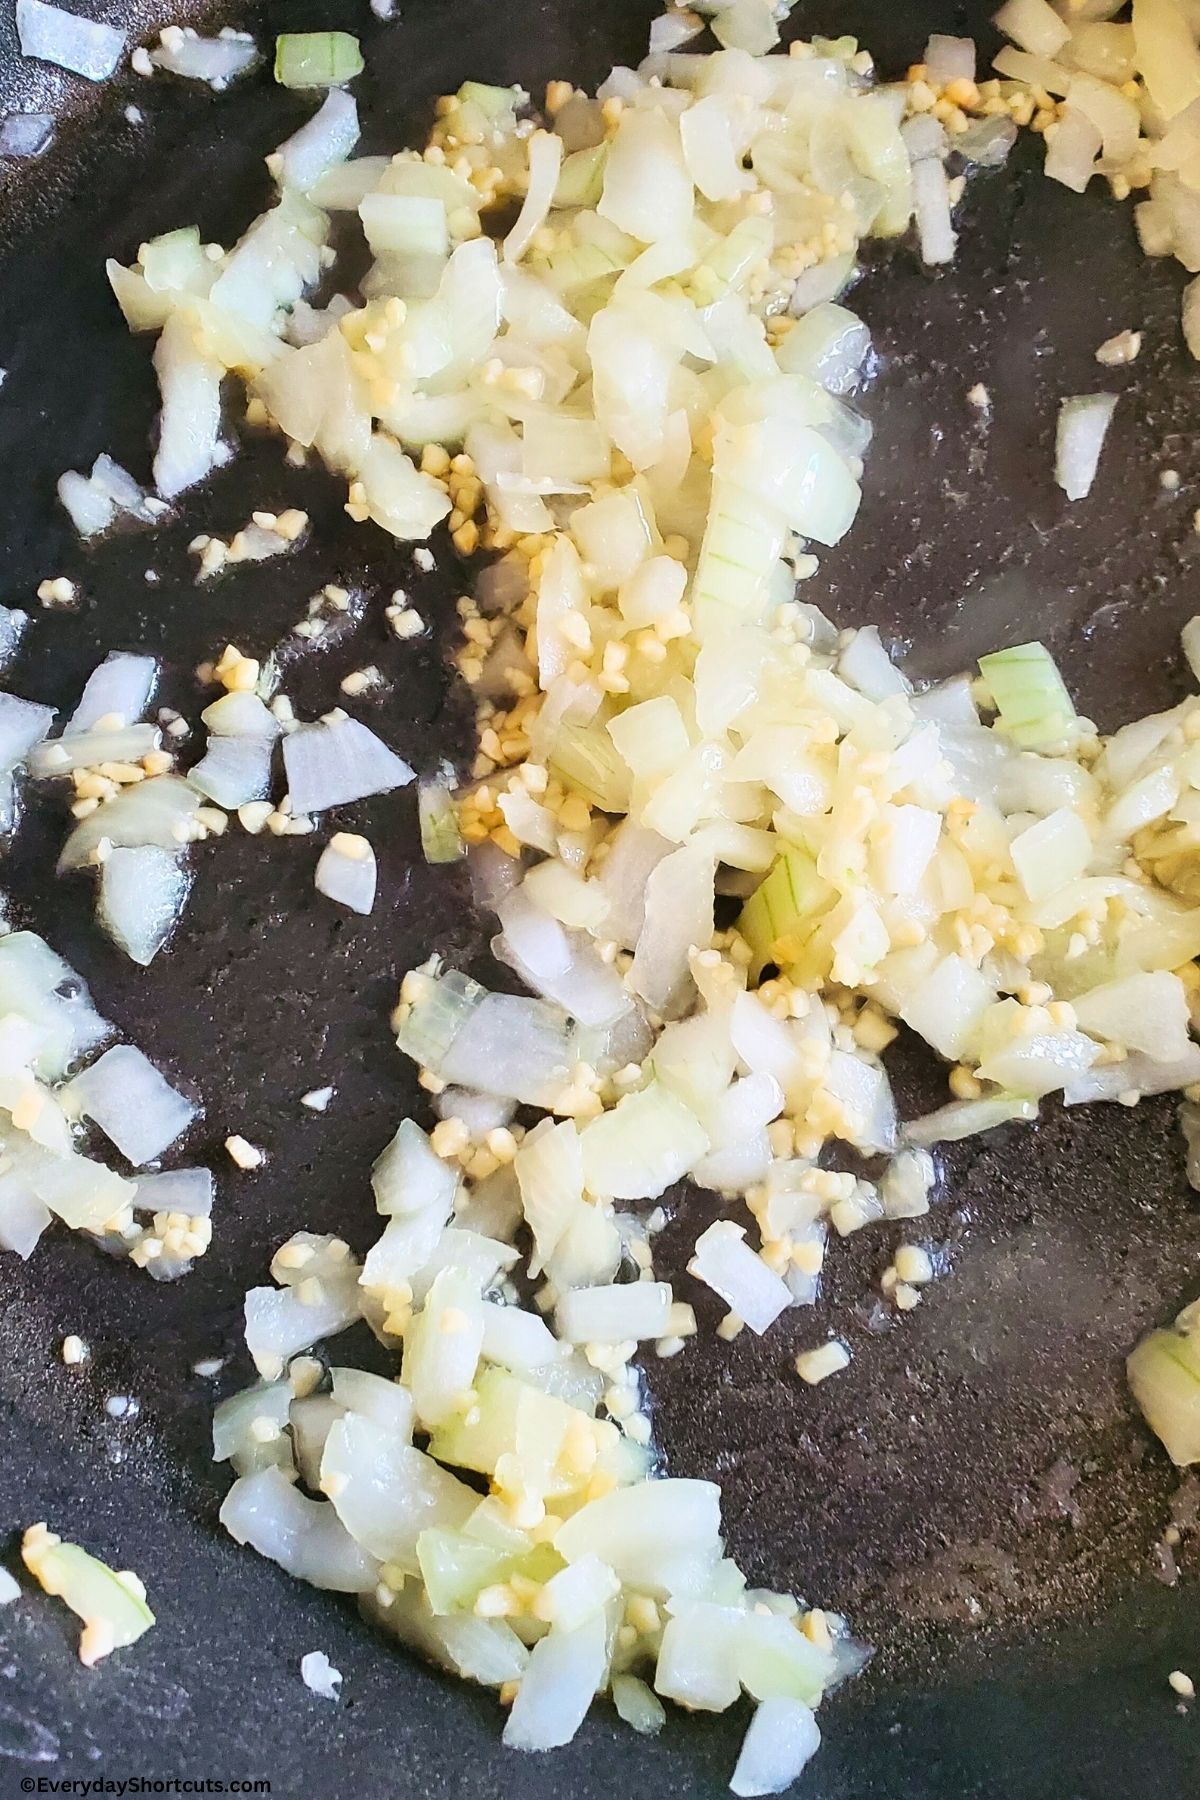
In a large skillet, heat some olive oil over medium heat. Add the chopped onion and minced garlic, and sauté until they become translucent and fragrant.
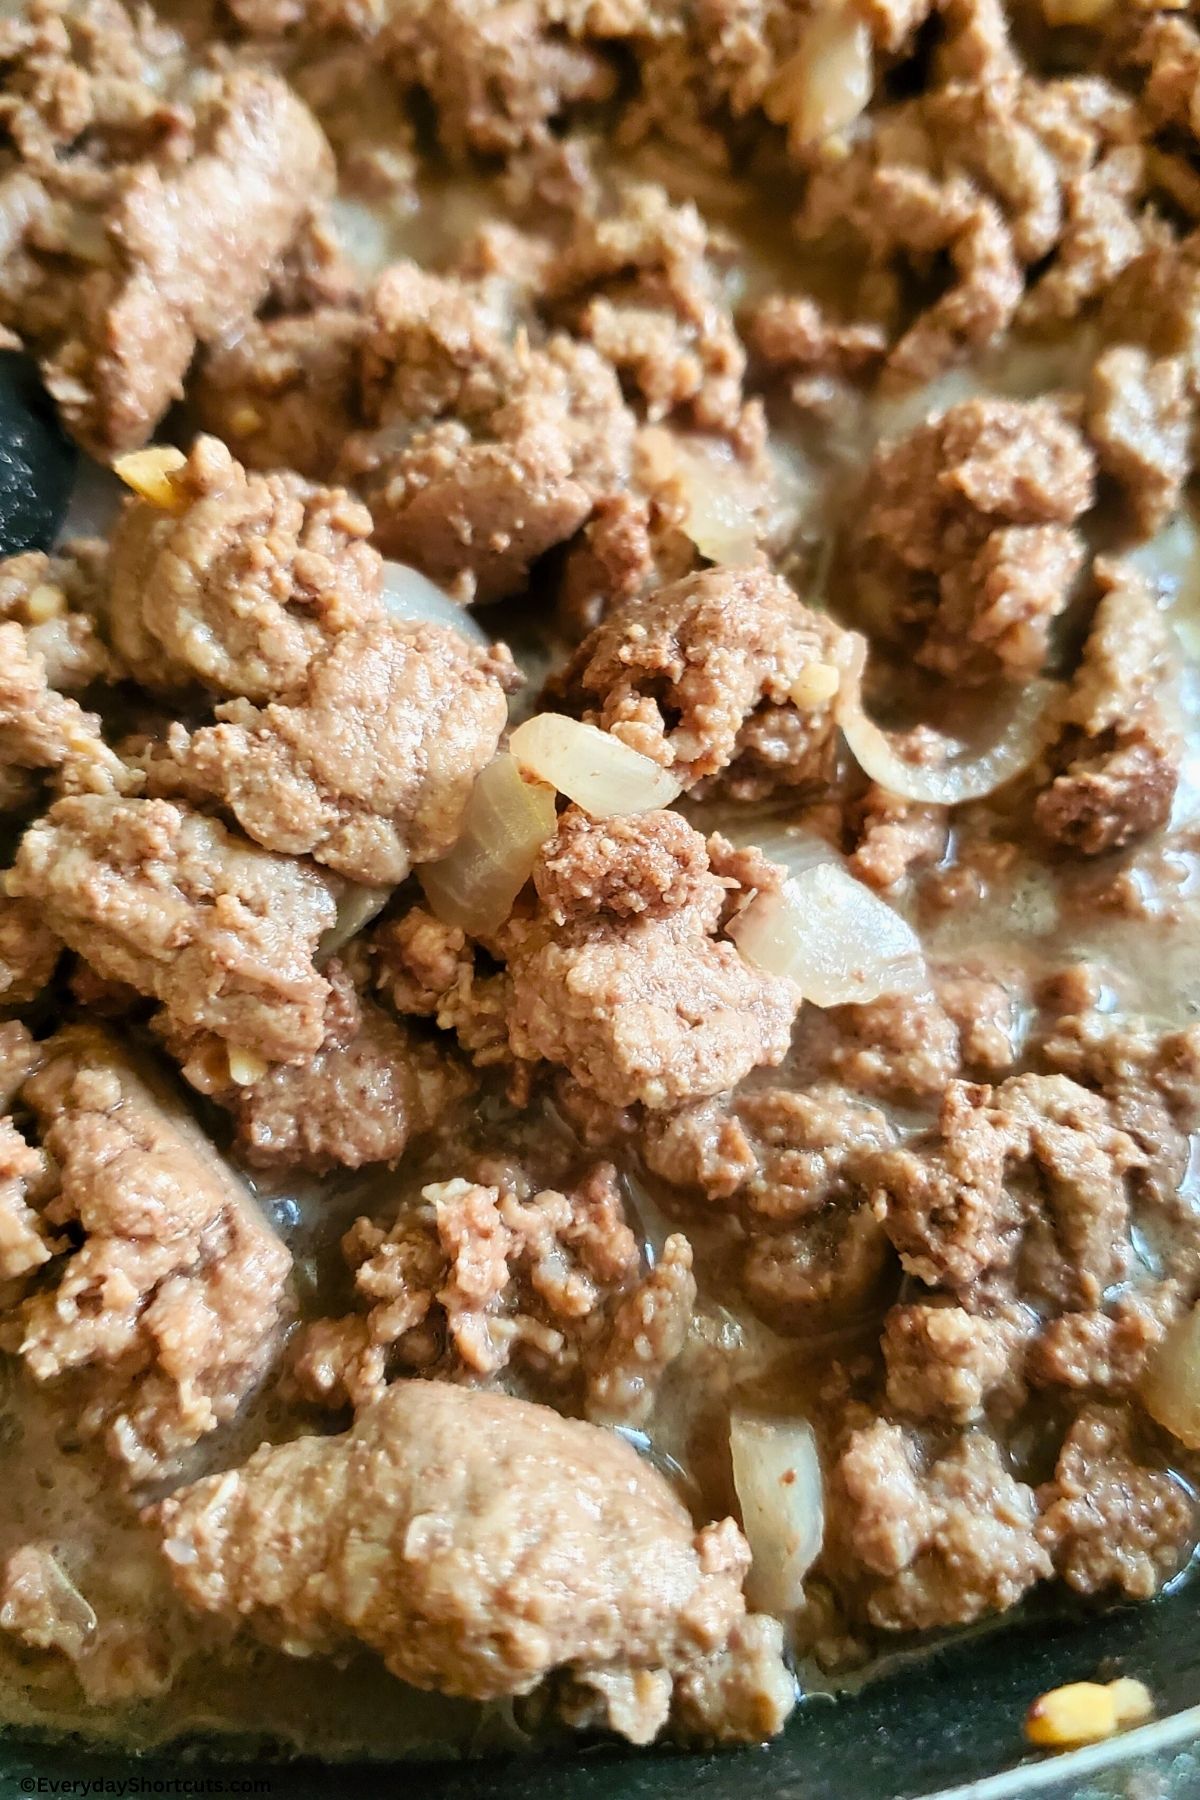
Add the ground beef to the skillet and cook until browned, breaking it up with a spoon as it cooks. Drain any excess grease from the skillet.
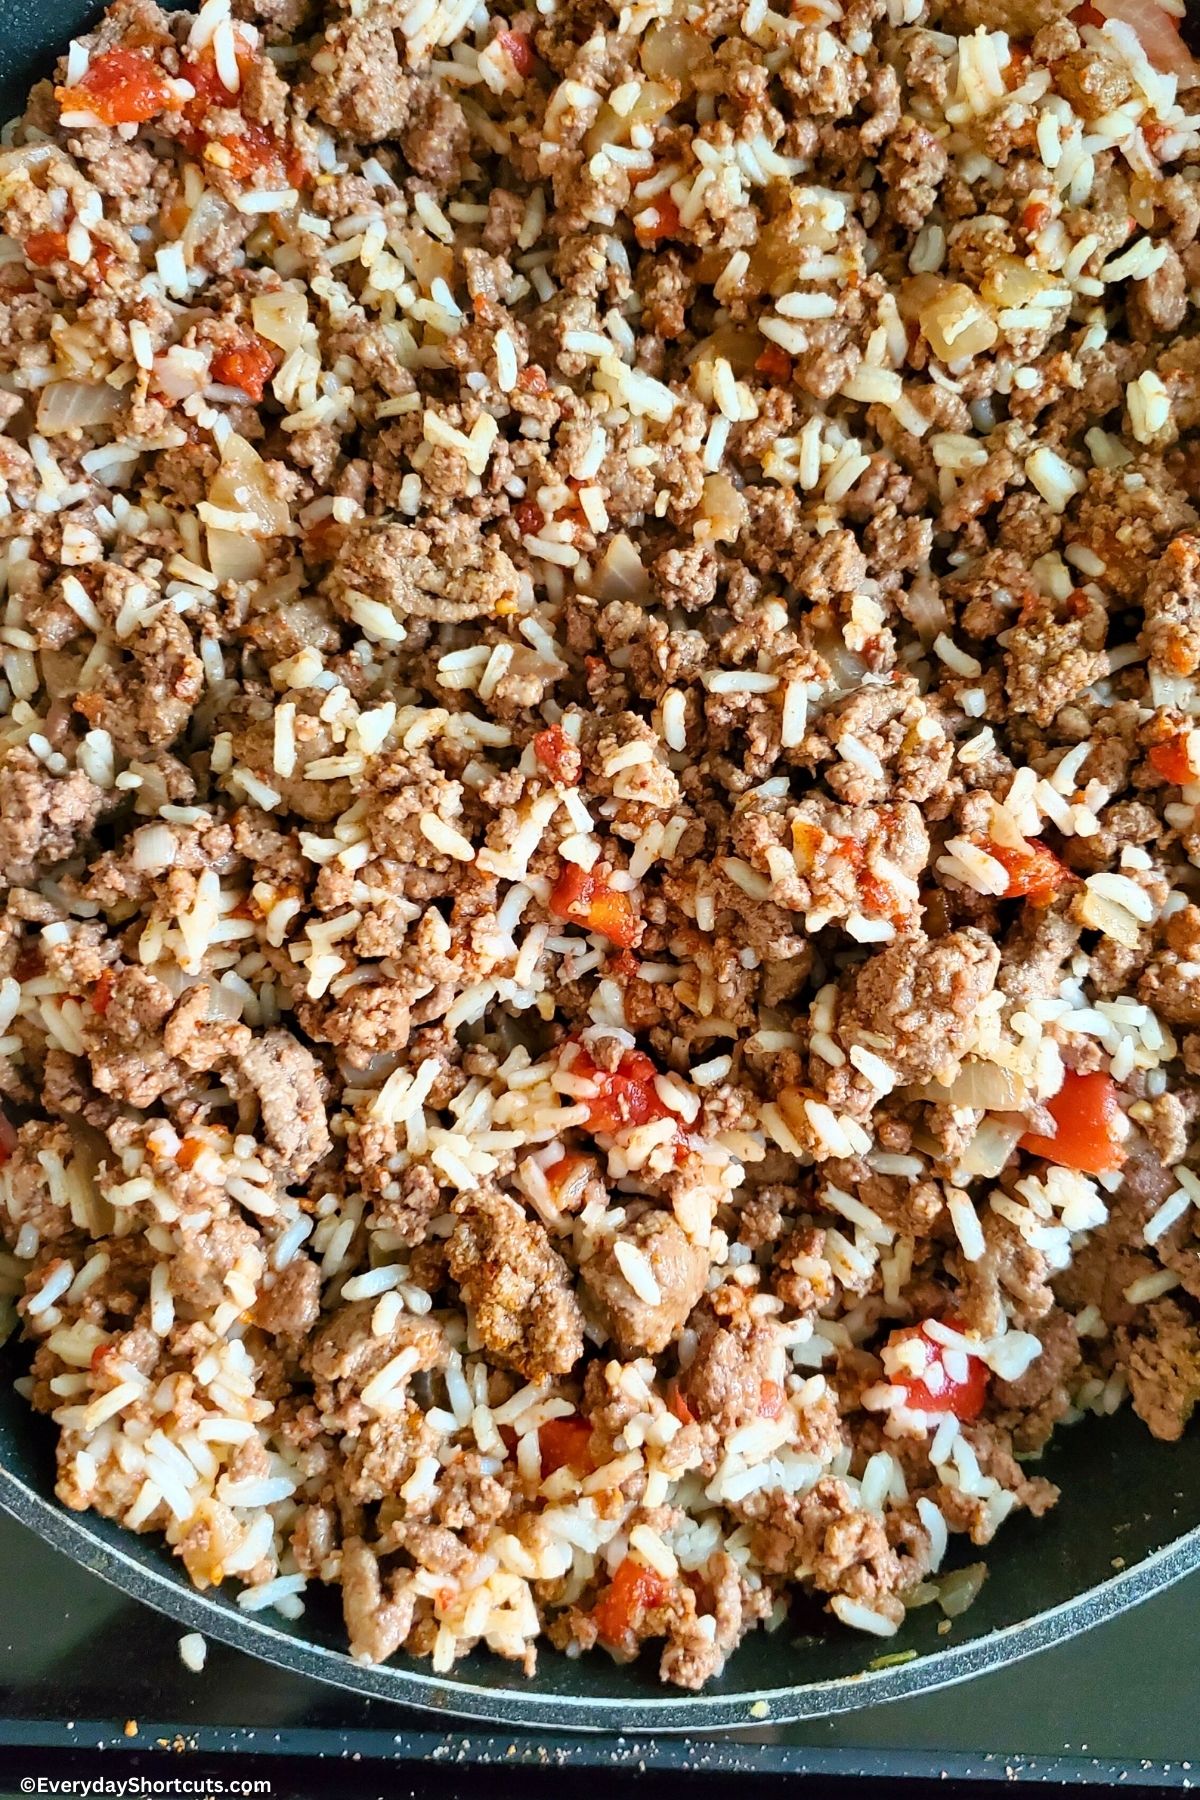
Stir in the cooked rice, Rotel tomatoes (undrained), chili powder, cumin, paprika, salt, and pepper. Cook for an additional 2-3 minutes to allow the flavors to meld together. Remove the skillet from heat.
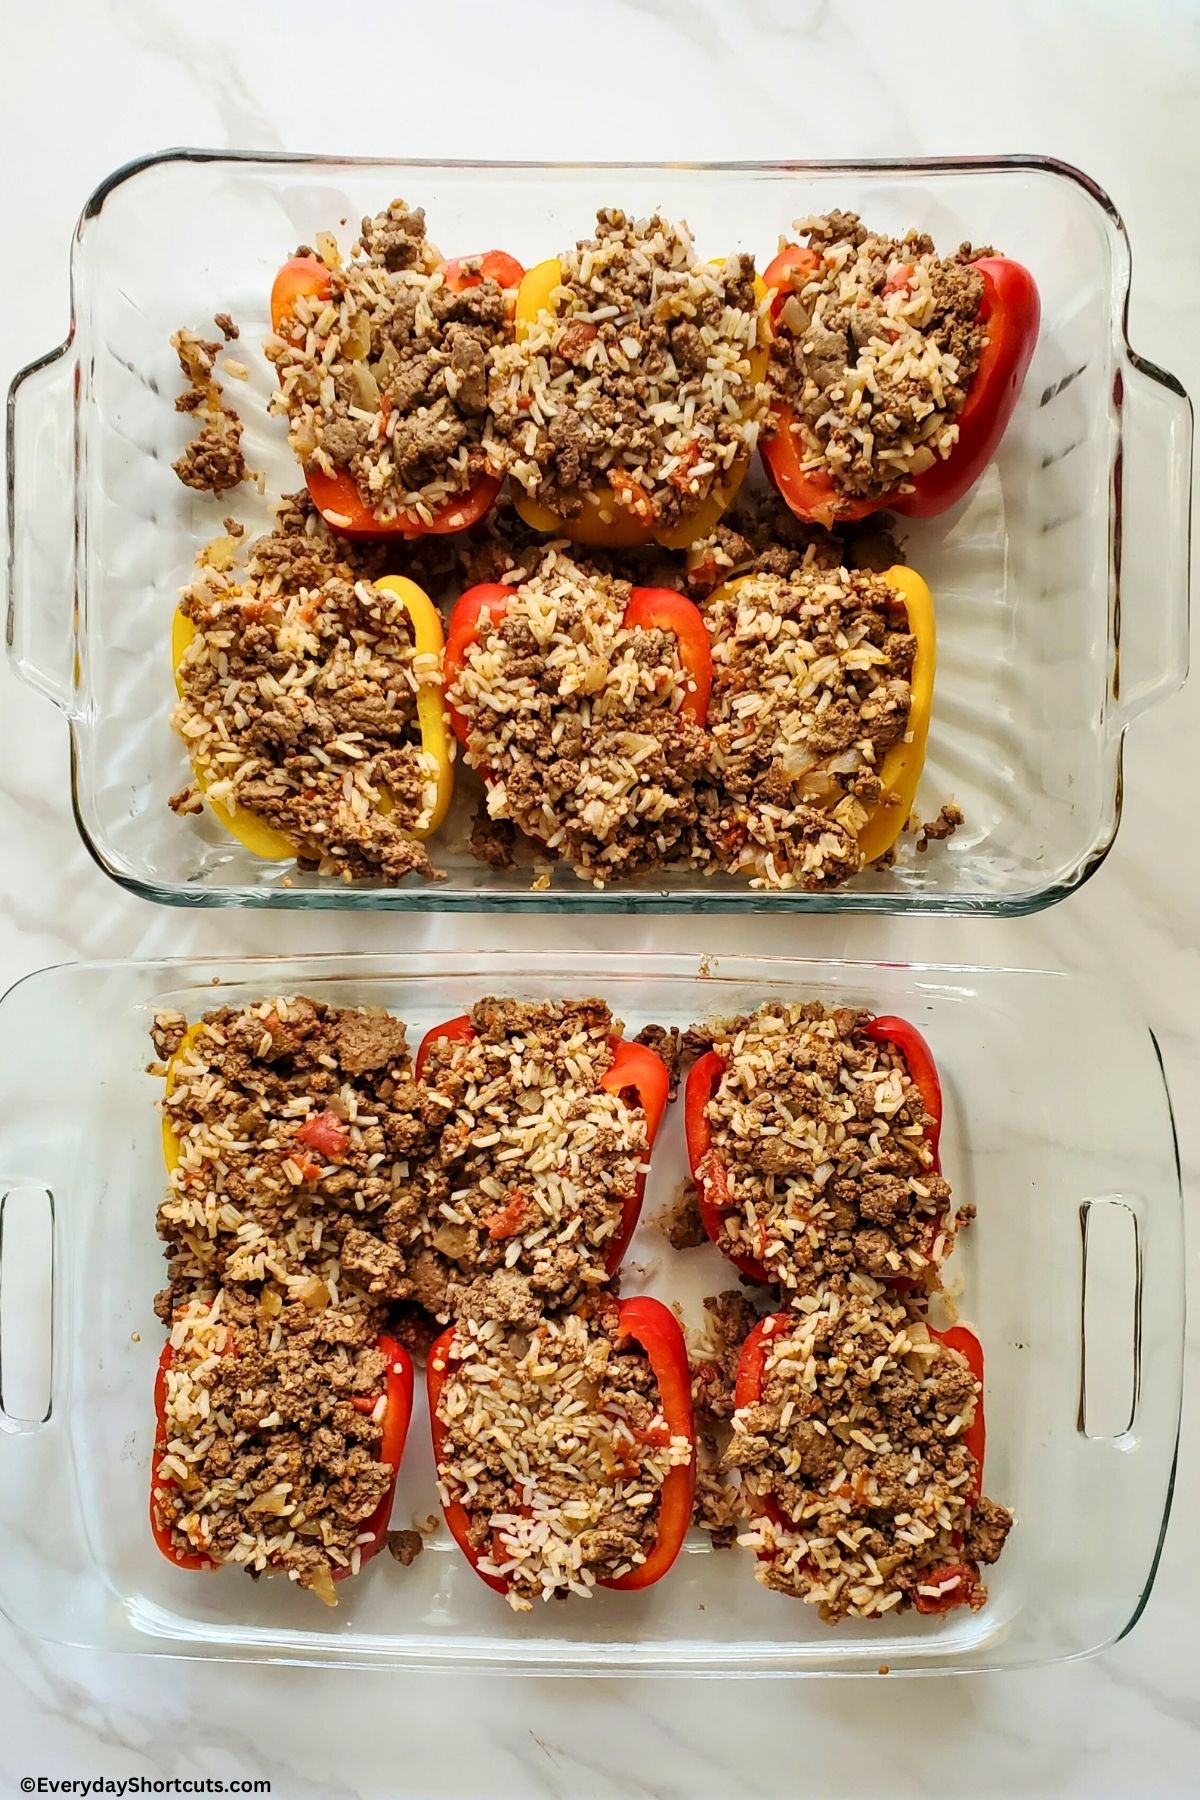
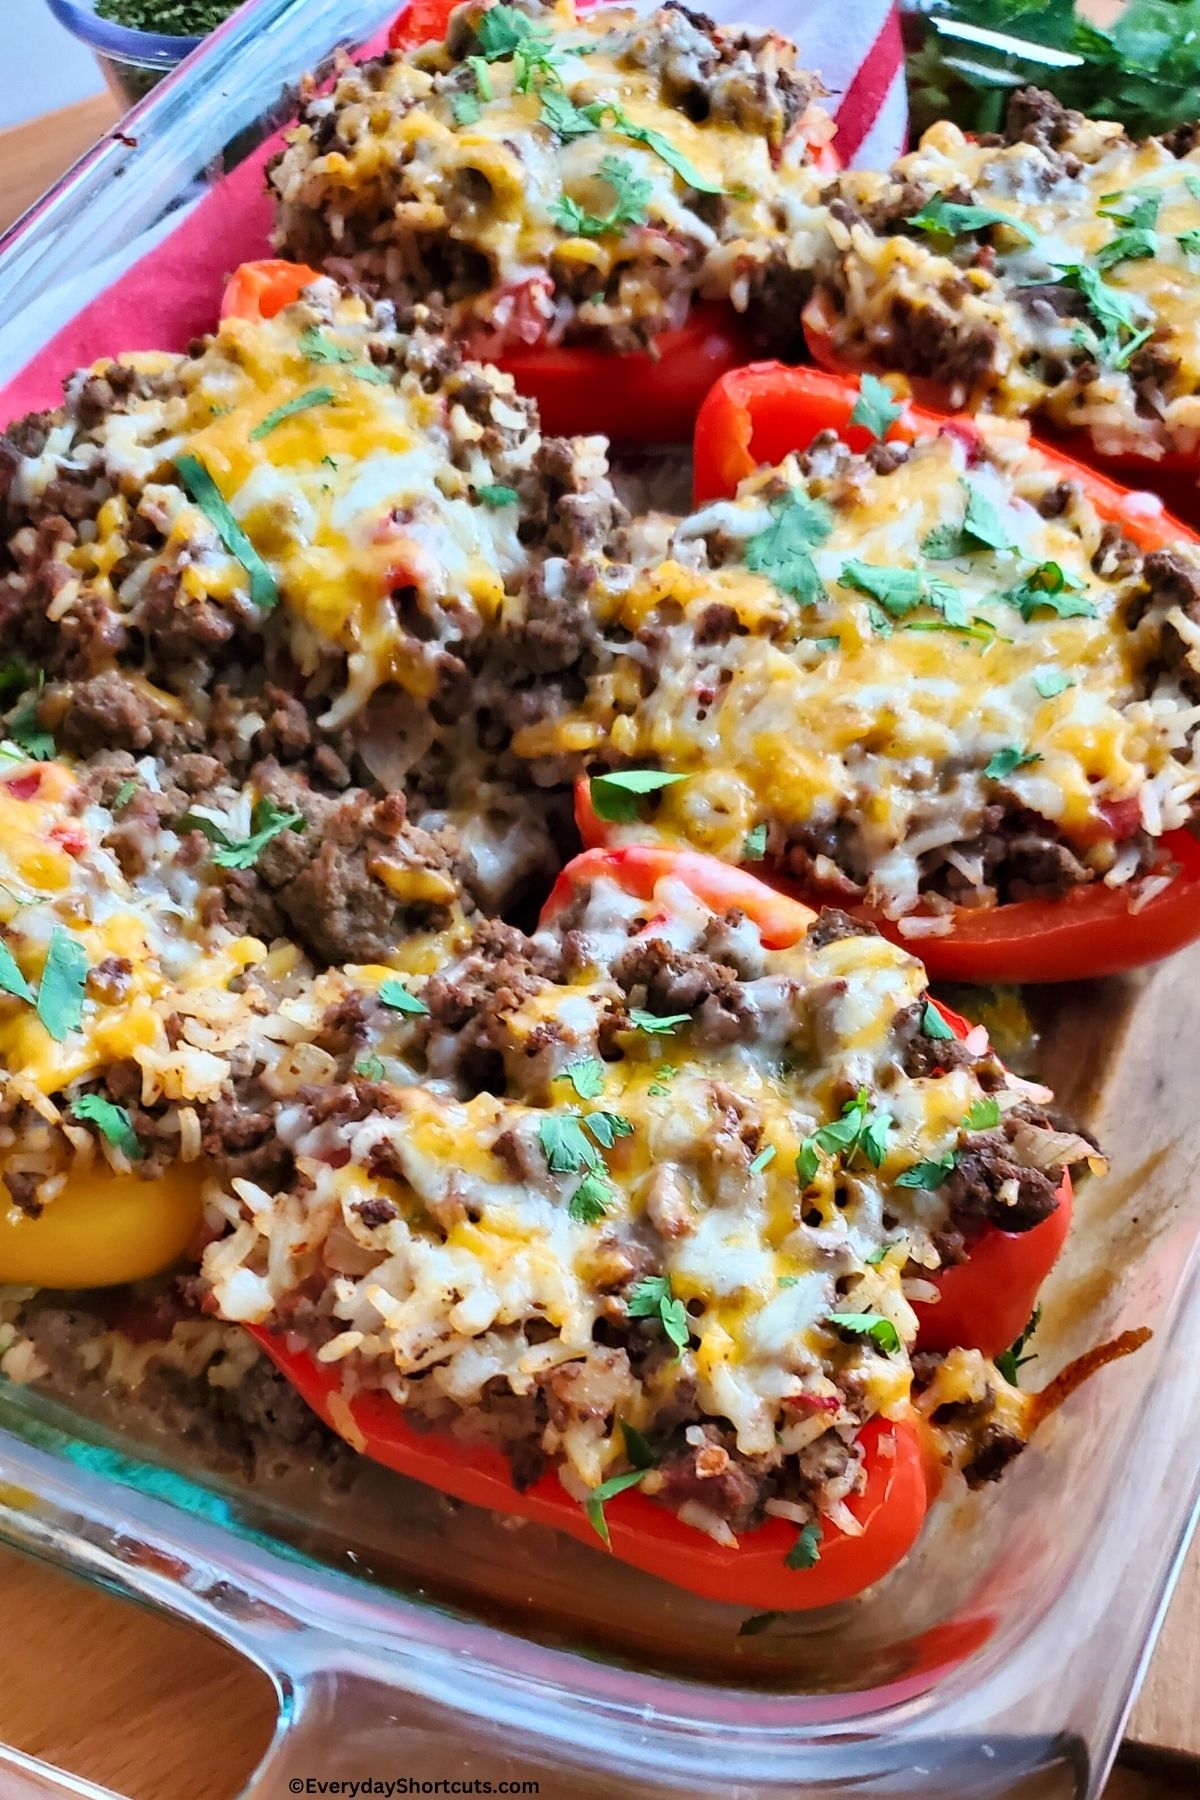
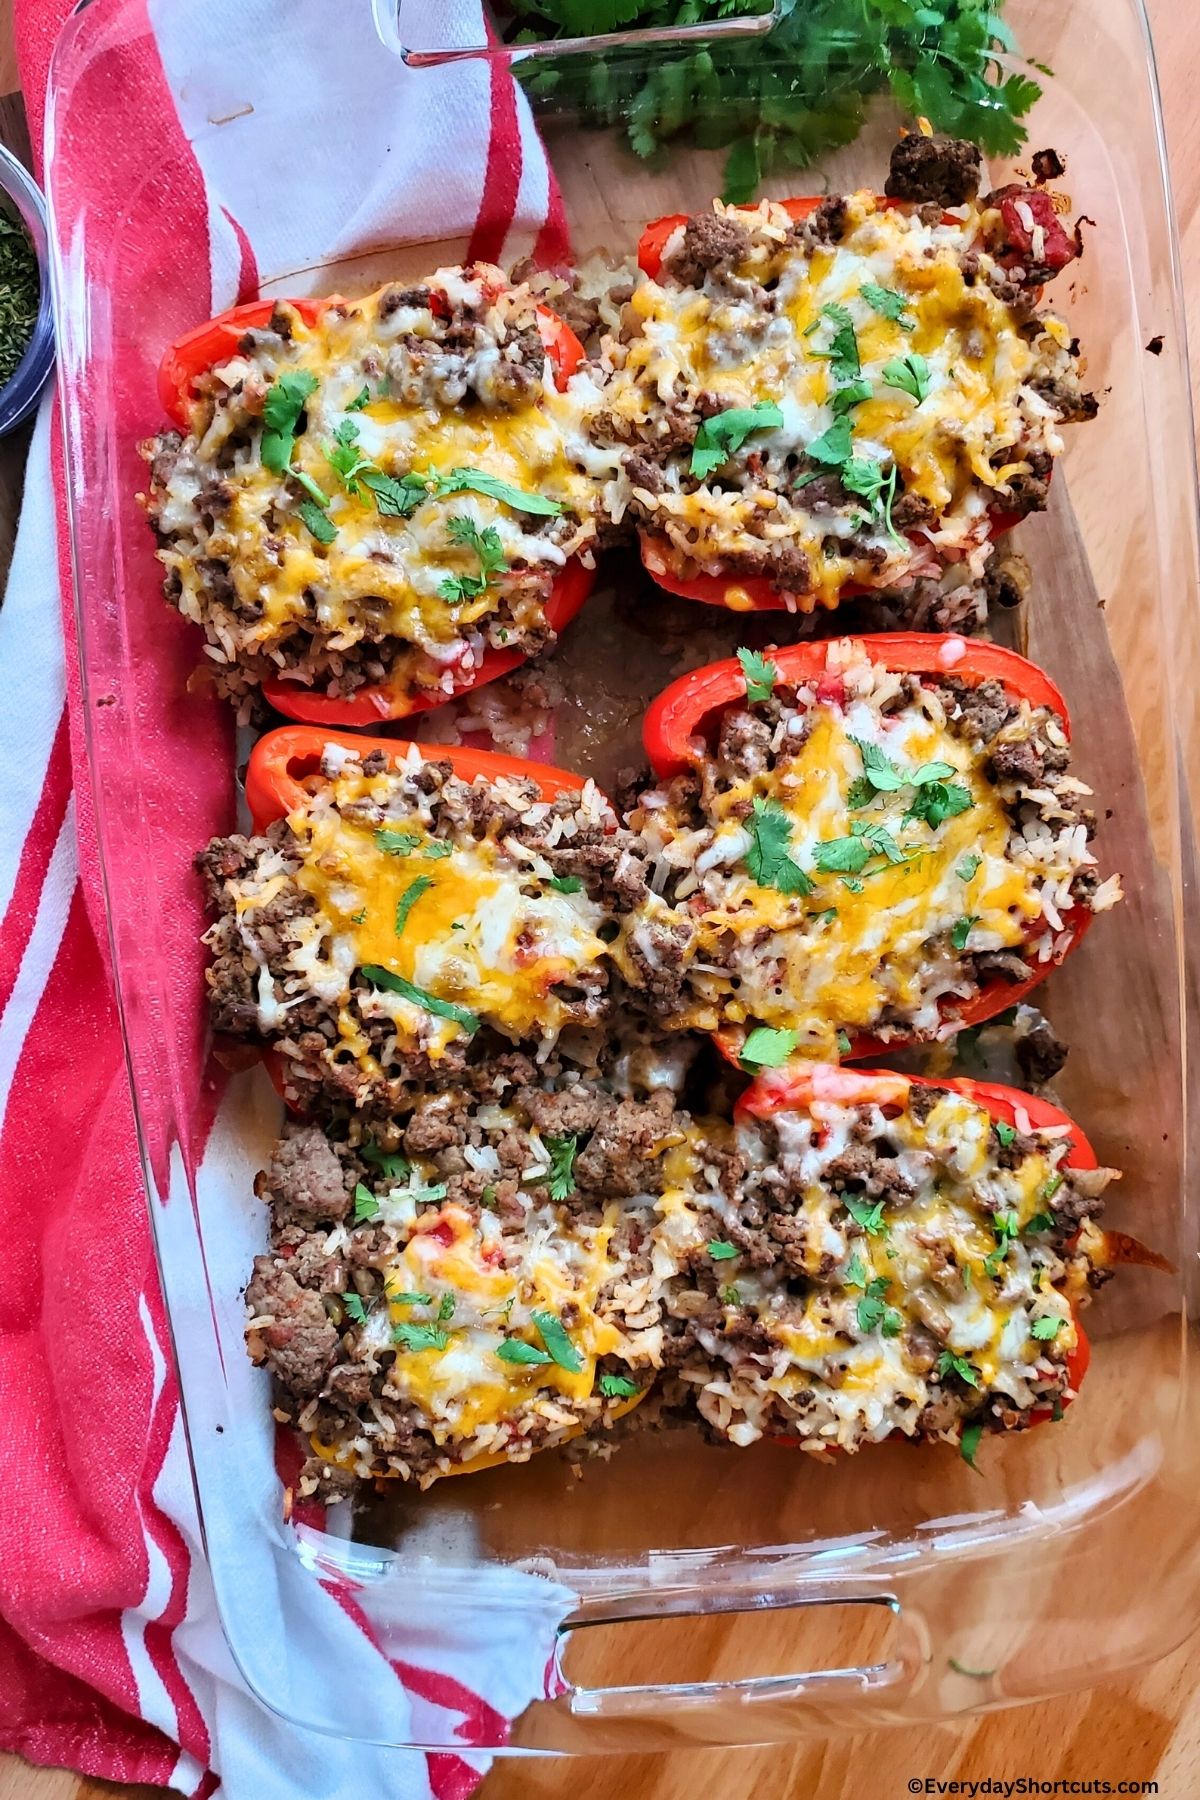
Place the bell peppers in a baking dish. Fill each pepper with the ground beef and rice mixture, pressing it down gently. The filling should come up to the top of each pepper.
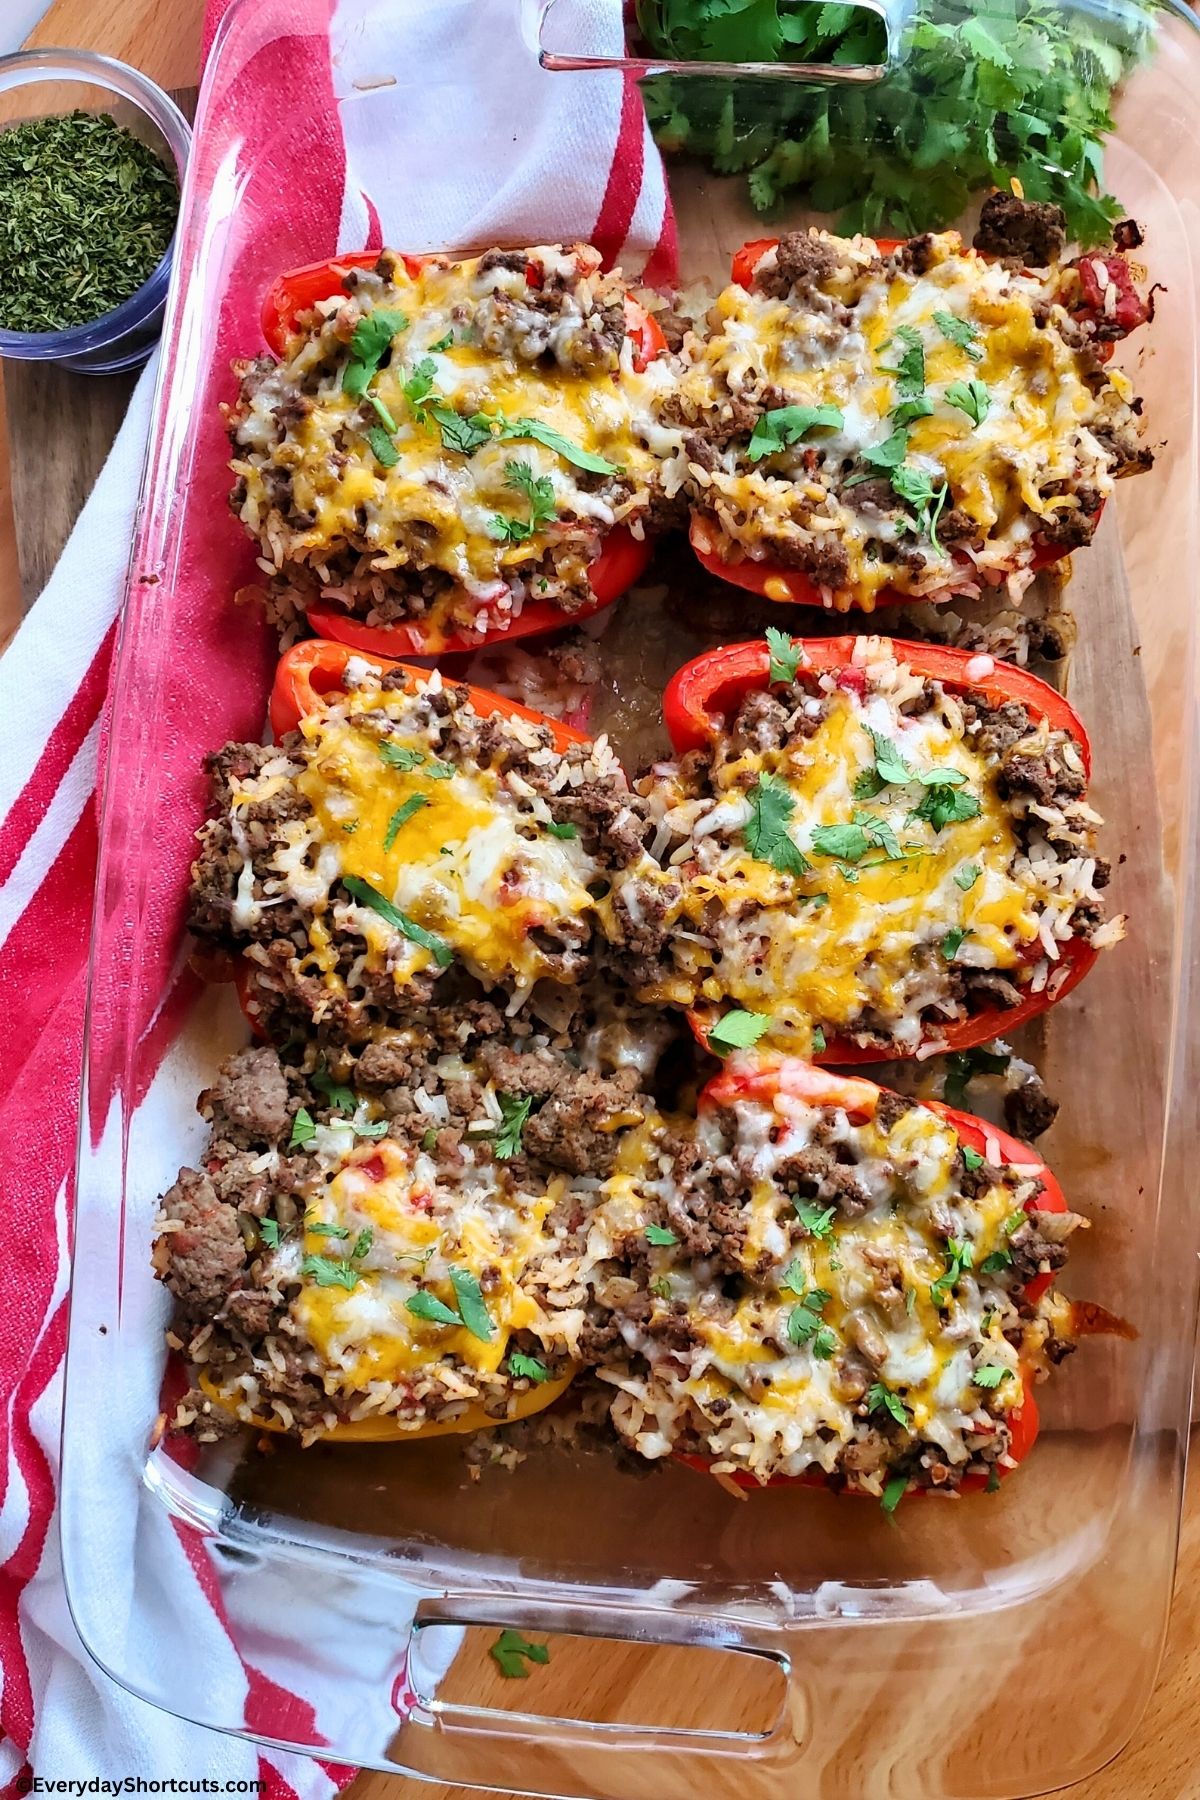
Sprinkle shredded cheese on top of each stuffed pepper, covering the filling completely.
Add a little bit of water to cover the bottom of the pan slightly. Careful to not get inside the stuffed peppers.
Cover the baking dish with foil and bake for about 30 minutes. Then, remove the foil and continue baking for an additional 10-15 minutes or until the peppers are tender and the cheese is golden and bubbly.
Recipe Tips
- Try to find the same size bell peppers so they cook evenly.
- Any color bell pepper will work for this recipe; green, red, yellow or orange.
- Precook the filling before stuffing them.
- Customize the fillings to your liking or dietary restrictions.
What Goes with Stuffed Bell Peppers
These stuffed peppers are pretty fulfilling on their own, you could also pair it with a few side dishes such as a fresh green salad, crusty bread, roasted potatoes or veggies.
How to Store
Stuffed bell peppers make fantastic leftovers that can be easily stored in an airtight container in the refrigerator for up to three days – just reheat when ready to eat!
FAQs
Yes, you can make these ahead of time and store in the fridge or make the filling ahead of time and bake when ready to serve.
Definitely! If you want to make a big batch or have leftovers that won’t be eaten within a few days, freezing is a great option. Just wrap each individual pepper tightly with plastic wrap and aluminum foil before placing them in freezer bags. They will keep well for up to 3 months.
Recipe
Stuffed Bell Peppers
Ingredients
- 6 large bell peppers any color
- 1 pound lean ground beef
- 1 cup cooked rice
- 1 can Rotel tomatoes diced tomatoes and green chilies
- 1 small onion finely chopped
- 2 cloves garlic minced
- 1 teaspoon chili powder
- ½ teaspoon cumin
- ½ teaspoon paprika
- Salt and pepper to taste
- 1 cup shredded cheese cheddar, Monterey Jack, or your choice
- Fresh cilantro or parsley for garnish optional
Instructions
- Preheat oven to 375 degrees F.
- Cut off the tops of the bell peppers. Slice in half and remove the seeds and membranes from the inside. Rinse the peppers with cold water and set them aside.
- In a large skillet, heat some olive oil over medium heat. Add the chopped onion and minced garlic, and sauté until they become translucent and fragrant.
- Add the ground beef to the skillet and cook until browned, breaking it up with a spoon as it cooks. Drain any excess grease from the skillet.
- Stir in the cooked rice, Rotel tomatoes (undrained), chili powder, cumin, paprika, salt, and pepper. Cook for an additional 2-3 minutes to allow the flavors to meld together. Remove the skillet from heat.
- Place the bell peppers in a baking dish. Fill each pepper with the ground beef and rice mixture, pressing it down gently. The filling should come up to the top of each pepper.
- Sprinkle shredded cheese on top of each stuffed pepper, covering the filling completely.
- Add a little bit of water to cover the bottom of the pan slightly. Careful to not get inside the stuffed peppers.
- Cover the baking dish with foil and bake for about 30 minutes. Then, remove the foil and continue baking for an additional 10-15 minutes or until the peppers are tender and the cheese is golden and bubbly.
Notes
Nutrition Disclosure
Nutritional facts are estimates and are provided as a courtesy to the reader. Please utilize your own brand nutritional values to double check against our estimates. Nutritional values are calculated via a third party. Changing ingredients, amounts or cooking technique will alter the estimated nutritional calculations.


Leave a Reply