

Learn how to make Halloween Tombstones to display in your yard with this easy step by step tutorial.
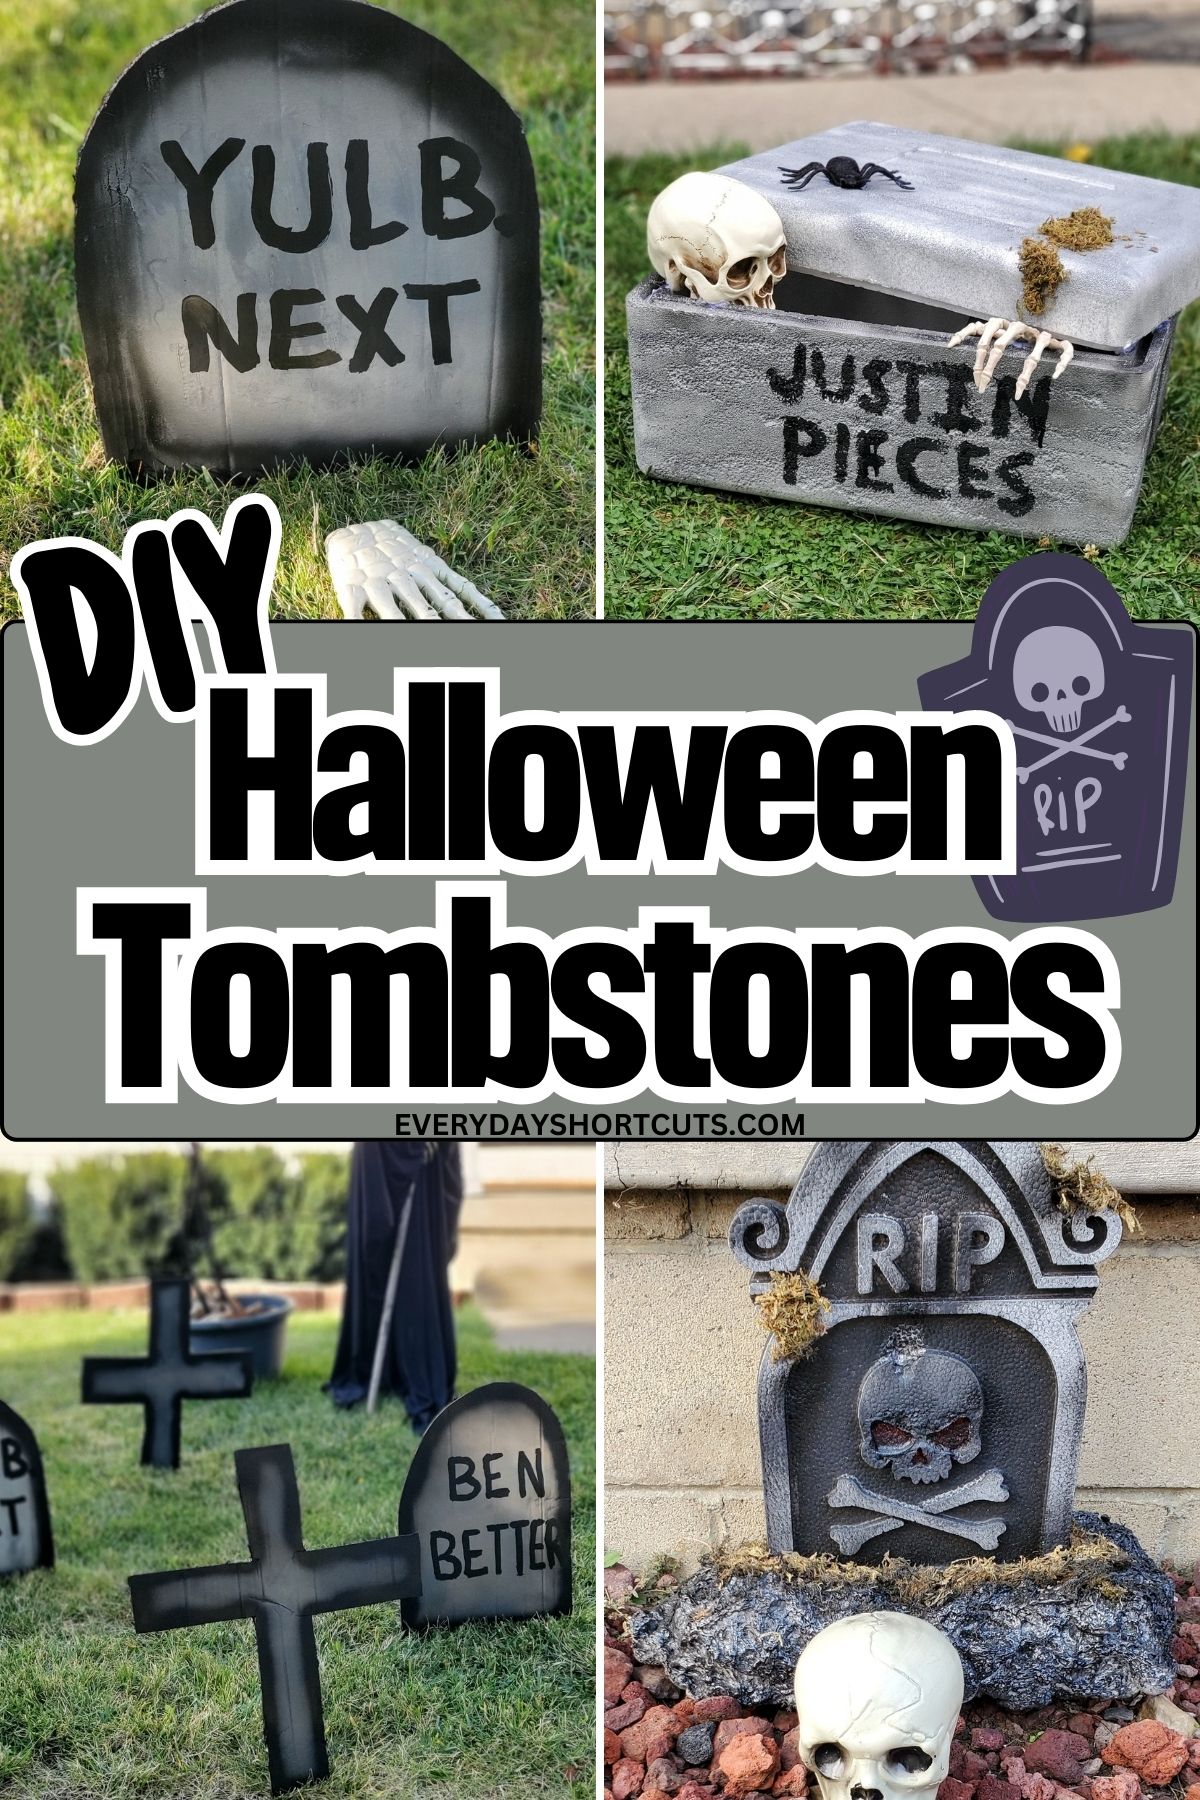
Halloween is just around the corner, and what better way to set a spine-chilling scene than with your very own DIY tombstones? These creepy creations not only add an eerie atmosphere to your Halloween decor but also provide a canvas for some hilariously spooky sayings and names.
Making DIY Halloween tombstones for your spooky graveyard is easier than you think. With few simple supplies you can make tombstones for Halloween out of cardboard, styrofoam coolers, or even spruce up premade ones from the dollar store.
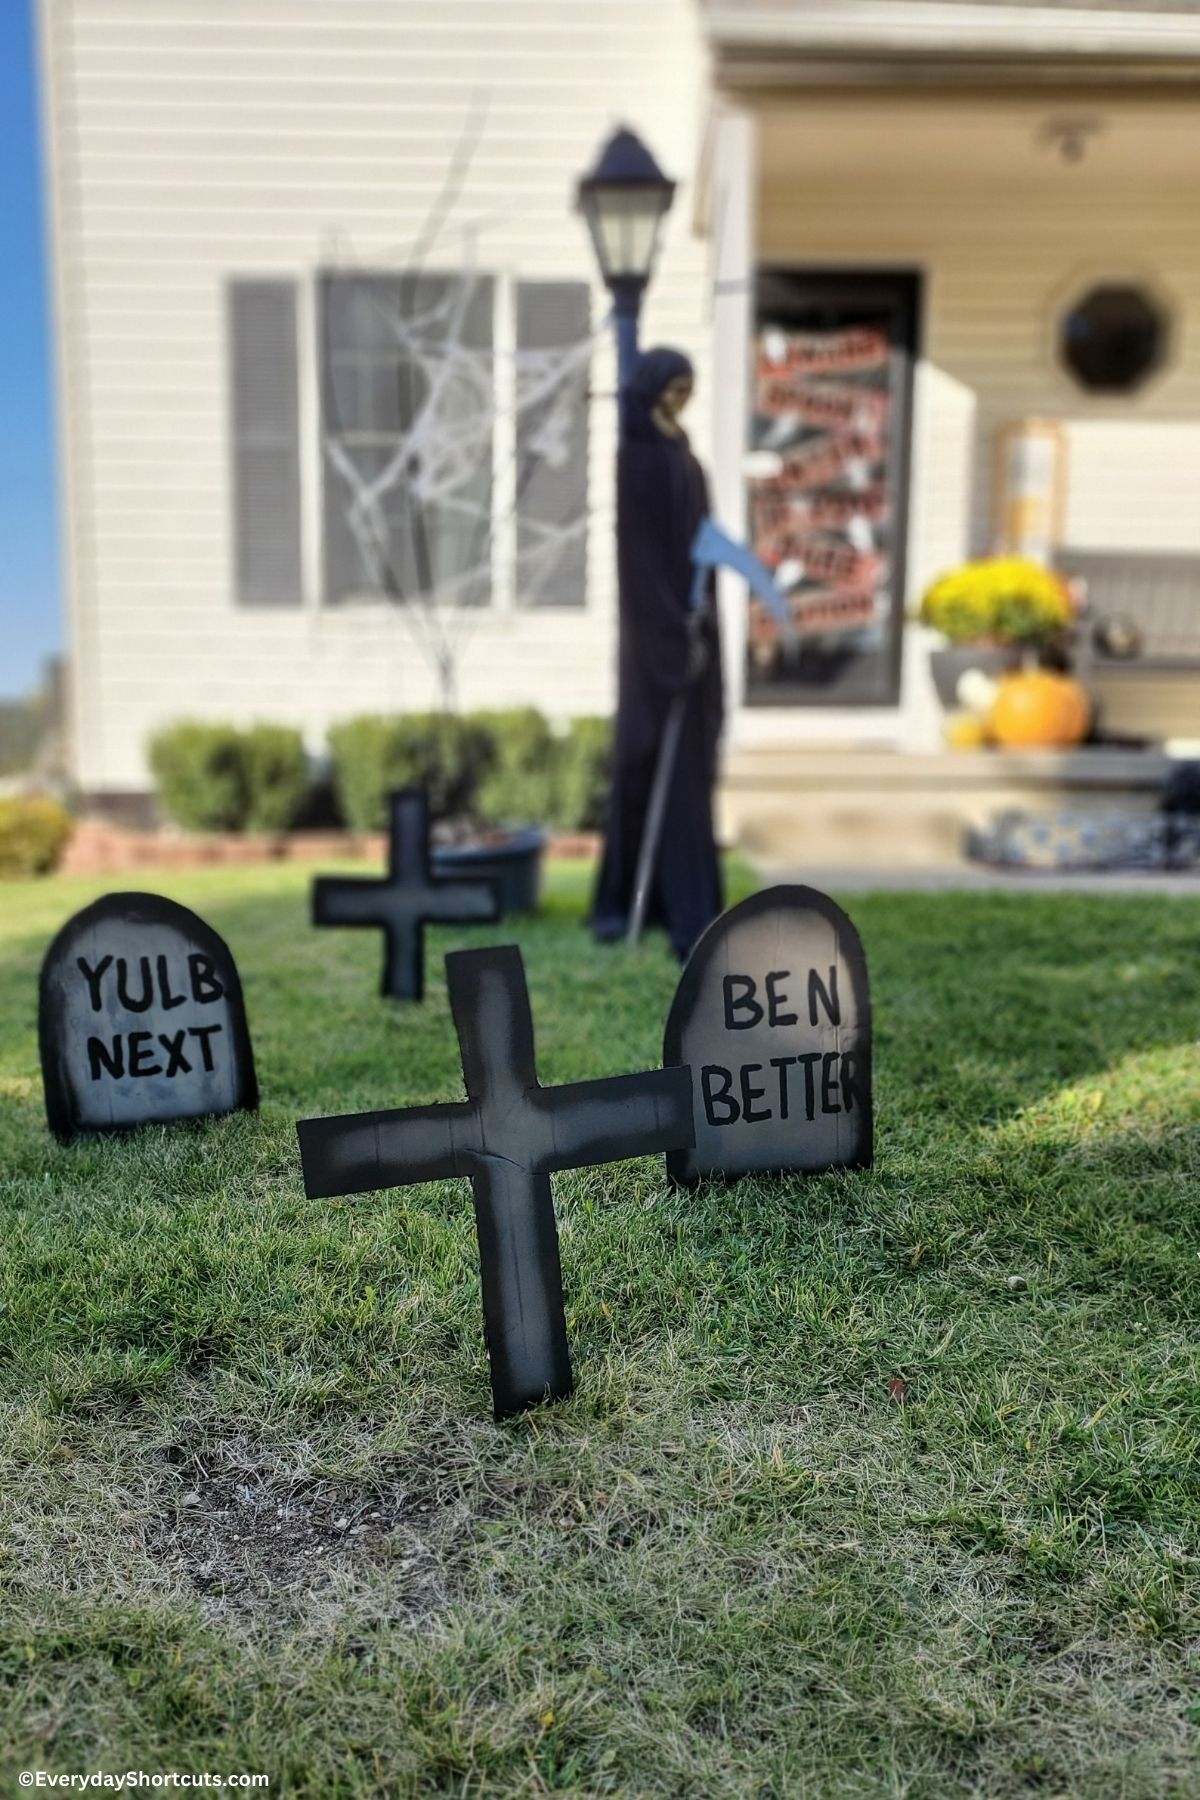
For this project, I used a combination of all three materials for my Halloween cemetery. It took about 4-5 days to complete and turned out so good. I also added cemetery columns and a fog machine to complete the look and the trick or treaters loved it.
Funny RIP Names and Sayings for Tombstones
Now, before we jump into the step-by-step process of creating these tombstones, let’s talk about some funny sayings and names that will give your cemetery scene that extra touch of macabre humor. Here are some hilarious ideas to get you started:
- Ima Goner
- Justin Pieces
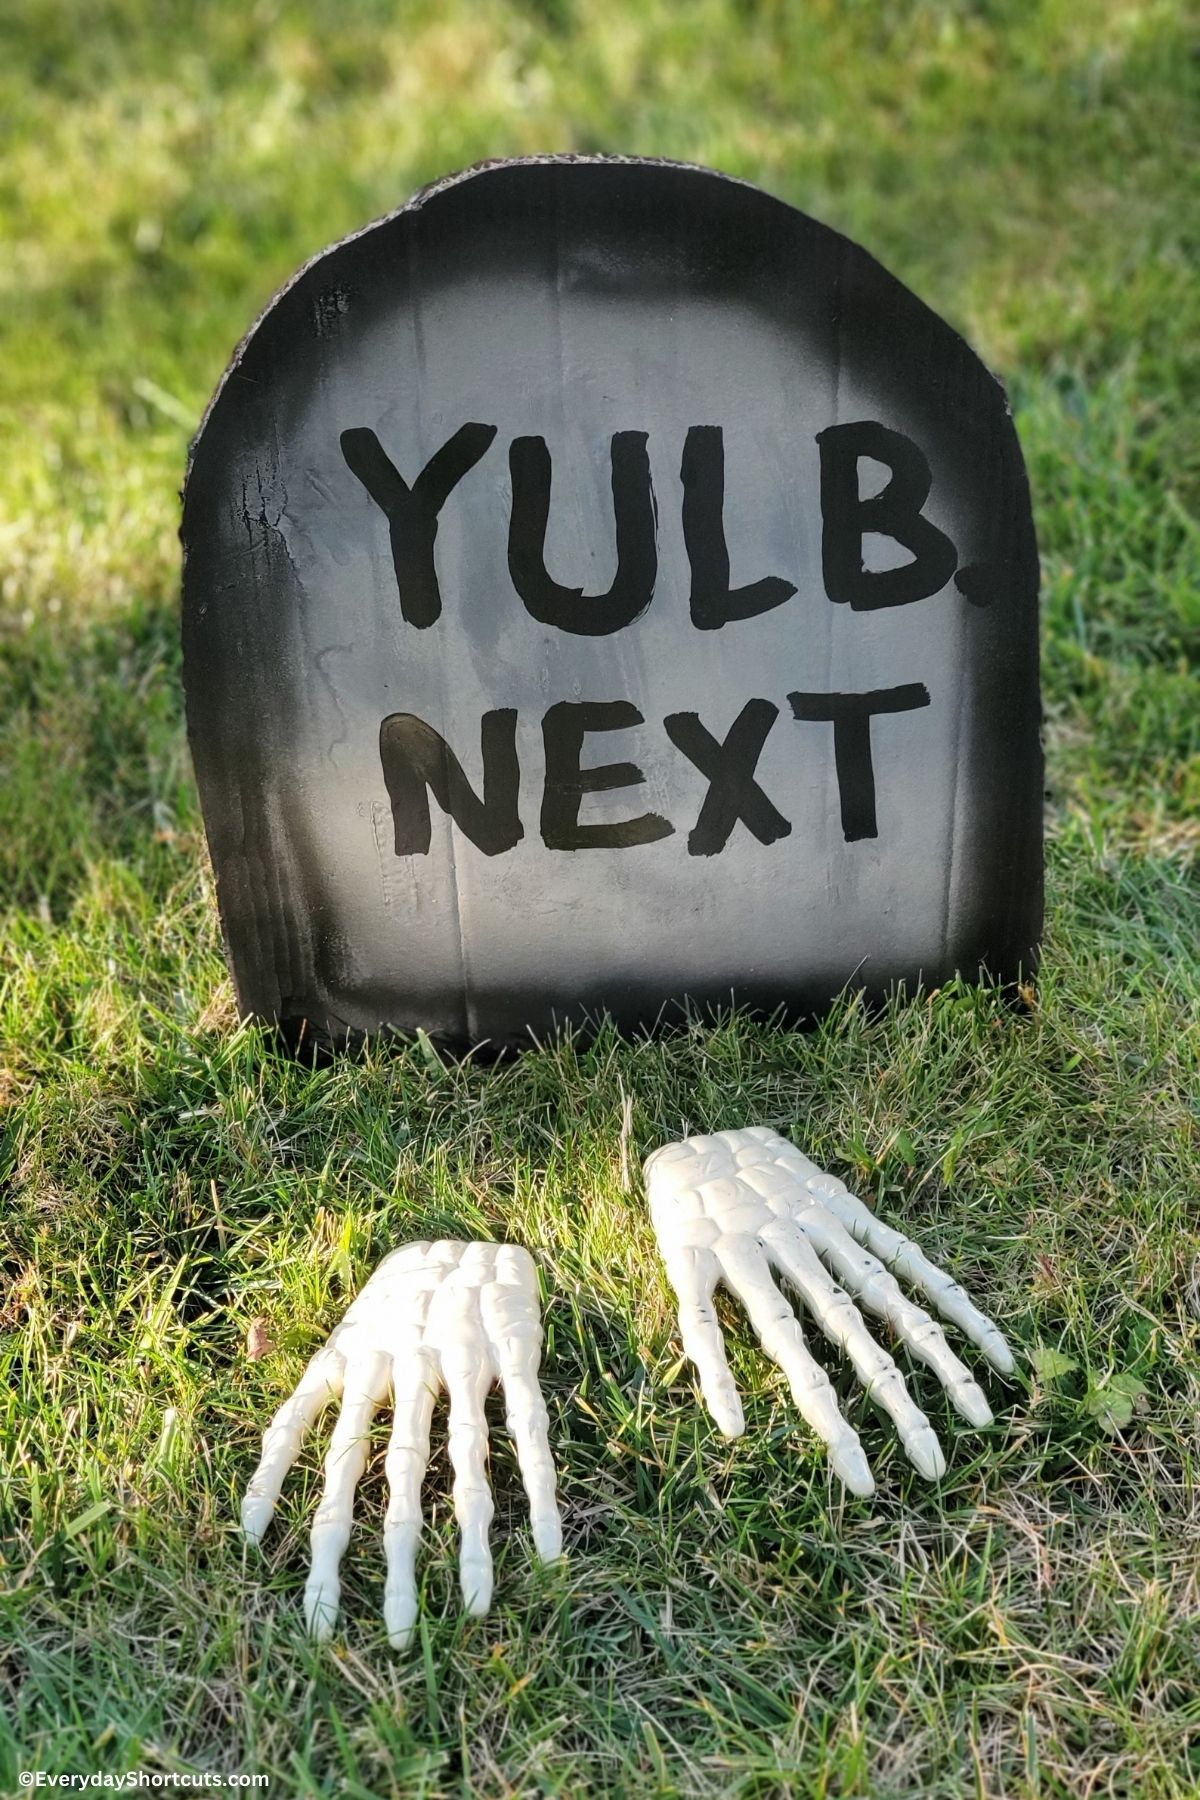
- Yul B. Next
- Ben Better
- Barry D. Alive
- Dawn Under
- Frank N. Stein
- Grim Sleeper
- Will B. Back
- Lotta Bones
- Bones Malone
- Doug Graves
- Death by chocolate - it was worth it
- Here lies the last person who asked me for candy
- Rest in pieces
- Here lies my motivation… buried six feet under
- Here lies Jack O’Lantern, he lit up our lives
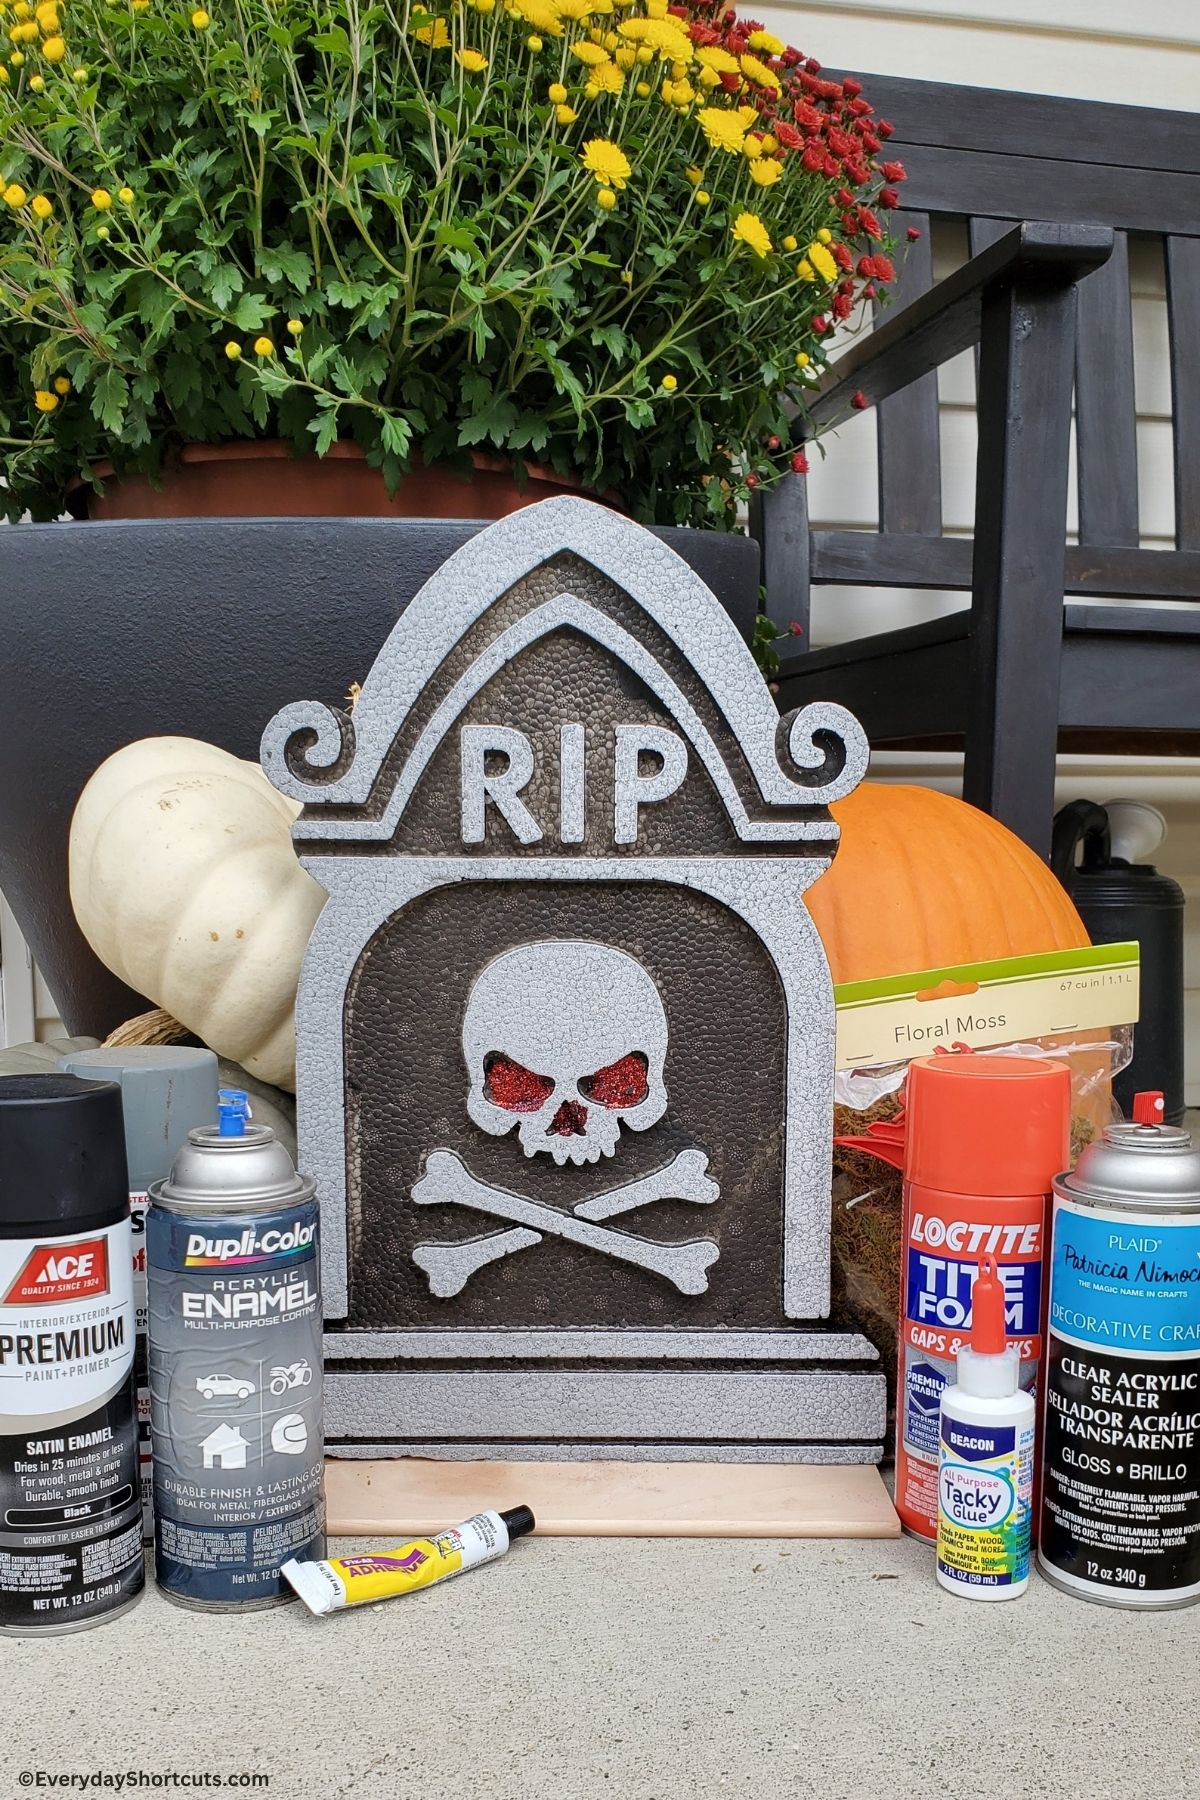
Tools and Materials Needed
- The base for the tombstone; cardboard, styrofoam cooler or Dollar Tree premade tombstone.
- Spray paint: black and gray
- Black paint
- Black duct tape
- Utility knife or scissors
- Paint brush
- Wire hangers
- Loctite foam
- Tacky glue
- Small piece of wood
- Dremel (optional)
- Outdoor craft sealant spray (optional): to protect your tombstones from the outdoor elements.
- Optional embellishments; fake moss, battery operated lights for an eerie glow, skulls, bones, skeleton hands, spiders, etc.
How to Make Tombstones for Halloween

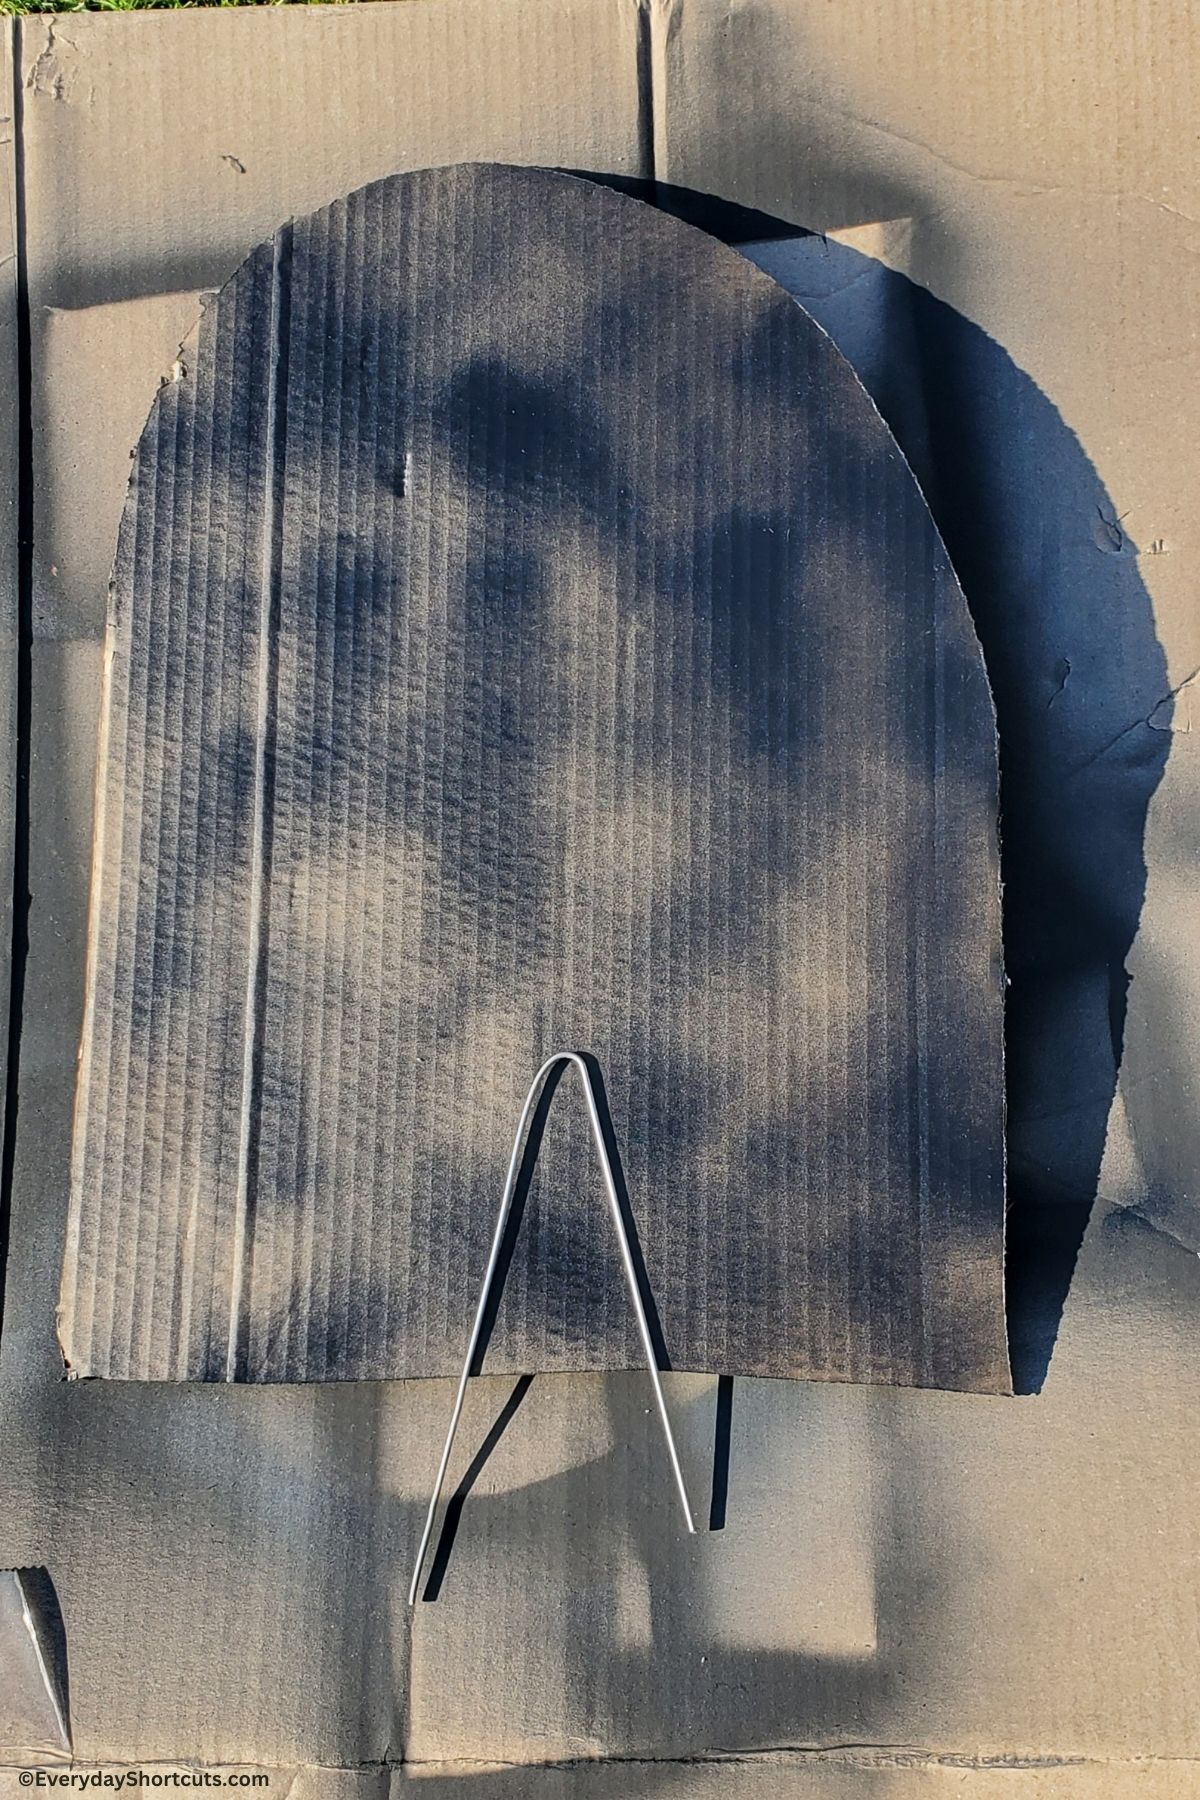
For the Carboard Tombstones
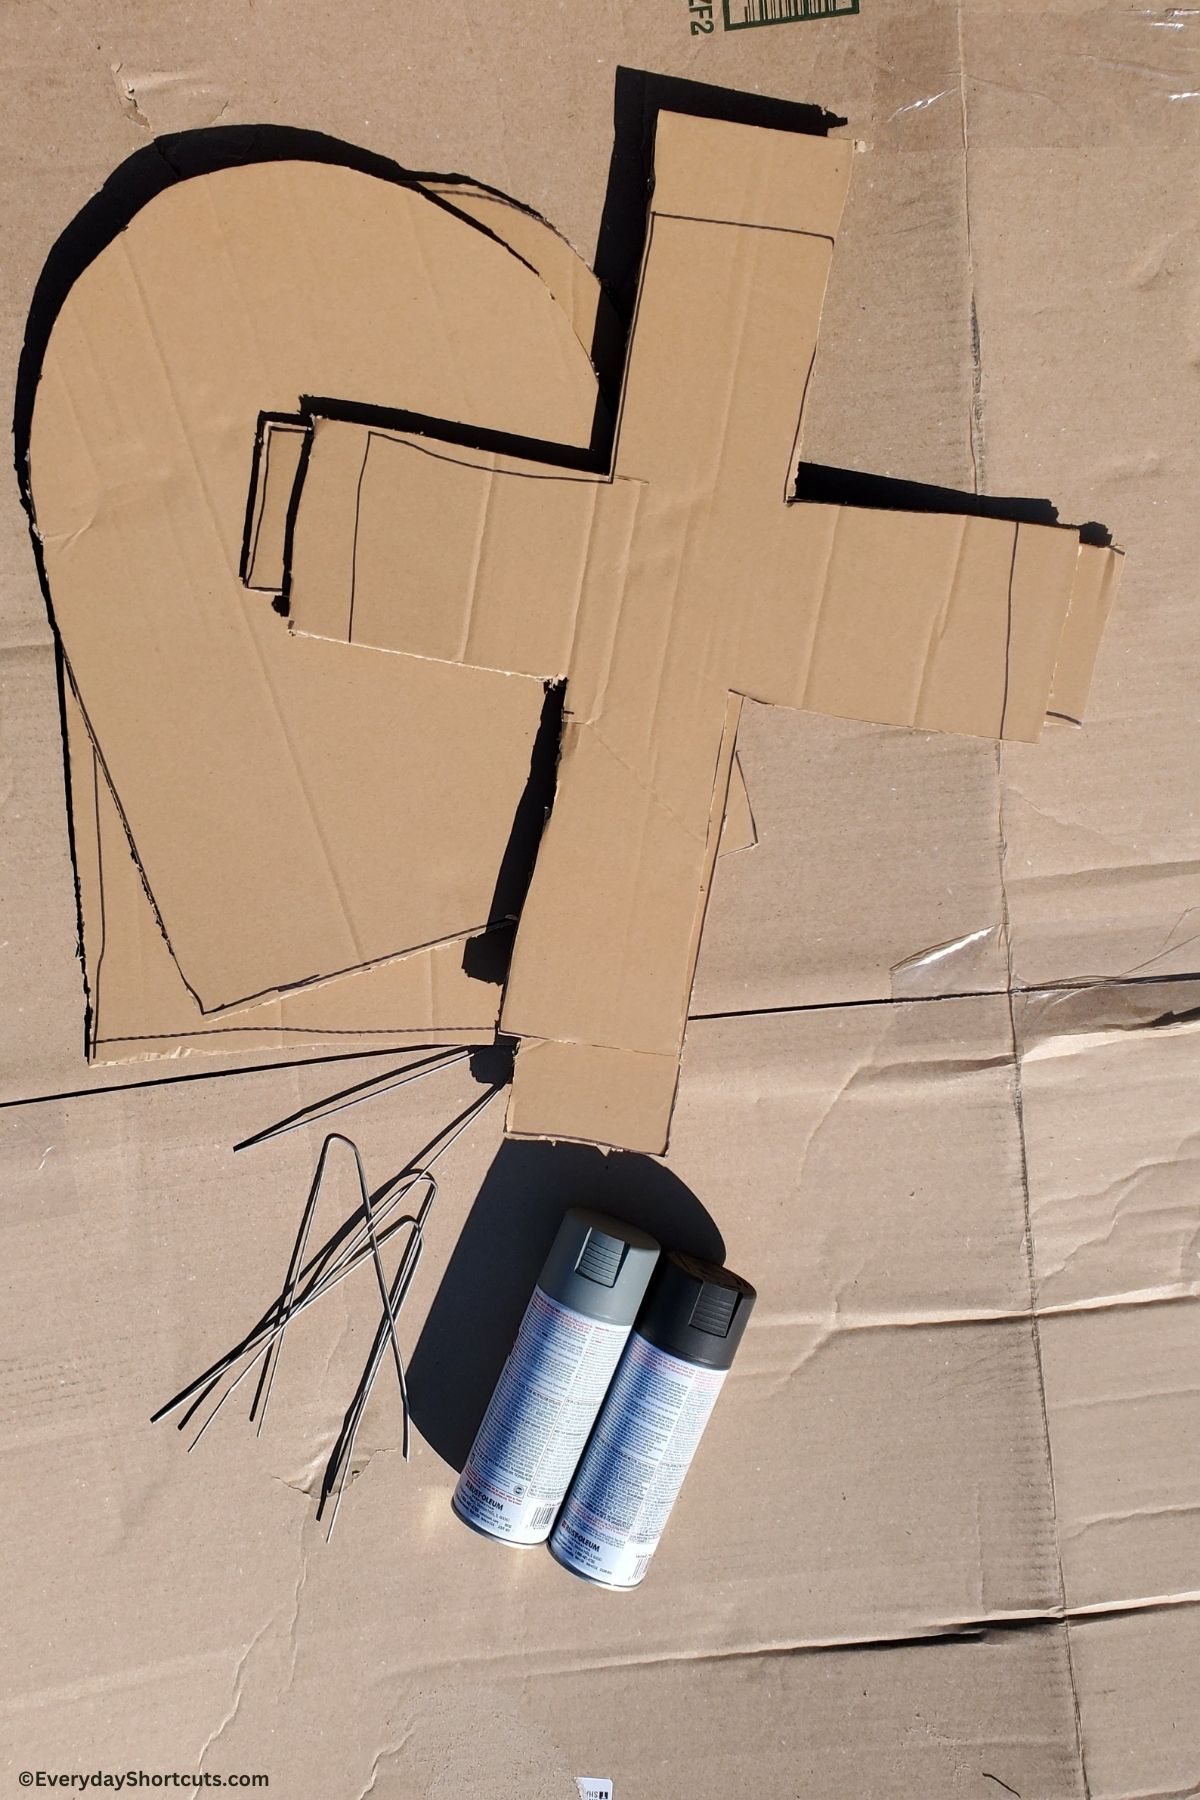
- Cut out tombstone shape.
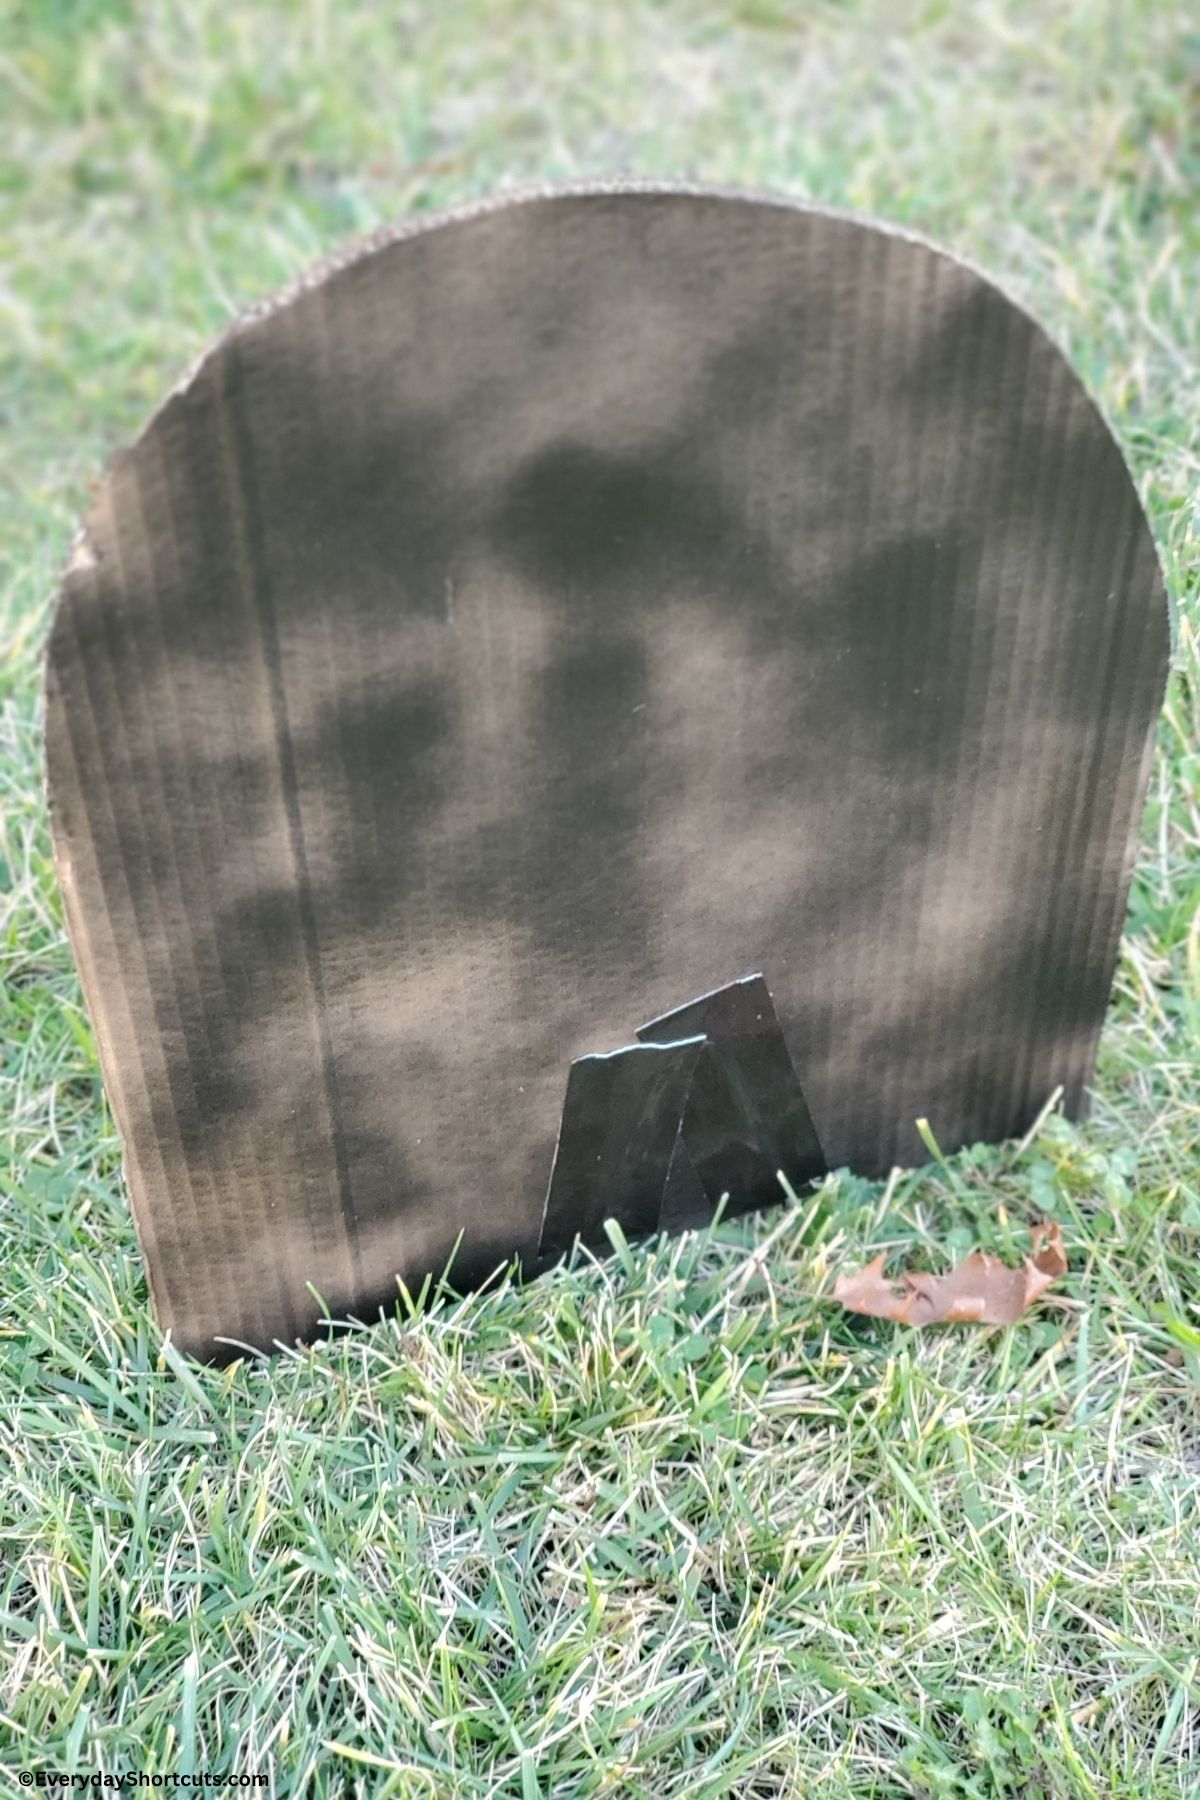
- Spray paint gray on both sides and allow to dry. Outline with black spray paint on the front of the tombstone and allow to dry.
- Paint funny name or saying with black paint and allow to dry.
- Spray with sealant if you’d like and allow to dry.
- Cut wire hangers into a “U” shape and duct tap to the back of the tombstone leaving enough wire to go through the ground.
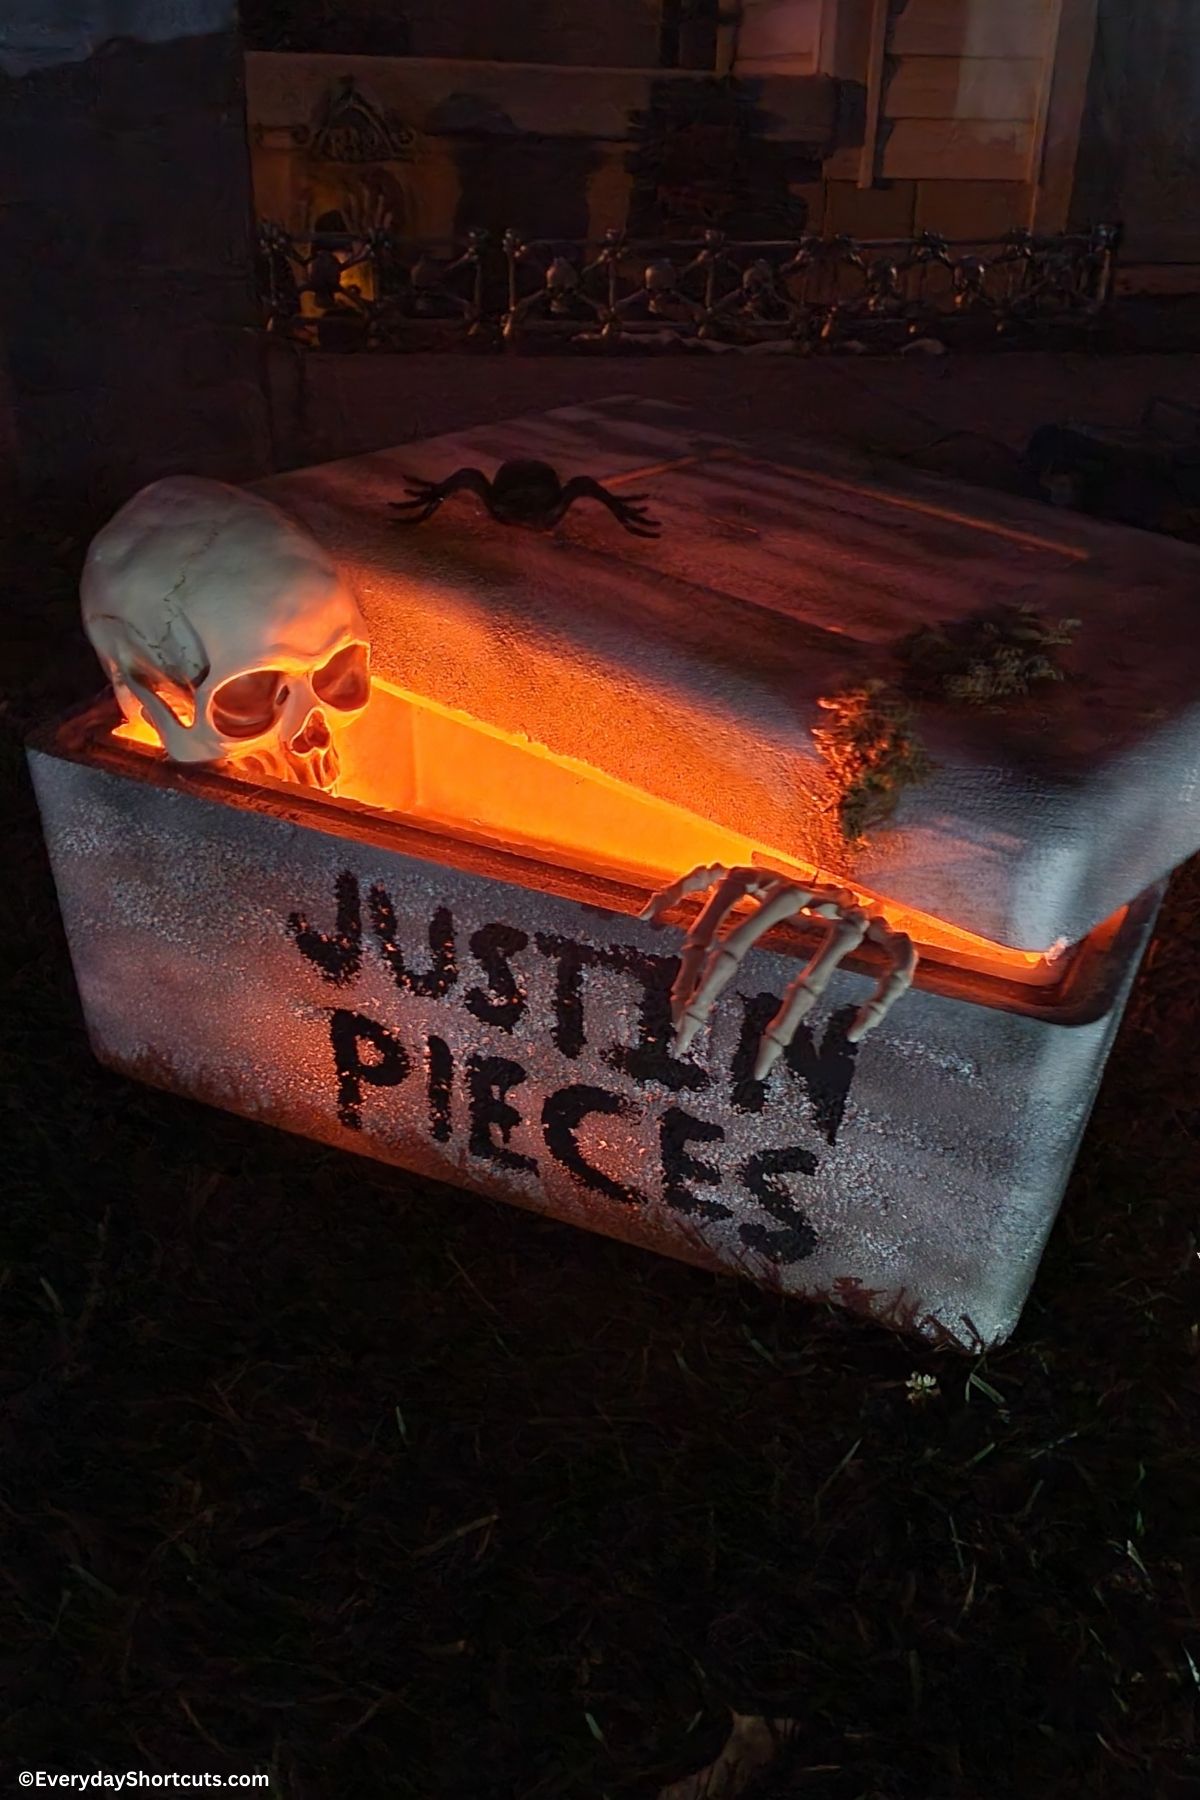
For the Styrofoam Cooler Tombstones
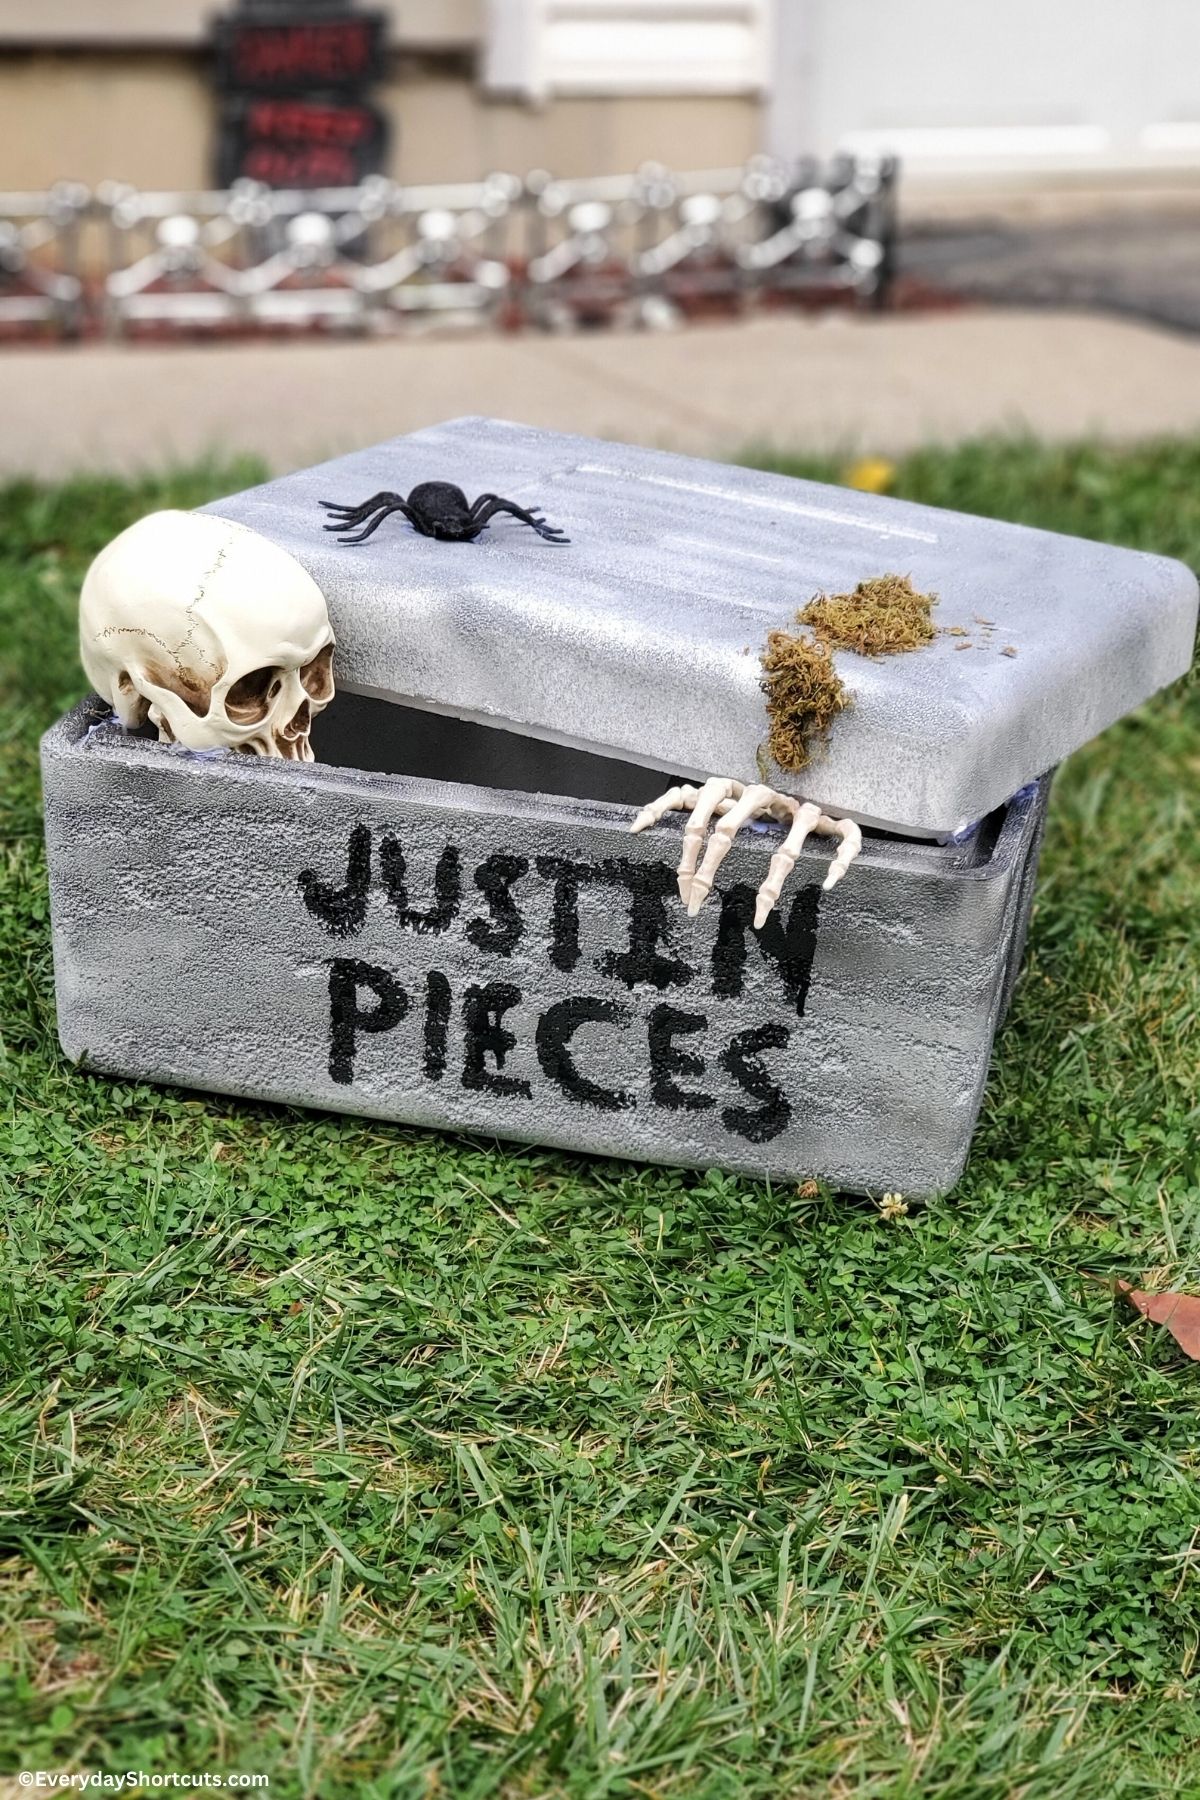
- Carve name with a utility knife or dremel.
- Using a long rectangle styrofoam cooler, spray paint gray and allow to dry.
- Add some black accent with black spray paint and allow to dry.
- Paint name with black paint and allow to dry.
- Hot glue lid slightly open.
- Add skull and skeleton hand hanging halfway out of the tombstone using hot glue.
- Add other embellishments such as fake moss, spiders and lights if you’d like.
For the Dollar Tree Tombstone Upgrade
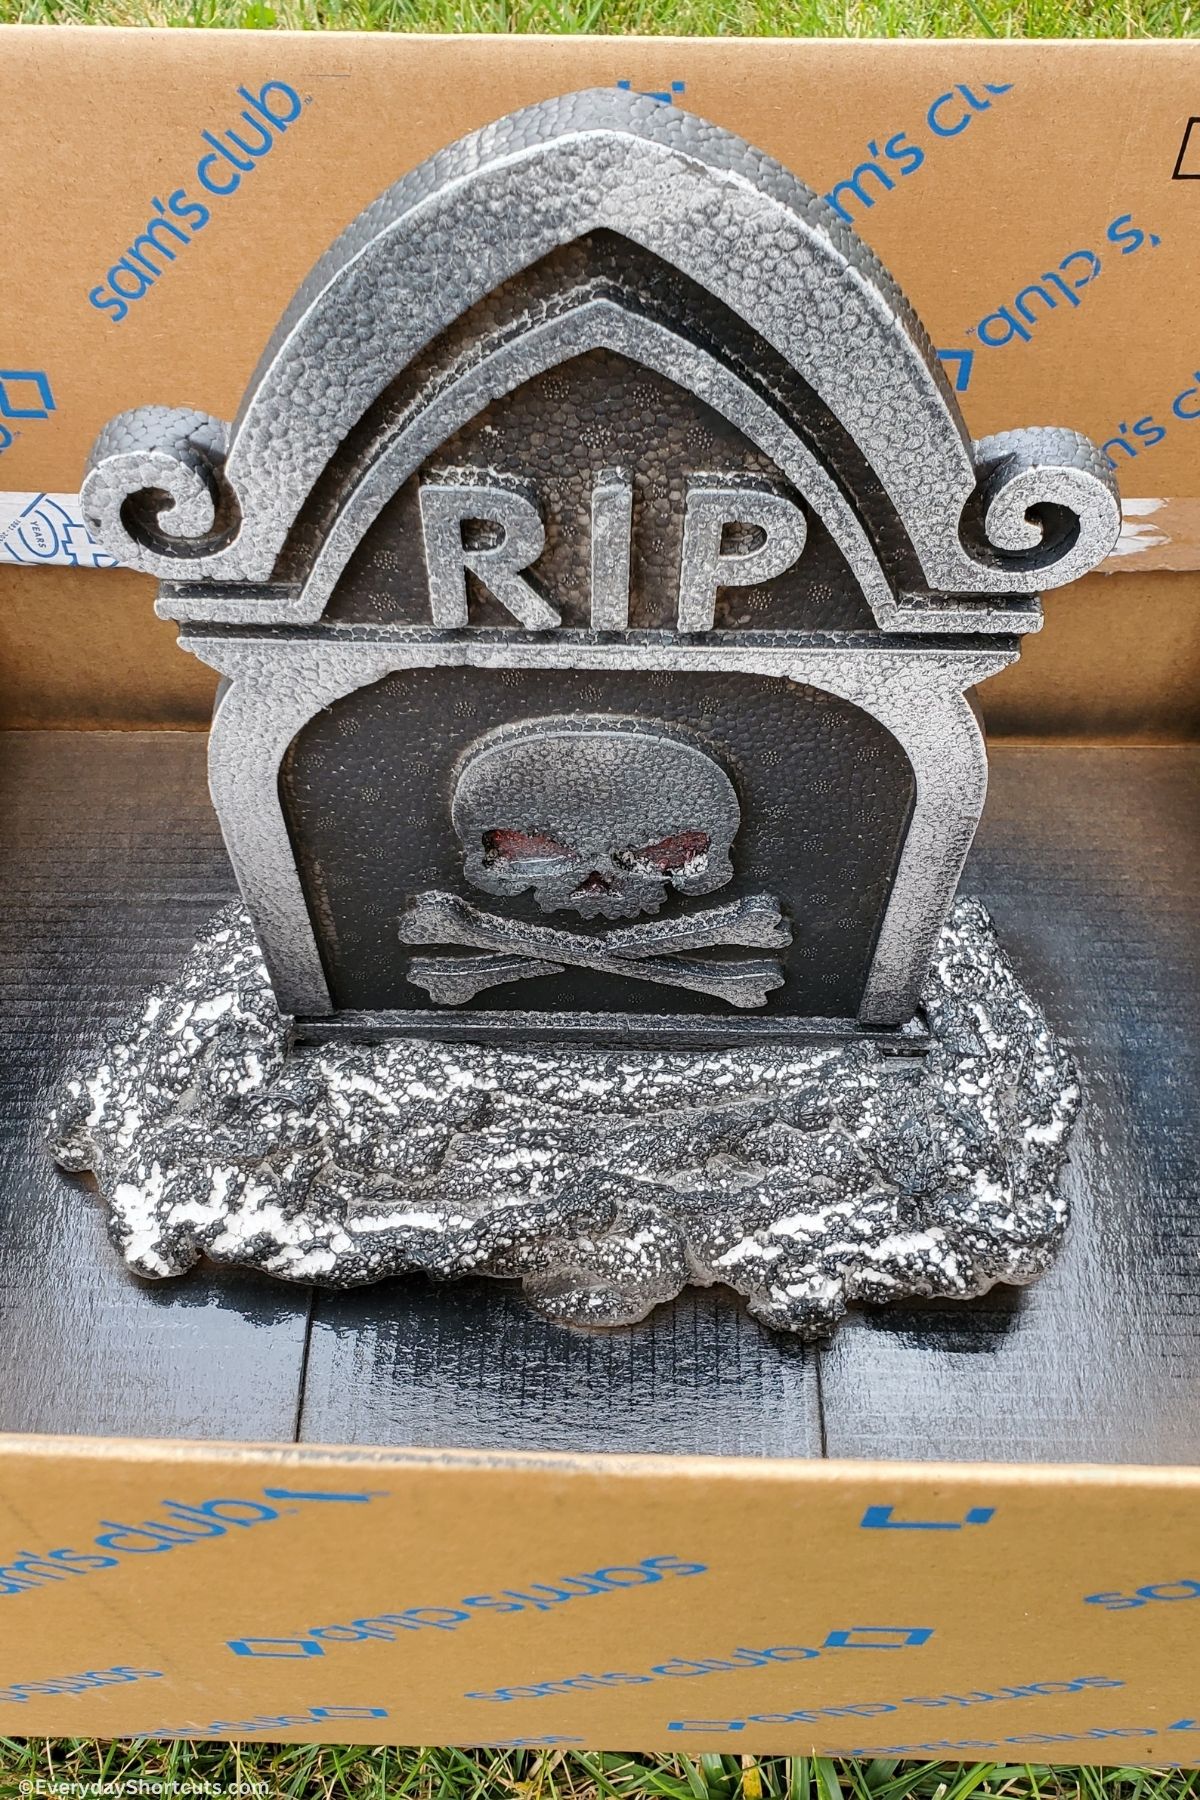
- Lightly spray gray spray paint over the front without totally covering it and allow to dry.
- Add some accents with black spray paint where needed and allow to dry.
- Glue tombstone to piece of wood and allow to dry.
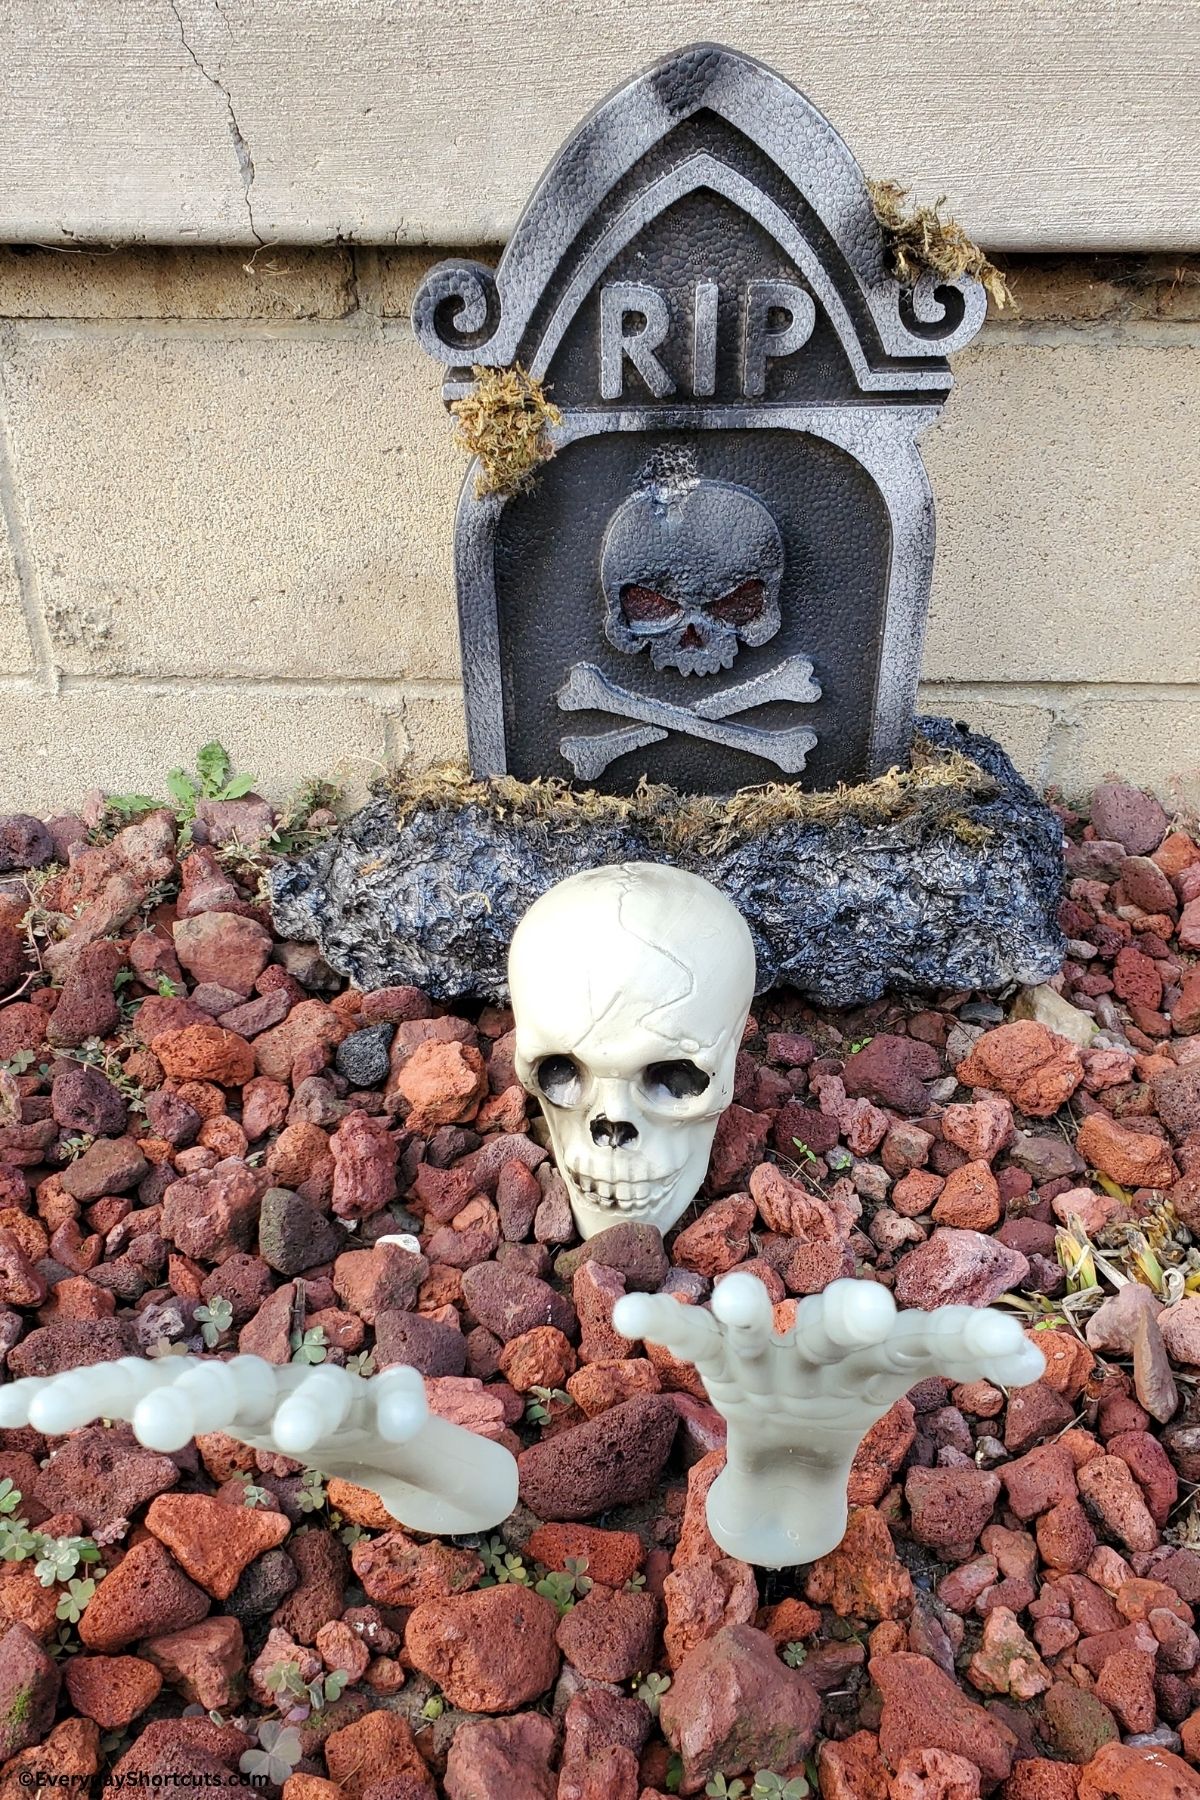
- Spray foam around the base and completely covering the piece of wood. Allow to dry for 12-24 hours.
- Spray the foam with gray spray paint and then black accents with black spray paint. Allow to dry.
- Add embellishments such as fake moss, spiders, etc.
FAQs
Yes, you can also use a foam board or wood and cut out your tombstones. If you want engraved tombstones, you can use a dremel to engrave the name or saying.
With proper care and storage, homemade Halloween tombstone decorations can be reused in future years. Spray with sealant and store them in a dry place away from direct sunlight to prevent fading or warping.


Leave a Reply