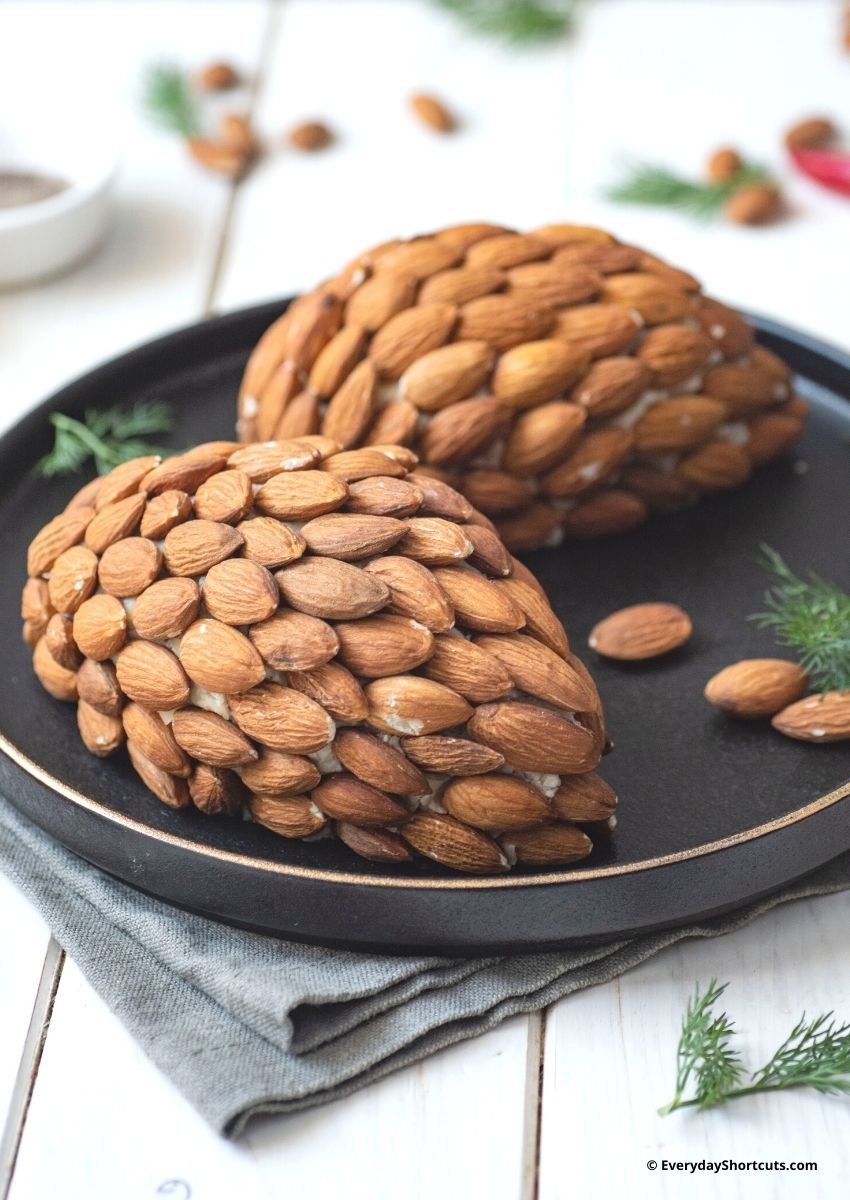
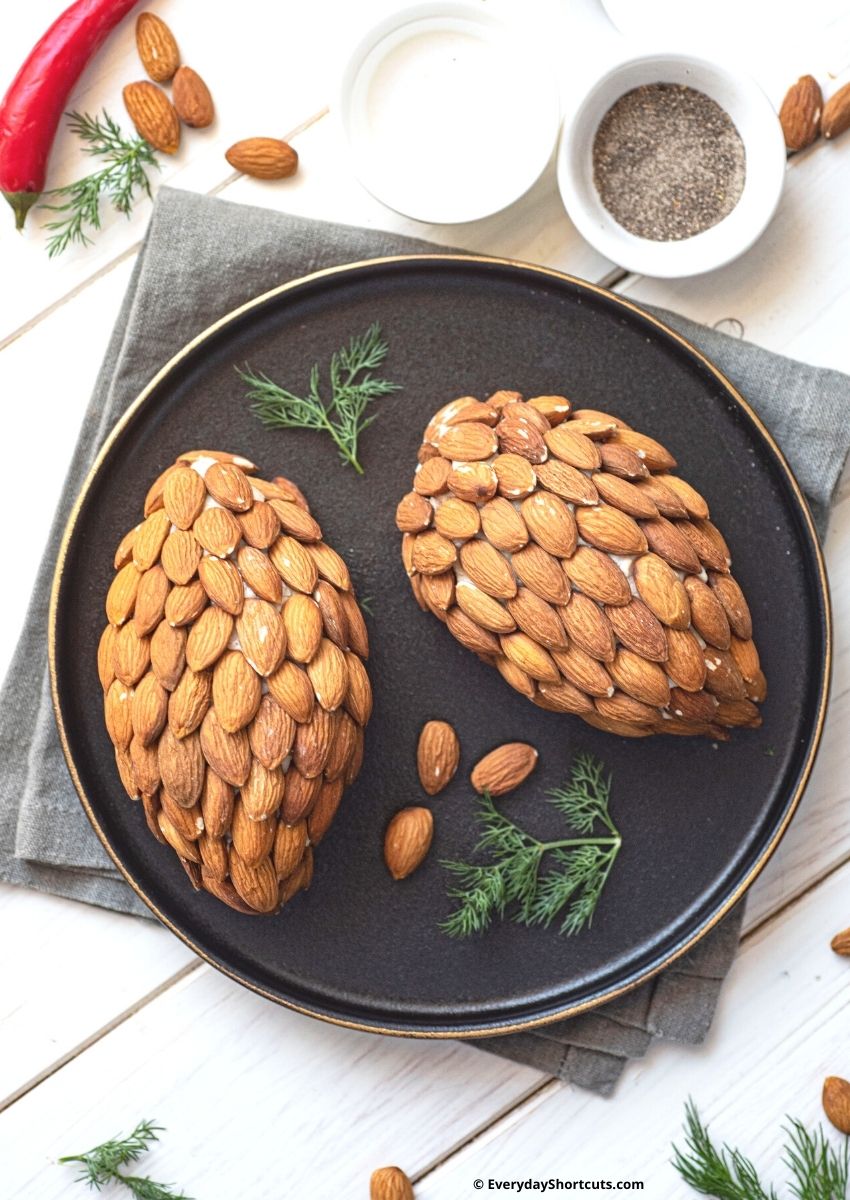
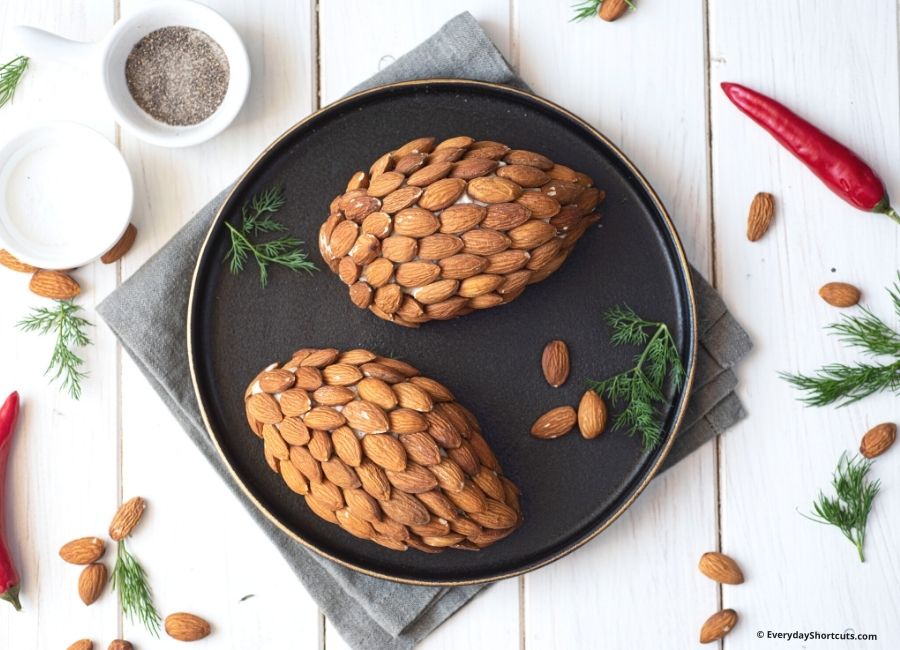
This Festive Pinecone Cheese Ball is the perfect appetizer for your next holiday party. It’s a fun twist on the traditional cheese ball recipe that will be sure to please any crowd!
Cheese balls are great party snacks because they are easy to make ahead of time and can sit out on a serving platter for hours without going bad. They are one of my favorite snacks to serve at parties because there is always a cheese ball recipe that will match any type of party theme or menu you have chosen.
What is a Cheese Ball?
A cheese ball is a round ball-shaped appetizer, coated with nuts or bread crumbs, and served as an hors d’oeuvre. The original cheese balls were made with cream cheese mixed with other ingredients such as butter or Worcestershire sauce. Often it is rolled in additional ingredients such as finely chopped pecans or parsley or other herbs. It’s usually served with crackers, bread sticks, potato chips or raw vegetables for dipping.
Cheese balls are typically made of one type of cheese blended together with various other ingredients such as cream cheese, salt, pepper, Worcestershire sauce, nuts and/or spices.
Tips for Making the BEST Cheese Ball
If you’re looking to have the best cheese ball at your next party or just some good ole fashioned snacking on some cheesy goodness then look no further I got your covered. Here are my top 4 tips for making one heck of a cheese ball!
1. You will need a nice hard cheese. This is the cheese that you will grate and add to your mixture to make it all come together in a ball of cheesy goodness!
2. Add in some meat to your mixture! This is my secret ingredient; It gives great depth of flavor and who doesn’t love flavor when they bite into something?
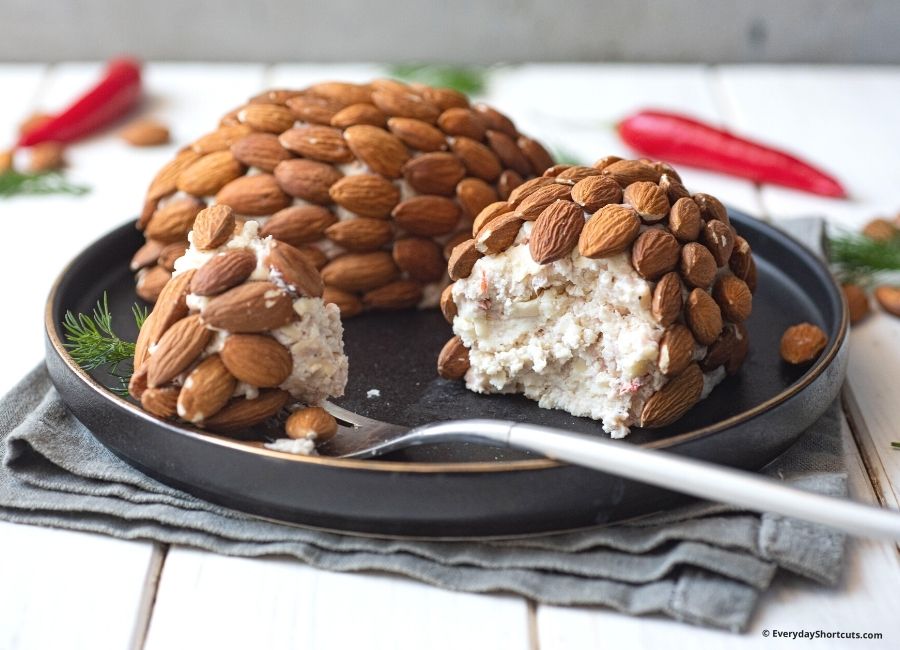
3. Make sure the cheese cones are not too big! If they are too big when you go to serve them they will be super hard to get off of the plate and when people try to take them they will crumble everywhere. The size of a pinecone is perfect!
4. When you serve your cheese ball make sure it’s not too cold because if it’s too cold the top starts to harden and it gets really difficult to spread on your cheese ball on crackers without it breaking apart. When you are ready to serve your cheese ball just take it out of the fridge for about 30 minutes before hand and let it come up to room temperature.
There you have it four simple steps that will turn your average boring cheese ball into a great one perfect at any party or just for snacking on! If you follow these steps you will be the talk of the town at your next party. When people see that you made a fabulous cheese ball they will come back for more every time!
Cheese Ball Variations
Cheese balls don’t have to be boring! You can make any flavor you want to suit your taste, and it will still come out perfectly every time.
- Can use chopped bacon in place of ham.
- Can use toasted pecans or pecan halves instead of almonds.
- Change it up and try a different flavor of cream cheese.
Cheese Ball Ingredients
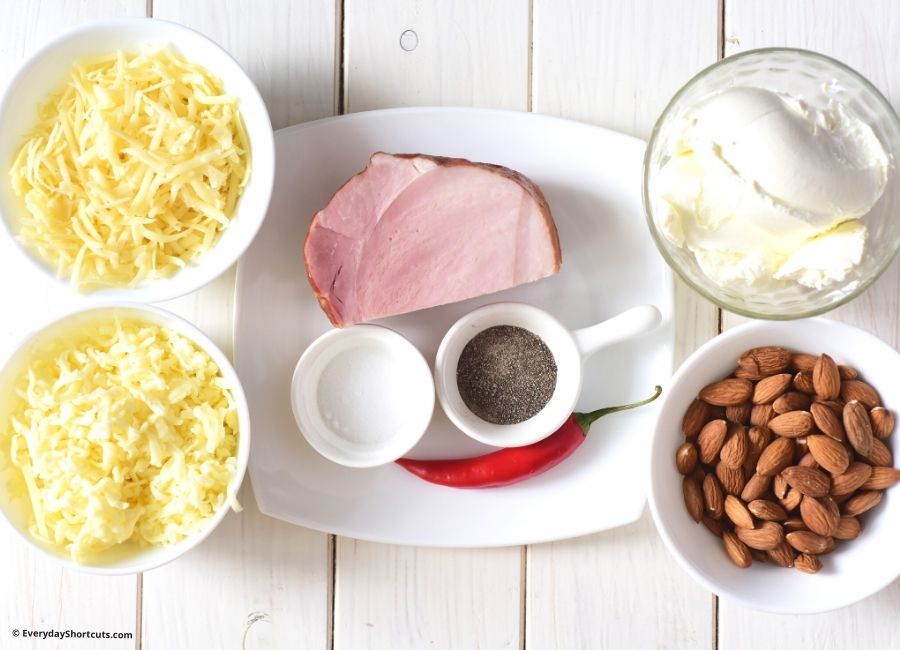
1 ¼ cups whole, plain almonds
8 oz cream cheese, softened
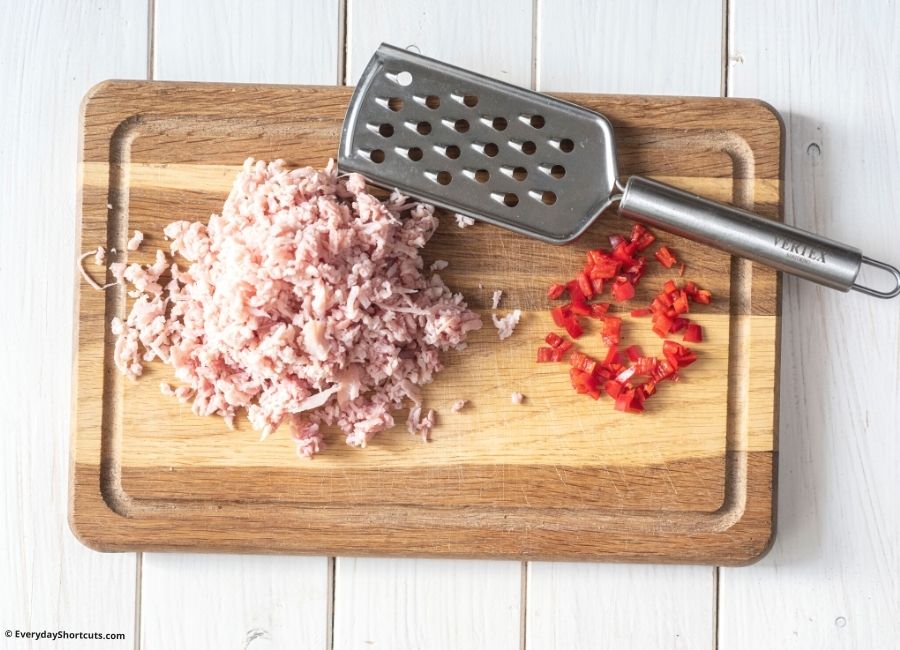
⅓ cup ham, chopped
1 jalapeno, diced
½ cup Colby Jack cheese, grated
½ cup cheddar cheese, grated
Salt and pepper to taste
How to Make Festive Cheese Cones
Toast the Almonds
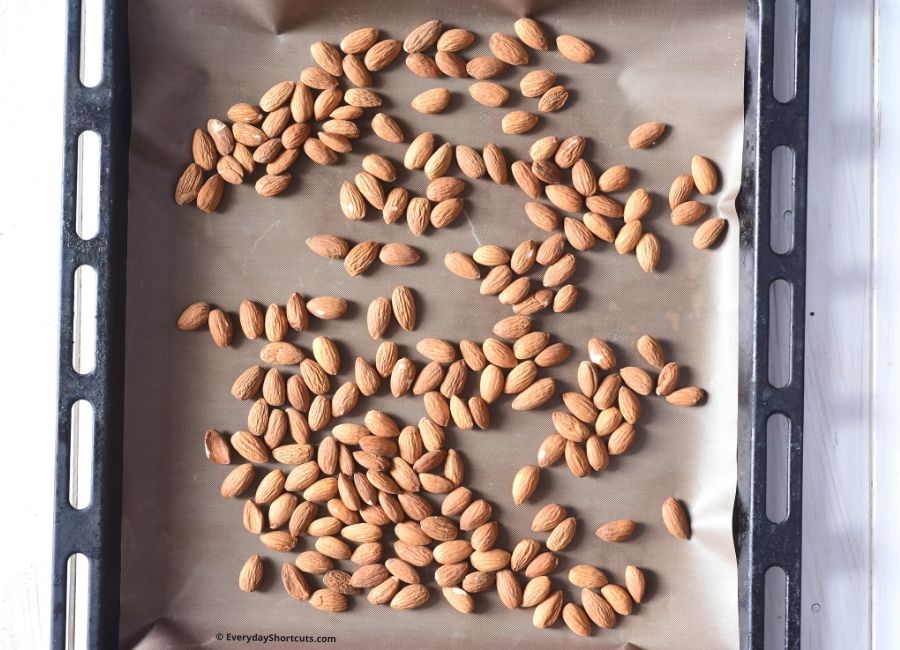
Preheat oven to 300 degrees F.
Lay out the almonds on a baking sheet and bake for 20 minutes. or until nice and toasty.
Make the Pinecone Cheese Ball
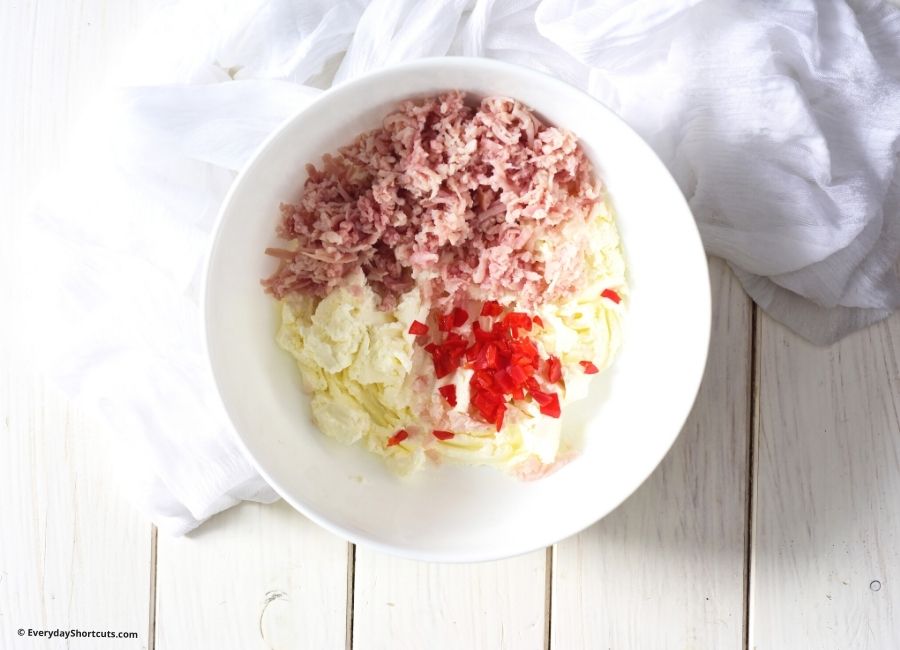
In a large bowl add the softened cream cheese, ham, jalapeno, cheeses, salt and pepper to taste and mix well.
Lay a piece of parchment paper on a baking sheet or platter and place the cheese ball on top of the parchment paper.
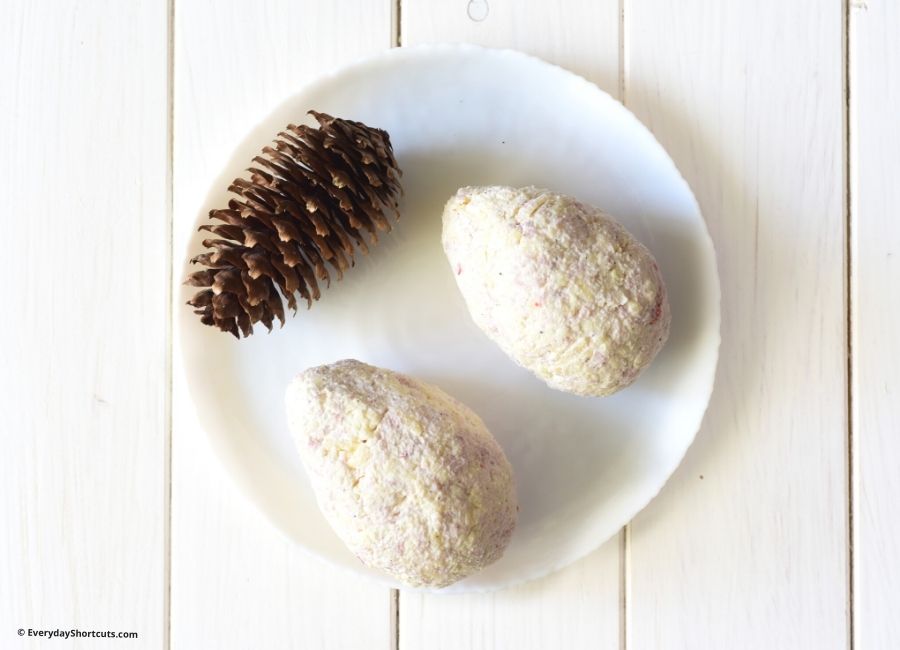
Divide the mixture into two portions and shape like a pine cone. Might need a clean pinecone nearby for reference of shape and size. Wrap each cheeseball in saran wrap and chill overnight.
Decorate the Cheese Cones
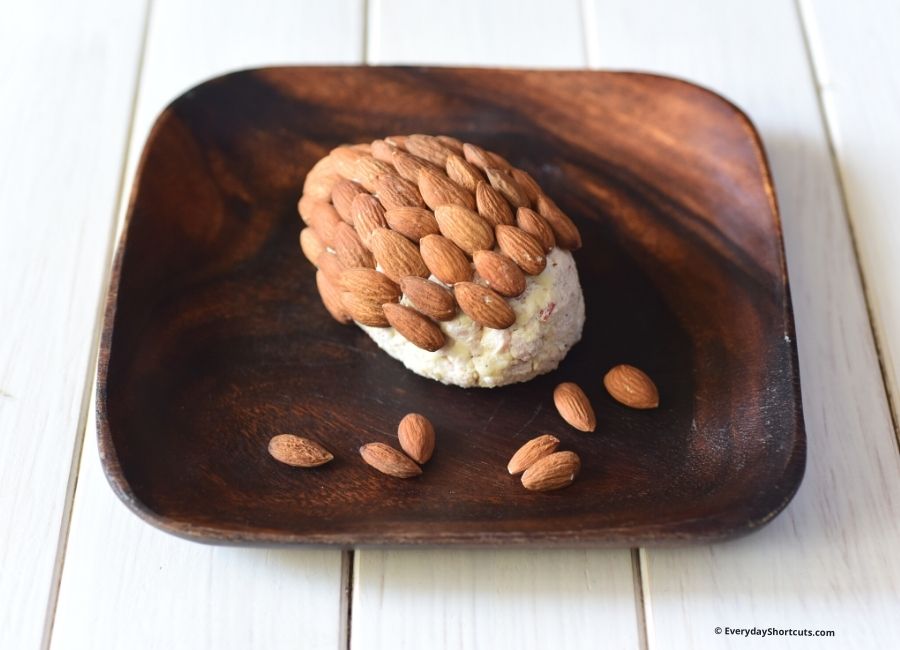
Start at the narrow end and work your way to the top of the cone shape pressing the almonds at a slight angle into the cheese cone.
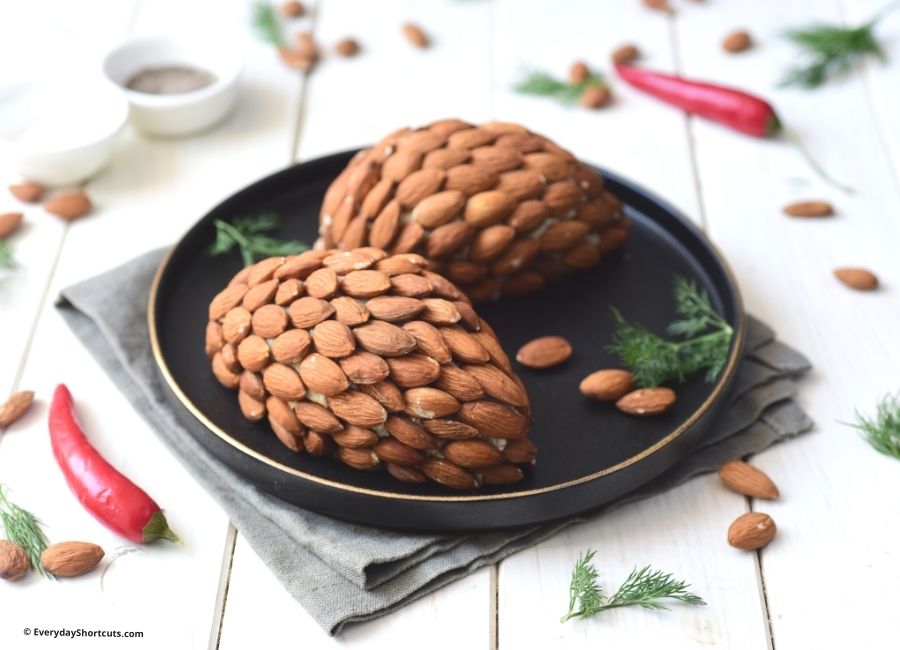
Continue putting the almonds in the cheese cone in rows until the entire cheese cone is covered to look like a pinecone.
Complete the look with a garnish of rosemary and berries.
Serve pinecone cheeseballs on a platter at room temperature with crackers.
Can I Make a Cheese Ball a Day Ahead?
You sure can! There are two ways you can do so. One is to make the cheese ball ahead of time, but don’t roll it in nuts until you’re ready to serve. Another option is to roll the cheese ball into the nuts (to cover it), then store it in your refrigerator overnight or longer. Give the cheese ball a little time to warm up before serving.
How to Store a Cheese Ball
Refrigerate: You can store a cheese ball in the refrigerator for up to one week in an airtight container. For best results, place wax paper or parchment paper between each layer of the cheese ball to prevent sticking and help preserve freshness.
Freeze: It’s easy to freeze a homemade cheese ball! Simply prepare the mixture and refrigerate overnight or until firm. Remove from refrigerator and form into a tightly packed round shape. Cover with plastic wrap, then aluminum foil, and place in the freezer.
To Serve: Thaw for 3 to 4 hours before slicing and serving with crackers. Cheese ball can be refrigerated for up to two weeks in an airtight container after preparing.
Can you Refreeze a Cheese Ball?
Once a cheese ball is fully thawed in the refrigerator, it should not be refrozen as the texture and flavor will be compromised.
Recipe

Pinecone Cheese Ball
Ingredients
- 1 ¼ cups whole plain almonds
- 8 oz cream cheese softened
- ⅓ cup ham chopped
- 1 jalapeno diced
- ½ cup colby jack cheese grated
- ½ cup cheddar cheese grated
- Salt and pepper to taste
Instructions
Toast the Almonds
- Preheat oven to 300 degrees F.
- Lay out the almonds on a baking sheet and bake for 20 minutes. or until nice and toasty.
Make the Pinecone Cheese Ball
- In a large bowl add the softened cream cheese, ham, jalapeno, cheeses. salt and pepper to taste and mix well.
- Lay a piece of parchment paper on a baking sheet or platter and place the cheese ball on top of the parchment paper.
- Divide the mixture into two portions and shape like a pine cone. Might need a clean pinecone nearby for reference of shape and size. Wrap each cheeseball in saran wrap and chill overnight.
Decorate the Cheese Cones
- Start at the narrow end and work your way to the top of the cone shape pressing the almonds at a slight angle into the cheese cone.
- Continue putting the almonds in the cheese cone in rows until the entire cheese cone is covered to look like a pinecone.
- Complete the look with a garnish of rosemary and berries.
- Serve pinecone cheeseballs on a platter at room temperature with crackers.
Notes
Tips for Making the BEST Cheese Ball
If you're looking to have the best cheese ball at your next party or just some good ole fashioned snacking on some cheesy goodness then look no further I got your covered. Here are my top 4 tips for making one heck of a cheese ball! 1. You will need a nice hard cheese. This is the cheese that you will grate up and add to your mixture to make it all come together in a ball of cheesy goodness! You want this cheese because it's stringy and helps pull everything together with no issues. 2. Add in some meat to your mixture! This is my secret ingredient; It gives great depth of flavor and who doesn't love flavor when they bite into something? 3. Make sure the cheese cones are not too big! If they are too big when you go to serve them they will be super hard to get off of the plate and when people try to take them they will crumble everywhere. The size of a pinecone is perfect! 4. When you serve your cheese ball make sure it's not too cold because if it's too cold the top starts to harden and it gets really difficult to spread on your cheese ball on crackers without it breaking apart. When you are ready to serve your cheese ball just take it out of the fridge for about 30 minutes before hand and let it come up to room temperature.Nutrition Disclosure
Nutritional facts are estimates and are provided as a courtesy to the reader. Please utilize your own brand nutritional values to double check against our estimates. Nutritional values are calculated via a third party. Changing ingredients, amounts or cooking technique will alter the estimated nutritional calculations.







Leave a Reply