

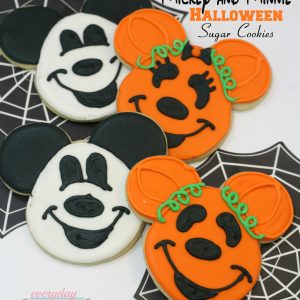
 I recently just got back from Disneyland seeing it all decked out in Halloween decorations. This got me in the mood to make some Mickey and Minnie Halloween sugar cookies. Not only are they fun to decorate and eat but also make a great addition to a Halloween party!

Mickey & Minnie Halloween Sugar Cookies Recipe
Recipe
Mickey & Minnie Halloween Sugar Cookies
Ingredients
- Cookie Ingredients:
- 5 C flour
- 2 tsp baking powder
- 1 tsp salt
- 1 ½ C soft unsalted butter
- 2 C granulated sugar
- 4 eggs
- Royal Icing Recipe:
- Icing Ingredients:
- 2 egg whites
- 1 C powder sugar
- ½ tsp cream of tartar
- Black orange, & green gel food coloring
- Cookie cutters:
- Mickey Mouse
Instructions
Cookie Directions:
- - Cream the soft butter with the sugar until the combination is smooth not grainy to the touch in a mixing bowl.
- -Add all 4 eggs at one time. Continue to mix.
- -Add the vanilla. Continue mixing.
- -Sift the four, baking powder, and salt together.
- -Add the dry mixture to the wet mixture.
- -Continue mixing to make sure all ingredients are thoroughly blended.
- -Make the dough into a ball, wrap it in cling wrap completely covering the entire dough ball.
- -Put in the refrigerator for about 6 hours or overnight. Check to see if the dough is firm.
- -Preheat oven to 325 degrees.
- -Pull the cookie dough out of the refrigerator and sit it out to soften up a bit.
- - Put flour out on the wood cutting board, rub flour on the rolling pin, and work some flour into
- the batter. (if needed)
- -Roll the dough out on the cutting board and using the plaque cookie cutter begin to make your cookies.
- -Line the cookie sheet with parchment paper.
- -Using a metal spatula move the cut cookies to the parchment lined cookie sheet.
- -Bake at 325 degrees for 8 minutes. Check to see if the cookies are thoroughly baked.
- -Take the cookies off of the cookie sheet and put on a wire rack to cool completely.
- (About 10 minutes).
Icing Directions:
- -Combine all ingredients in a mixing bowl mixing on medium speed for 4 minutes. (except your food coloring)
- -If icing is not stiff enough add ¼ C powder sugar.
- - Take out 4 TBSP of icing to dye green. Divide the remaining icing between 3 bowls.
- -The first bowl stays white.
- -Add several drops of black gel food coloring in the second bowl of icing. Stir well to mix the color.
- -Add several drops of orange gel food coloring in the third bowl of icing. Stir well to mix the color.
- -Spoon each color of icing into individual frosting bags with a #5 tips. Twist the open end of the bag to push the icing to the tip.
Icing Directions:
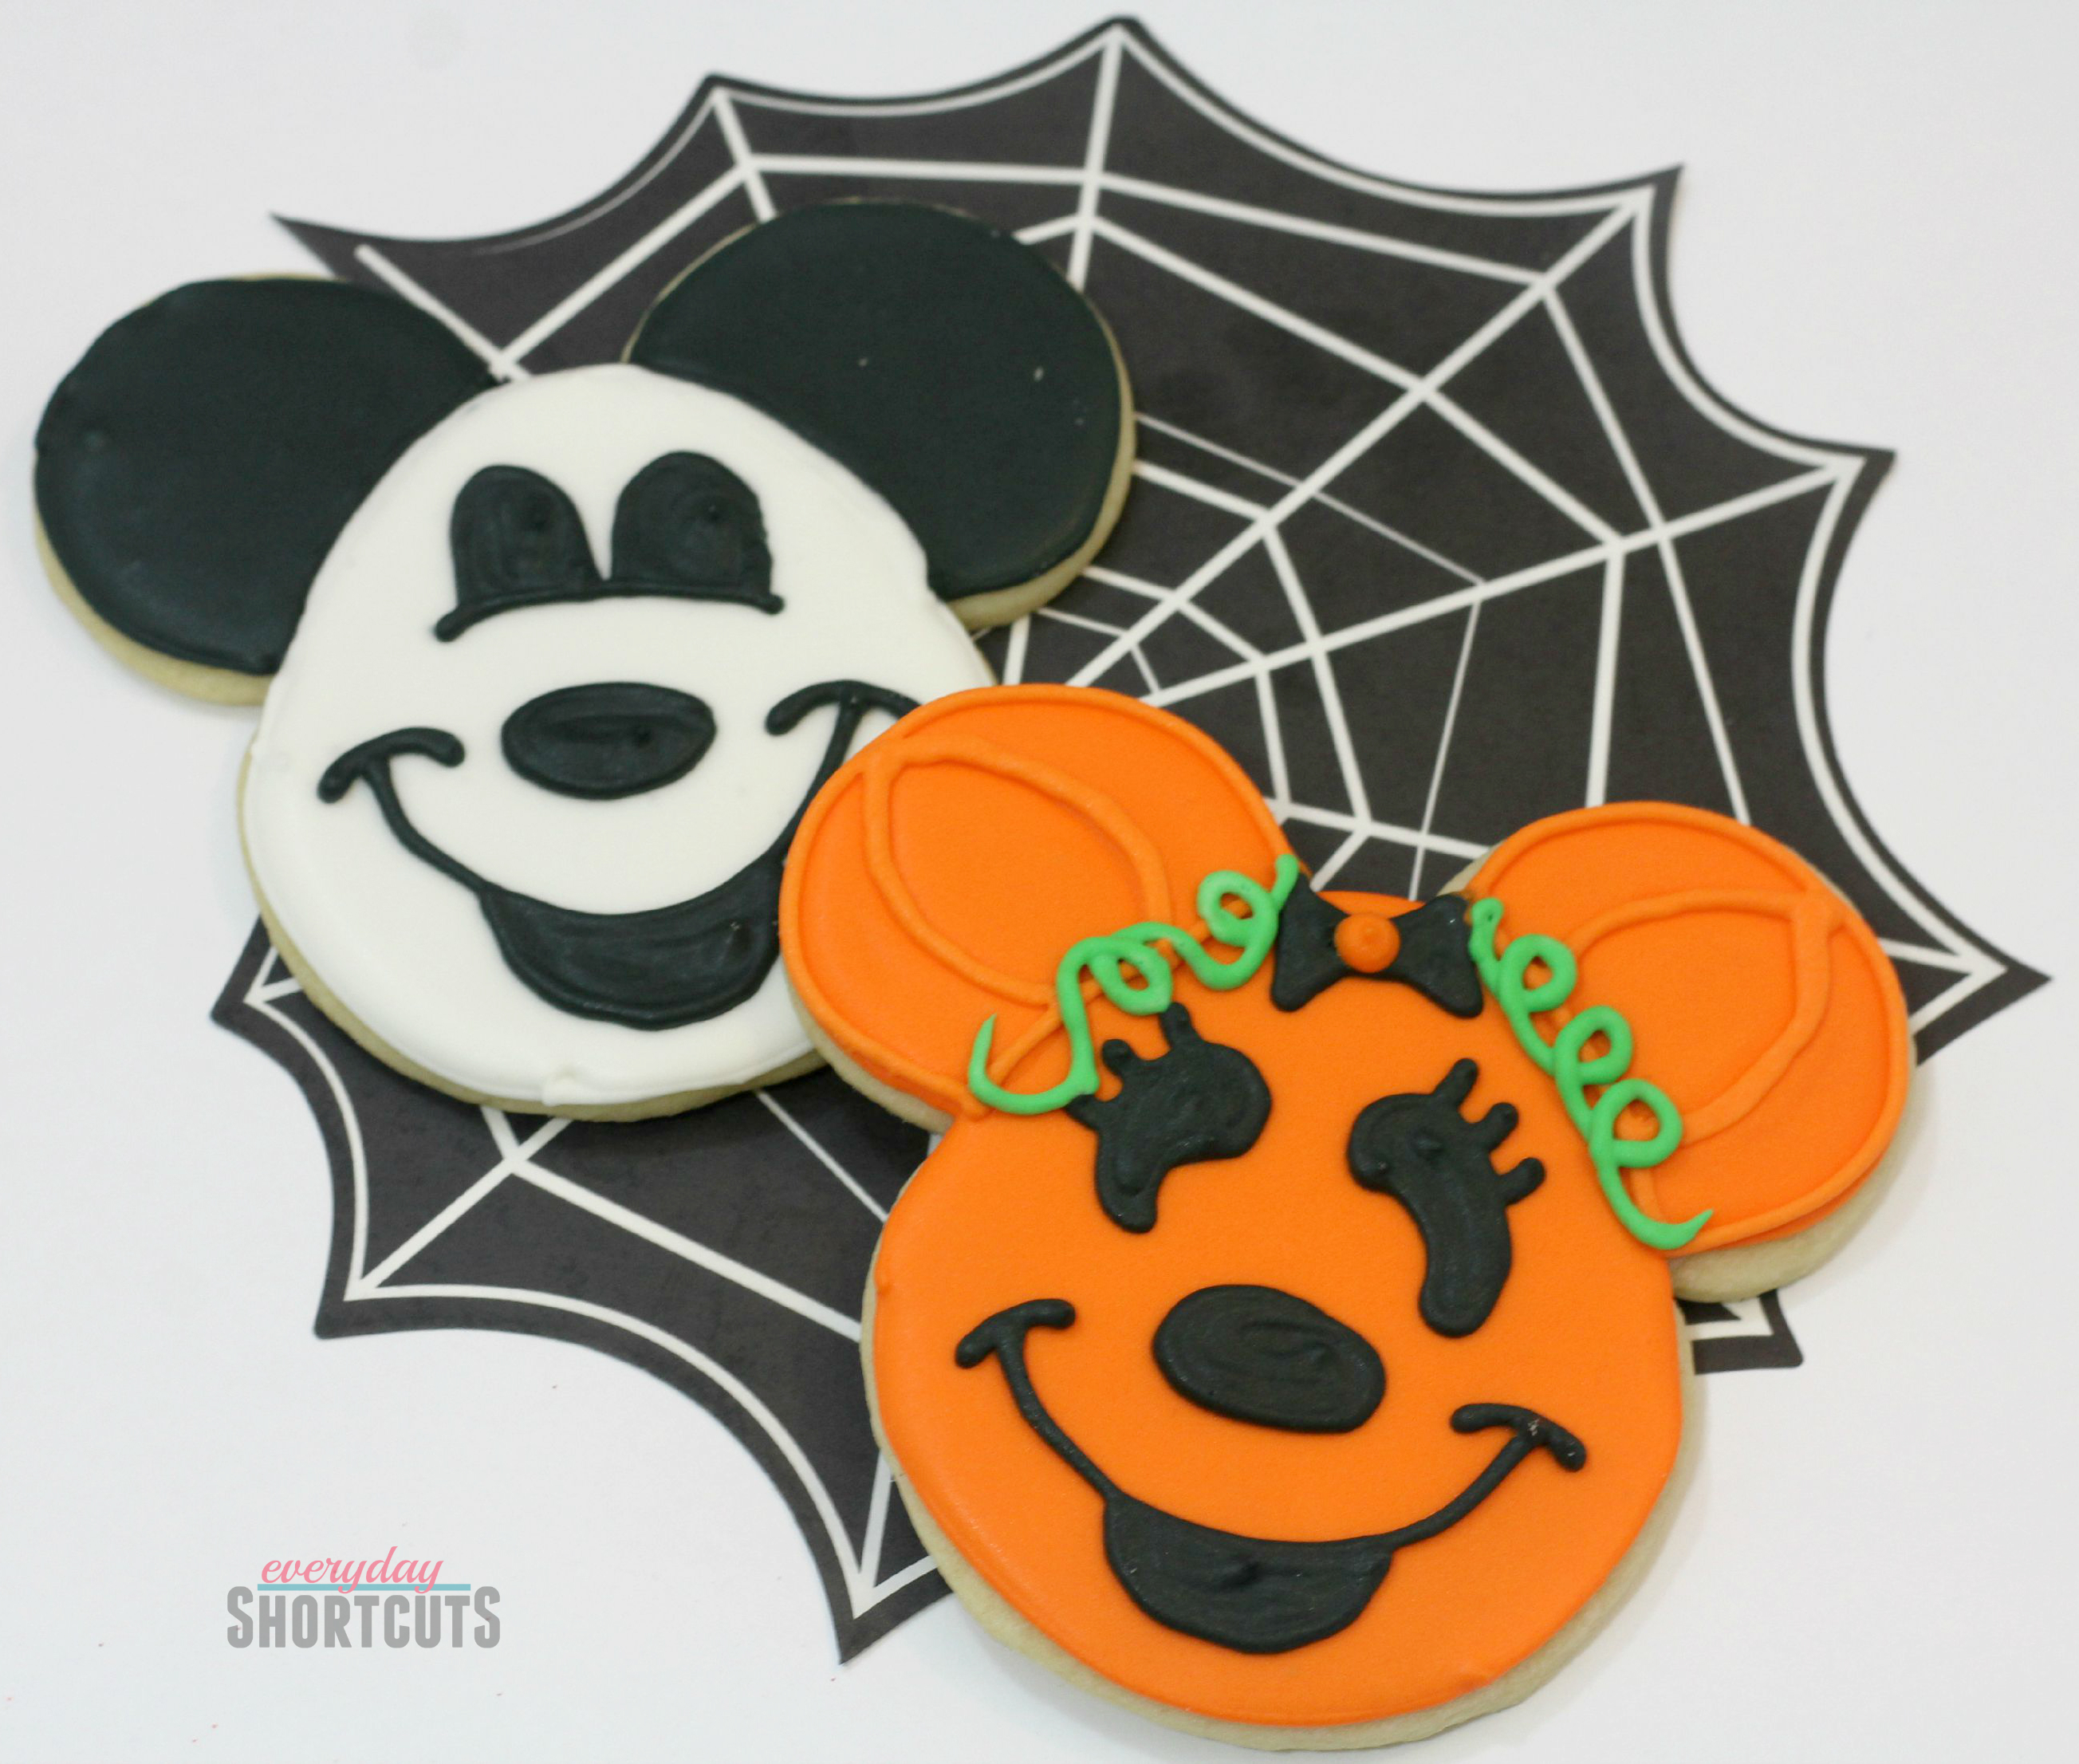
- Black & White Mickey
- -Outline each of the Mickey cookies in white (except for the ears) Allow to dry for about 30 seconds before filling in the cookie. Fill in the top and bottom of the cookies in with the white thinner icing.* Allow to dry for about 30 seconds.
- - *Squeeze the majority of the icing into a bowl then add 1 tsp of water to this and mix it in.
- -Leave a small amount of the icing in the frosting bag for later use on the cookies.
- -Using the black icing outline Mickey's ears. Allow to dry for the 30 seconds before filling in the ears using the thinner black icing *
- - *Squeeze the majority of the icing into a bowl then add 1 tsp of water to this and mix it in.
- -Leave a small amount of the icing in the frosting bag for later use on the cookies.
- -Following the black & white Mickey's picture as an outline, draw Mickey's eyes, nose, smile & mouth with a Wilton Foodwriter.
- -Ouline the eyes in the black icing and fill them in with the thinner black icing. Allow for the eyes to dry for 30 seconds before starting on the nose.
- -Outline the nose as drawn with the Wilton Foodwriter also in the black icing and again fill it in with the thinner black icing. Allow for the nose to dry for 30 seconds before starting on the mouth.
- -Following the outline as printed with the Wilton Foodwriter, outline the mouth in the black icing and fill it in with the thinner black icing.
- -Allow these cookies to dry from 5-10 hours
Orange Minnie:
- -Outline each of the Minnie cookies in orange including the inner part of the ear. Allow to dry for about 30 seconds before filling in the cookie. Fill in the top and bottom of the cookies in with the orange thinner icing.* Allow to dry for about 30 seconds before filling in the cookie.
- - *Squeeze the majority of the icing into a bowl then add 1 tsp of water to this and mix it in.
- -Leave a small amount of the icing in the frosting bag for later use on the cookies.
- -Following the Minnie's picture as an outline, draw Minnies's eyes, nose, smile,mouth & bow with a Wilton Foodwriter.
- -Outline and fill a small black bow on Minnie's forehead, allow the 30 seconds to dry. In the middle of the bow add a small orange dot.
- -Ouline the eyes in the black icing and fill them in with the thinner black icing. Allow for the eyes to dry for 30 seconds before starting on the nose.
- -Outline the nose as drawn with the Wilton Foodwriter also in the black icing and again fill it in with the thinner black icing. Allow for the nose to dry for 30 seconds before starting on the mouth.
- -Following the outline as printed with the Wilton Foodwriter, outline the mouth in the black icing and fill it in with the thinner black icing.
- -Using the green icing add a vine along the outline of her ears.
- -Allow these cookies to dry from 5-10 hours.
Nutrition Disclosure
Nutritional facts are estimates and are provided as a courtesy to the reader. Please utilize your own brand nutritional values to double check against our estimates. Nutritional values are calculated via a third party. Changing ingredients, amounts or cooking technique will alter the estimated nutritional calculations.
Tried this recipe?Tag @everydayshortcuts or use #everydayshortcuts on Facebook, TikTok or Instagram to let us know!

Kathy says
Adorable. Thanks for showing us how you made them.
Alison says
You’re welcome!
Kim says
I have had an issue when putting black icing on top of white, as it dried. The color dye bled into the white Do u happen to know why?
Alison says
Try letting the white dry first and see if that works.