
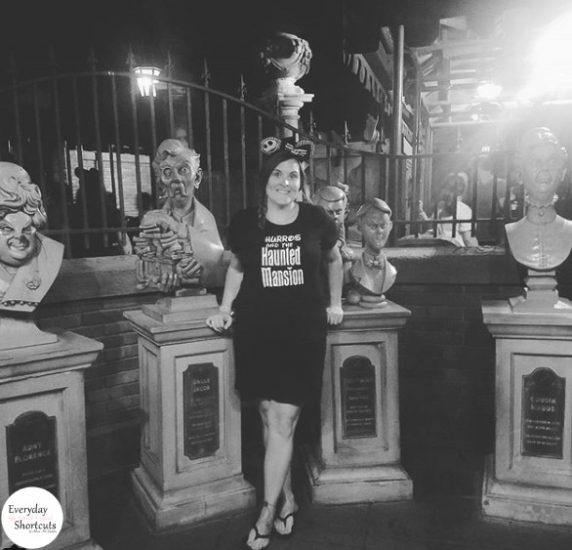
It’s the official opening day of Mickey’s Not So Scary Halloween Party and one of my favorite times to visit Disney World. For the past few years, I have visited I always had a blast. If you’re unsure of what the party is about, check out this article about What You Need to Know About Mickey's Not So Scary Halloween Party. It will give you all the details you need to know before you go.
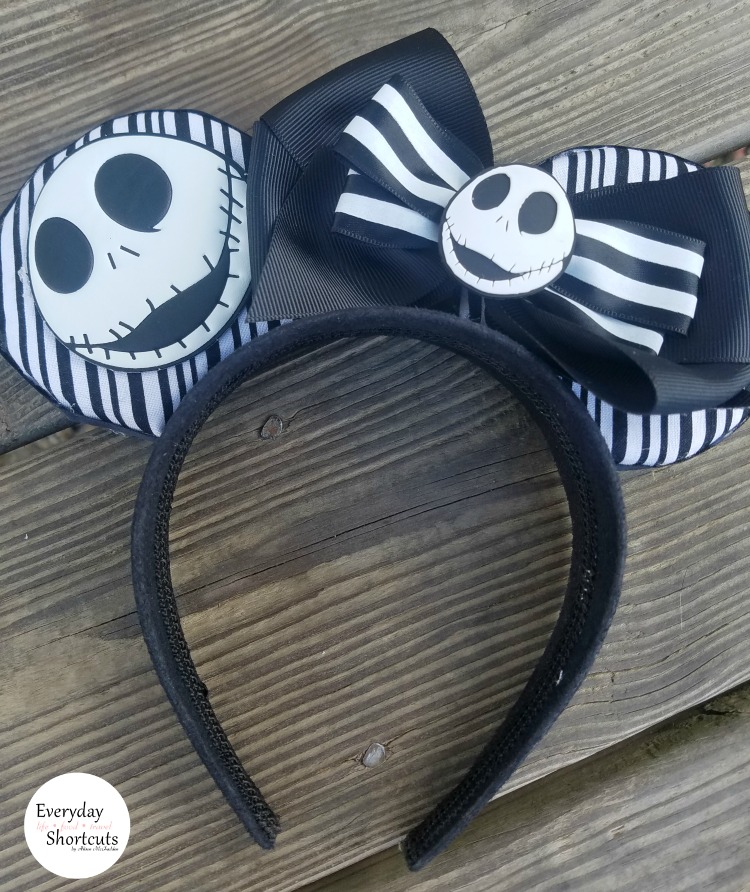
When I visited last year, I came in wearing my Jack Skellington ears that I made and received so many questions and compliments on them that I thought I would do a tutorial so you can make your own for when you visit.
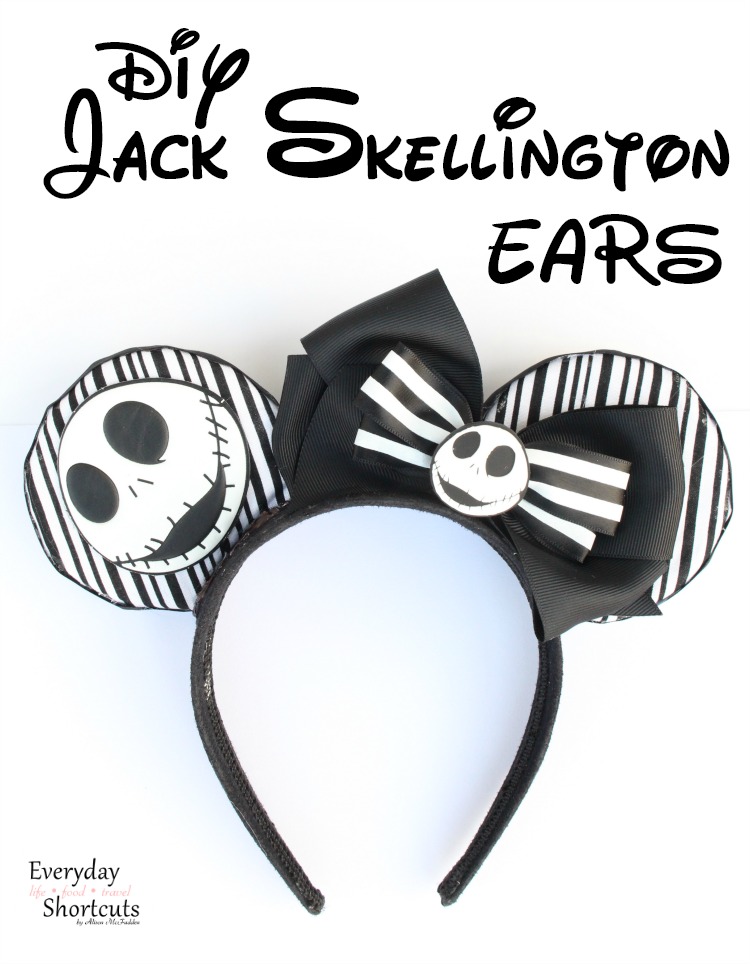
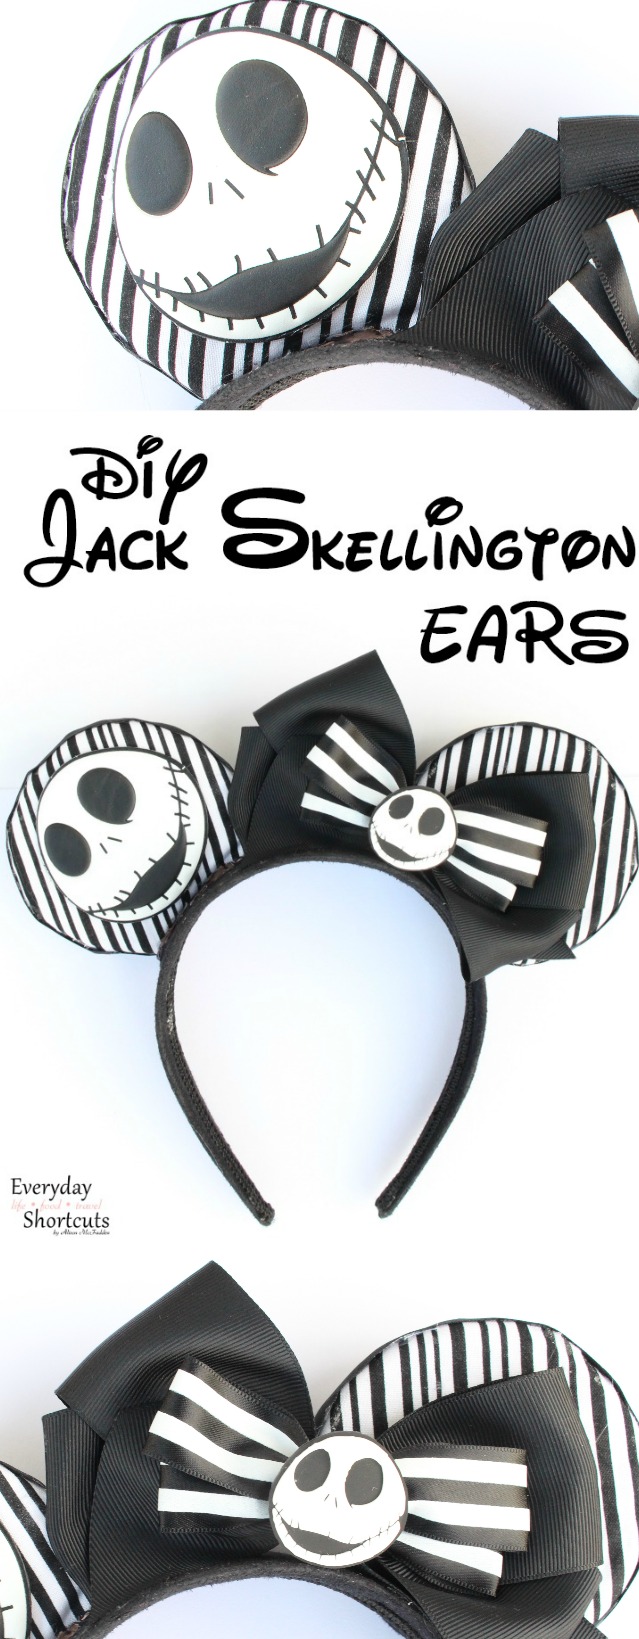
DIY Jack Skellington Ears
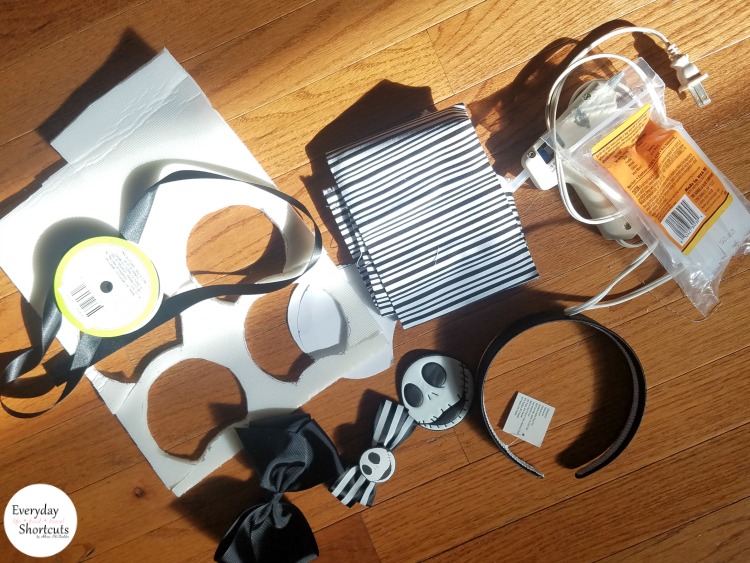
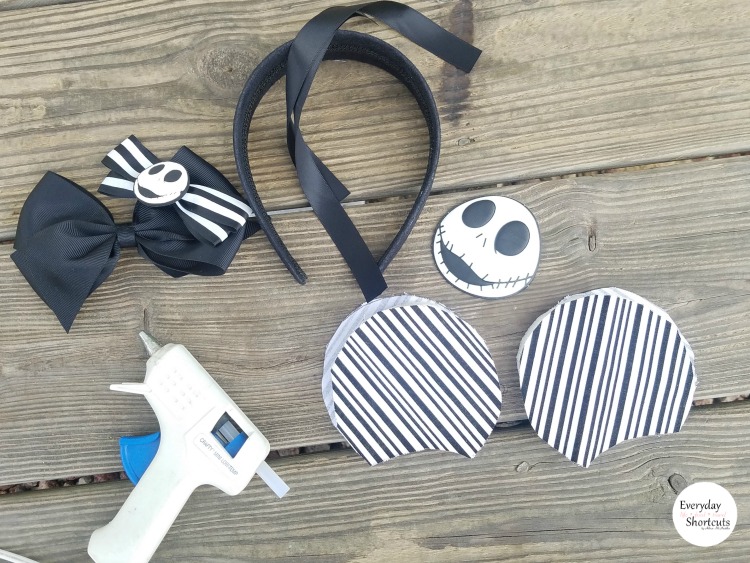
Supplies Needed
- 1 sheet 5mm foam
- Black and White striped fabric
- Black ribbon
- Ear pattern
- Jack Skellington bow
- Jack Skellington face
- Black fabric covered headband
- Hot glue gun
- Gorilla glue sticks
- Scissors
Directions
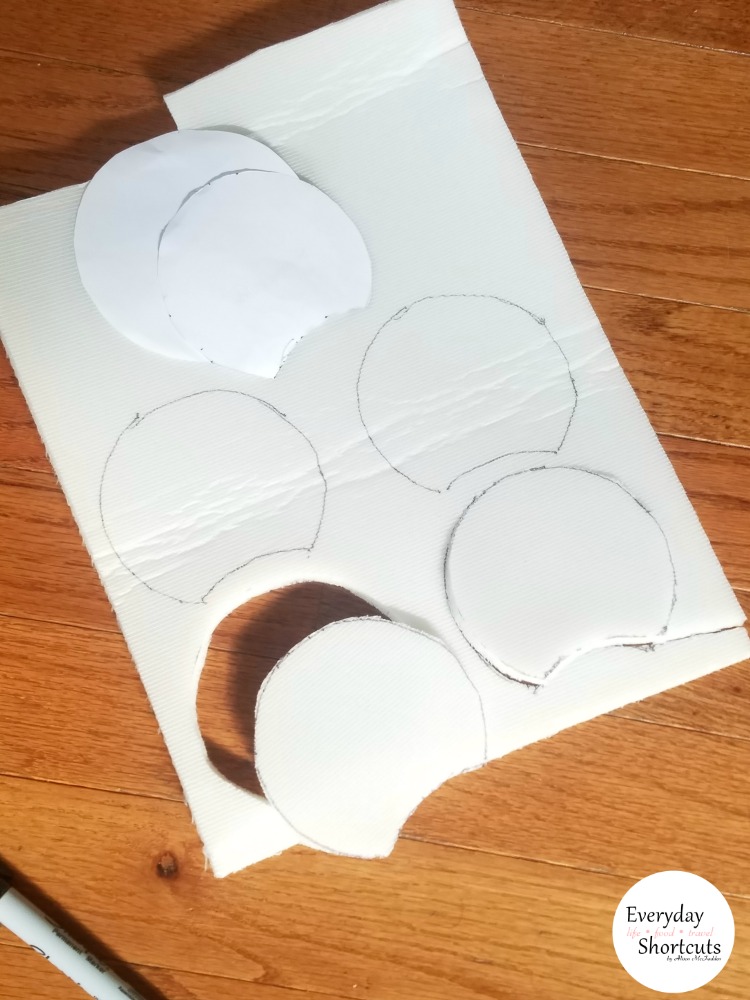
Cut out 4 foam ear shapes using the small ear pattern.
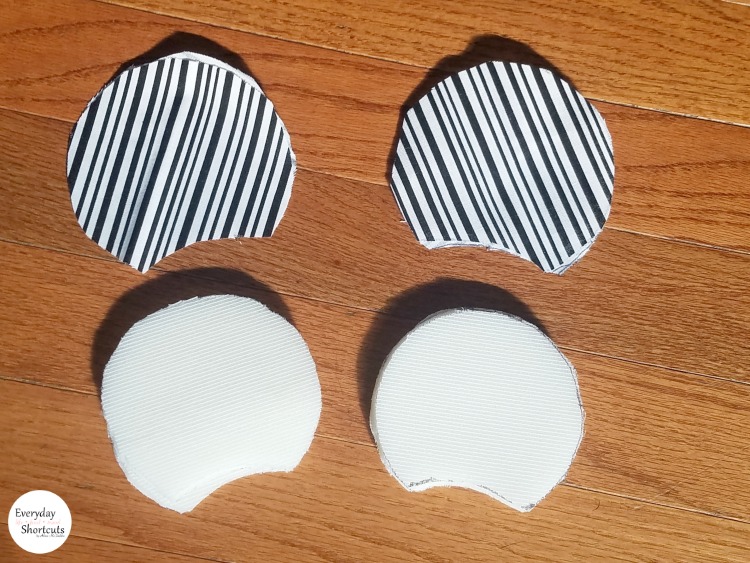
Cut out 4 fabric ear shapes using the larger ear pattern.
Place 2 foam pieces back to back and glue together. Repeat the process again so it makes 2 ear shapes.
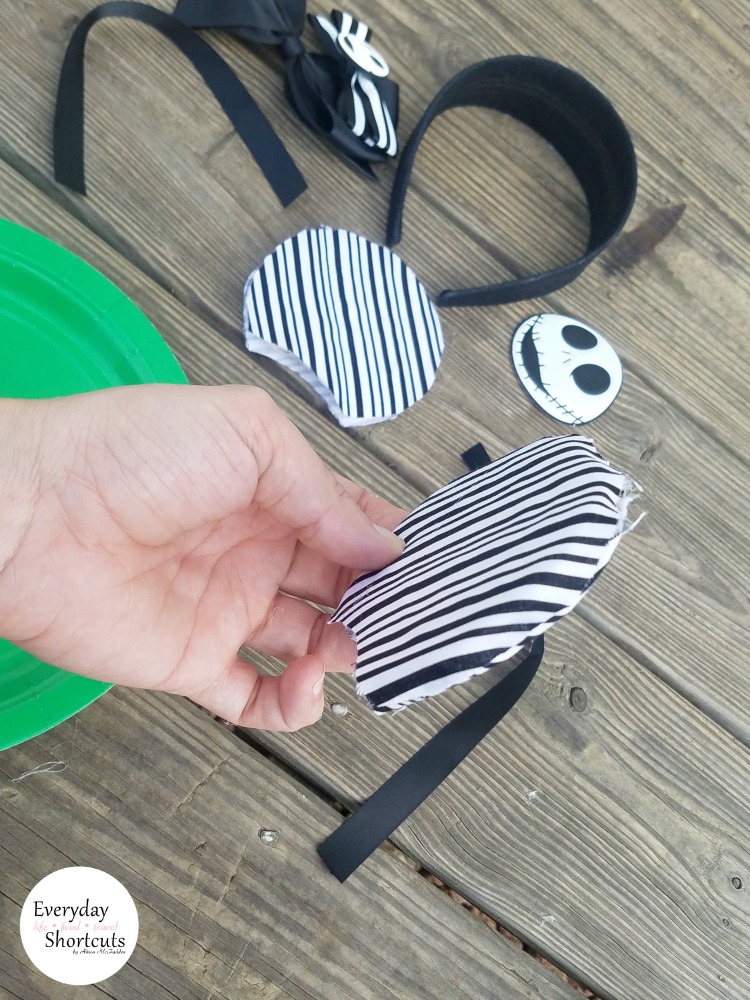
Take 2 pieces of fabric and cover the foam and tuck in the ends and glue down. Repeat with the second ear.
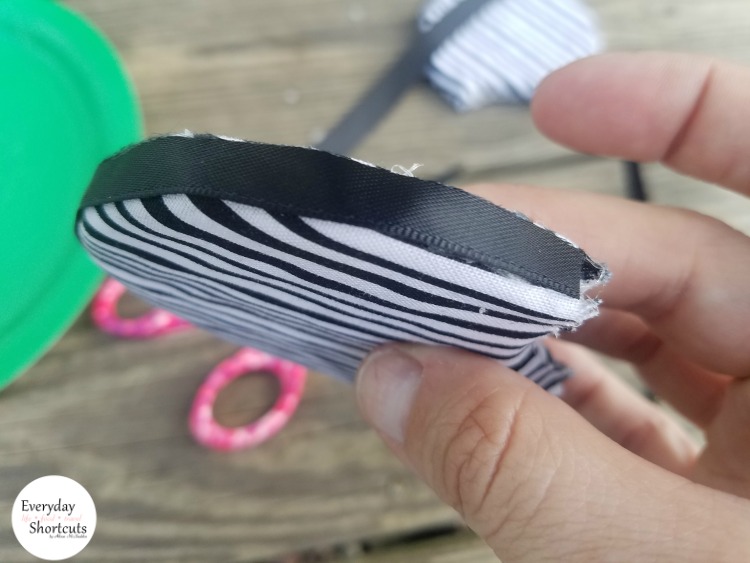
Measure our a piece of black ribbon to fit around the ear and cut. Glue down the ribbon around the ear shape.
The ear shapes should be about 3 inches apart on the headband. Measure it out and glue down the ear shapes.
Glue the Jack Skellington face on one ear and then properly place the bow on part of the other ear and in between the ears and glue down.
Now you’re set to show them off at Mickey’s Not Scary Halloween Party!
Leave a Reply