A Grim Reaper Scythe is the perfect accessory for a Halloween costume or for a spooky decoration. With a few simple materials and some basic crafting skills, you can create your own DIY grim reaper scythe.

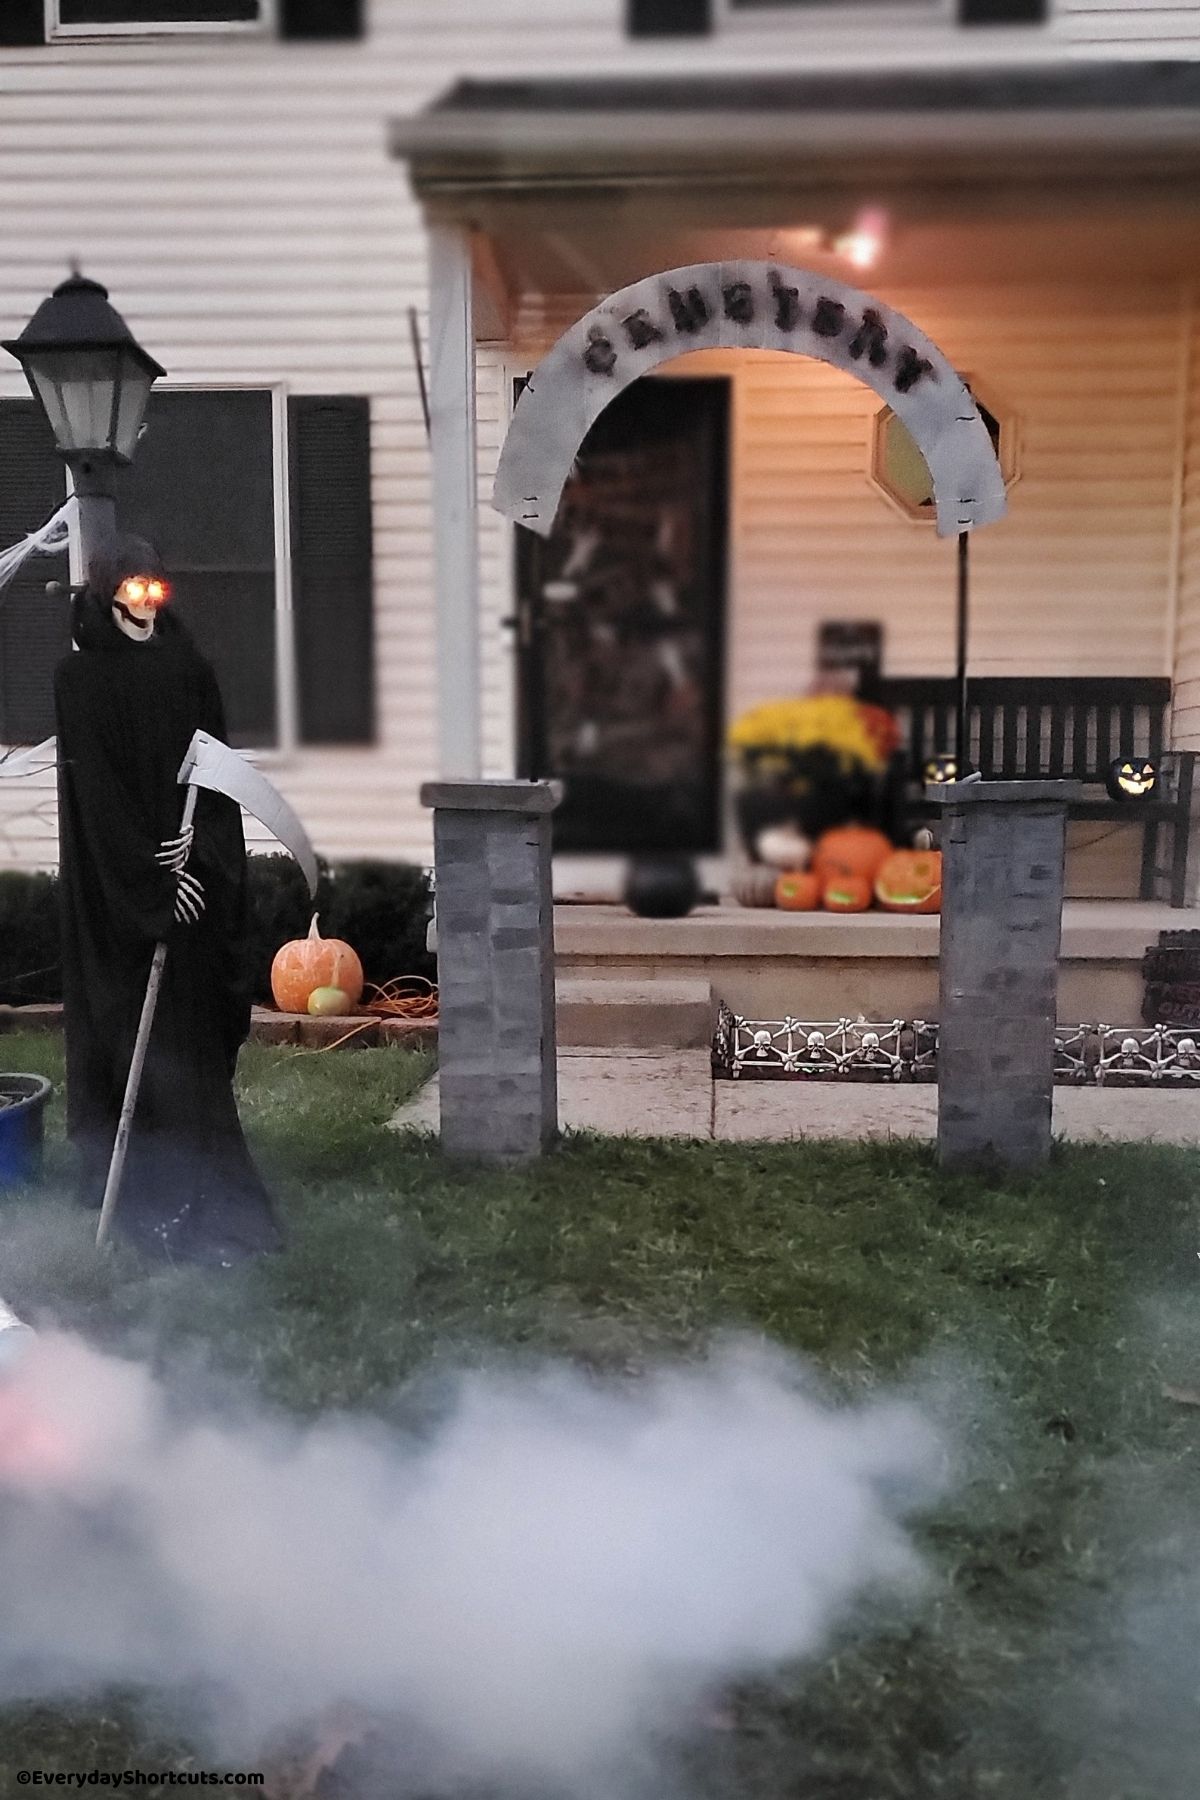
For our haunted Halloween cemetery we added a grim reaper with scythe as part of our display. Since I didn’t have either a grim reaper or scythe on hand, I brainstormed and created my own using what I had on hand. Here is how I made them both.
What is a scythe?
A scythe is a farming tool with a long, curved blade used for cutting crops. It is typically made of a long wooden handle with a sharp metal blade attached at a right angle to the handle.
Scythes have been used since ancient times for harvesting crops, but they have also been associated with death and the grim reaper in many cultures.
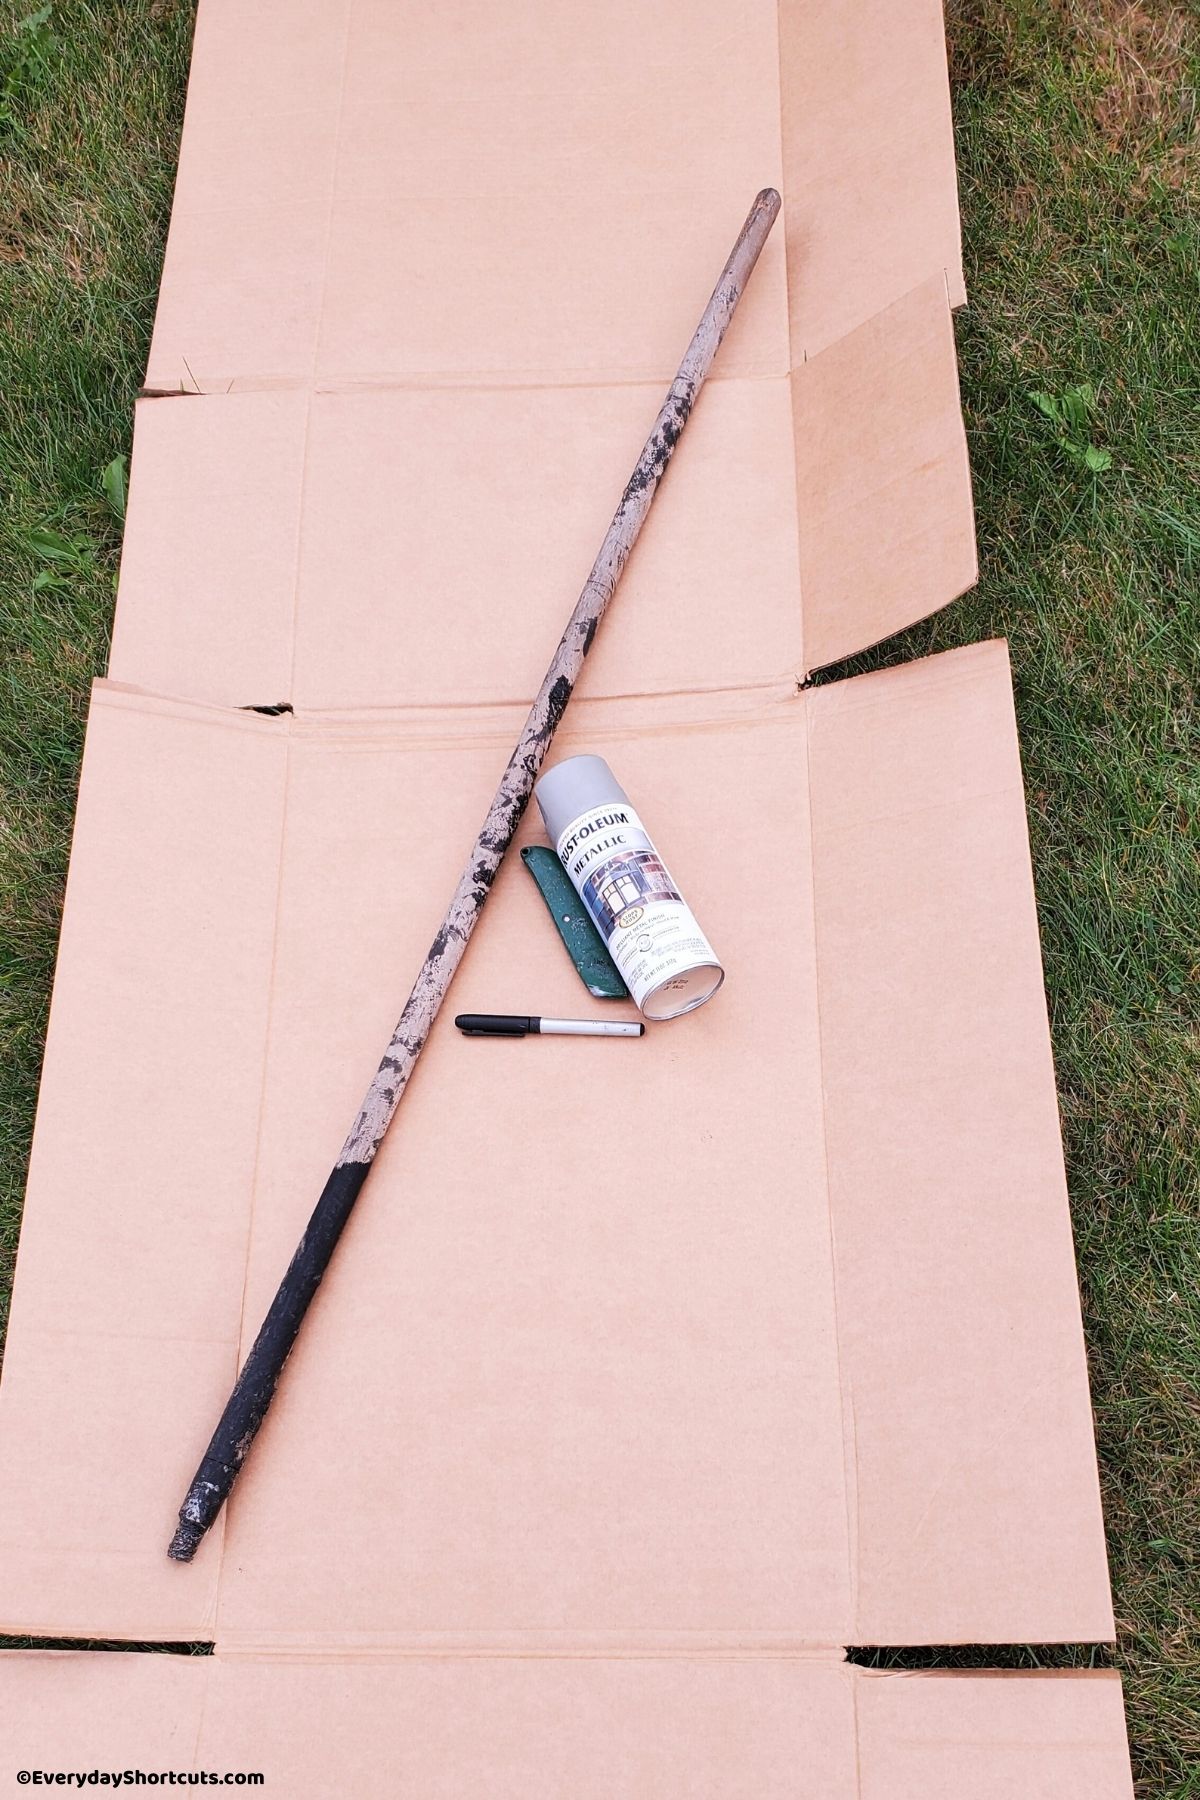
Materials Needed for DIY Scythe
- Wooden or broomstick handle
- Zip ties
- Large piece of cardboard
- Silver spray paint
How to Make A Grim Reaper Scythe

Freehand a scythe blade onto the cardboard and cut out. This might take you a few times but don’t worry about the markings are you are going to spray paint it.
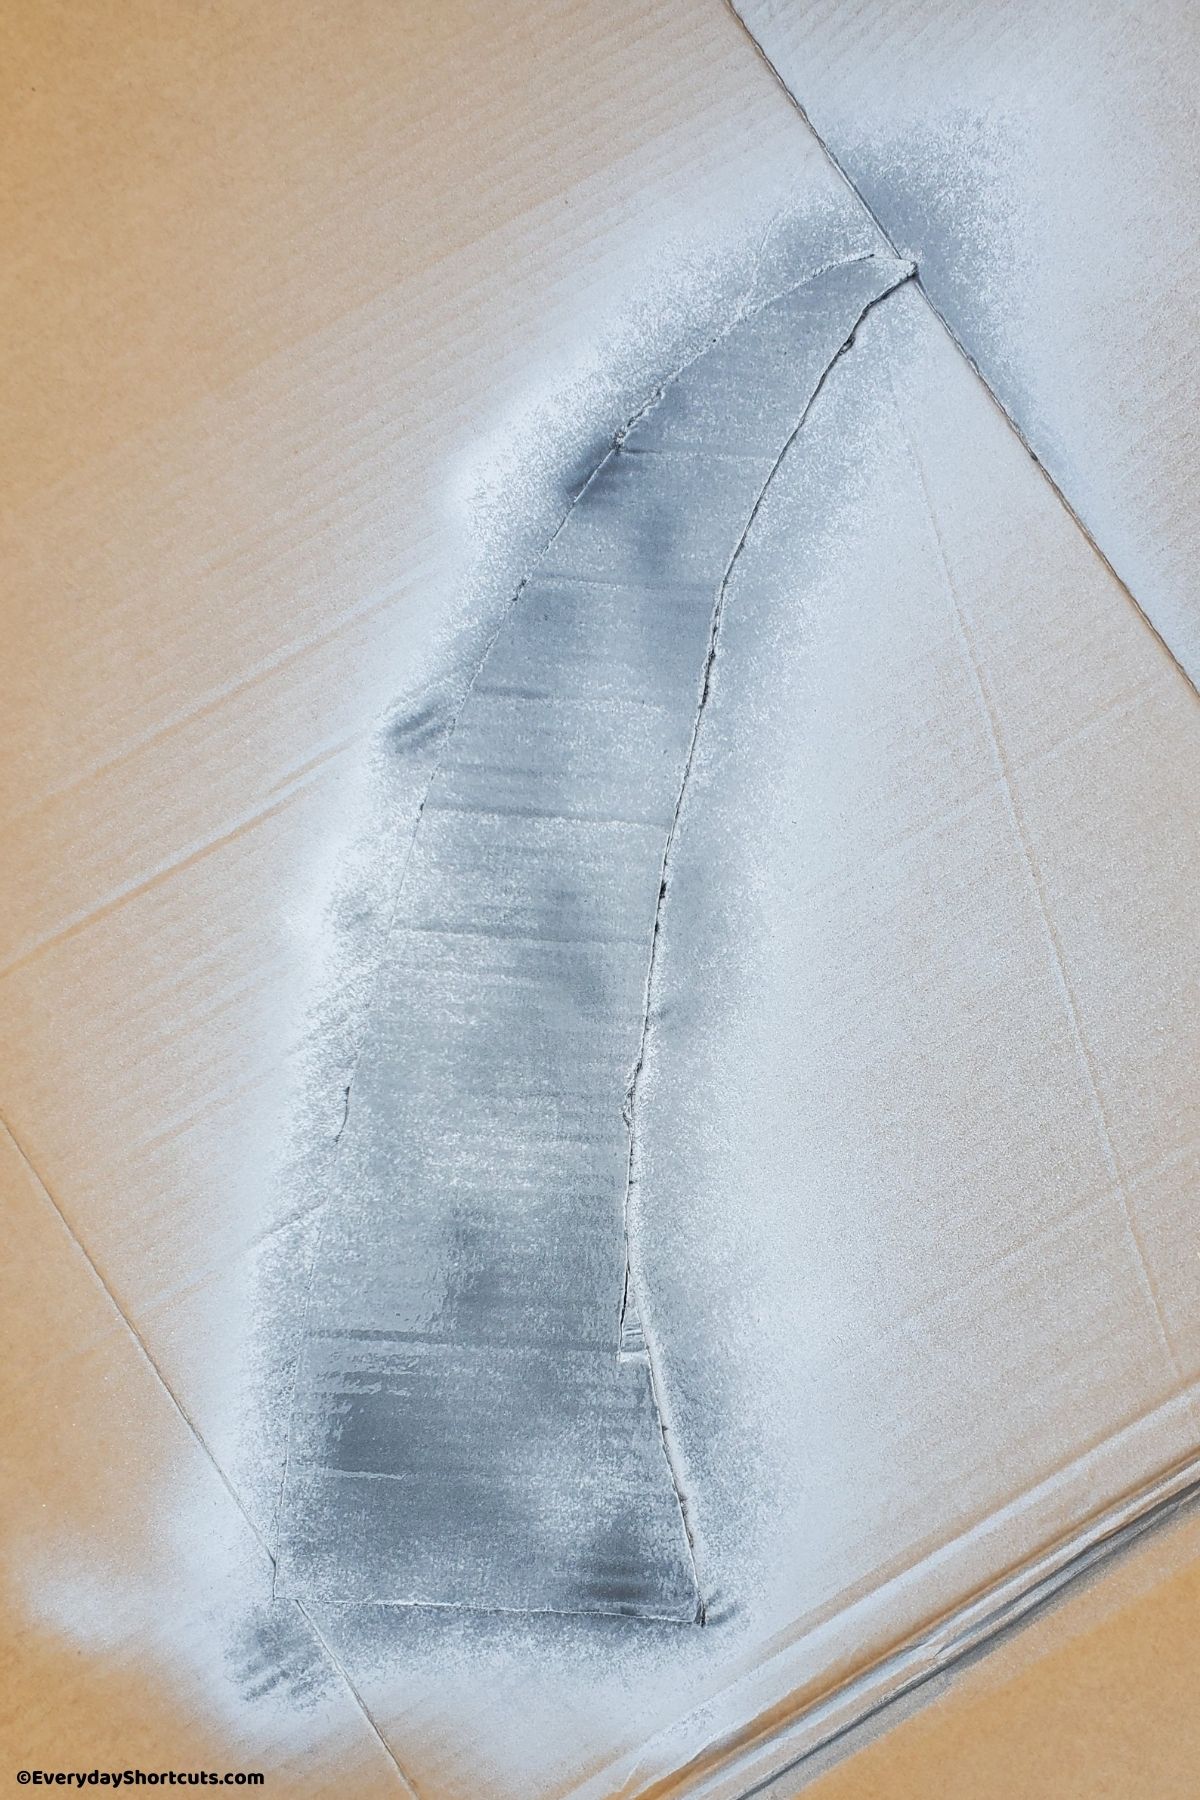
Spray paint one side silver and allow to dry and repeat on the other side. Spray with clear sealant spray to protect it from water and let dry.
Once dried, poke 2 holes in the scythe blade and zip tie to the wooden pole.
How to Make a Grim Reaper
I purchased this 5 foot glowing eyes skeleton and draped a black plastic tablecloth from the dollar store to protect it from the rain and then a black cheesecloth over top.
Then I added a black cape and secured the scythe to his hands with zip ties.
I used large zip ties to secure him to our light pole and then turned on the glowing eyes for the grim reaper effect.

He’s a great addition to our haunted graveyard and was cost effective! And if you don’t want to use the scythe for a decoration, it makes the perfect accessory to a grim reaper costume for Halloween!


Leave a Reply