

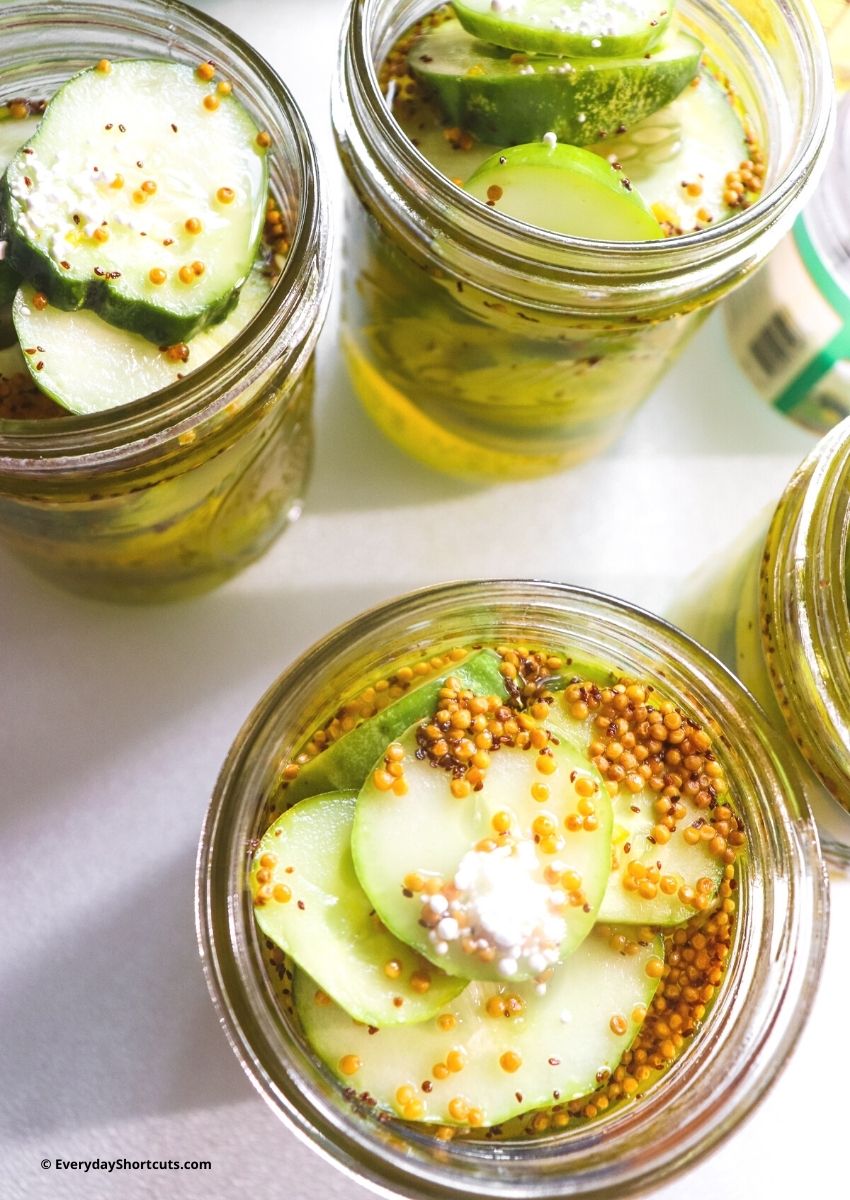
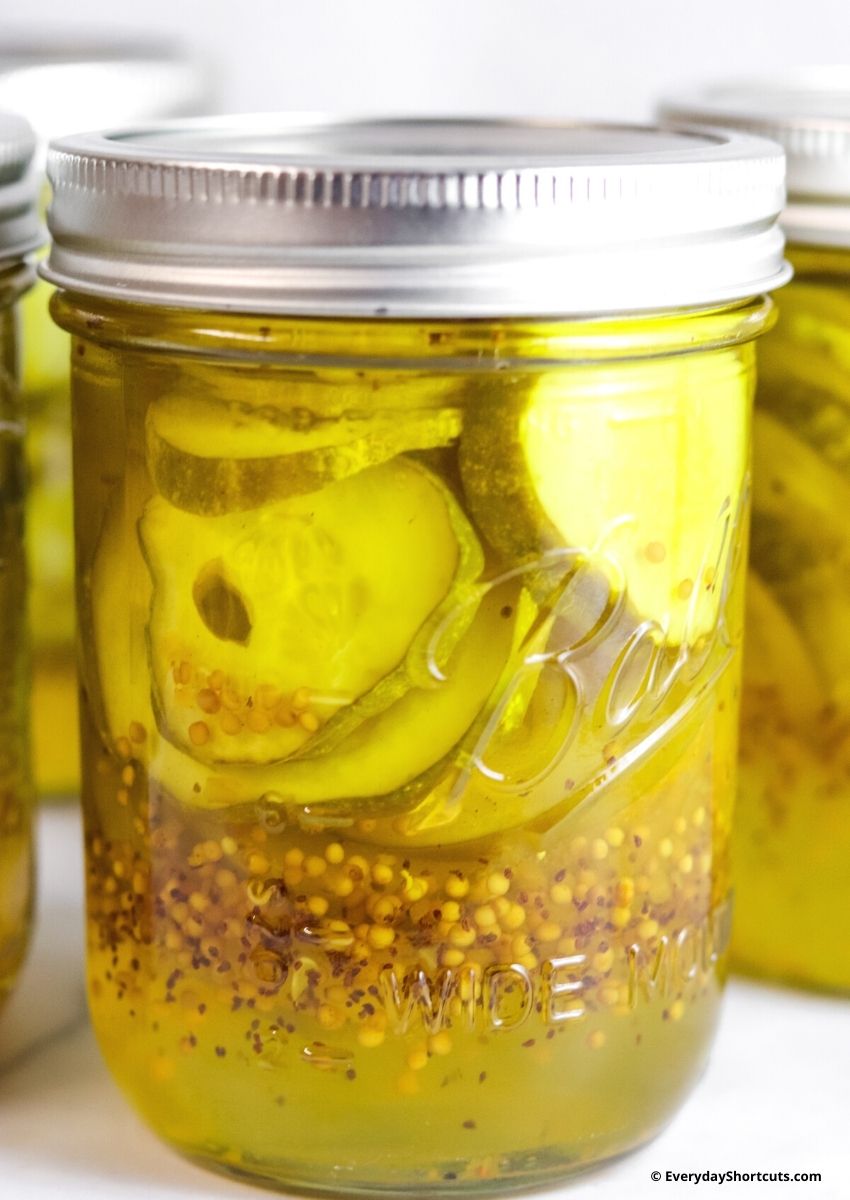
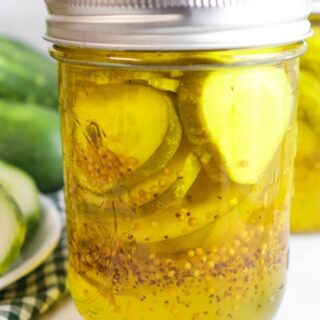
You won’t be able to stop at just one of these delicious, homemade Bread and Butter Pickles. They’re the perfect salty snack for any occasion and they’ll turn your favorite dish into something really special!
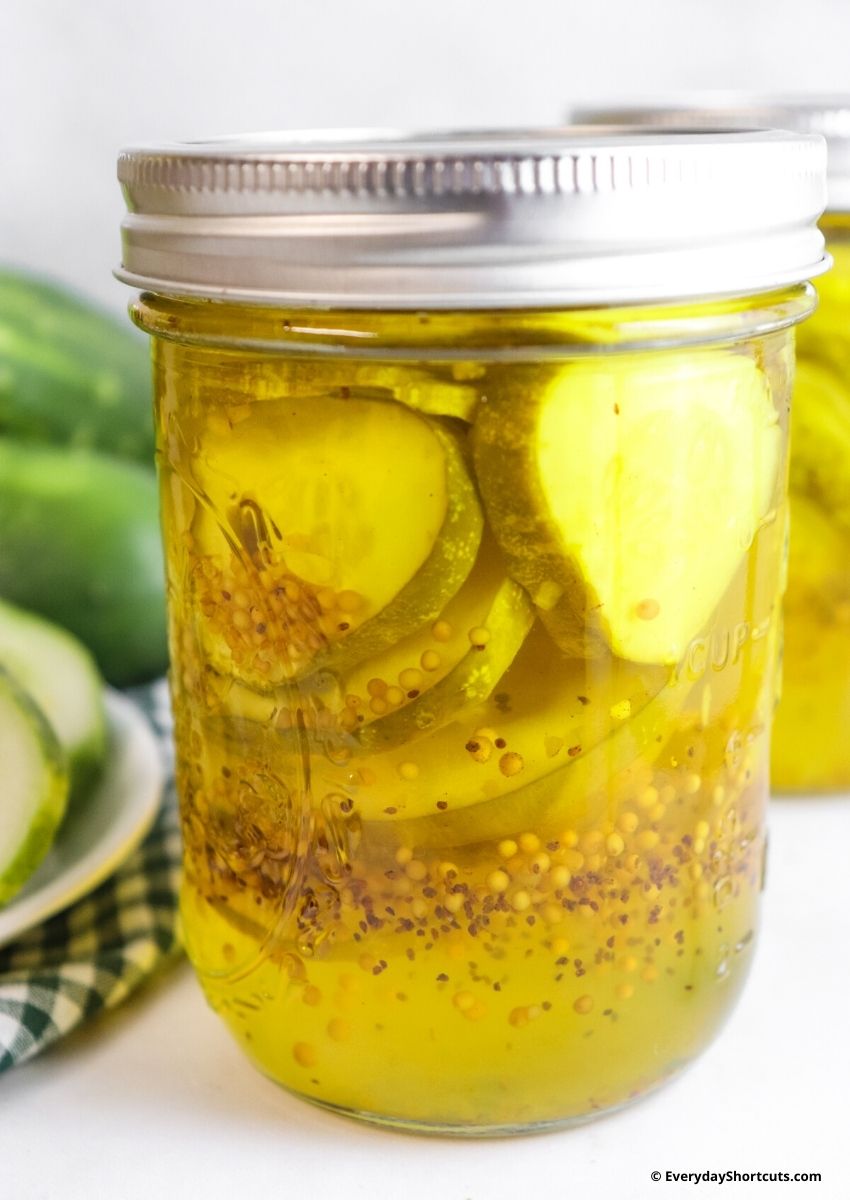
Making your own pickles is easier than you think. This recipe for bread and butter style pickles has a simple consistency that tastes BETTER than store bought! Bread and butter pickles are a tasty treat that can be served on top of sandwiches, hot dogs, hamburgers, or just about anything. I like to use them as a side dish with some barbecued ribs! You can even eat them all by themselves. YUM!
You’ll never want to buy pickles from the store again after making these homemade bread and butter style.
What are Bread and Butter Pickles?
Bread and butter pickles get the name because of the sliceable, buttery tasting sweet cucumbers that are cut into slices. There is no actual butter in this recipe-it just has a similar flavor to sweet butter. Bread and butter pickles are also known as sweet pickles, because the batter is flavored with sugar.
What are the Best Cucumbers for Pickling?
Chicago Pickling Cucumbers make great crunchy pickles. If you want to pickle them whole, pick cucumbers when they are still quite small. I let them get about 6" long and can get quite a few pickles from them.
Bread and Butter Pickle Tips
- If you use pint mason jars and want spears, you may need to cut them in half to fit in the jars.
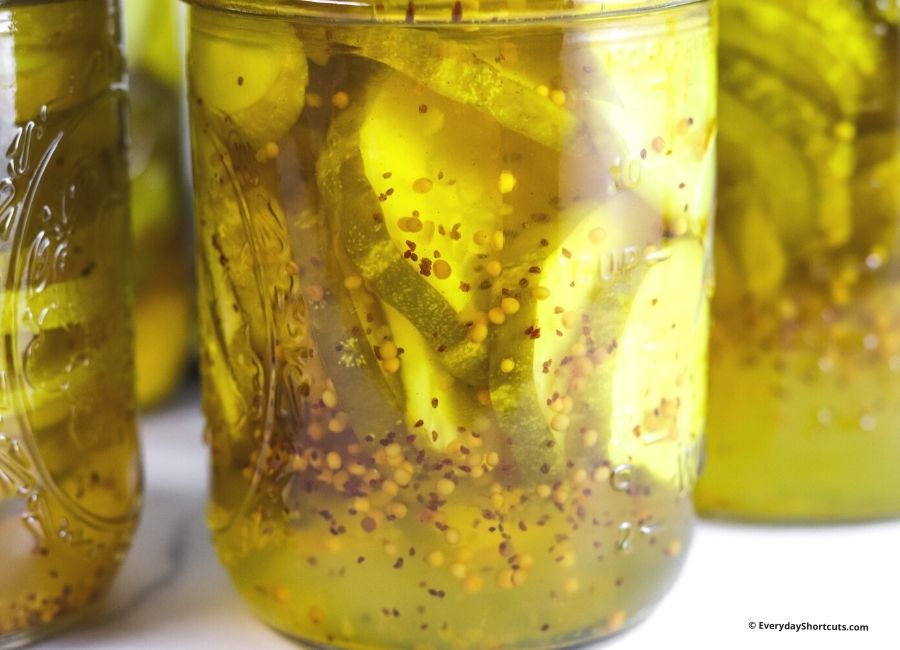
- To make sure that the pickles are crunchy, crisp, and not mushy, it is very important to slice the cucumbers about 1/16″ thick.
- Fresh cucumbers have lots of water in them. Dry them off very thoroughly before placing it into a brine mixture or they could be watery.
- Use proper canning equipment and make sure to sterilize jars and lids before beginning.
- If you have extra brining liquid, you can store it in the refrigerator for 1 week. Heat it up and make more pickles.
Pickle Variations
- To add some heat, sprinkle in cayenne pepper to taste.
- To spice it up, add a few teaspoons of red pepper flakes.
- For some extra tang, try adding a half cup of chopped dill pickles.
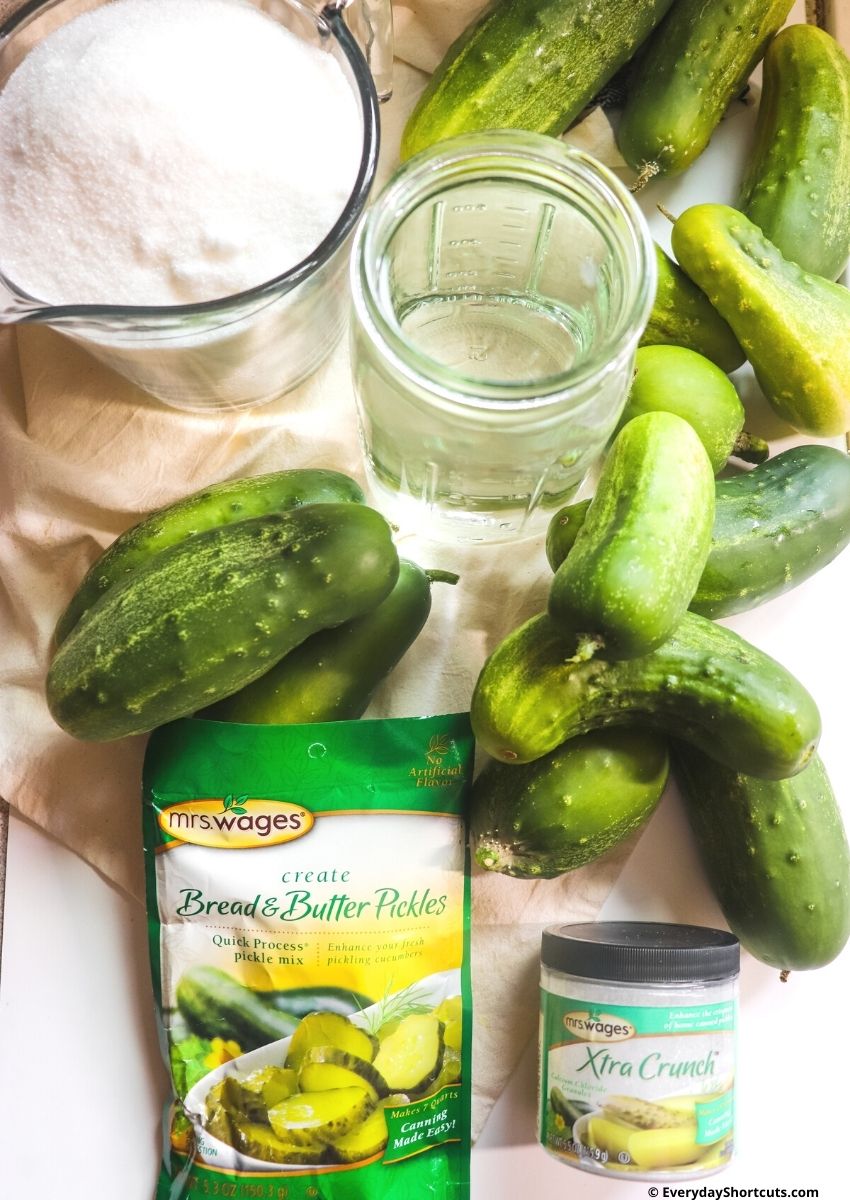
Pickle Ingredients
9-11 lbs pickling cucumbers 25 large
Mrs. Wages Pickle Mix: Bread & Butter
Mrs. Wages Xtra Crunch Granules
6 ¾ cups White Distilled Vinegar (5% acidity)
7 cups sugar
Supplies Needed
Canning jars: regular or wide mouth, pint or quart.
Canner
Canning funnel
Canning tongs
Large saucepan
Large cooking pot
Paper towel
Cutting board and knife
How to Make Bread and Butter Pickles
Before you prepare your jars get the canner ready by filling it with water and turn on high as it takes a while to boil.
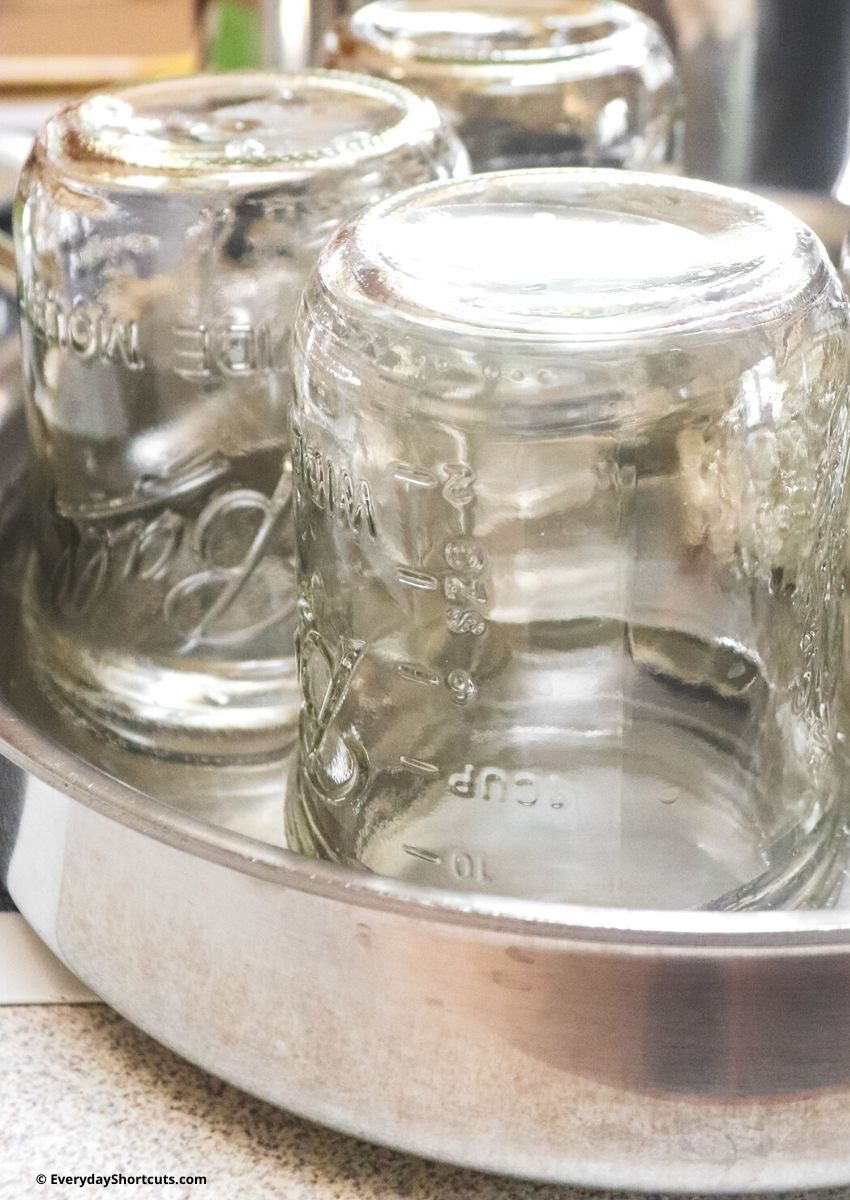
Prepare and Sterilize the Jars
Sterilize your canning jars by washing them in hot soapy water. Use brand new lids, rings can be reused if they are not rusty and in good working condition.
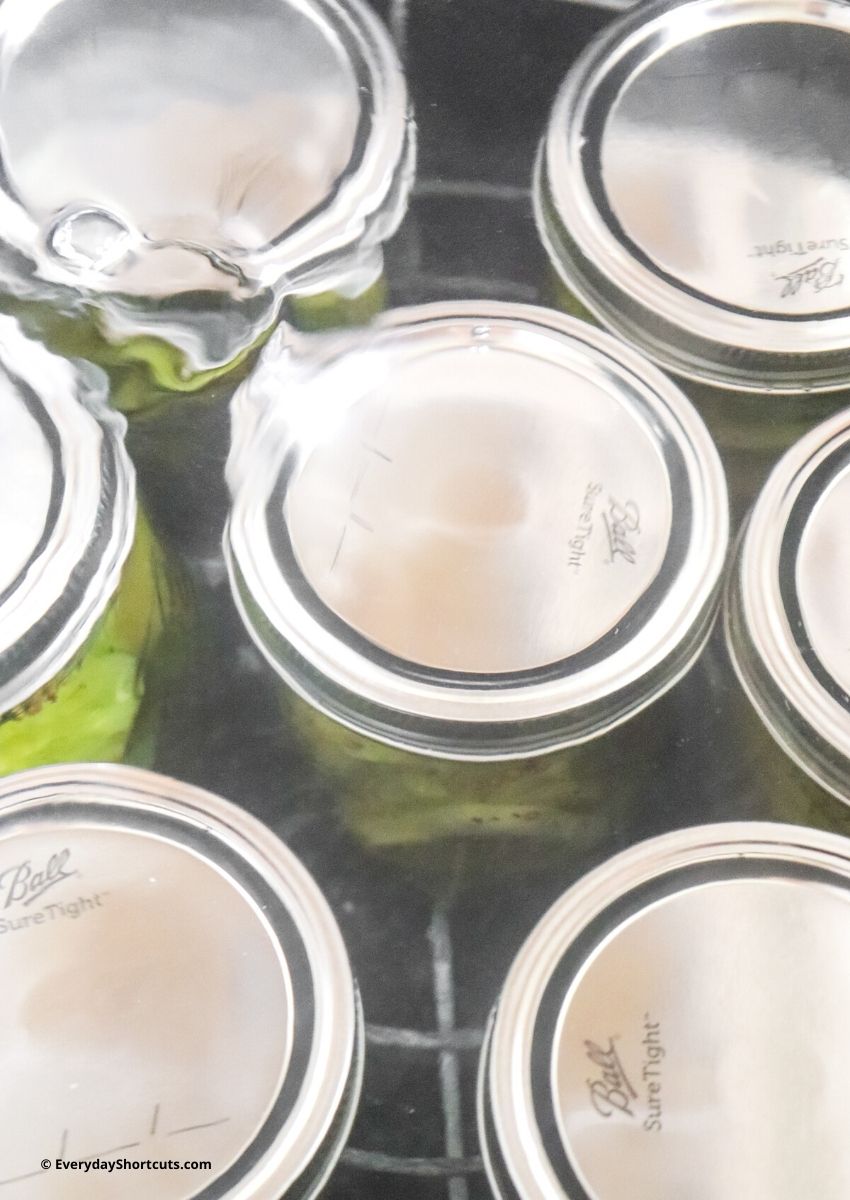
Fill large saucepan ¾ full of water and place on the stove top. You’ll place your clean canning jars upside down in the water, along with rings and lids. You may only be able to do 2-4 at a time. Watch the water can suck up inside the jars and you may need to refill the saucepan as you go. You want to keep your jars hot during this process.
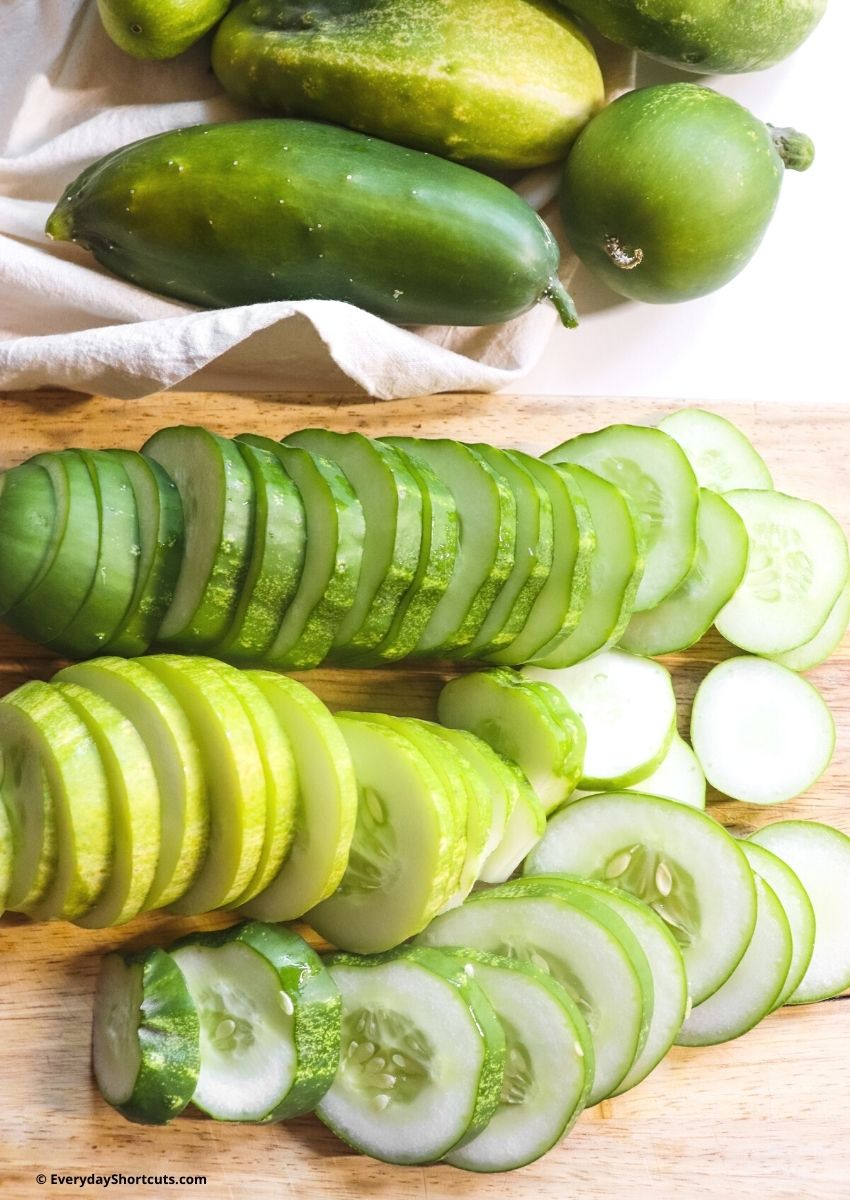
Wash and Cut the Cucumbers
Thoroughly wash the cucumbers to remove all dirt and debris from them and drain.
Cut 1/16" slice off blossom end of cucumbers and discard. Cut off both ends and any bad spots on the cucumbers. You can use a mandoline slicer for this process if you want.
Cut cucumbers into pickles, you can do either spears or slices. Set aside.
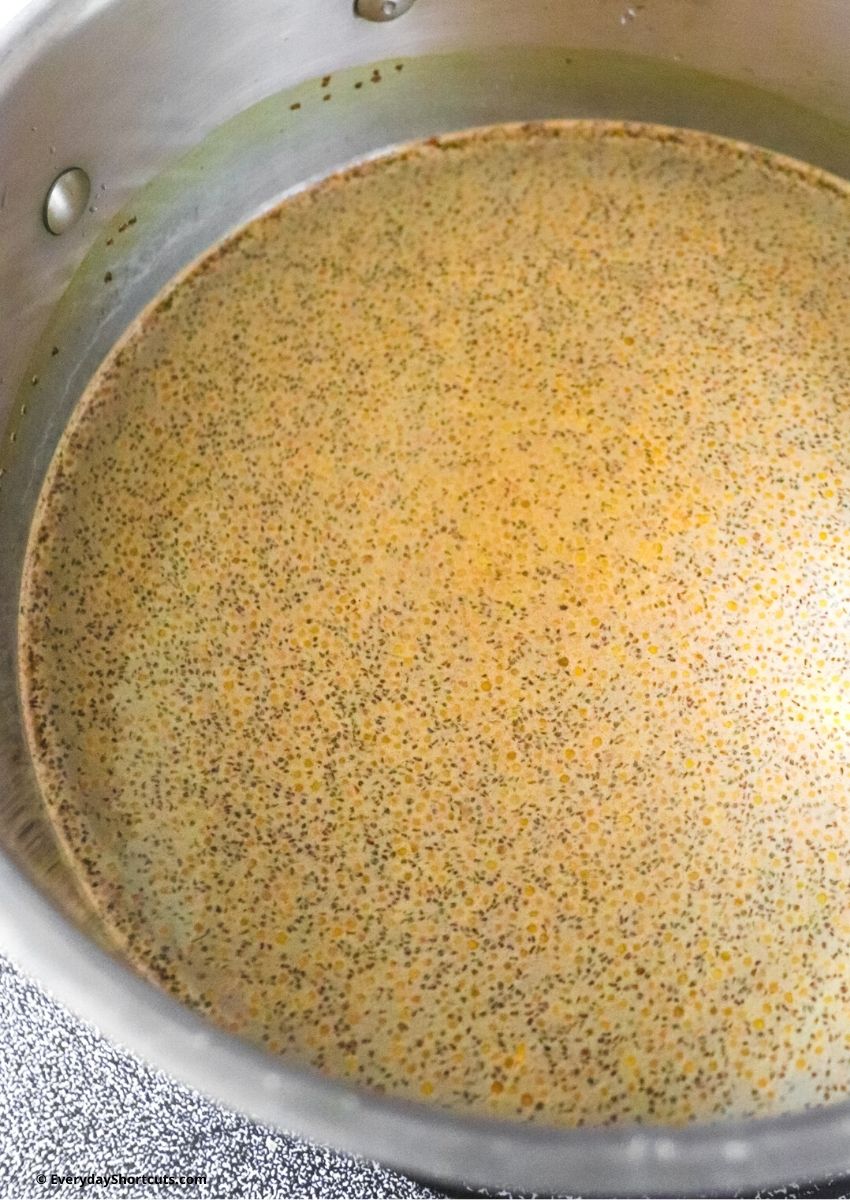
Make the Brine
In a large cooking pot, mix together Mrs. Wages pickling mix, water, sugar, and vinegar according to package directions and bring to a boil. Stir constantly until the brining mixture dissolves. Remove from heat.
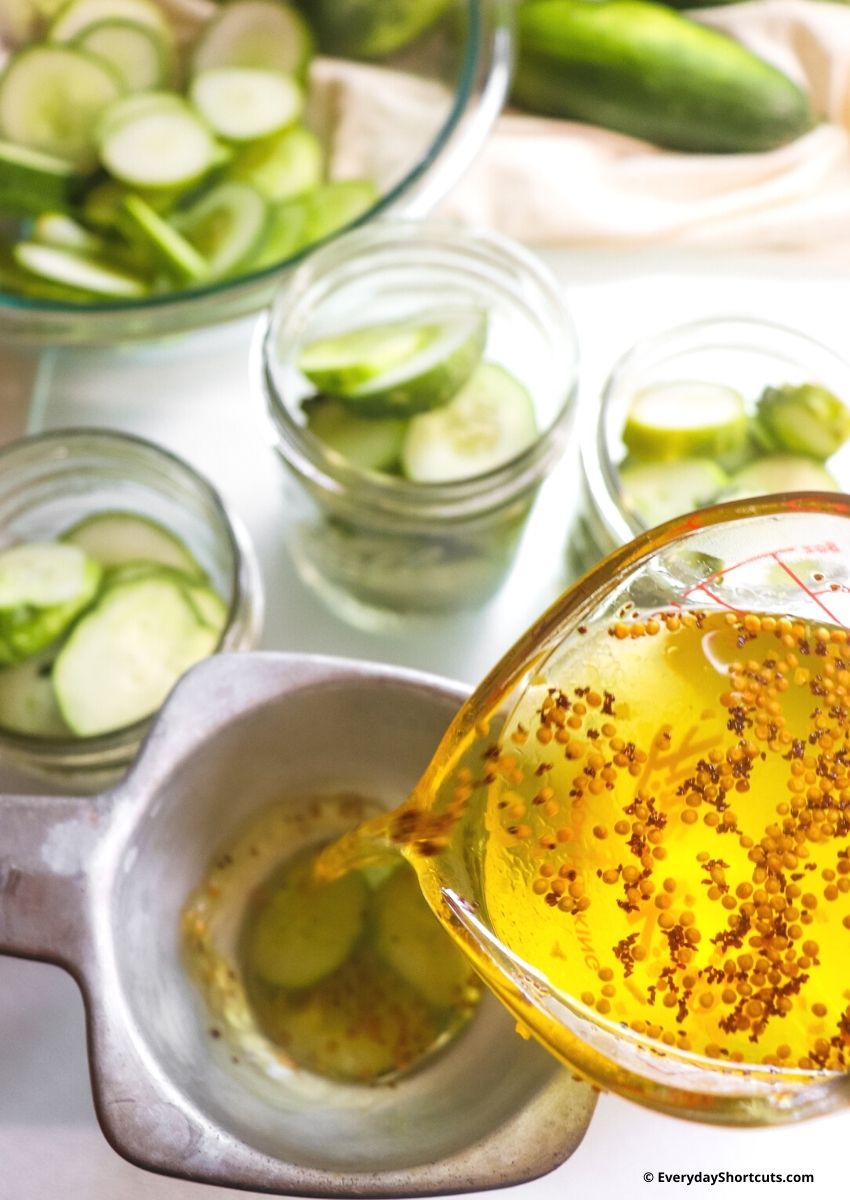
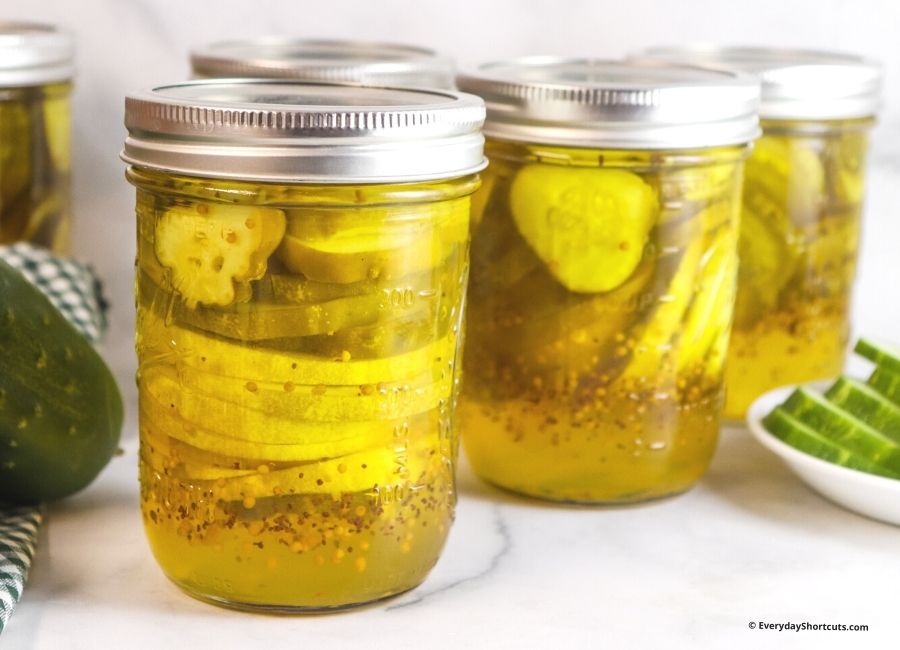
Can the Pickles
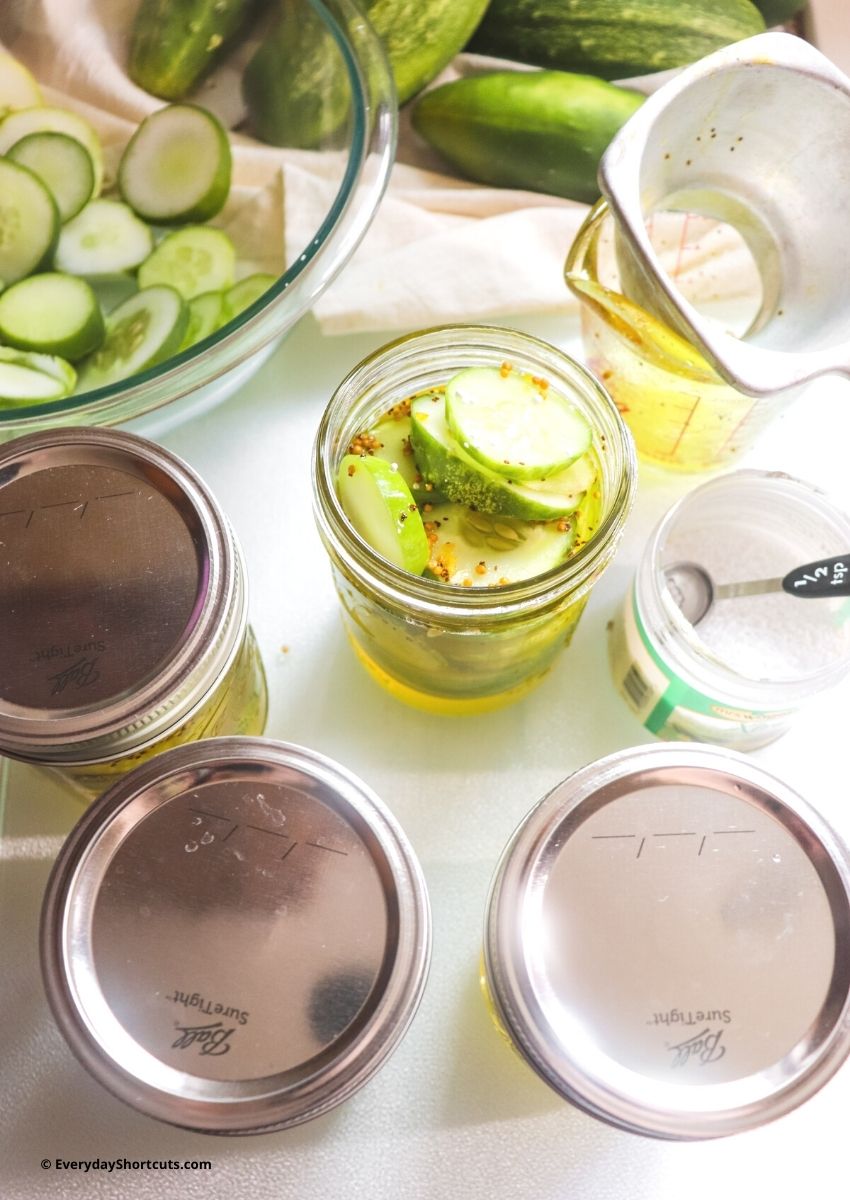
Using tongs, bring your hot jars and lids to your workspace. Fill the jars with cucumbers, leaving ½" head space. Place funnel on top of canning jar and fill with brining liquid up to ½" from the top.
Add the Xtra Crunch granules. For quart jars, add ¼ teaspoon and for pint jars, add ⅛ teaspoon. Wipe the rim and jar threads with paper towel to make sure there isn’t any liquid or particles that would prevent a proper seal. Wipe the lids and bands so they are dry.
Place the lid and band on the jar and tighten. Not too tight. You’ll be removing the bands in 24 hours.
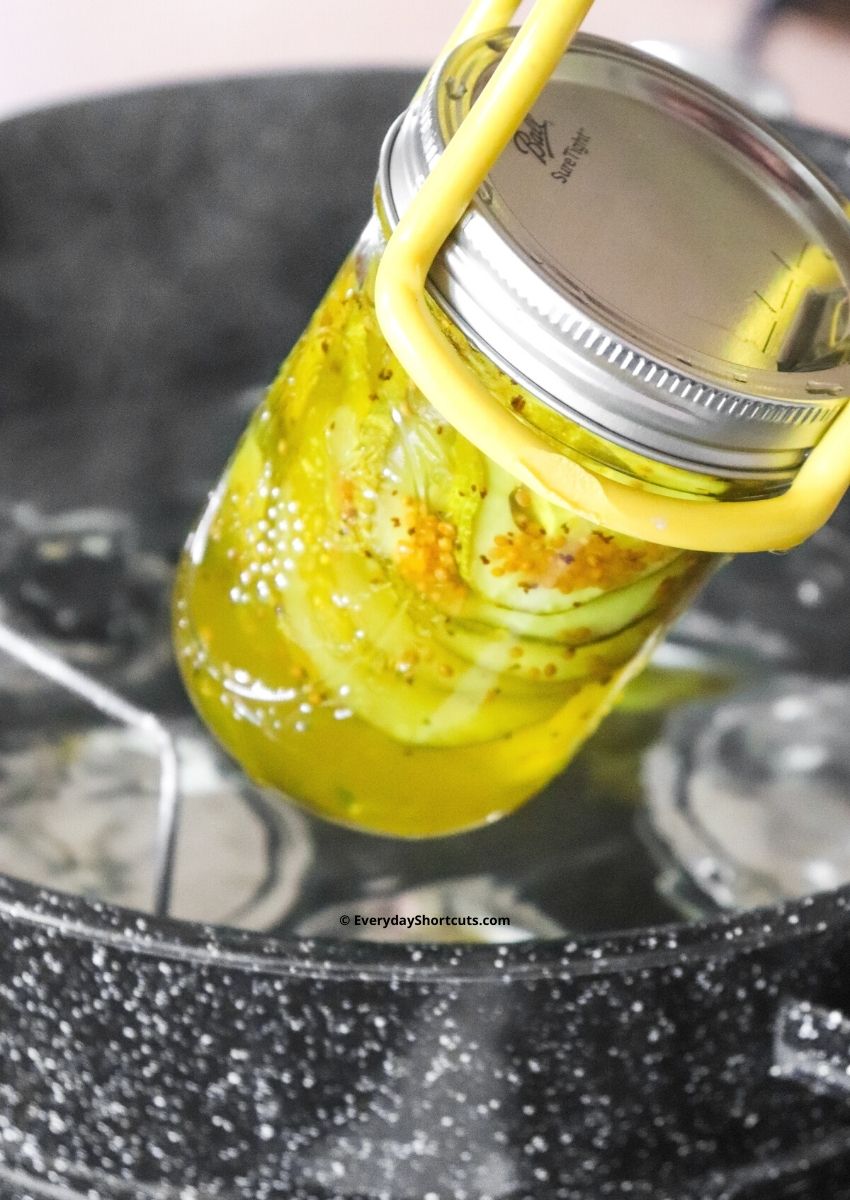
When the water in the canner is at a rolling boil. Use the tongs to place the sealed jars inside. It’s important to do this process with the same size jars, do pints together, and quarts together. When the water comes to a rolling boil again, after placing the jars in the water, set the timer; 10 minutes for pints and 20 minutes for quarts.
Have a towel handy when you are ready to remove the jars so the water doesn’t drip all over. Use the canning tongs to remove the jars. Place them on a cooling rack or countertop and listen for them to pop and ting…that’s when you know they’ve sealed.
After 24 hours, double check the top lid has sealed by lightly pressing. There shouldn’t be any give. Remove the band and store the jars in your pantry or cupboard for up to one year.
How to Store Canned Pickles
- Do not stack jars, if there is any leakage, the weight of a jar on the lid may prevent you from realizing it.
- Label the lids with date and the kind of pickles.
- Allow the pickles to set up for at least 4 weeks before eating. We typically wait at least 8 weeks.
Recipe
Bread and Butter Pickles
Ingredients
Pickle Ingredients
- 9-11 lbs pickling cucumbers 25 large
- Mrs. Wages Pickle Mix: Bread & Butter
- Mrs. Wages Xtra Crunch Granules
- 6 ¾ cups White Distilled Vinegar 5% acidity
- 7 cups sugar
Supplies Needed
- Canning jars: regular or wide mouth pint or quart.
- Canner
- Canning funnel
- Canning tongs
- Large saucepan
- Large cooking pot
- Paper towel
- Cutting board and knife
Instructions
Before you prepare your jars get the canner ready by filling it with water and turn on high as it takes a while to boil.
Prepare and Sterilize the Jars
- Sterilize your canning jars by washing them in hot soapy water. Use brand new lids, rings can be reused if they are not rusty and in good working condition.
- Fill large saucepan ¾ full of water and place on the stove top. You'll place your clean canning jars upside down in the water, along with rings and lids. You may only be able to do 2-4 at a time. Watch the water can suck up inside the jars and you may need to refill the saucepan as you go. You want to keep your jars hot during this process.
Wash and Cut the Cucumbers
- Thoroughly wash the cucumbers to remove all dirt and debris from them and drain.
- Cut 1/16” slice off blossom end of cucumbers and discard. Cut off both ends and any bad spots on the cucumbers. You can use a mandoline slicer for this process if you want.
- Cut cucumbers into pickles, you can do either spears or slices. Set aside.
Make the Brine
- In a large cooking pot, mix together Mrs. Wages pickling mix, water, sugar, and vinegar according to package directions and bring to a boil.
- Stir constantly until the brining mixture dissolves. Remove from heat.
Can the Pickles
- Using tongs, bring your hot jars and lids to your workspace. Fill the jars with cucumbers, leaving ½” head space. Place funnel on top of canning jar and fill with brining liquid up to ½” from the top.
- Add the Xtra Crunch granules. For quart jars, add ¼ teaspoon and for pint jars, add ⅛ teaspoon. Wipe the rim and jar threads with paper towel to make sure there isn't any liquid or particles that would prevent a proper seal. Wipe the lids and bands so they are dry.
- Place the lid and band on the jar and tighten. Not too tight. You'll be removing the bands in 24 hours.
- When the water in the canner is at a rolling boil. Use the tongs to place the sealed jars inside. It's important to do this process with the same size jars, do pints together, and quarts together. When the water comes to a rolling boil again, after placing the jars in the water, set the timer; 10 minutes for pints and 20 minutes for quarts.
- Have a towel handy when you are ready to remove the jars so the water doesn't drip all over. Use the canning tongs to remove the jars. Place them on a cooling rack or countertop and listen for them to pop and ting...that's when you know they've sealed.
- After 24 hours, double check the top lid has sealed by lightly pressing. There shouldn't be any give. Remove the band and store the jars in your pantry or cupboard for up to one year.
Notes
- Water Bath Processing Times
Altitude for both Pints and Quarts
0-1,000 ft – 10 minutes
1,001-3,000 ft – 15 minutes
3,001-6,000 ft – 20 minutes
6,001–8,000 ft – 25 minutes
8,001-10,000 ft – 30 minutes
How to Store Canned Pickles
Do not stack jars, if there is any leakage, the weight of a jar on the lid may prevent you from realizing it. Label the lids with date and the kind of pickles. Allow the pickles to set up for at least 4 weeks before eating. We typically wait at least 8 weeks.Nutrition Disclosure
Nutritional facts are estimates and are provided as a courtesy to the reader. Please utilize your own brand nutritional values to double check against our estimates. Nutritional values are calculated via a third party. Changing ingredients, amounts or cooking technique will alter the estimated nutritional calculations.


Leave a Reply