To efficiently PVC plumb your Intex above ground pool filter, follow these step-by-step instructions to ensure a proper and secure installation.
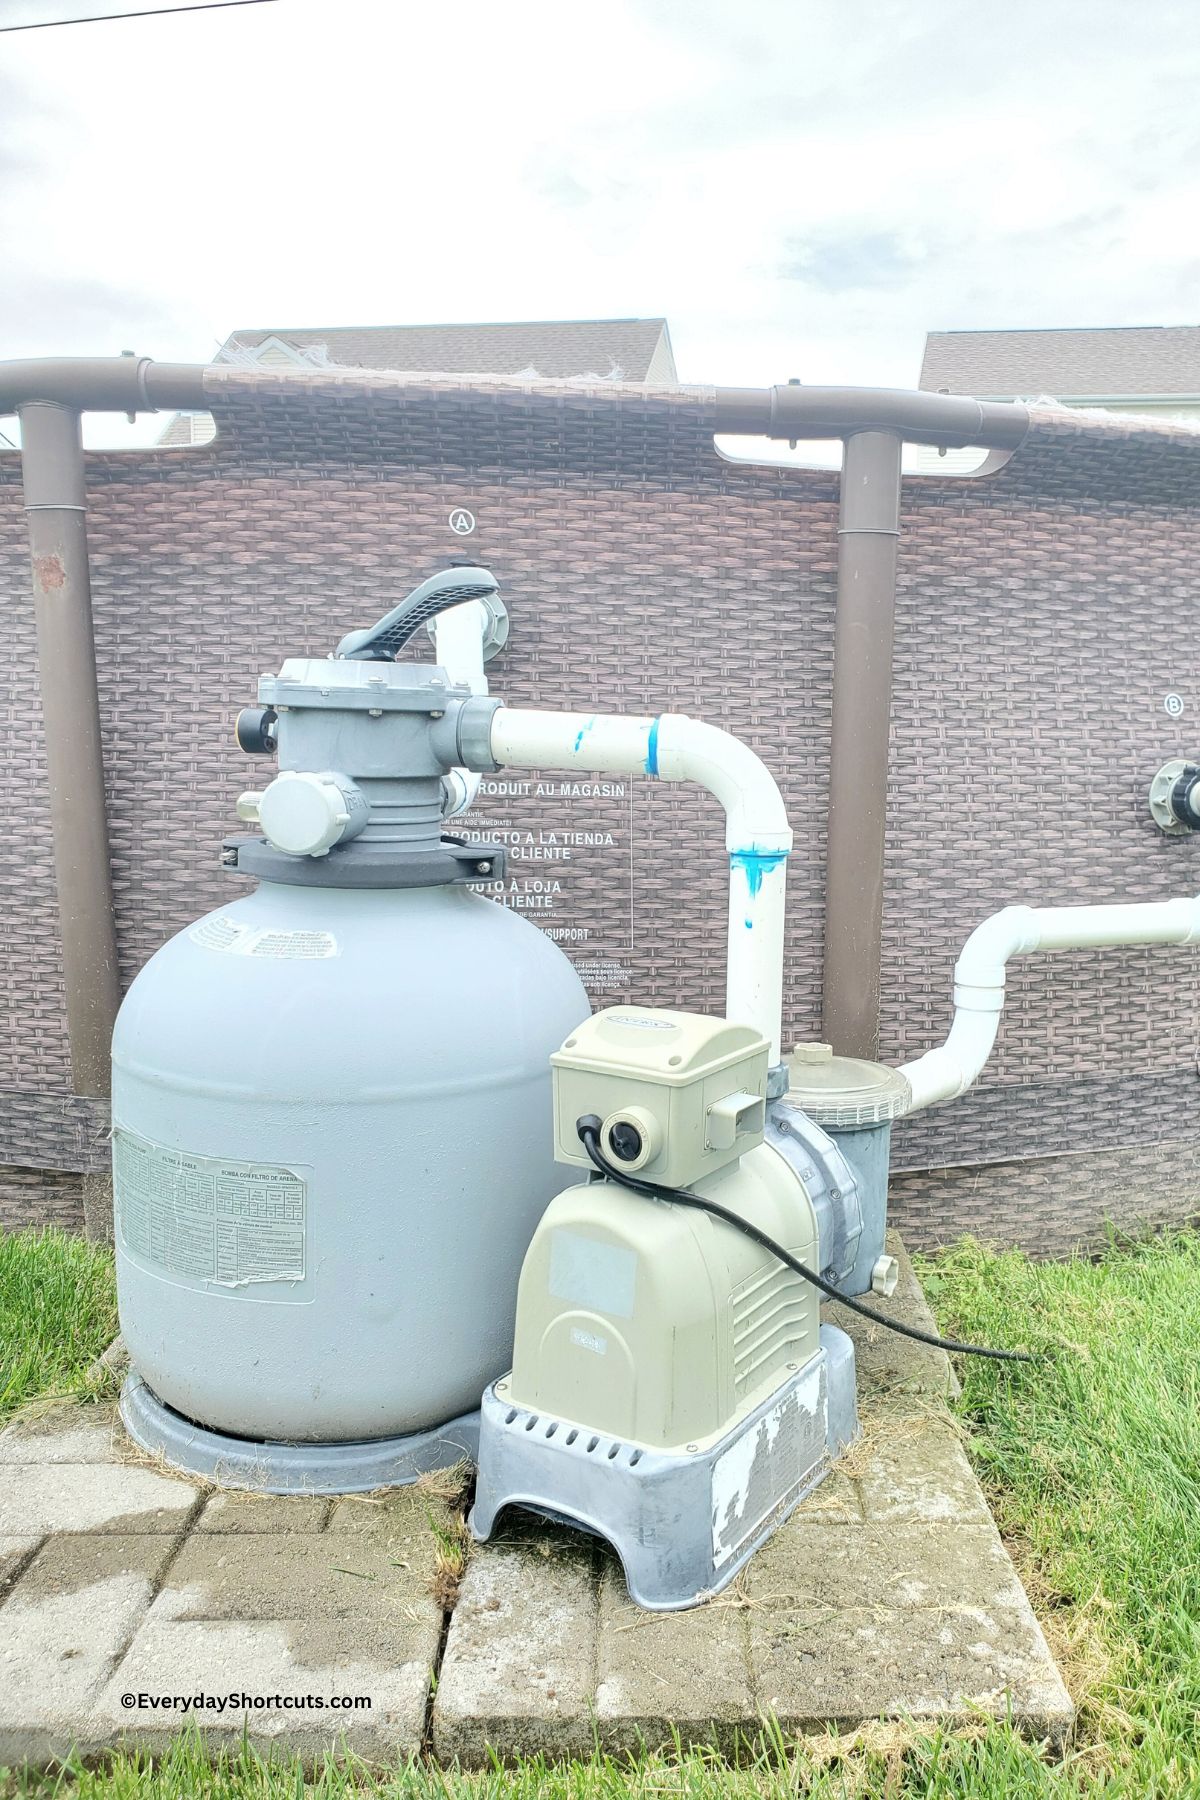
Are you tired of dealing with cracked and worn-out plumbing on your Intex above ground pool filter?
Fortunately, there’s a hack that allows you to repurpose your stock ends and make them fit rigid PVC, ensuring durability that lasts for years.
In this guide, I will walk you through the process of PVC plumbing for your Intex above ground pool, providing you with the necessary steps and tips to achieve a seamless and long-lasting installation.
PVC plumbing for your Intex above ground pool is a practical and cost-effective solution to address issues with stock plumbing.
By repurposing the stock ends and fitting them with rigid PVC, you can enjoy a pool filtration system that lasts for years.
The step-by-step process outlined in this guide ensures a seamless installation, and with careful attention to detail, you can achieve a watertight seal and optimize water flow.
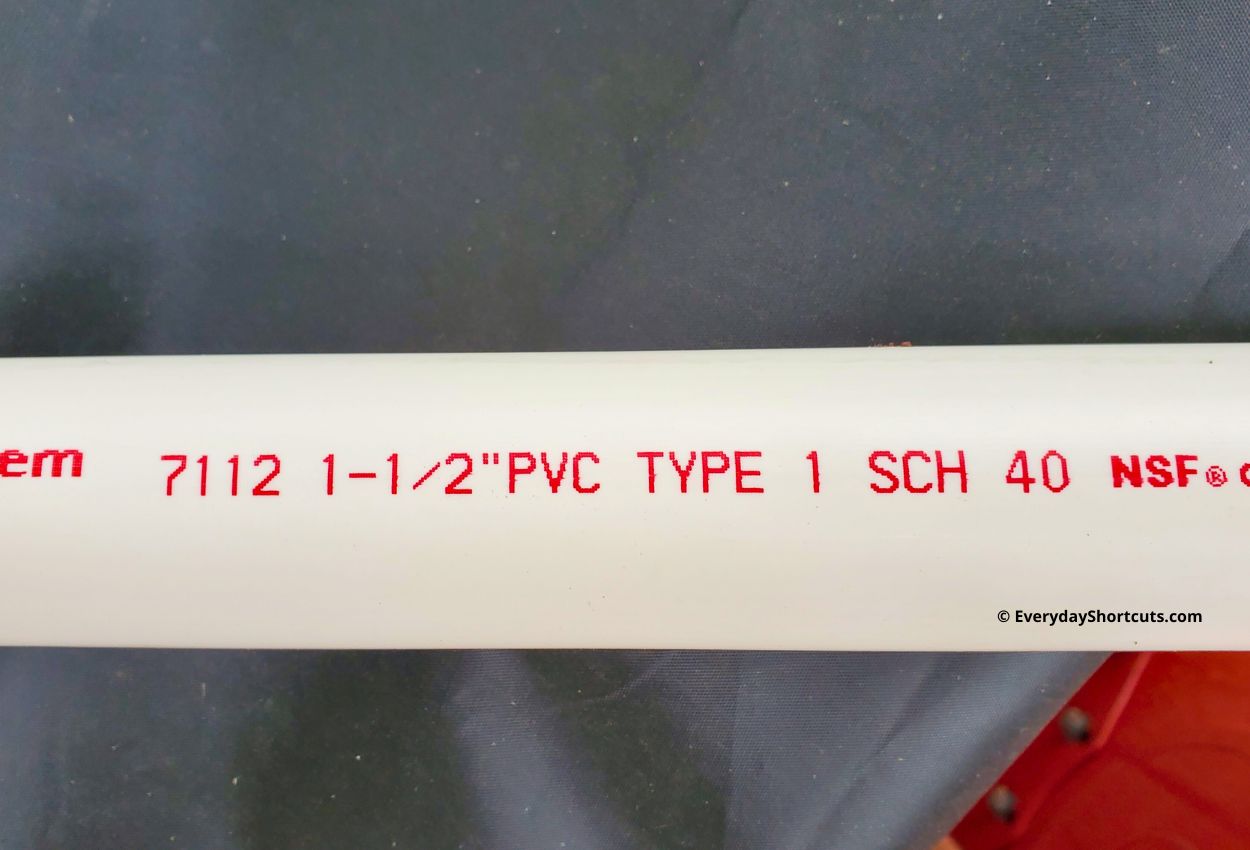
What You Need
Step 1: Prepare the Stock Ends
To begin, carefully remove the stock ends from your pool filter. Try to cut as close to the end as possible, leaving ample space to glue them into your PVC later. Once the ends are removed, make a small bevel around the outside and sand off any lettering or imperfections. It’s crucial to ensure a smooth surface for better adhesion.
Step 2: Clean the Pipe Ends
Before proceeding, make sure to clean the ends of your PVC pipes thoroughly. This step ensures a proper fit and a secure connection between the stock ends and the PVC. May need to sand the inside and end of PVC to ensure proper fit.
Step 3: Test Fit and Position the Collar
Before applying any glue, perform a test fit to check the compatibility and alignment of the parts. It’s important to position the collar correctly at this stage because it cannot be adjusted after the gluing process.
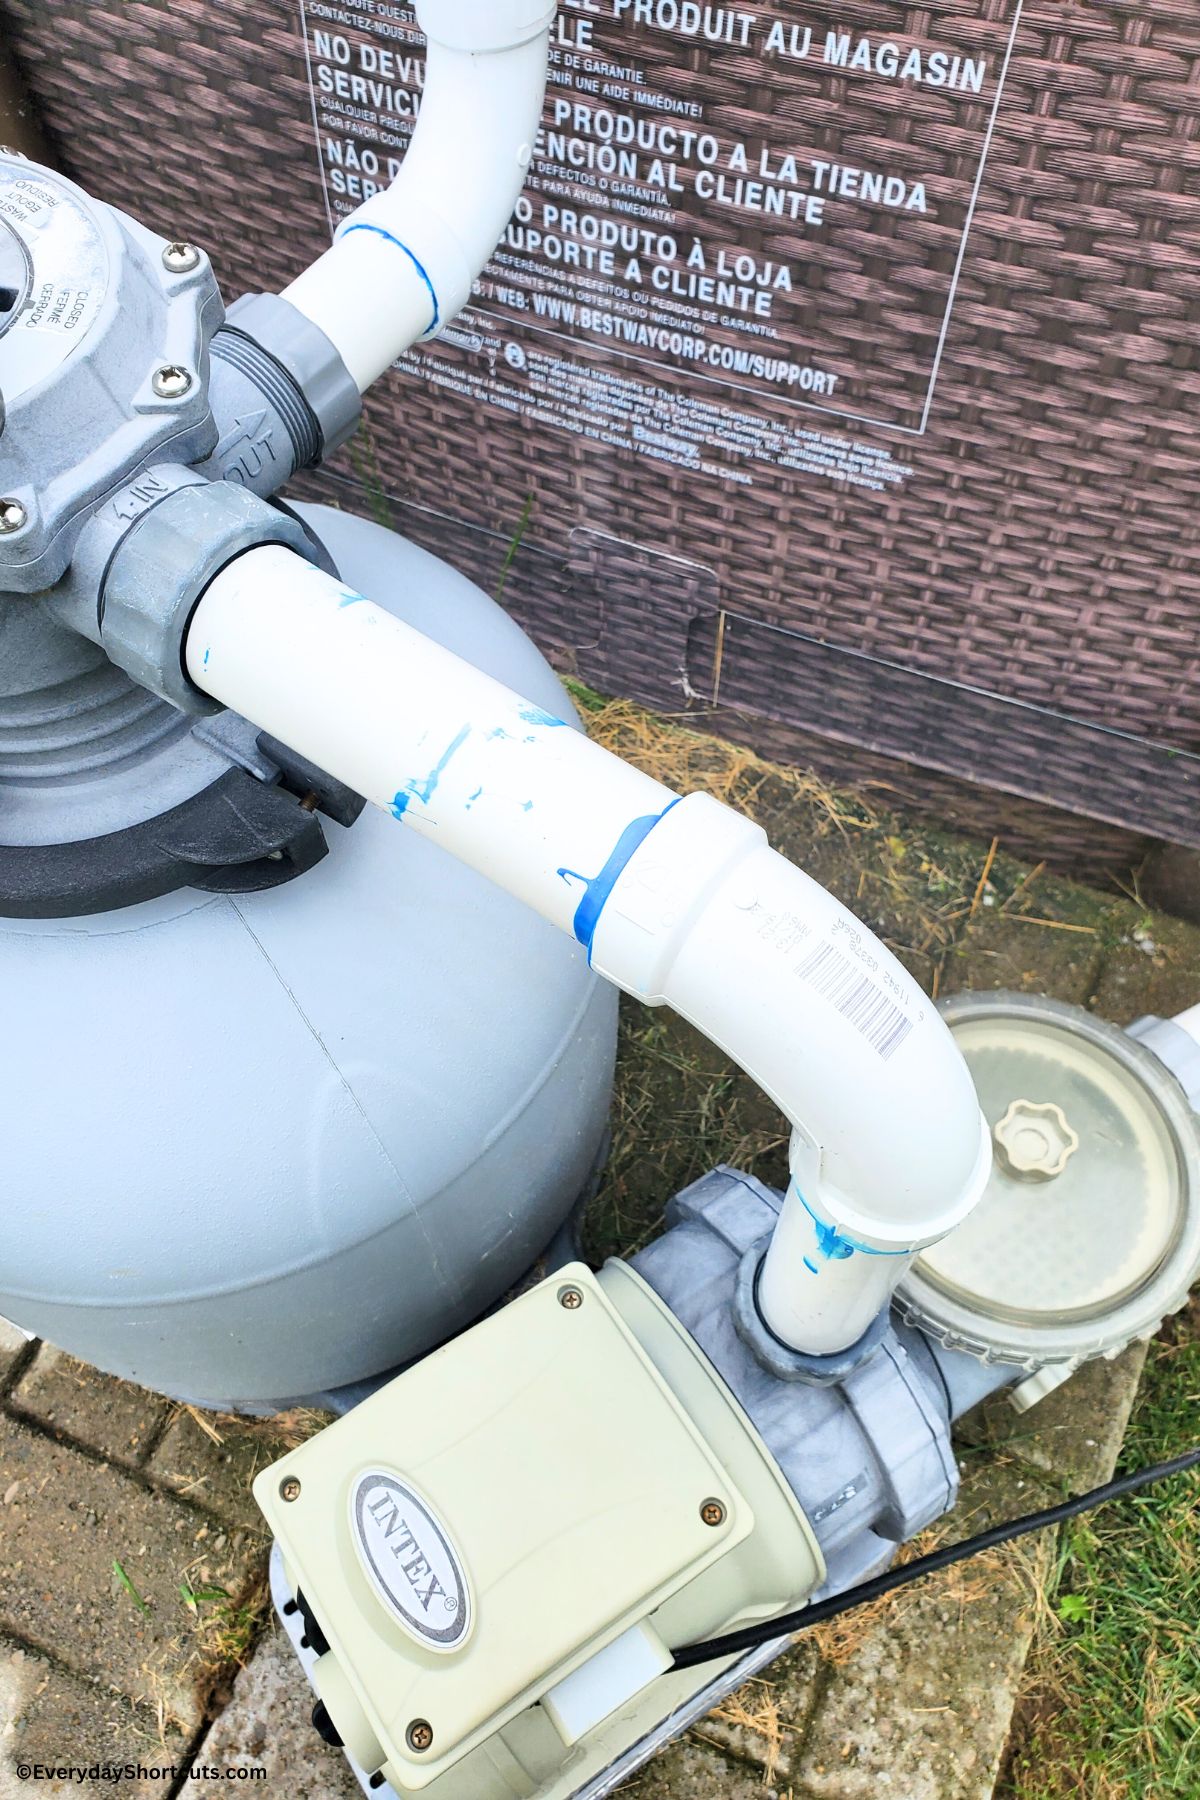
Step 4: Glue the Parts Together
Once you’re satisfied with the fit, it’s time to glue the components together. Apply PVC glue generously to both the stock end and the PVC pipe. Insert the pipe into the stock end and twist it slightly to ensure a tight and secure connection. Take care to work on a clean surface to avoid any unwanted debris or contamination.
Step 5: Enhance Flow and Size Consistency
If you own a Coleman pool, you may have noticed that the outlet is the correct size for your large tubing. However, the inlet requires an adapter to fit the setup described in this guide. By installing an appropriate adapter, you can utilize PVC pipes of the correct size, which results in improved water flow and consistency throughout your pool system.
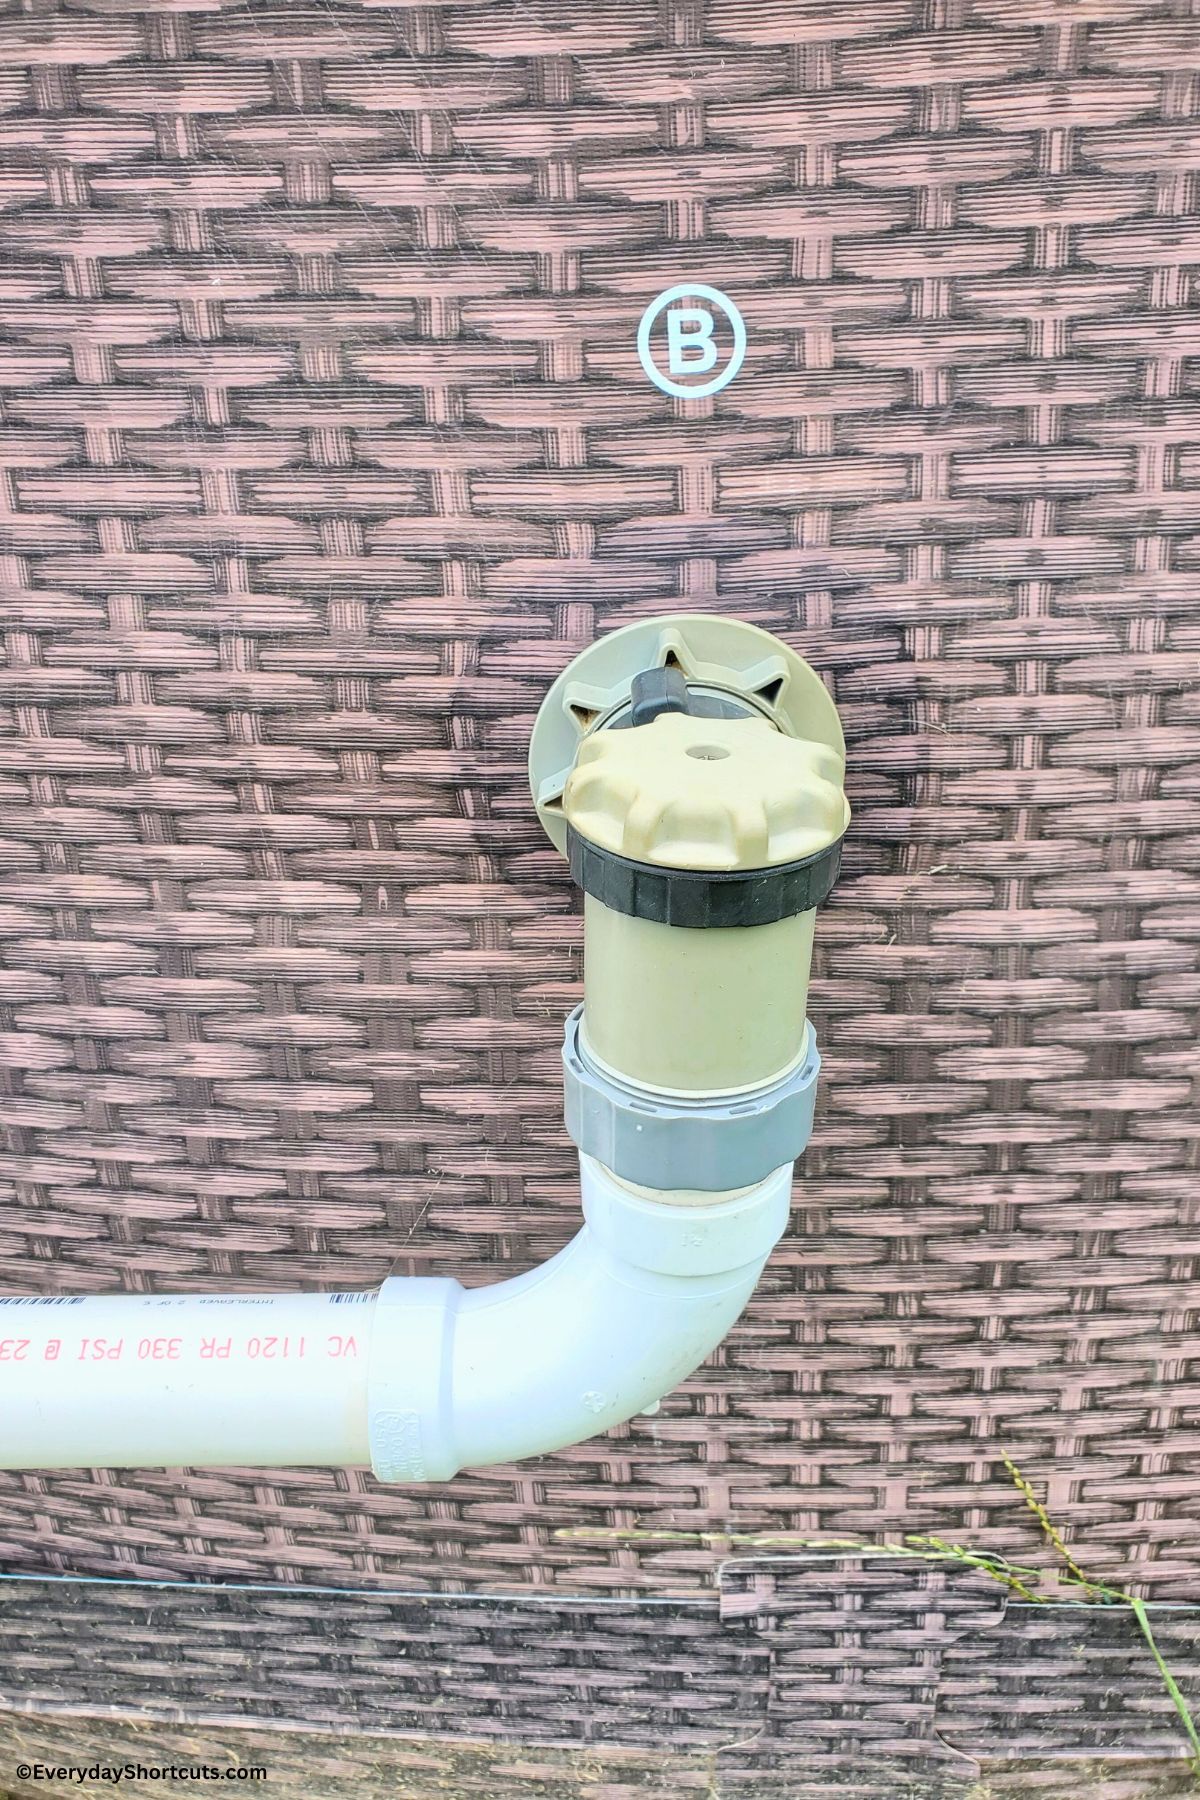
Step 6: Create an Opening for the Modified Piece
Using a careful cutting technique, make a hole in the pool’s wall or liner to accommodate the modified piece. Start with a slightly smaller hole and gradually enlarge it if needed. It’s better to trim conservatively at first, as you can always make the opening larger, but reducing its size is challenging.
Step 7: Fine-tune the Fit
Once the modified piece is in place, make any necessary adjustments to ensure a proper fit. Be cautious during this process to avoid damaging your pool. Trim any excess material carefully until the fit is optimal.
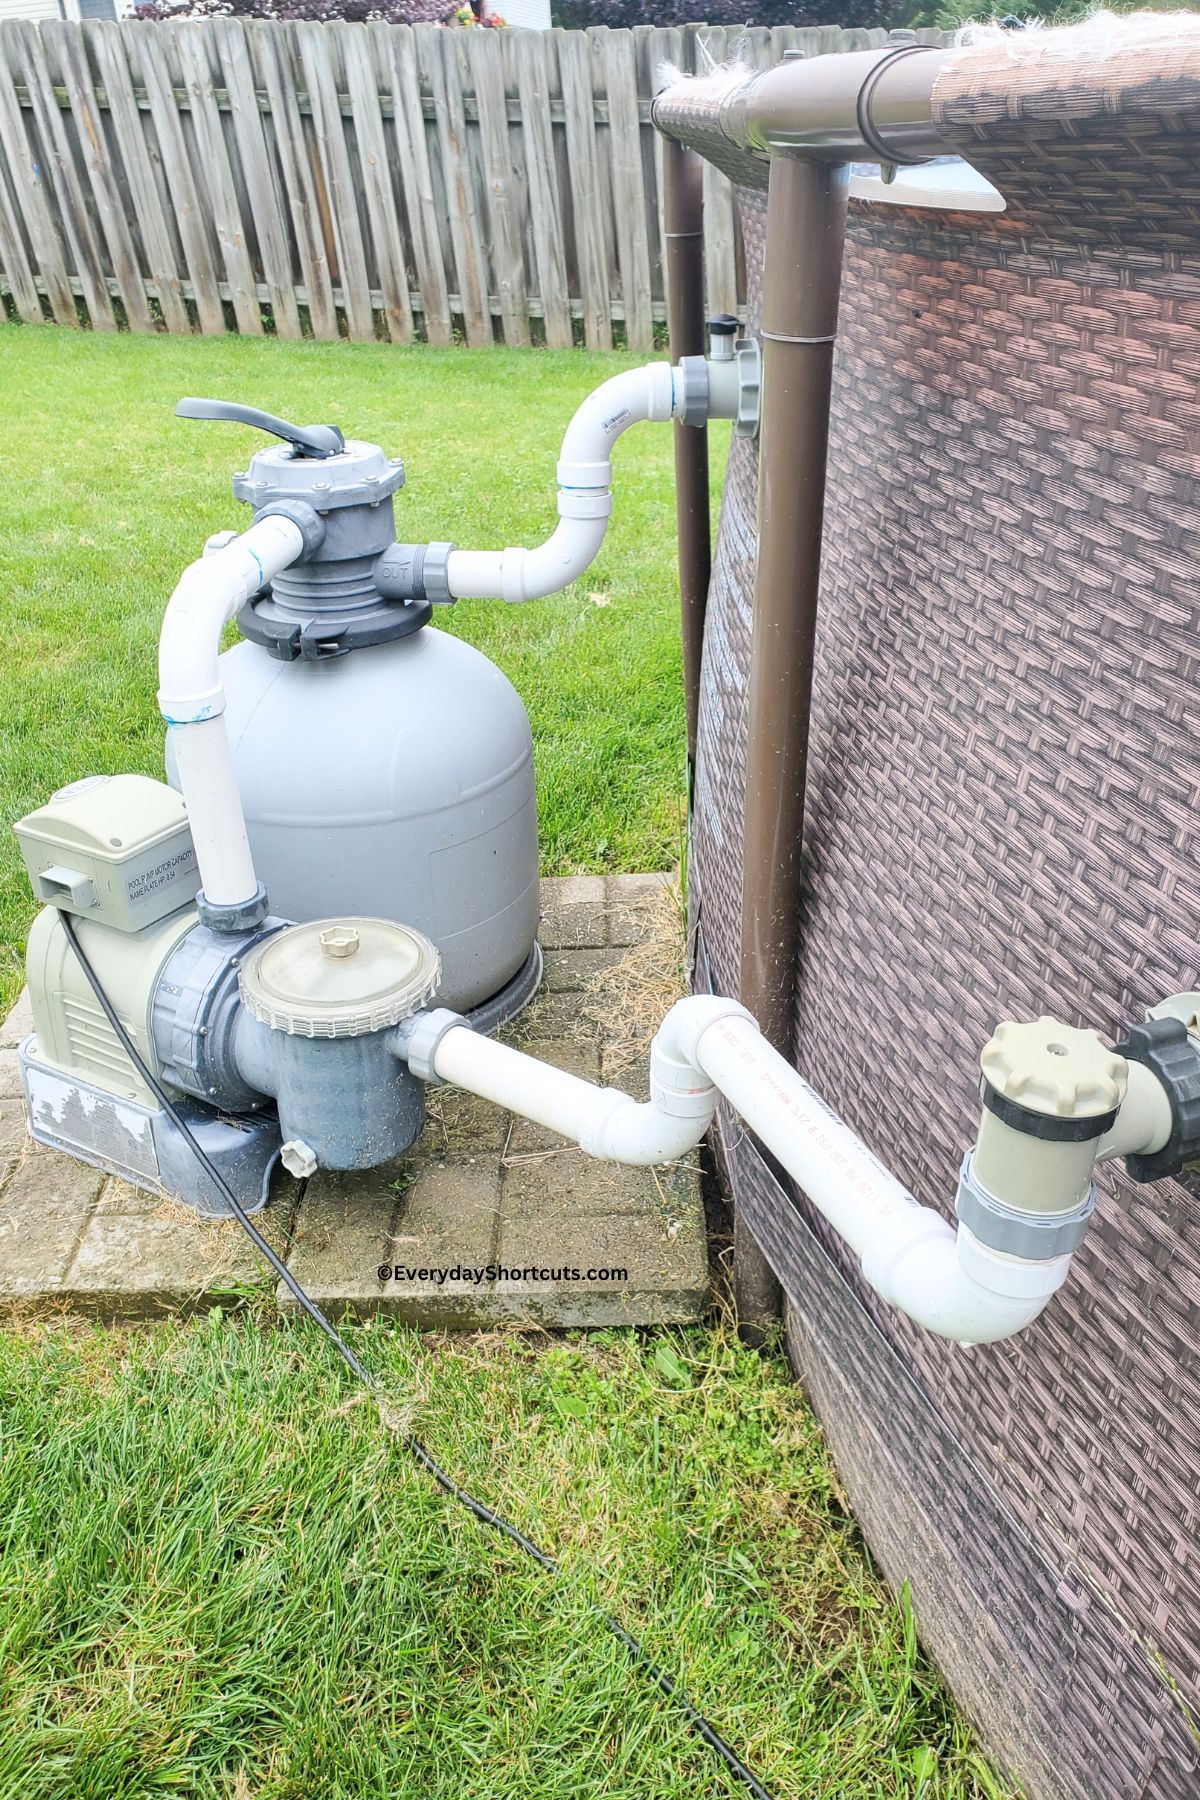
Step 8: Check for Leaks
Before finalizing the installation, it’s essential to check for leaks. Turn on your pool’s water system and carefully inspect all connections and joints for any signs of leakage. If you notice any leaks, make the necessary adjustments and retest until you achieve a watertight seal.
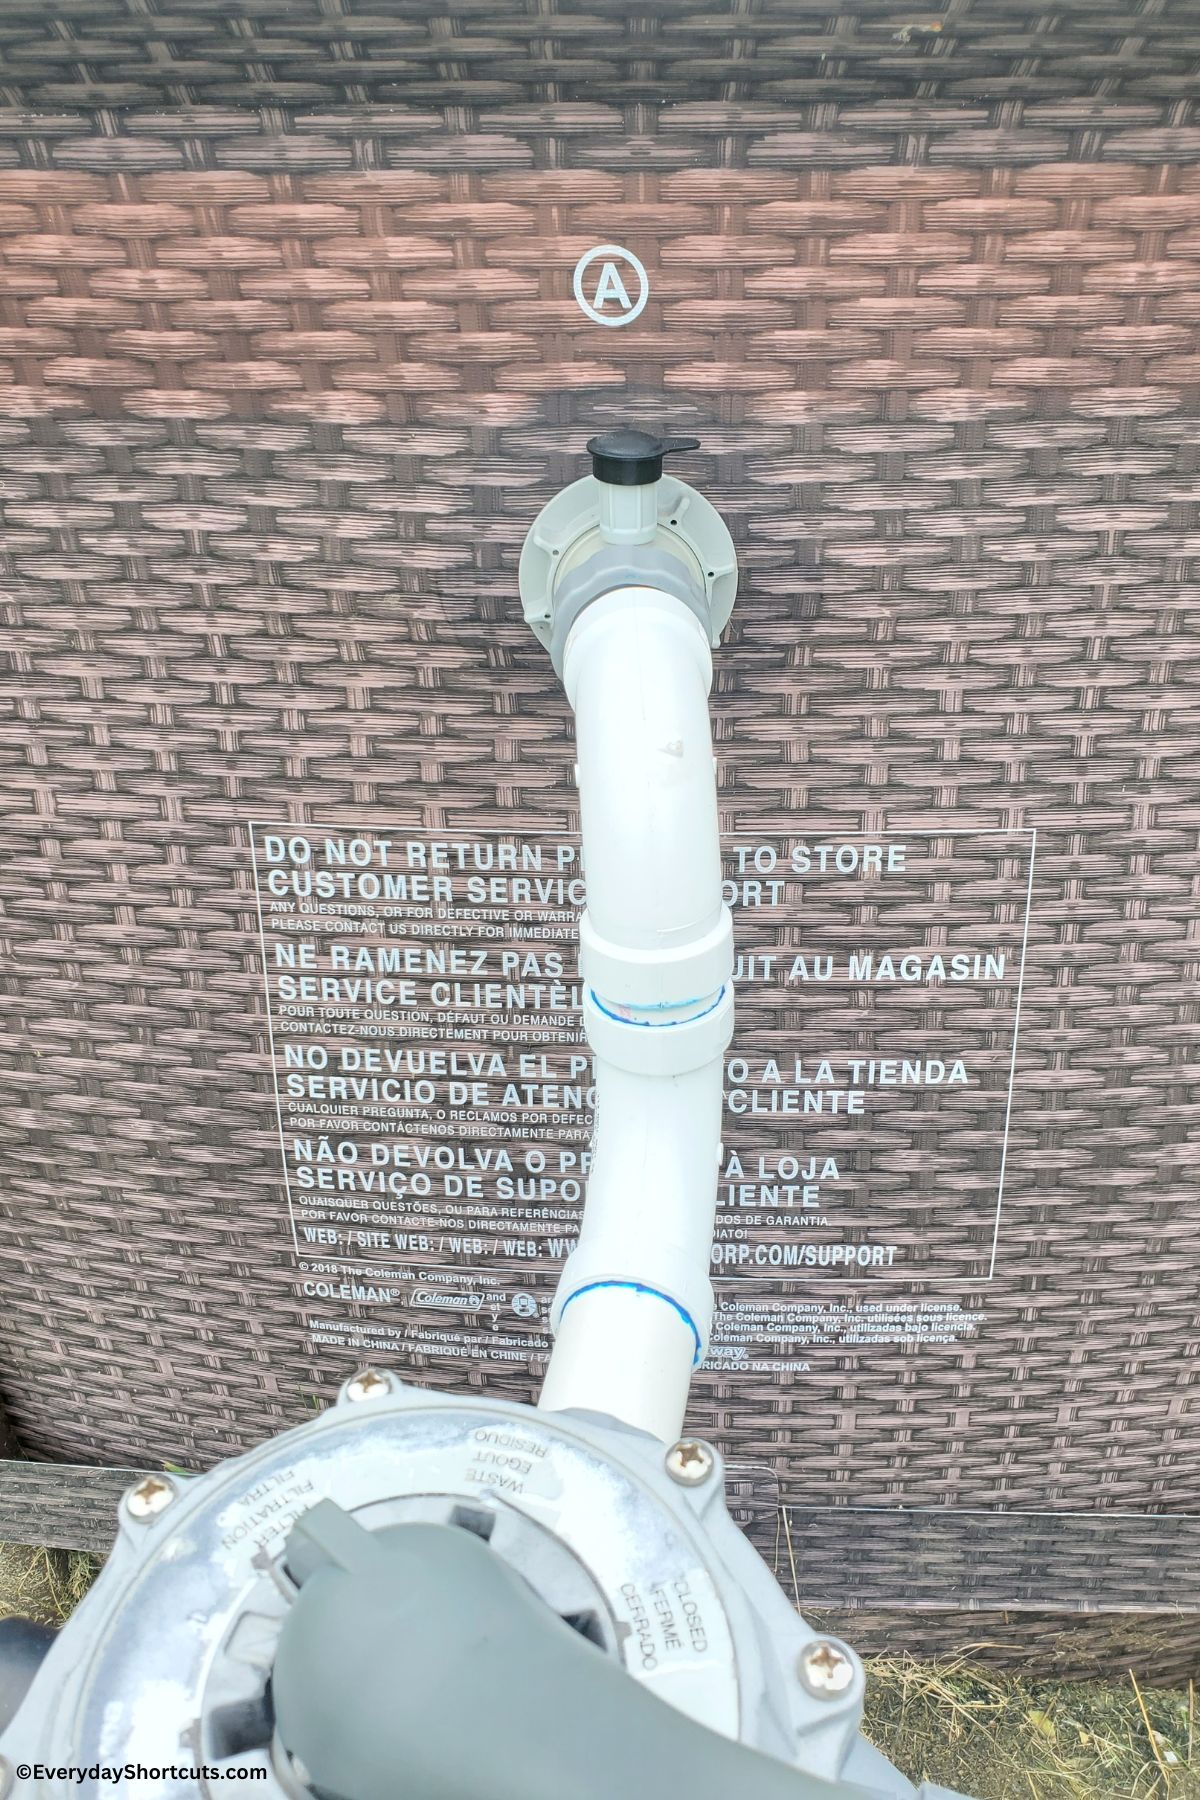
Step 9: Glue the Plumbing Components
Once you have confirmed a leak-free installation, proceed to glue the plumbing components together. Ensure that everything is precisely positioned before applying the glue. Taking this precaution will save you from potential headaches caused by misaligned or mismatched parts.
Step 10: Enjoy the Benefits
By following these steps, you have successfully PVC plumbed your Intex above ground pool. The modified plumbing setup offers several benefits, including the ability to shut off the water flow, drain the chlorine basket, and add chemicals without continuous water circulation. Additionally, the use of PVC ensures durability and longevity for your pool’s plumbing system.
If you’d like to watch a step by step video, check out this easy video tutorial!




Leave a Reply