Learn how to make beautiful photography backgrounds for less with a few supplies and this easy step by step tutorial.
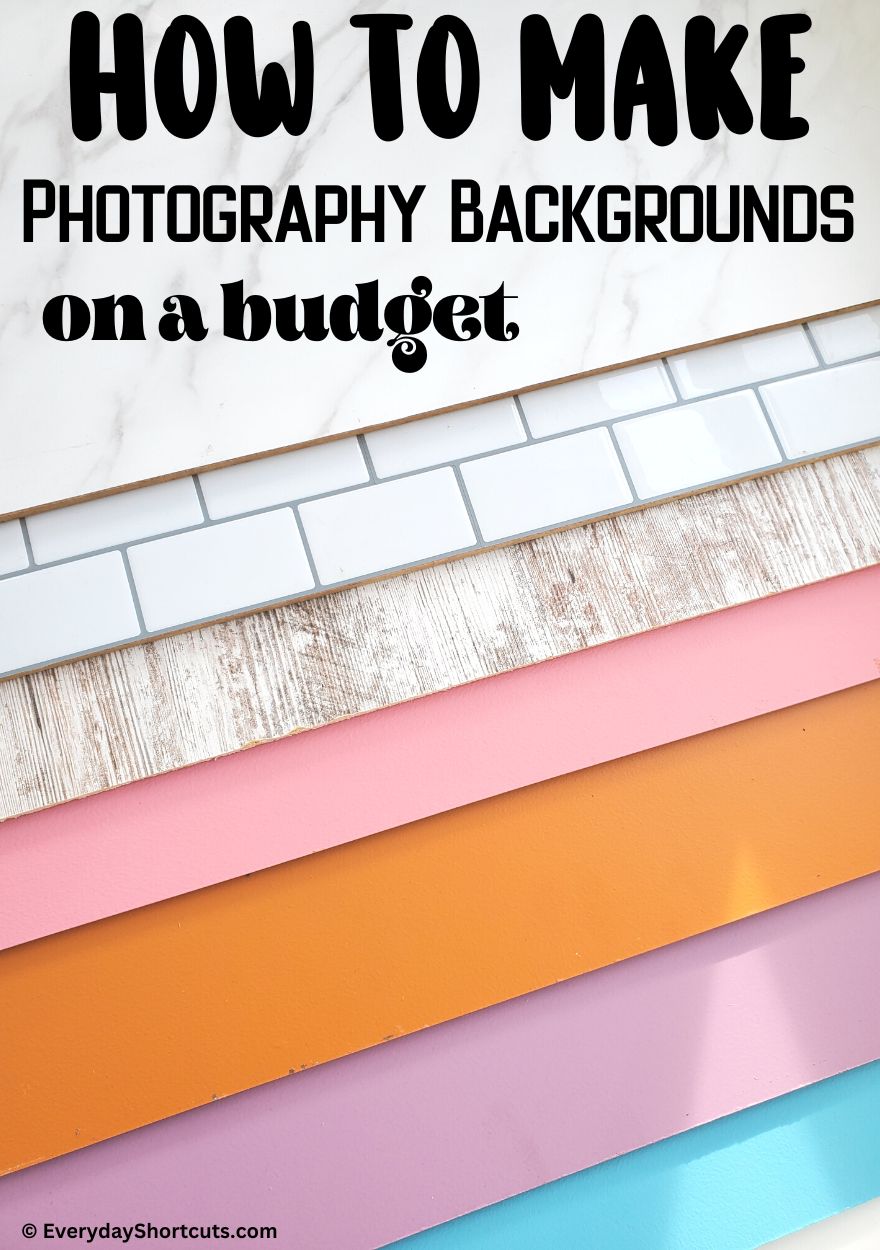
If you’re a photography enthusiast, then you know how important it is to have a good quality backdrop for your shots.
But if you’re on a budget, buying one can be out of the question. That’s where DIY photography boards come in!
With a few simple supplies and some creativity, you can easily make your own photography backdrop that will look great in any photo.
What are photography backgrounds?
Photography backgrounds are flat surfaces on which you can place your products, food, etc. to take pictures.
Types of Photography Boards
Sure, you can spend about $80 a board if you’d like but wouldn’t you rather use that money towards something else like a new camera lens, props, etc.
When I first started taking photos way back when, I used scrapbook paper with fun designs, then plain poster and foam boards.
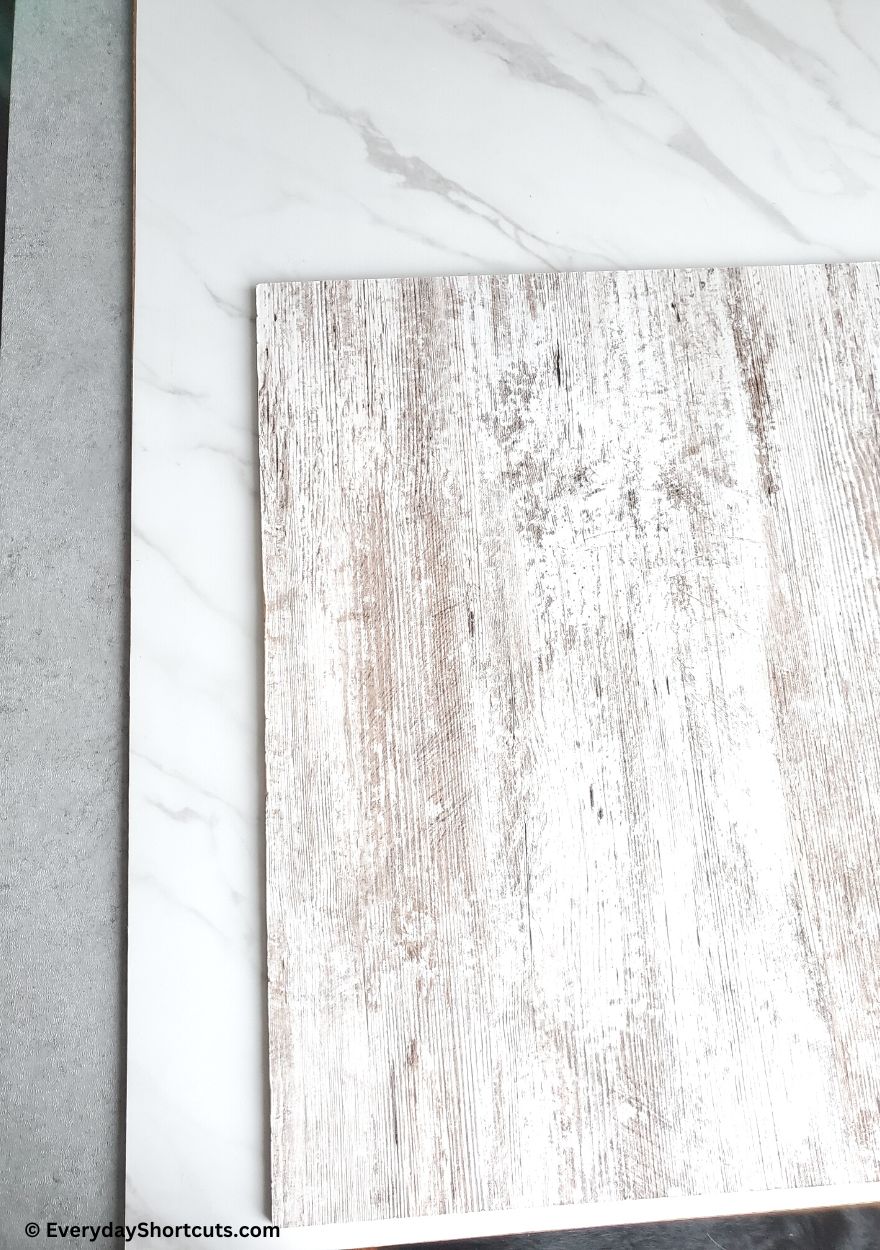
Wood Boards with Self Adhesive Vinyl
Since then I’ve stepped it up to boards that look like countertops and kitchen backgrounds for my recipe photos. These boards are, sturdy, waterproof and can be cleaned up really easily with some kitchen cleaner and paper towels.
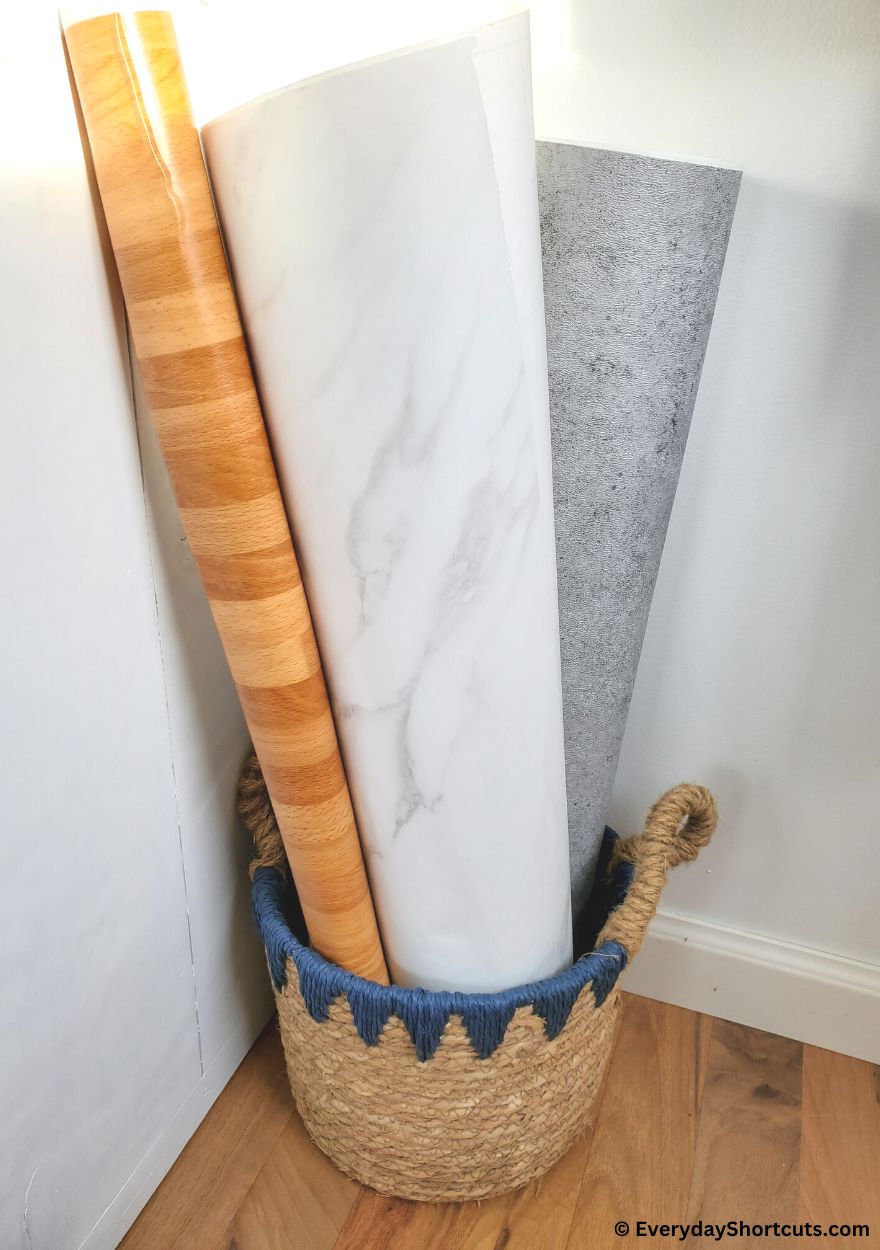
Some of my favorite self adhesive rolls for my photography backdrops are white marble, butcher block wood, subway tile backsplash, granite countertop and rustic wood.
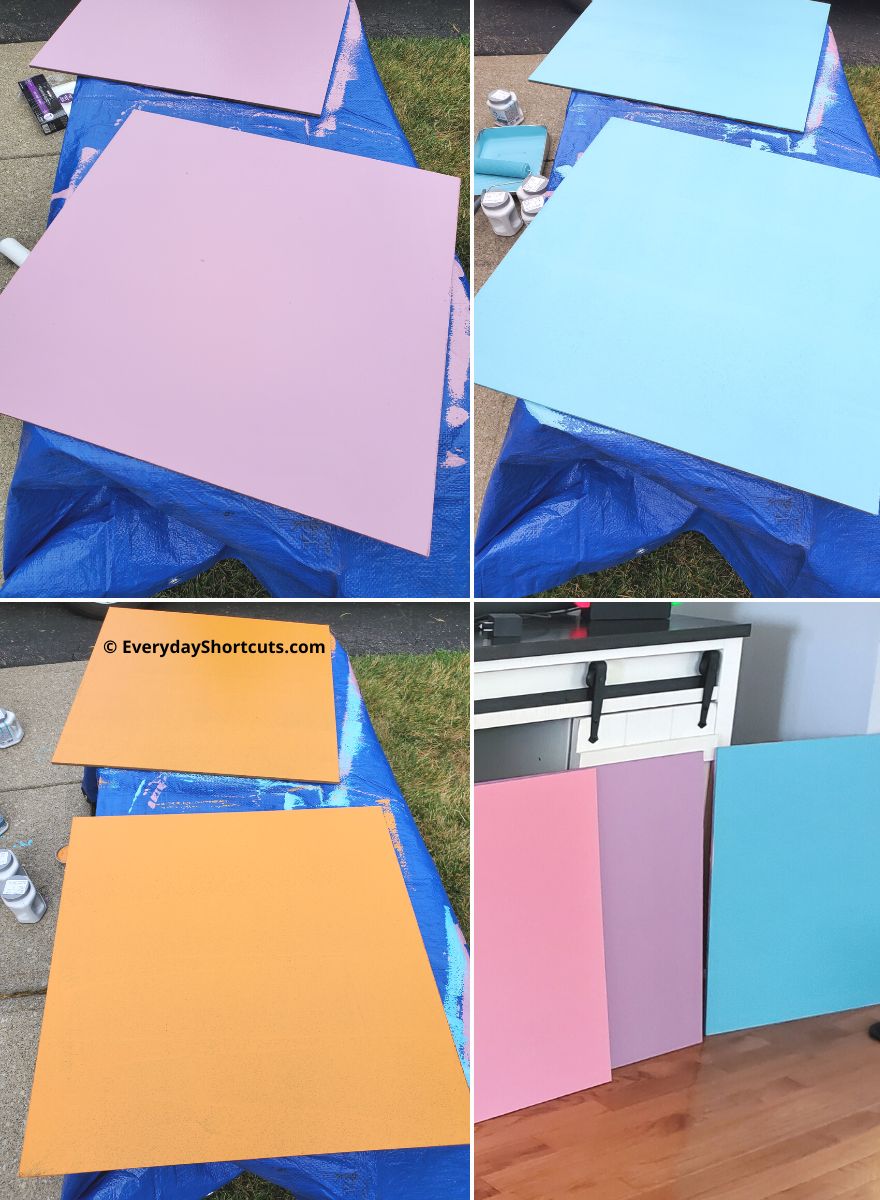
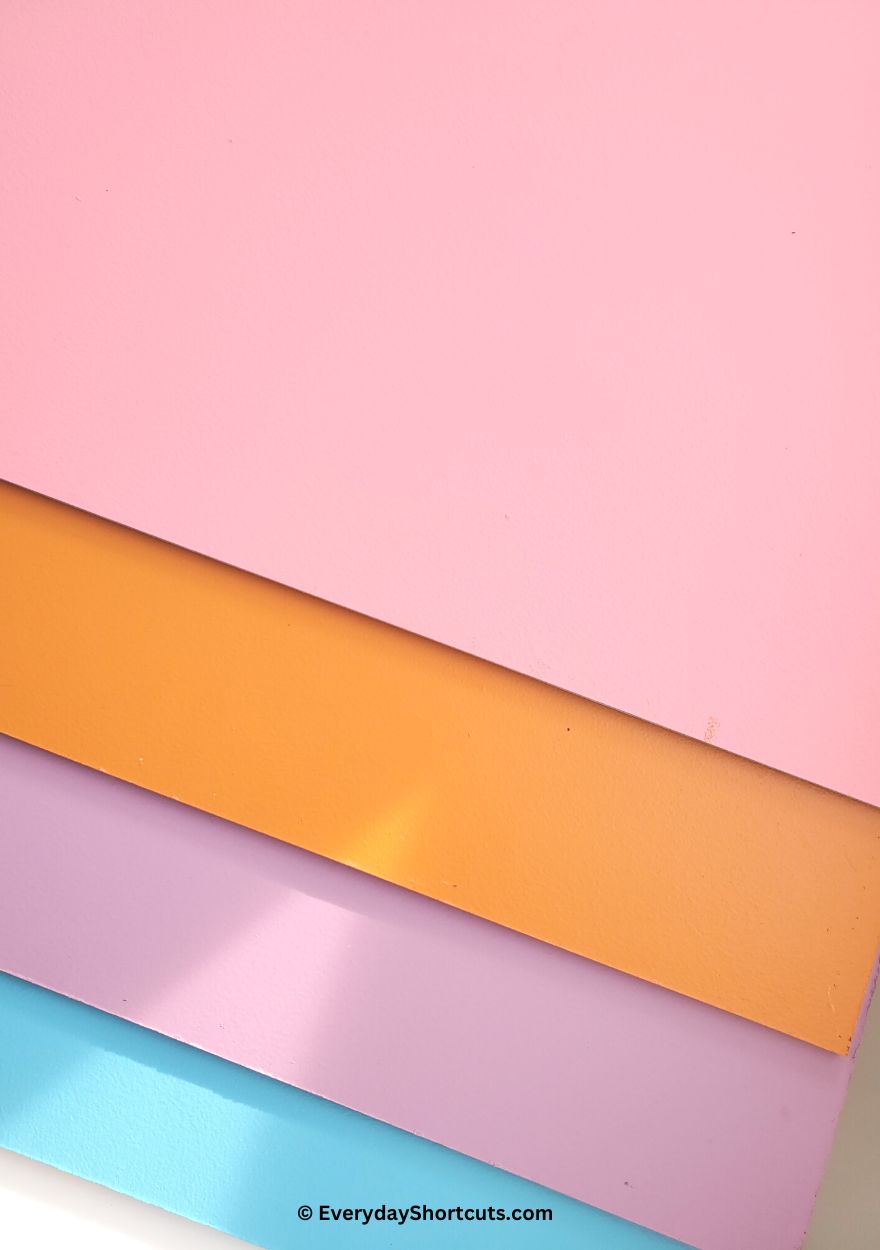
Painted Boards
I’ve also added in some pop of color boards which are really fun to make as well. These ones are just painted and not waterproof but can be wiped off with a paper towel.
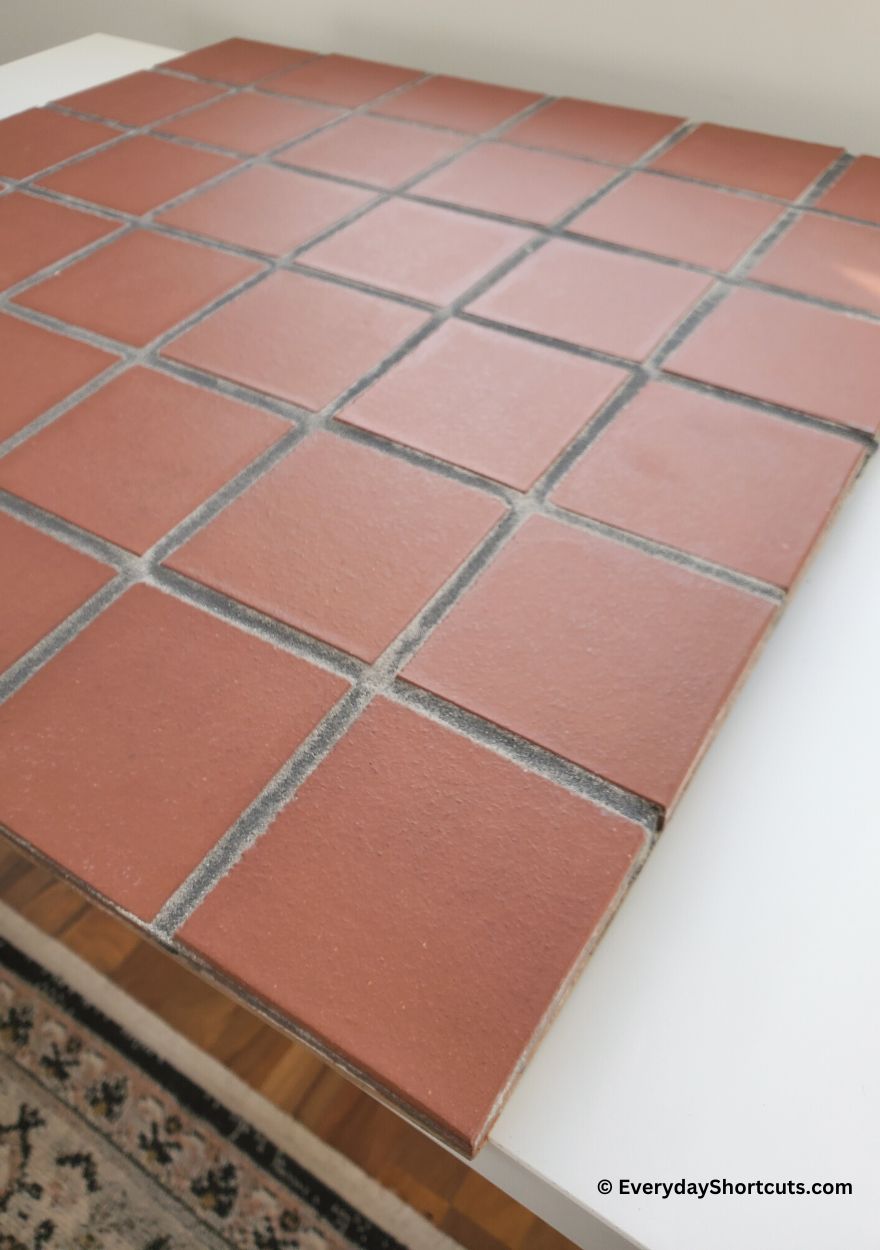
Tile Boards
These boards are a little tricky, time consuming and very heavy. I made one of them with terracotta tiles to shoot some recipes on.
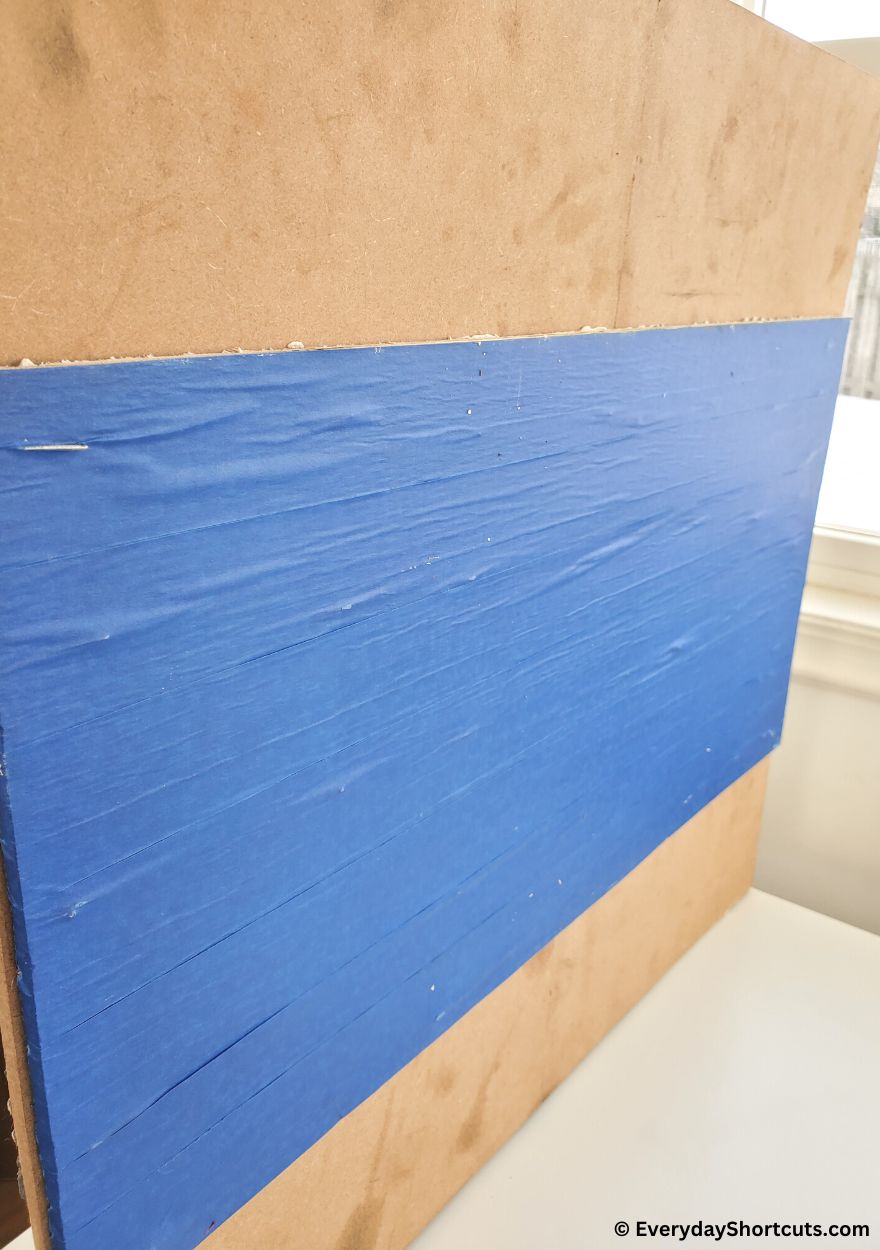
You need to line the tiles on the board to see how they fit, cut tiles that need to be cut, glue down and then fill in and allow time for drying. Since the board is so heavy you will need a support board in the back to avoid bending.
Foam Boards
If you want to make an even cheaper photography board, you could just stick with foam boards and add a cheaper contact paper. They might not last as long but will do the job for awhile.
Whether you are photographing products, food, etc., these DIY Photography Boards can make your photos stand out and cost about $20 or less to make. Let’s get started!
Supplies Needed
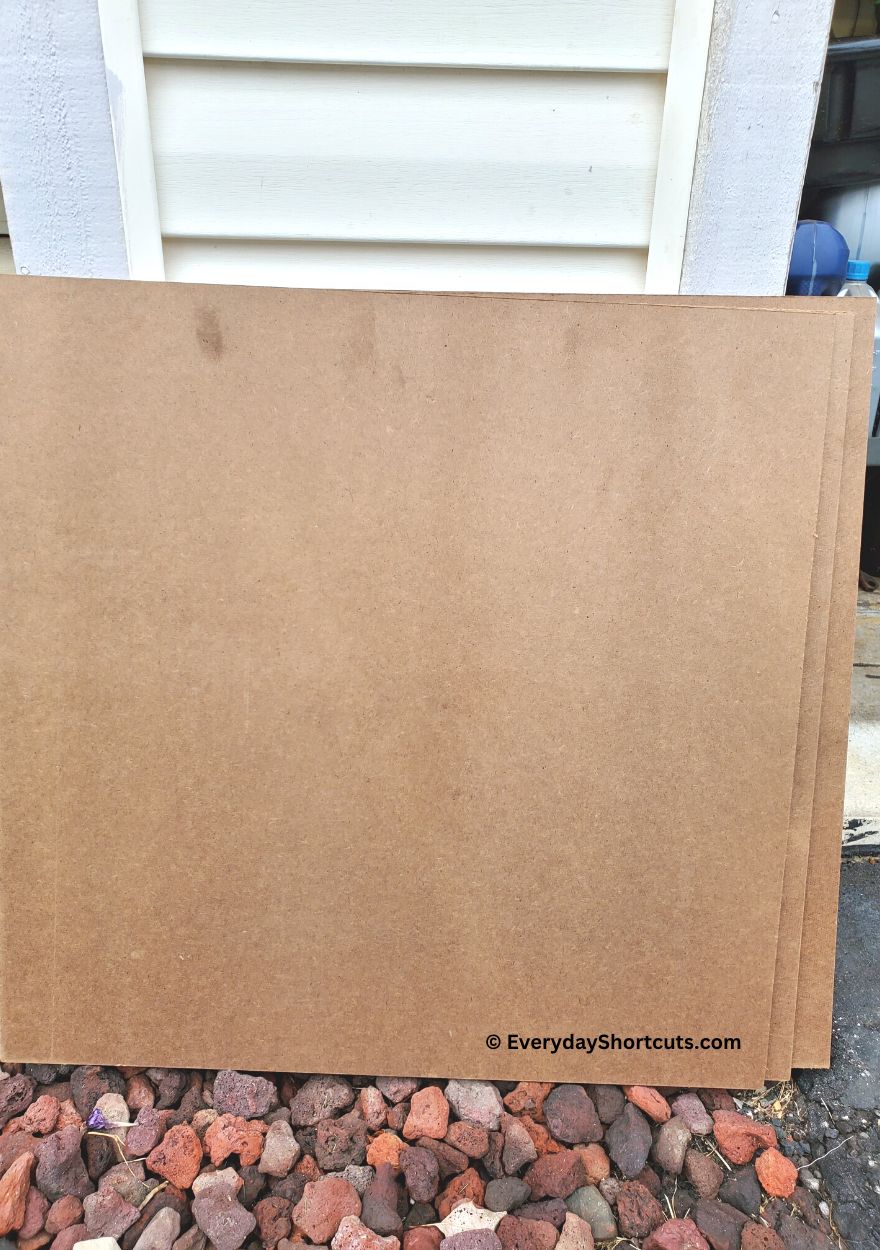
- MDF boards – cut into 20″ X 34″ pieces
- Contact, vinyl or wallpaper – self adhesive, matte finish and 20″
- Utility knife – with a sharp new blade for precise cutting
How to Make Photography Backgrounds
Using a circular saw, cut the MDF boards into 20″ X 34″ pieces. Dust off the saw dust on each board.
Leaving the self adhesive vinyl on the roll, line it up on the MDF board.
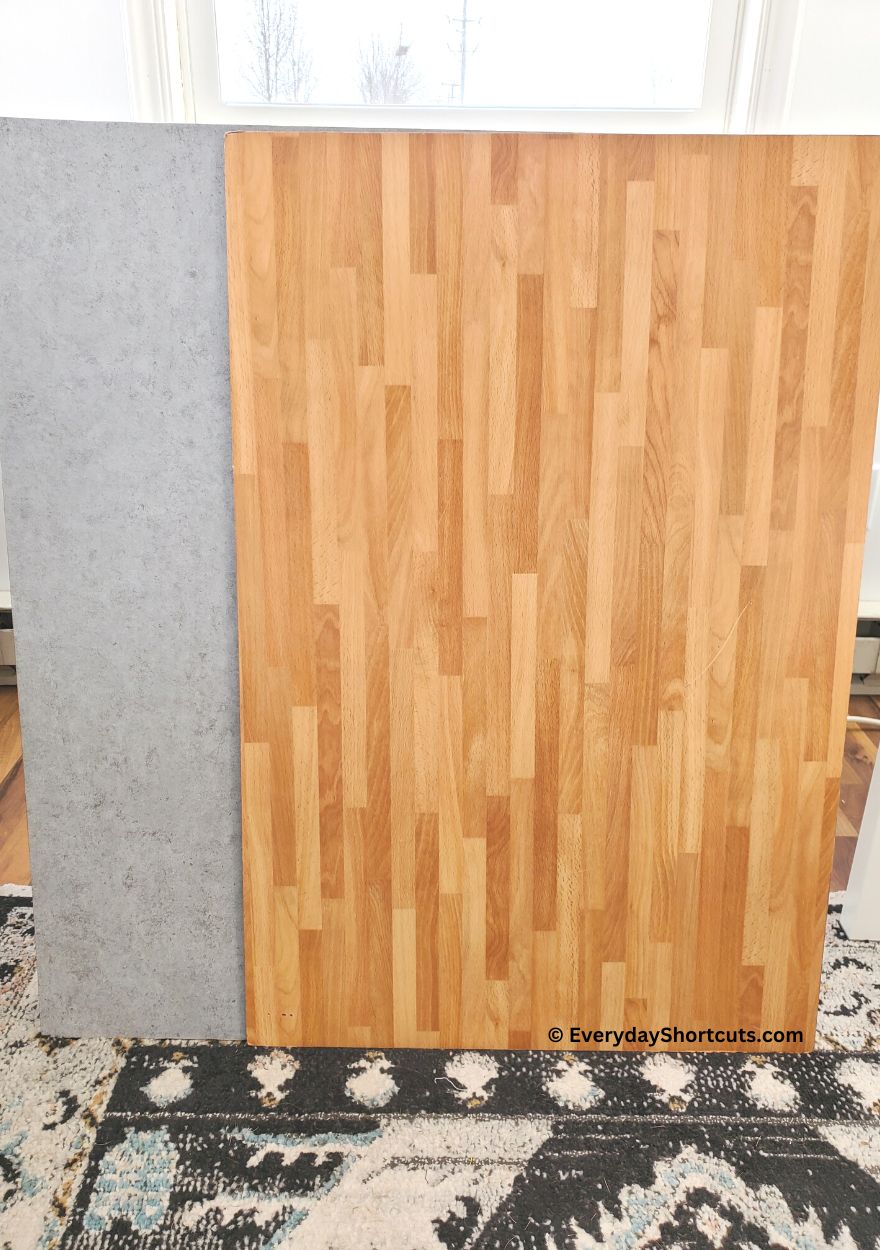
Slowly peel the back of paper and apply to the board, working your way to the end of the board, smoothing any bubbles out along the way.
Using a utility knife, cut any access vinyl around the edges.
Repeat with a different self adhesive vinyl on the other side so you have 2 different boards.
FAQs
What are the benefits of using a photography backgrounds?
The benefits of using a photography board include being able to control the background of your shots and creating interesting foregrounds with your gear.
How do I use a photography board?
To use a photography board, simply set it up in the desired location, place subject on board and start shooting with your camera!
Are there any other uses for photography boards?
In addition to taking pictures, you can also use photography boards for things like video recordings.
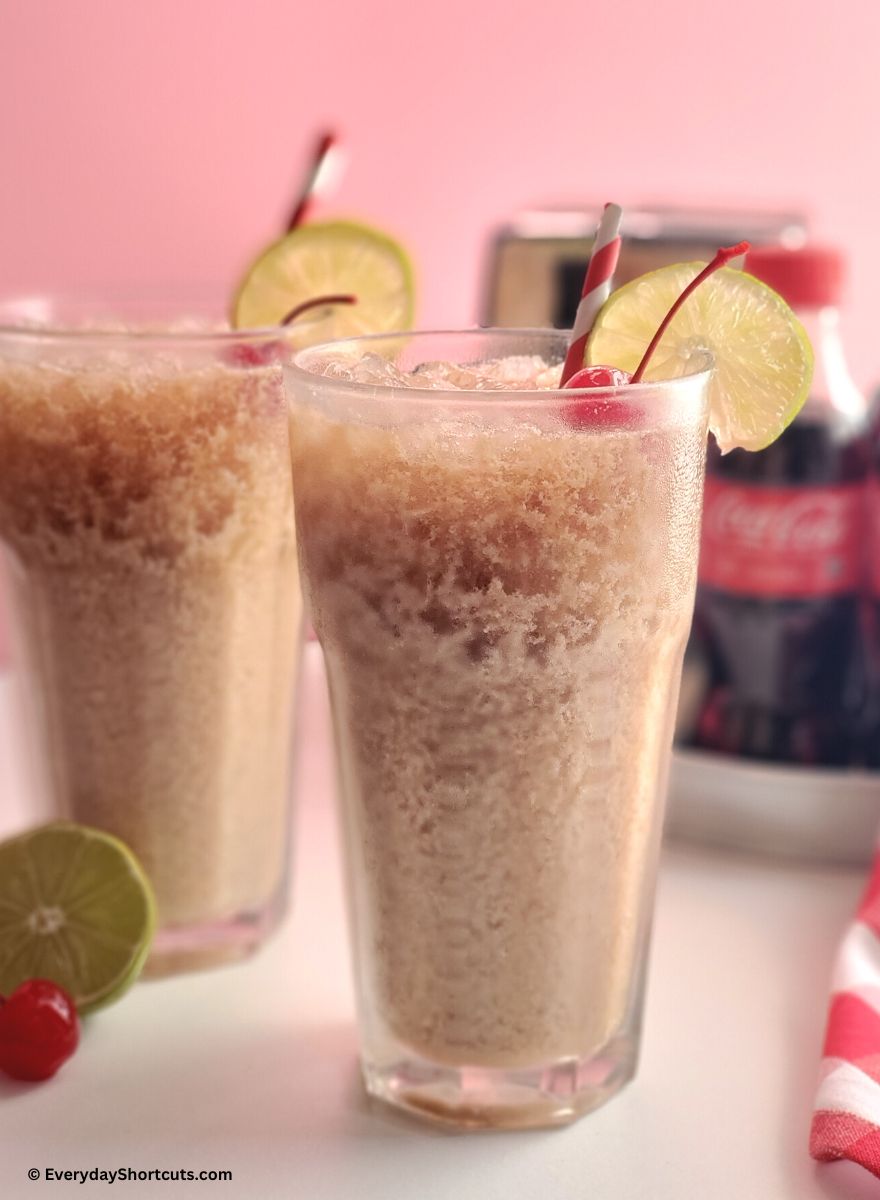
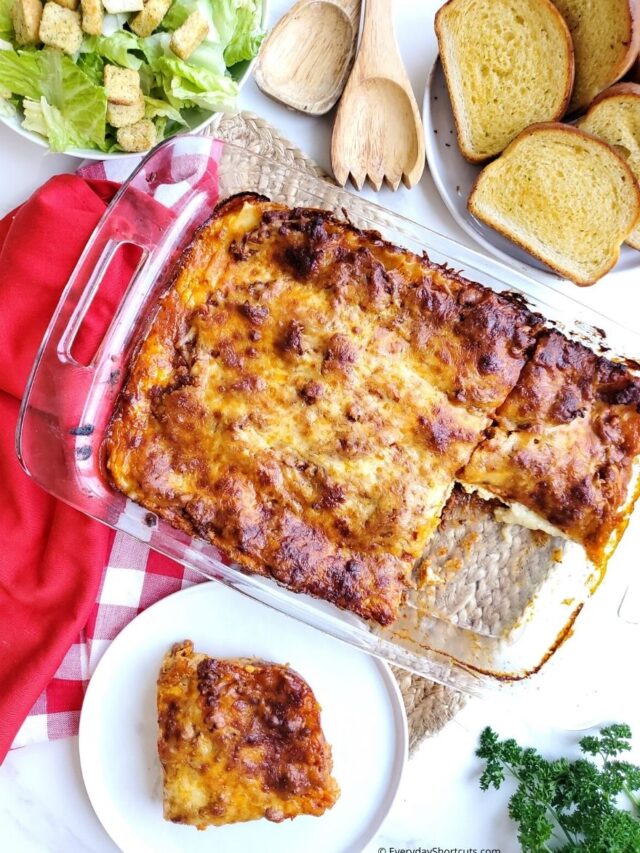
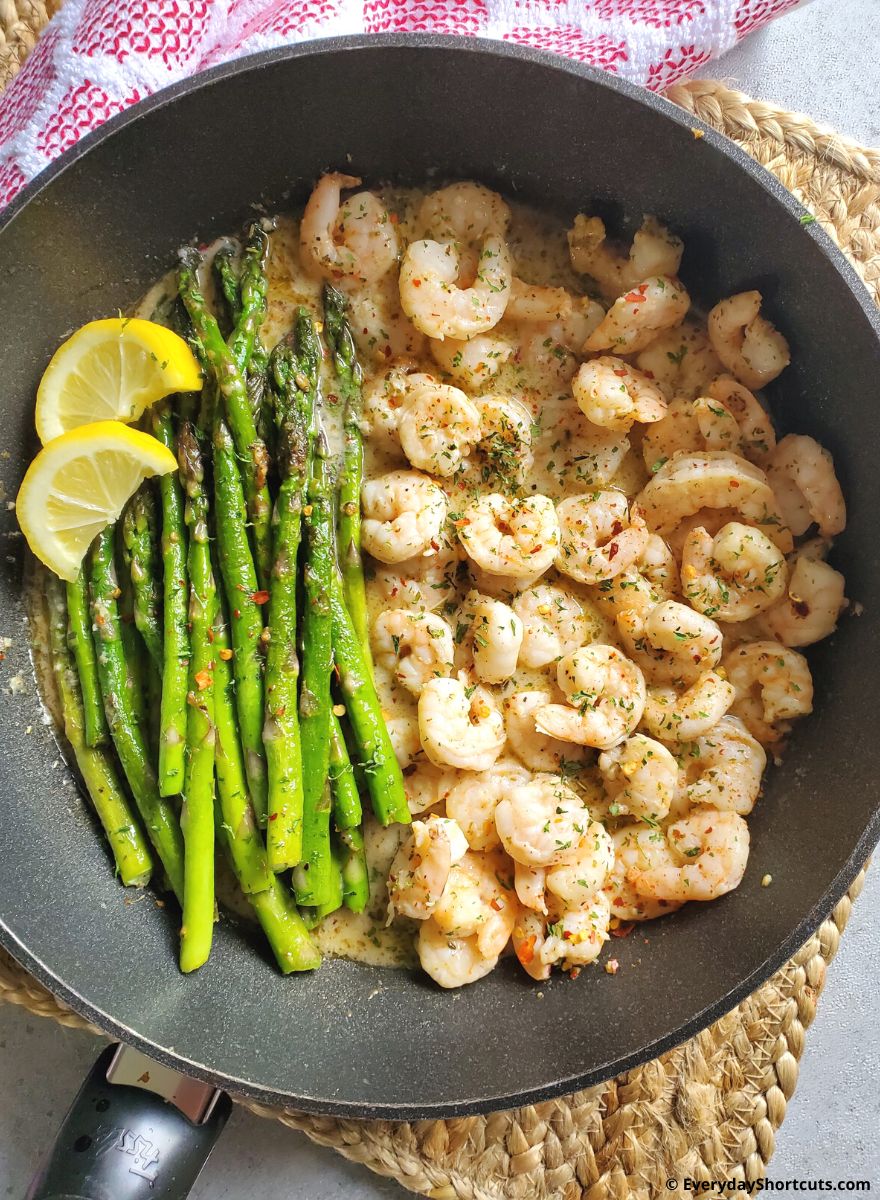
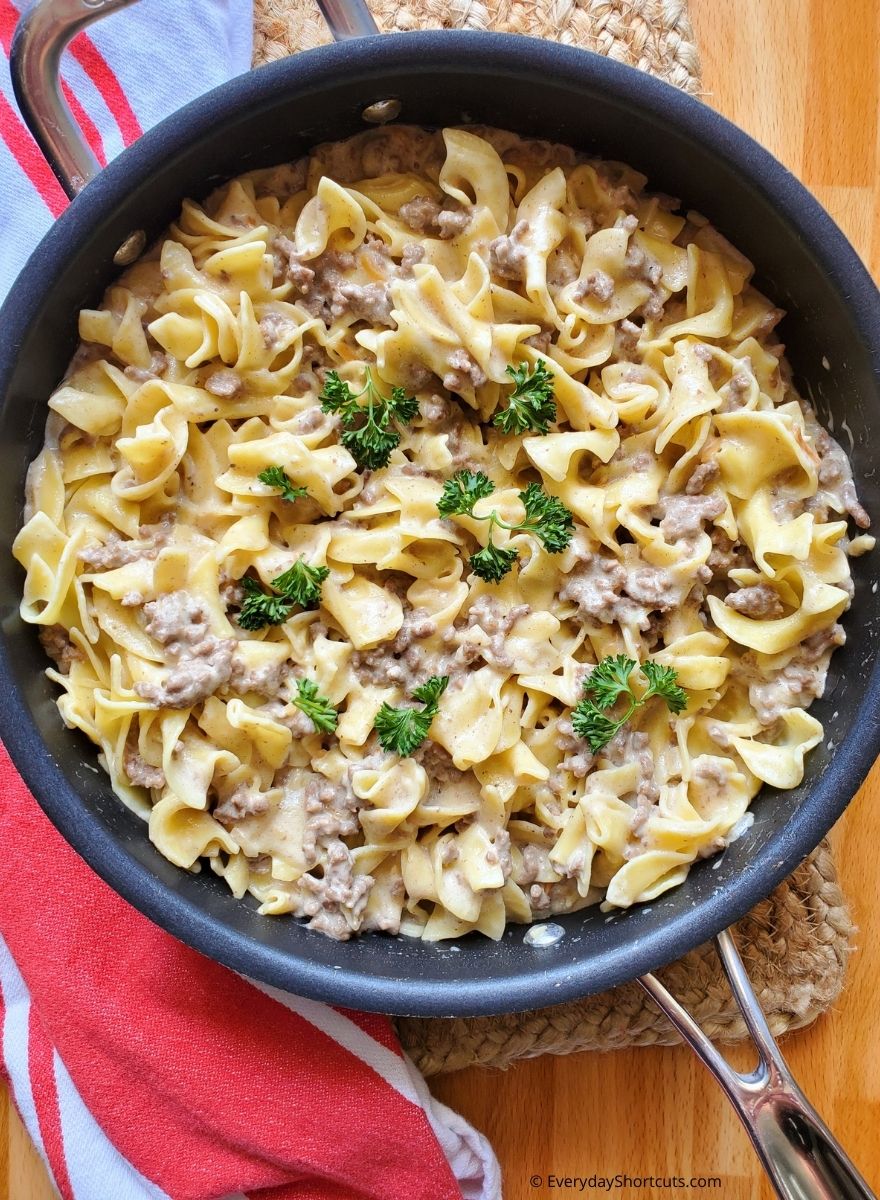
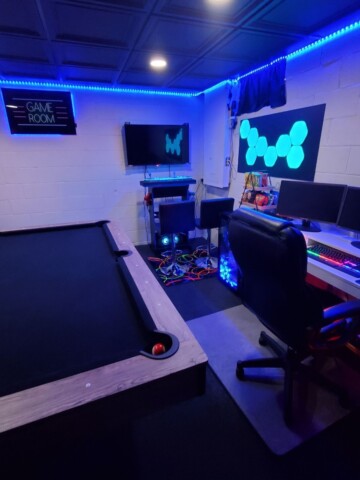
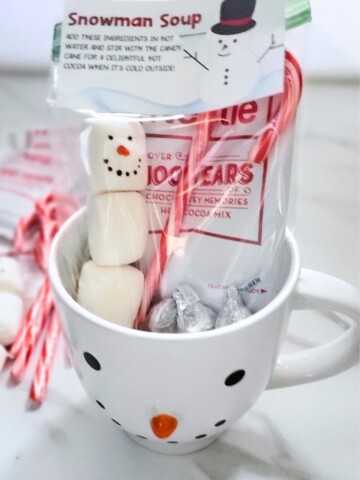
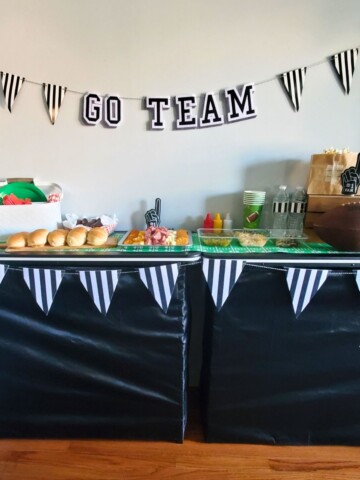
Here are some examples of how I used the photo boards in my recipe photos!


Leave a Reply