A little getaway that’s not too far away!
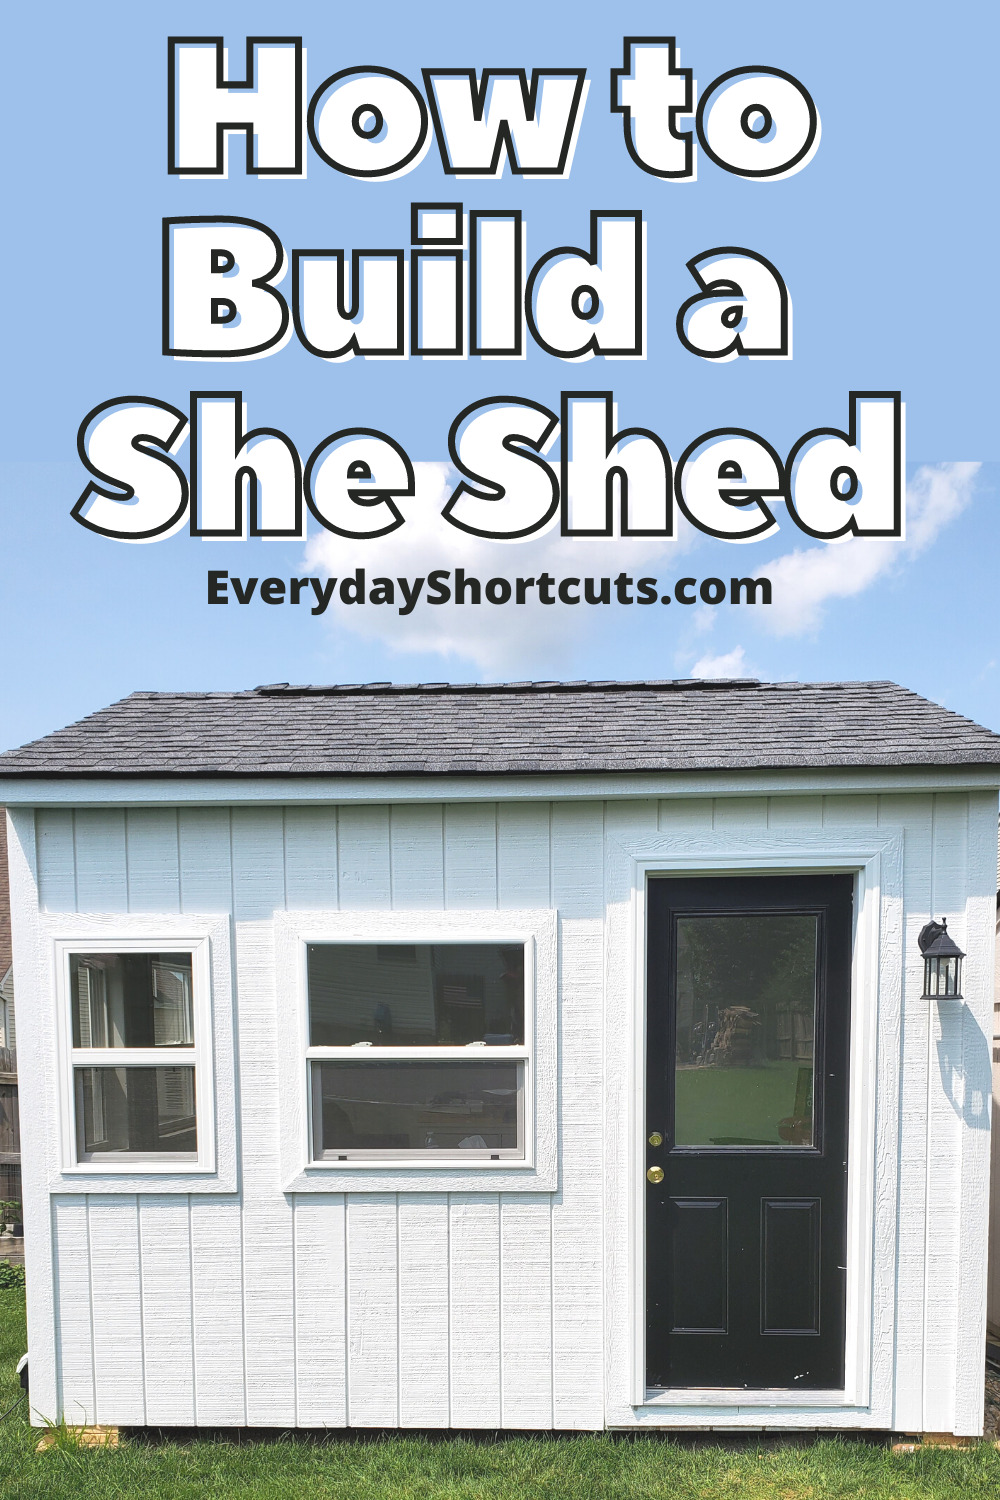
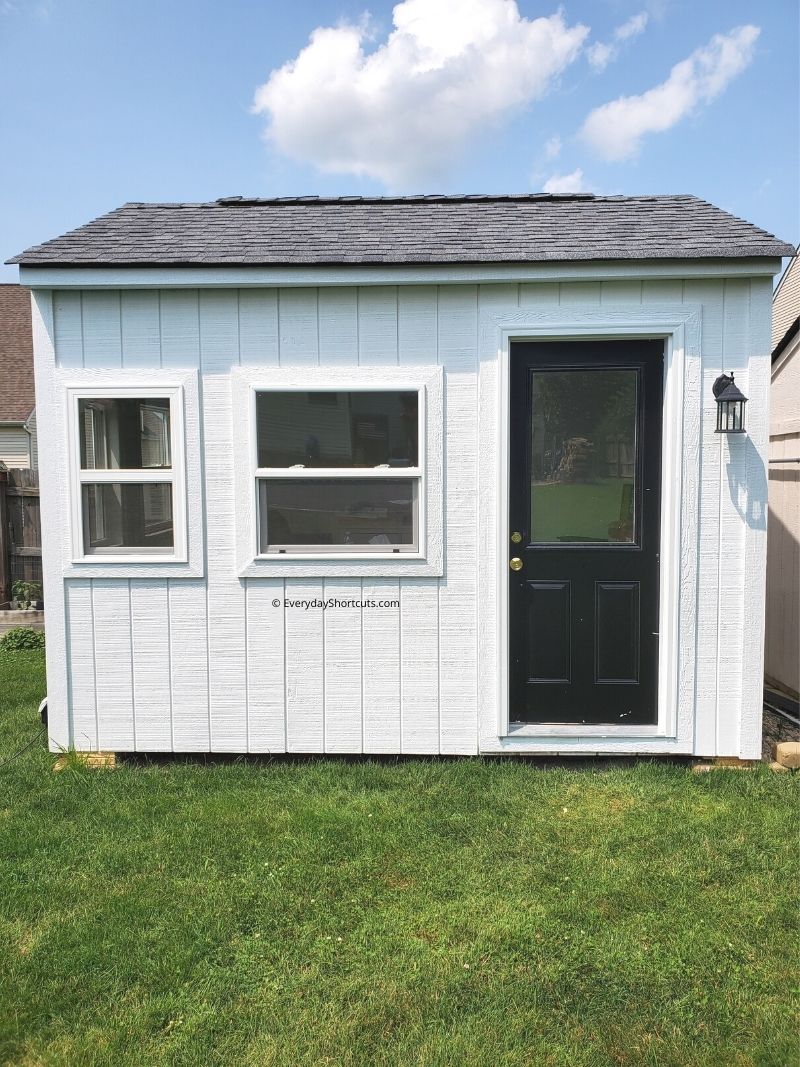
I’ve been dreaming of my own space for a long time. I still can’t believe the day has come and my she shed is finally finished. This is a place where I can go where it’s quiet and also use as my office. It’s great because I can set office hours, work in the she shed and then come back to my house and do regular after work duties. It’s basically like I’m going to the office during the day and home at night.
What is a She Shed?
A she shed is a personal retreat that can be built on your property. It’s the perfect place to escape from life and spend some time with yourself.
If you want a space of your own, a she shed is super functional from a potting shed, office, and more. You don’t need a whole lot of space to getaway and it’s less expensive to build your own.
While you can build from a prefabricated kit if you choose or just build one of your own.
My husband is a master and drawing a plan in his head and he completely designed this himself. While he did all of the hard work, I got the fun part of decorating it.
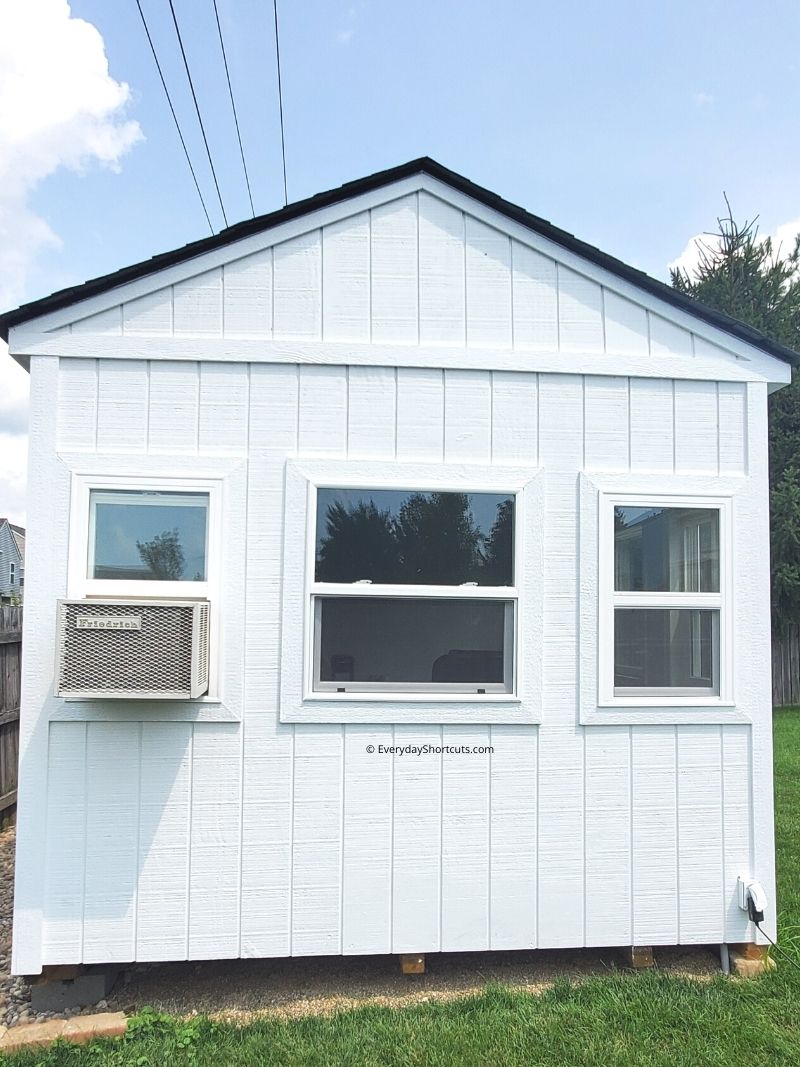
Most sheds are 10×10, 10×12 or 12×12. The one we built is 10×12 and it’s the perfect size. There is no single blueprint for a she shed because it’s personal preference on what you want in your space, but this guide will give some pointers as far as architecture goes.
What you Need to Build a She Shed
Exterior Supplies
3/4 in. MDF – for subfloor and roof sheeting
2X4’s
4X8 ft. sheet shed siding
Screws
Roof trusses
Hurricane hangers for the roof trusses
Shingles
Tar paper or shingle underlayment
Drip edge
Ridge vent cap
Gravel
Plastic sheeting
Concrete footings
4X6X12 ft. pressure treated wood for underneath the floor
Windows
1X4X16 wood for trim
Paint
Door
Hardware for door
Caulk
Exterior light
16 penny nails for framing
2 inch screws for installing roof sheeting
2 inch trim nails
Roofing nails
Interior Supplies
Drywall
Drywall screws
Joint compound
Joint tape
Insulation
Trim
Outlets and switches
Cover plates for plugs and switches
Wiring for electric
50 AMP main electrical box with 15 AMP breakers
Flooring
Flooring underlayment for a floating floor
Paint
Light fixtures
2 inch screws for installing subfloor
2 inch trim nails
Shims for door and windows
Tools Needed
Air compressor
Nail gun
Level
Circular saw
Table saw
Drill
1/4 impact for driving screws
Framing hammer
Square
Caulking gun
Paint tray
Paint roller and brushes
Drywall pole sander
Hand sander
Drywall knockout saw
Ladder
Razor knife
6 way screwdriver
Step 1: Design the Shed
First, you need to draw up a plan. Don’t forget details like windows and the door. You don’t need to be an artist to draw up the plans. Our sketch was pretty simple to get a rough idea to share for permits and such. Permits and inspections take time so if you are in a time crunch, plan accordingly.
Check the area you want to build it in to make sure you have enough space to do so.
While you’re designing the shed, check with the neighborhood to see if you need a permit from HOA. Be sure to follow all guidelines to get a permit and inspections from the city you live in to avoid any hassle after it’s built.
Step 2: Build the Shed
This is the part where you can either do it by yourself or get help. My husband is pretty handy and was able to recruit my son to help out.
Get all the materials you need to start the construction. You don’t need to get everything in one trip, just the basic exterior supplies.
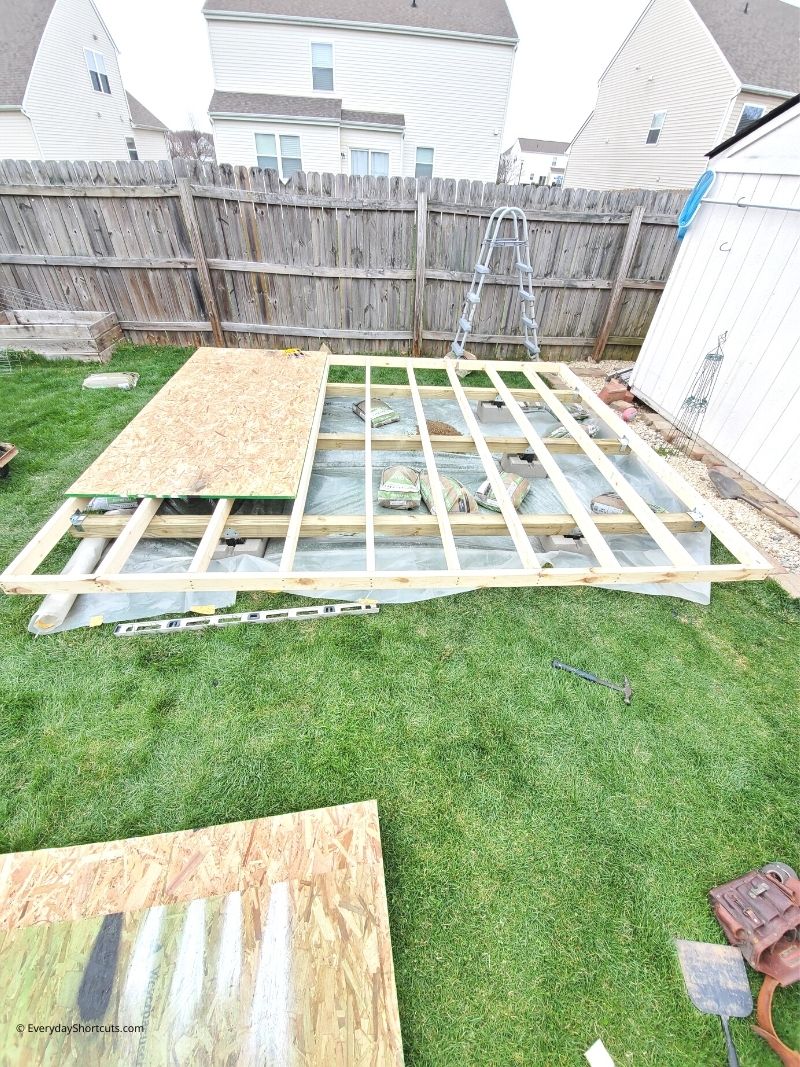
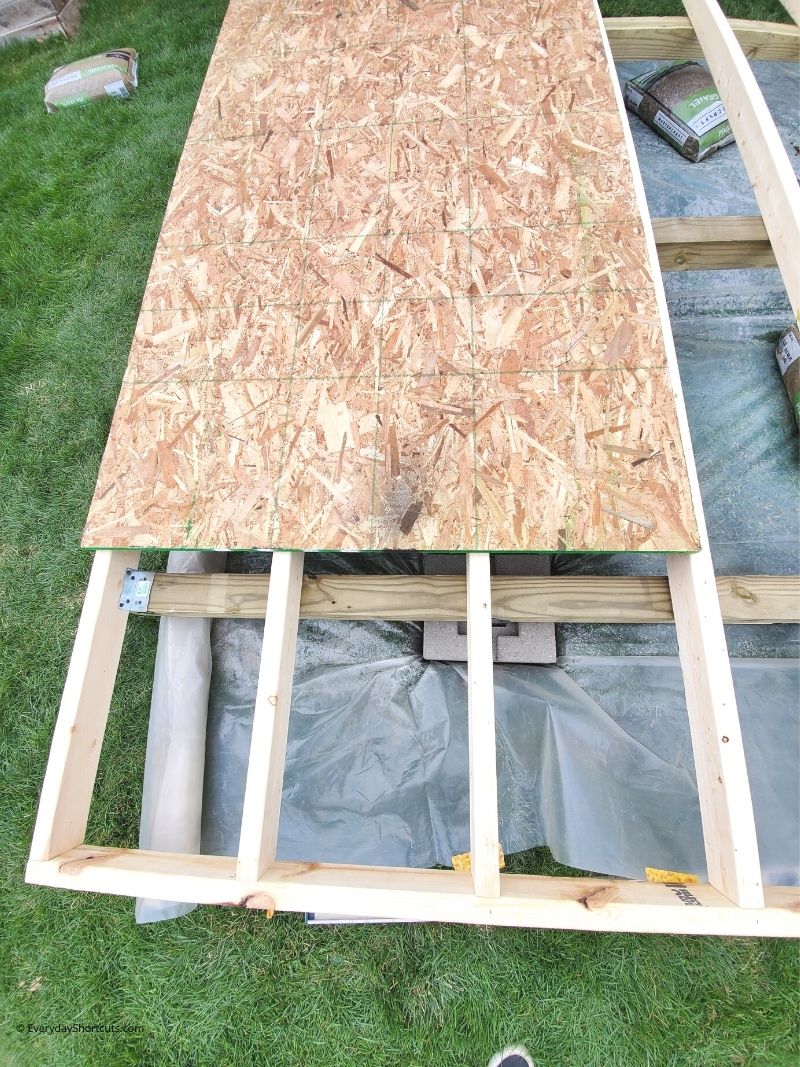
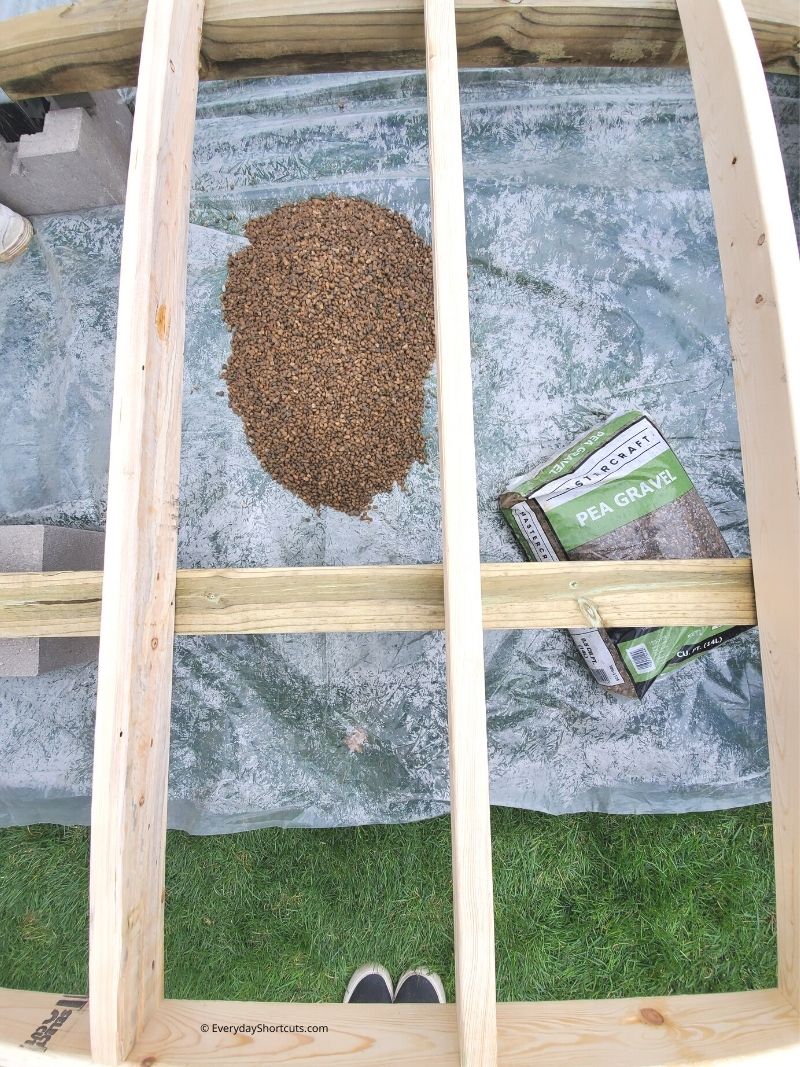
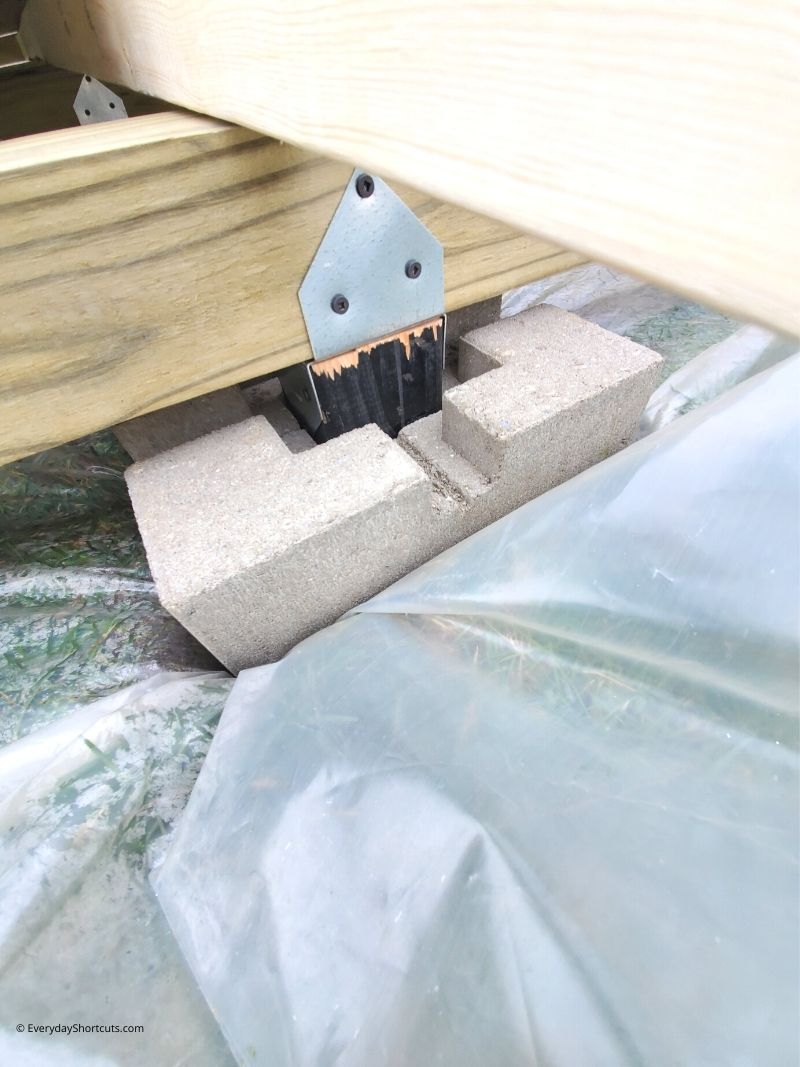
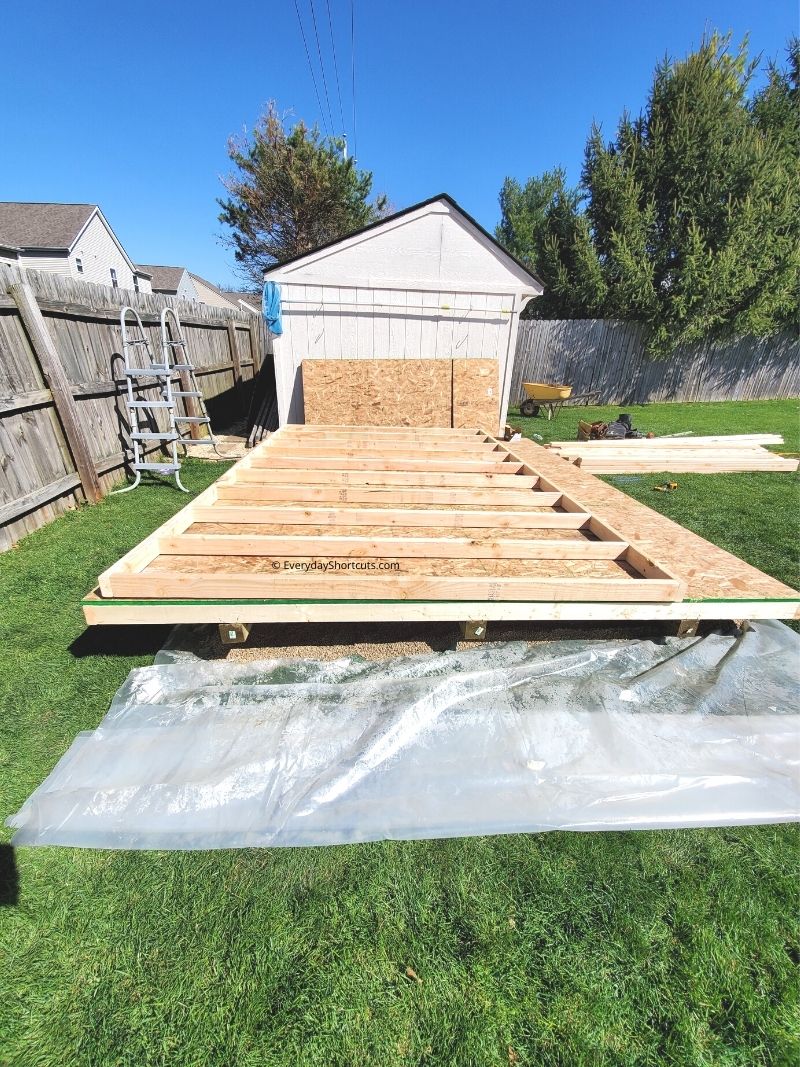
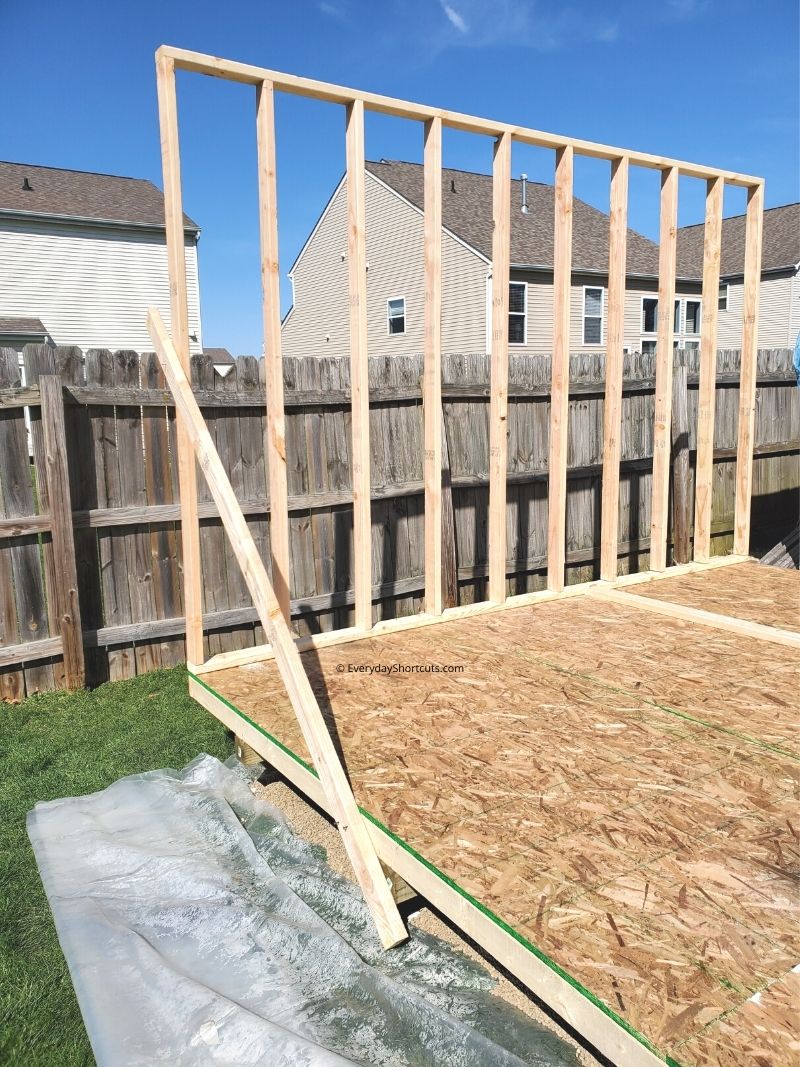
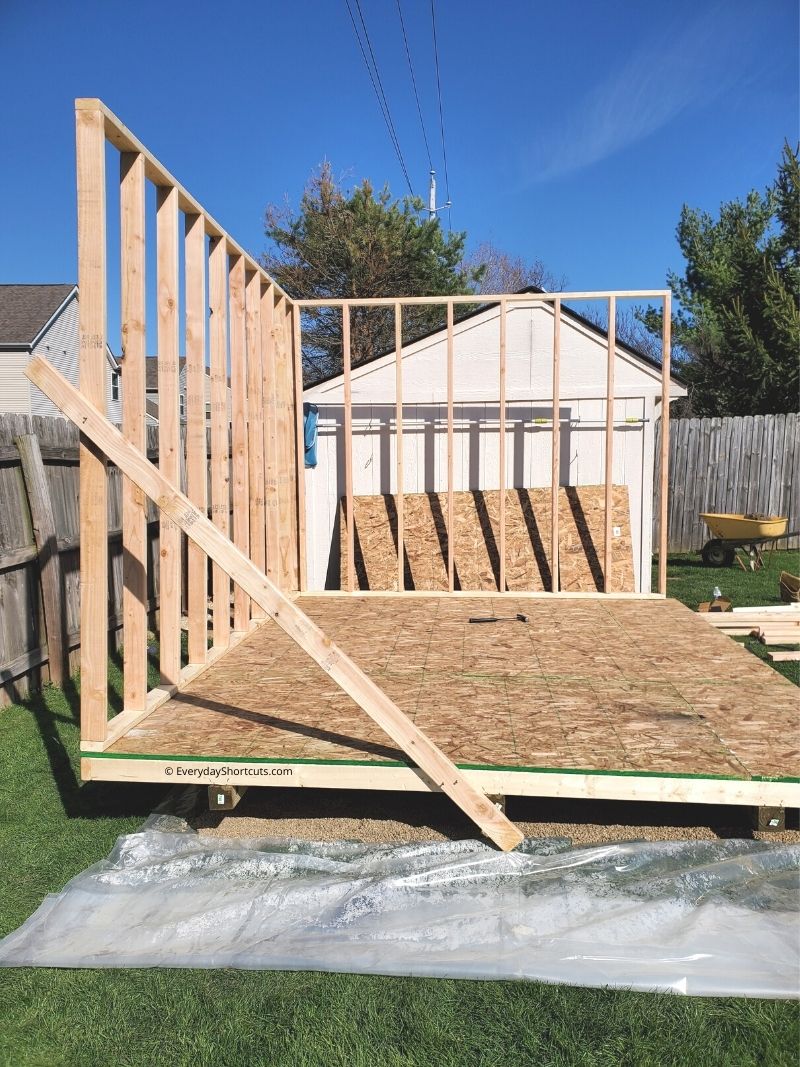
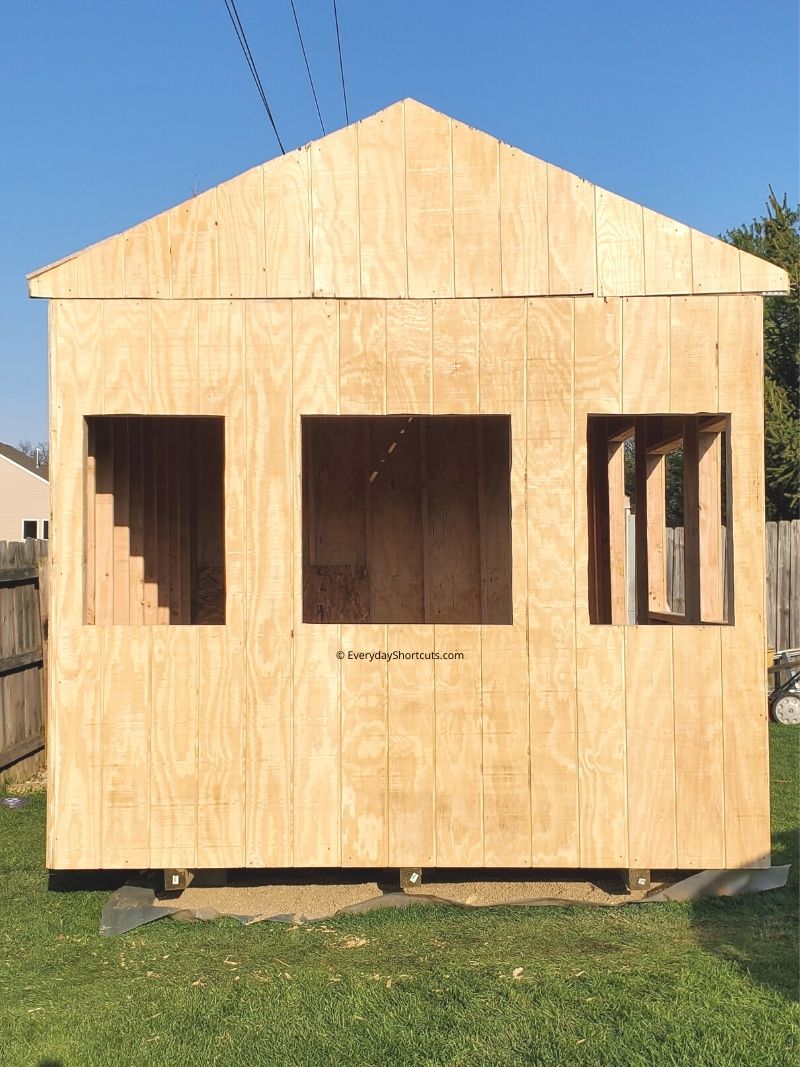
Start by constructing the foundation for the shed. Ours required plastic sheeting and gravel to lay down underneath but every city is different. We decided to raise it up a bit to keep the critters out.
There are several ways to build a foundation for a she shed. The easiest way is a making a platform but some do a concrete slab.
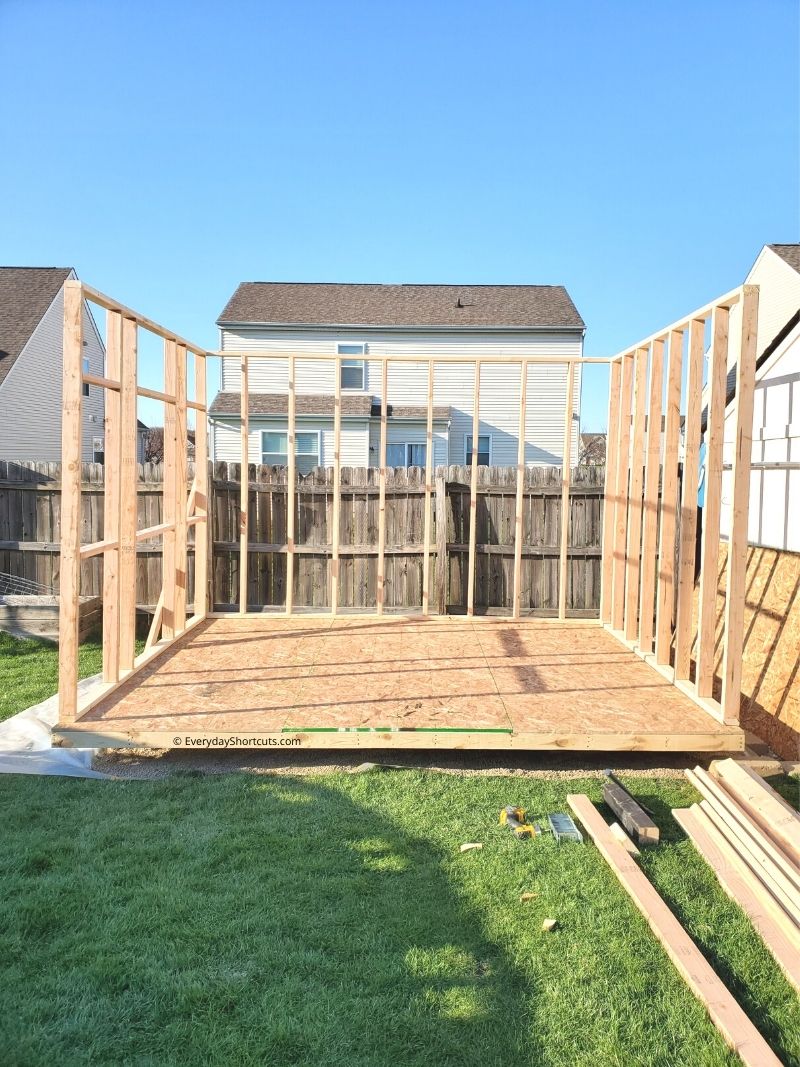
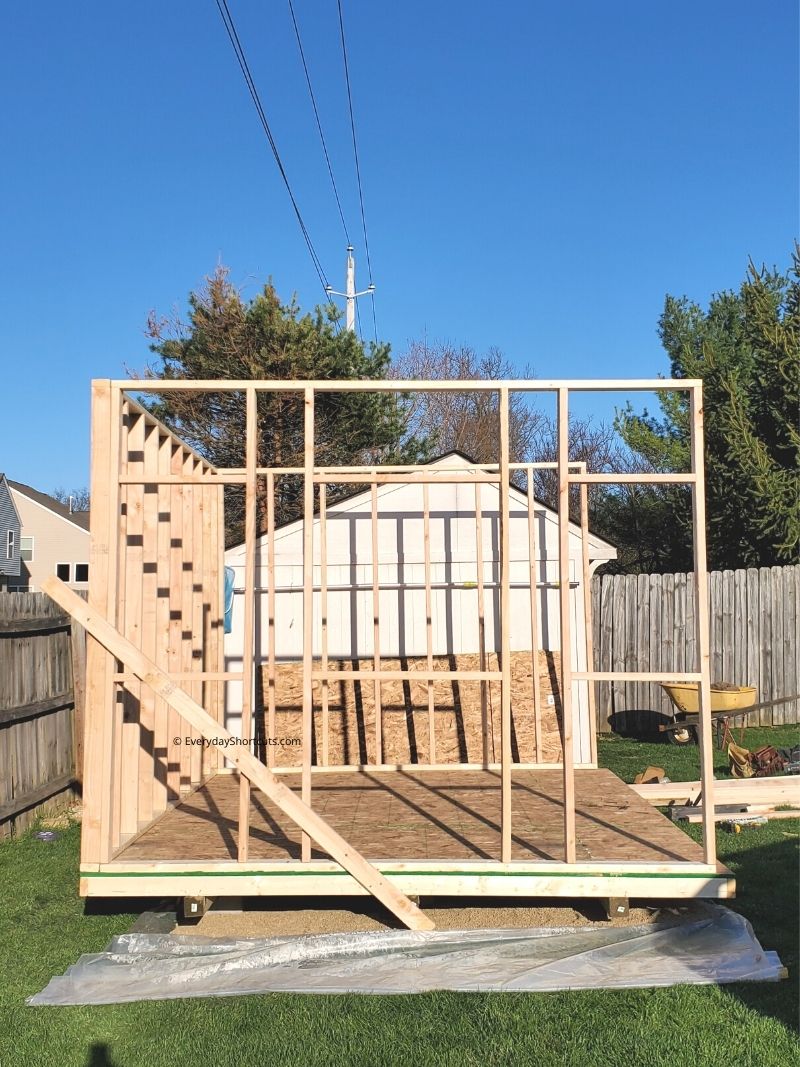
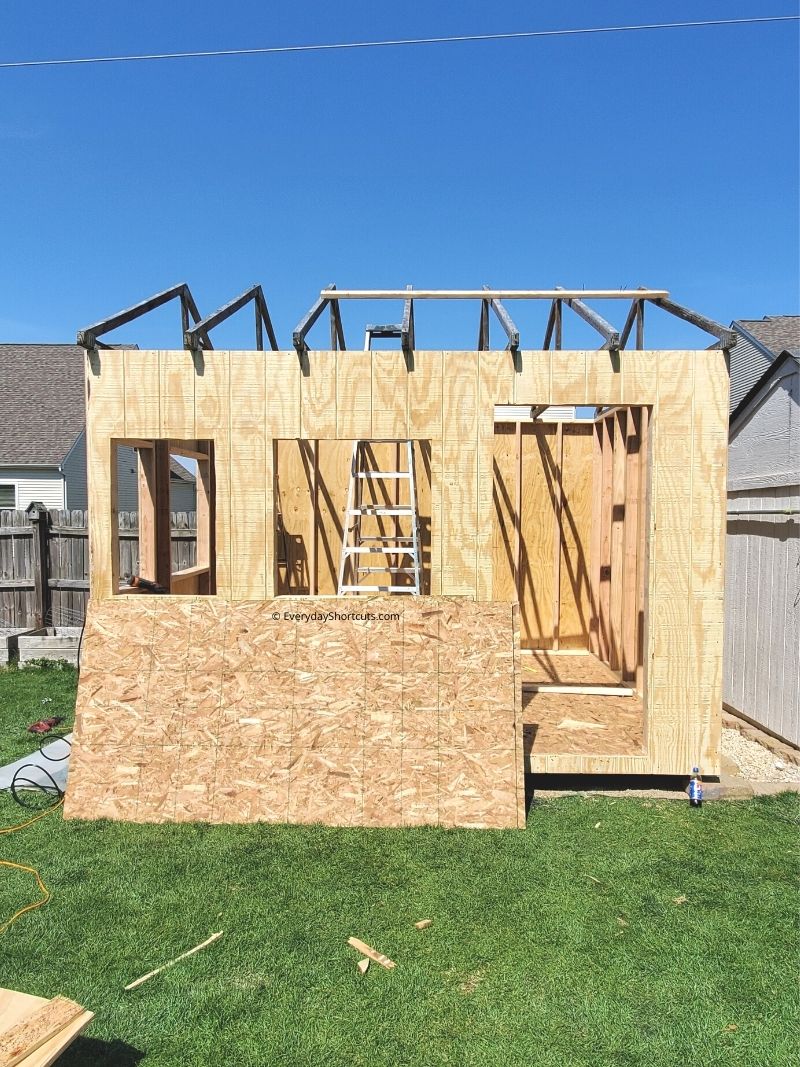
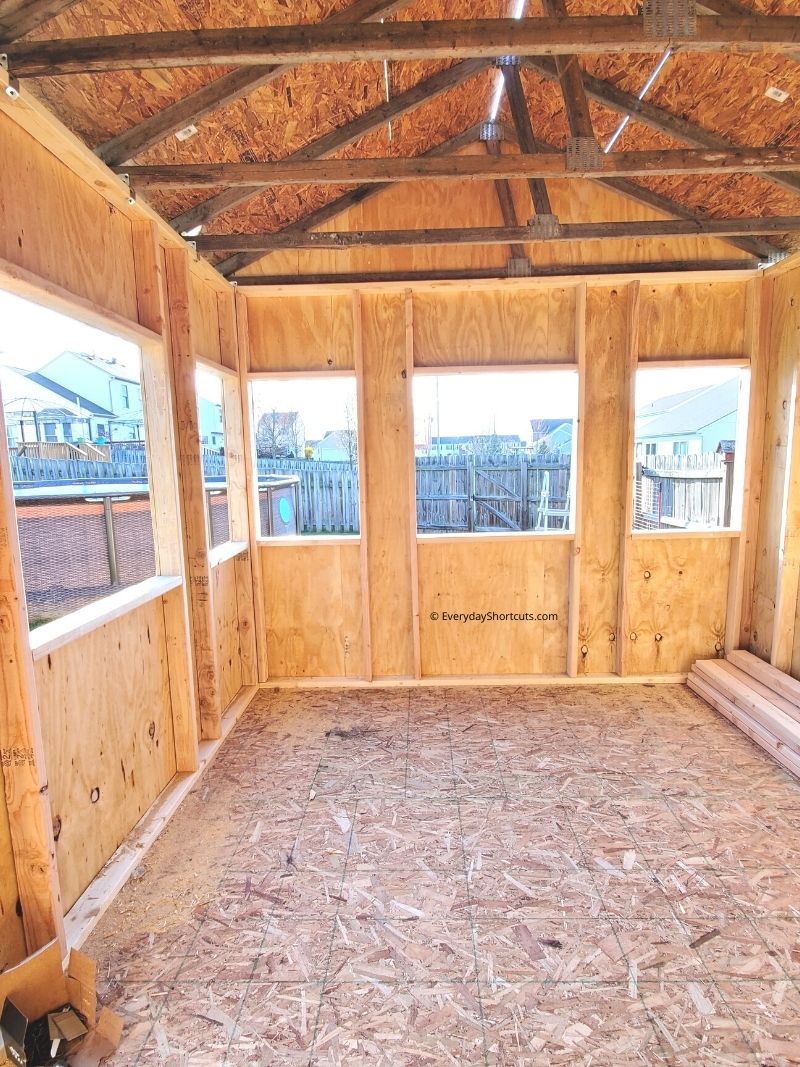
Next, frame walls with planned openings for door and windows.
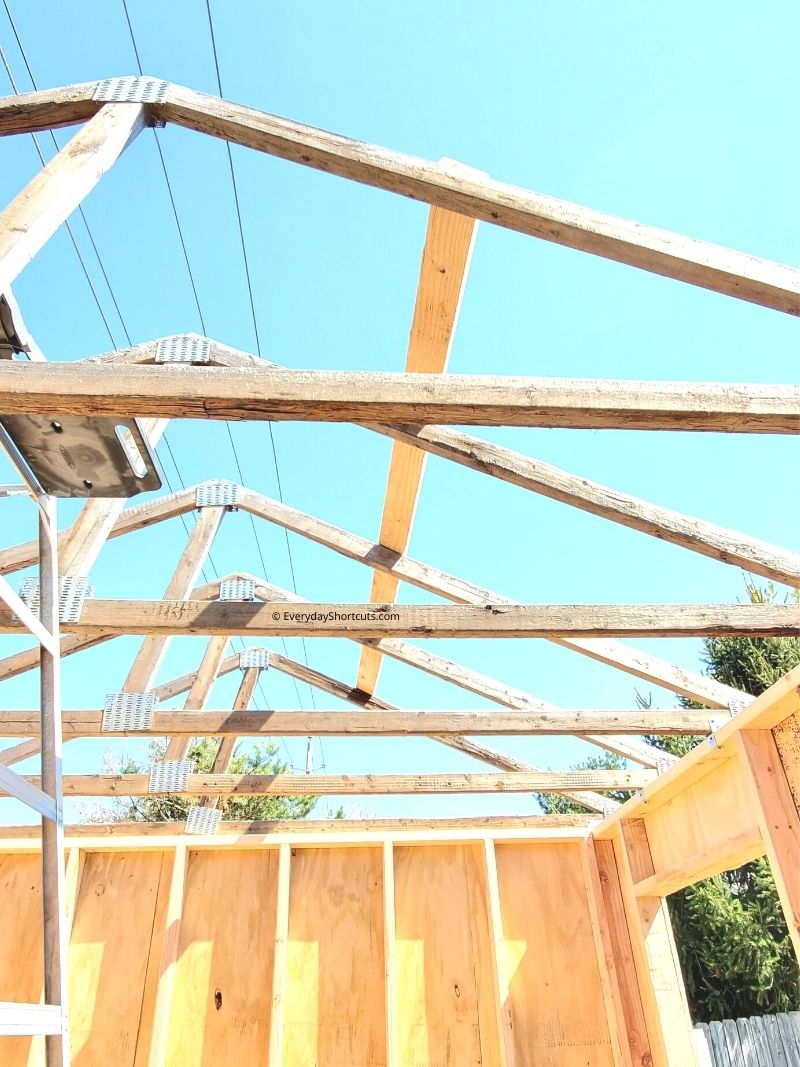
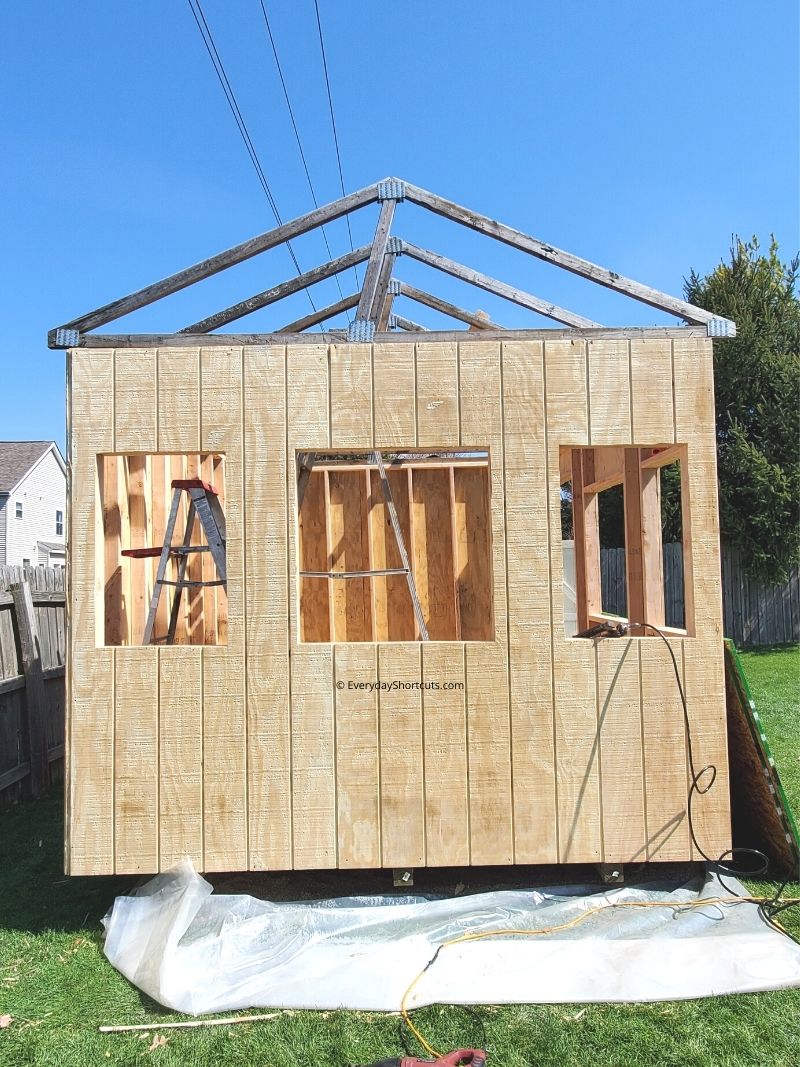
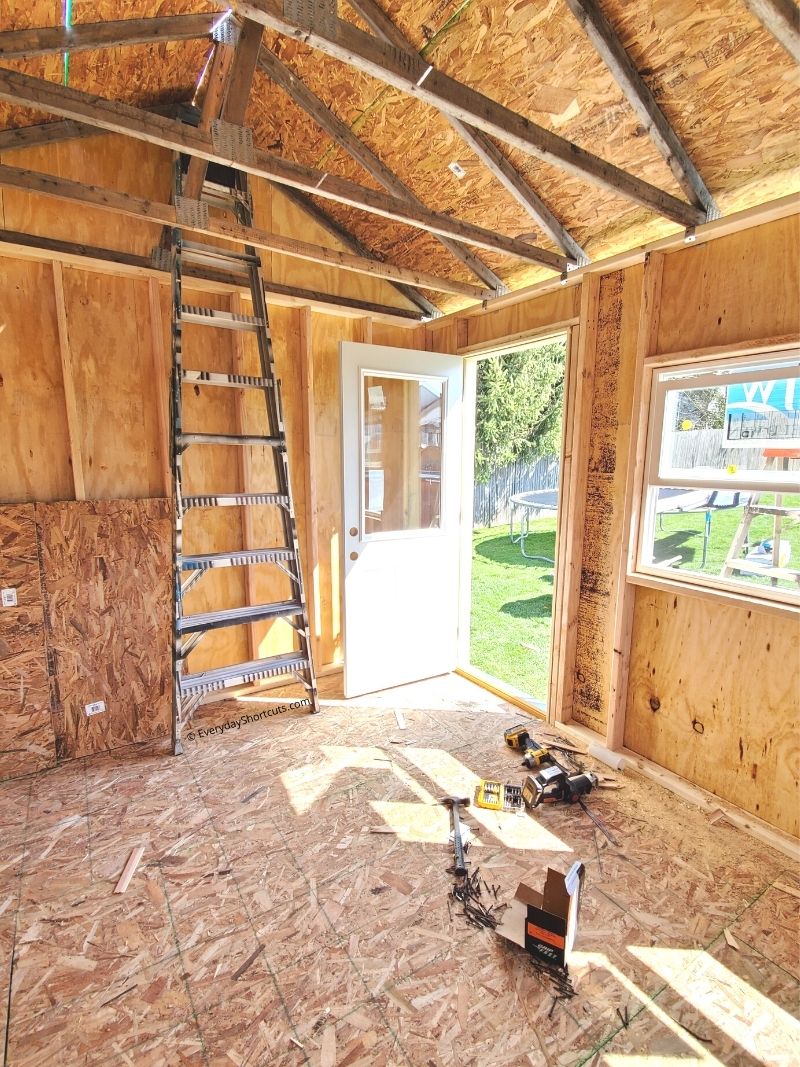
Then install roof trusses and roof sheeting.
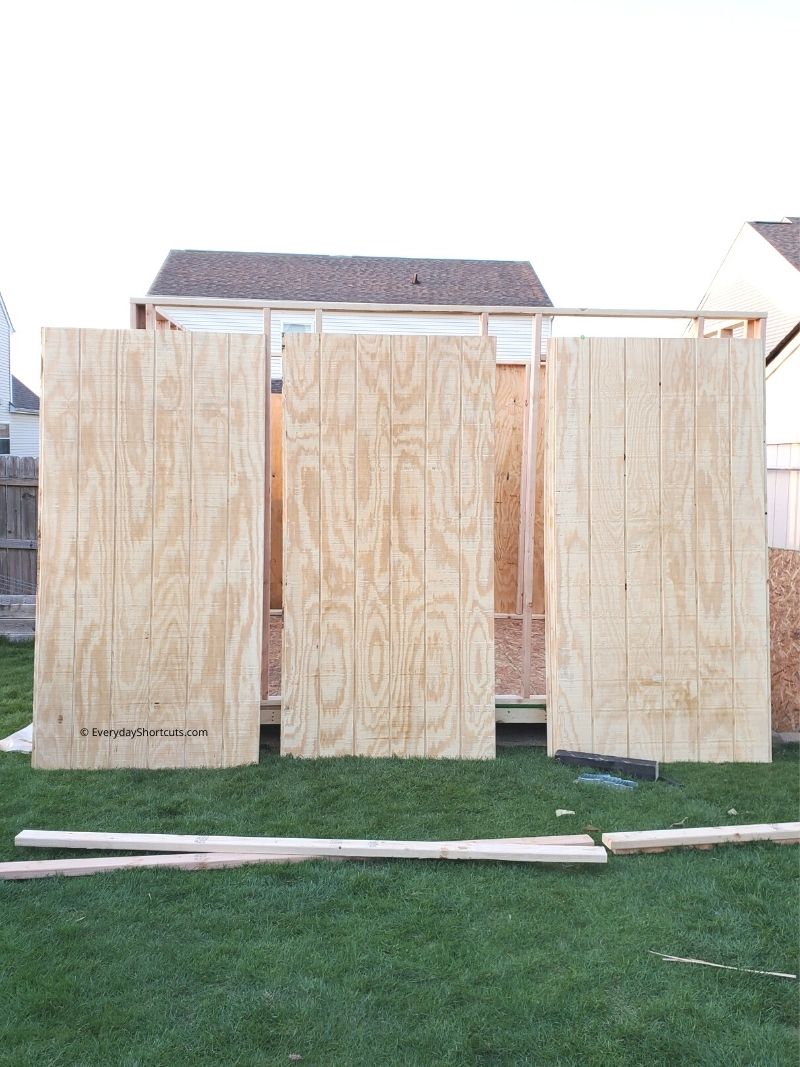
Side entire shed with shed siding. We used drywall screws to put up the shed siding. Cut out openings for the door and windows.
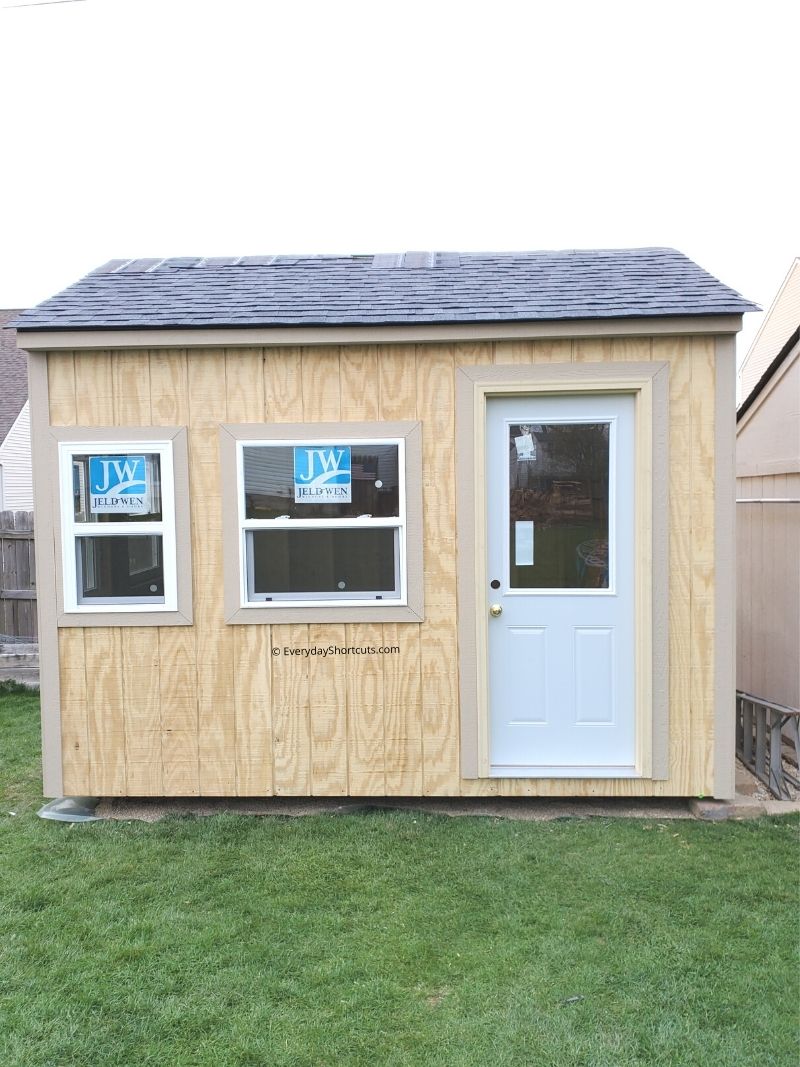
Install drip edge, underlayment and shingles. Cut the hole in the ridge for the ridge cap.
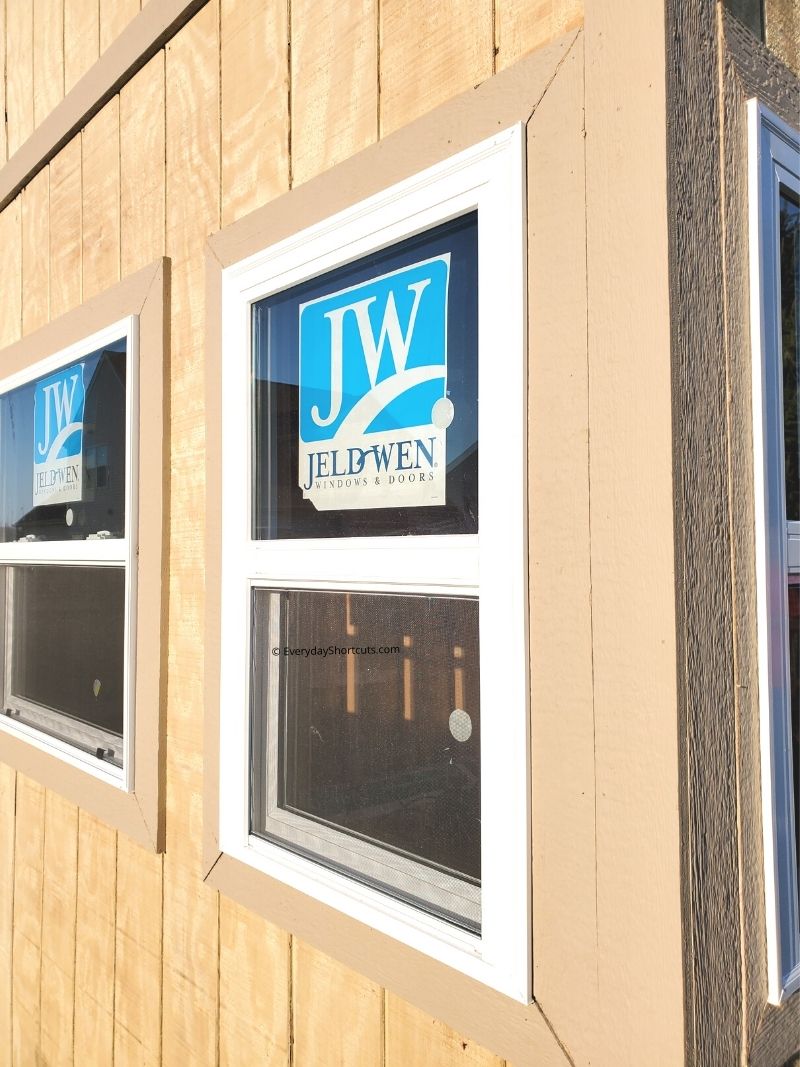
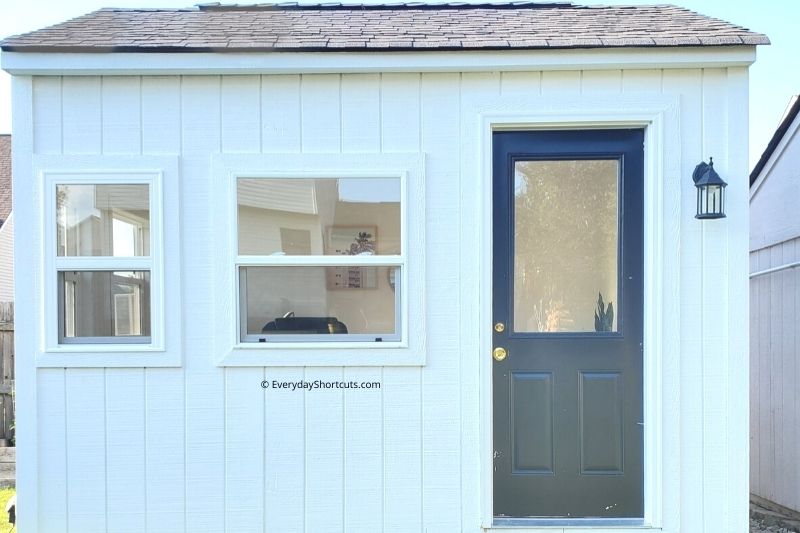
Install the windows, door, trim.
Step 3: Paint the Shed
Once it is assembled and caulked you can now paint the exterior to the color you desire. Make sure to use exterior paint so it lasts through all seasons and any weather. Now that you are dried in, you can start on the interior.
Step 4: Finish the Interior
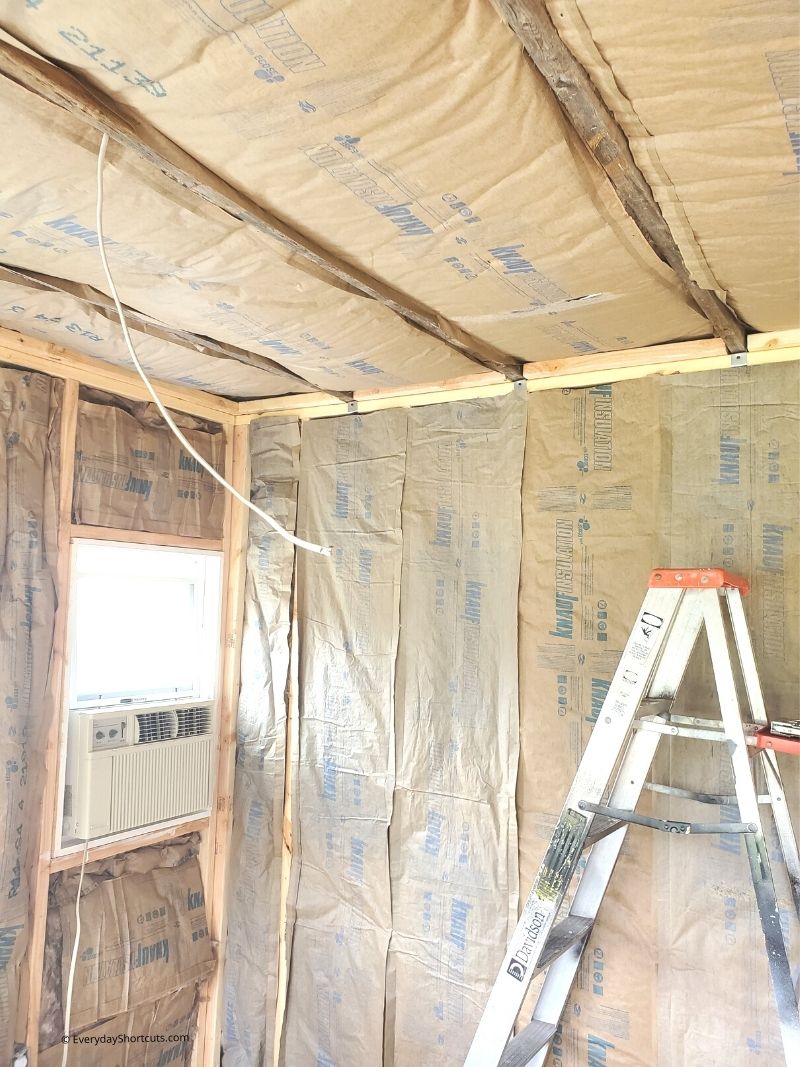
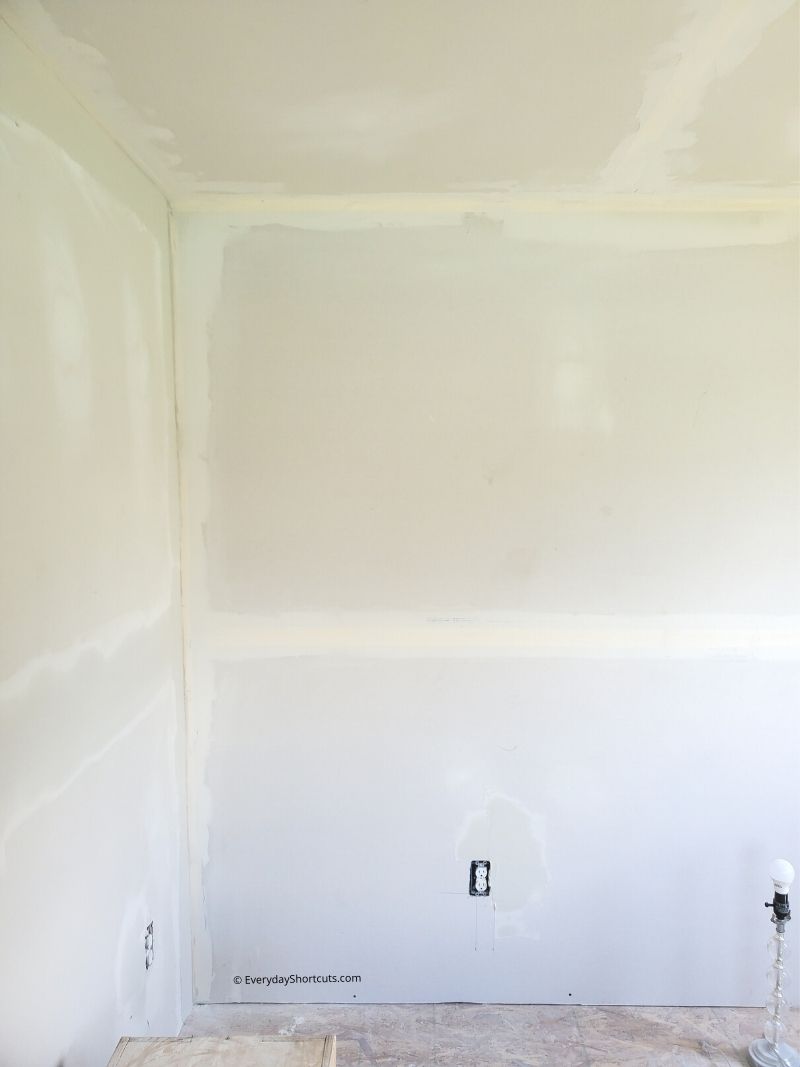
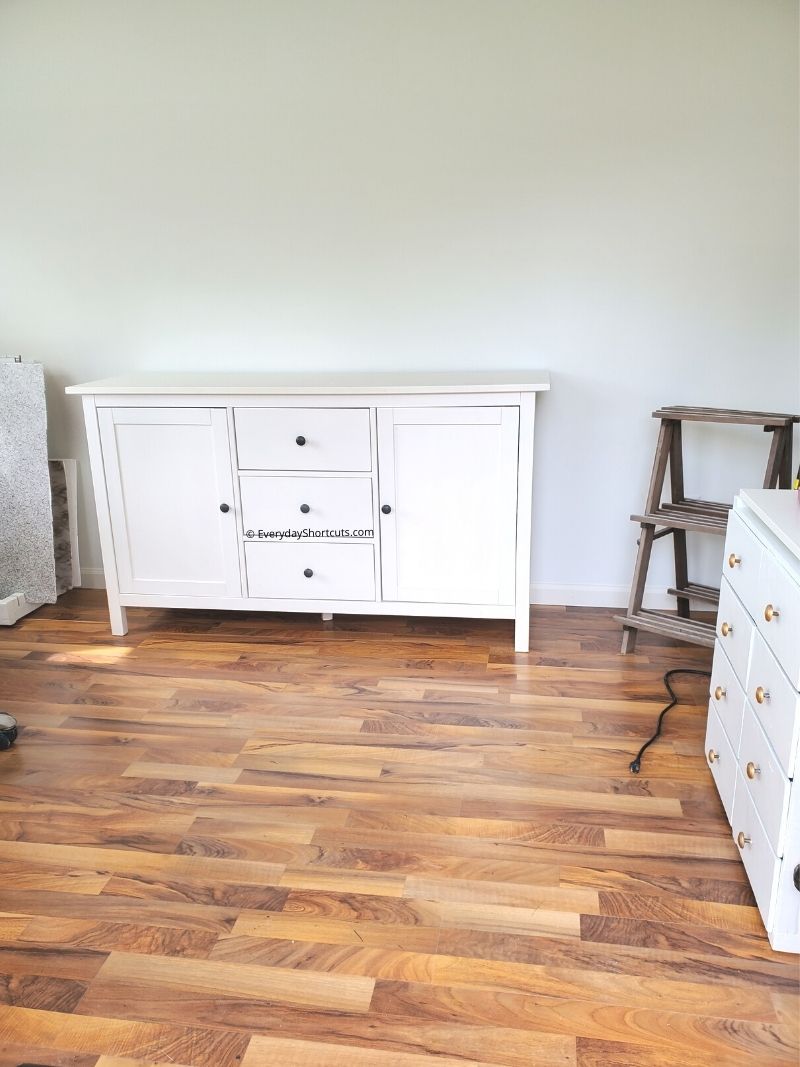
The interior of the shed is important because it’s something you’re going to look at everyday so make sure it’s to your liking. These tasks include electric, insulation, drywall, painting, flooring and trim.
It’s ideal to paint first, add the flooring and install pre-painted trim around flooring to avoid getting paint on the floor.
Step 5: Decorate the Shed
This is the fun part once everything is complete. Choose a theme you want to go with and begin to decorate. I chose a clean boho style for my she shed. Check out how I decorated my she shed here.







Leave a Reply