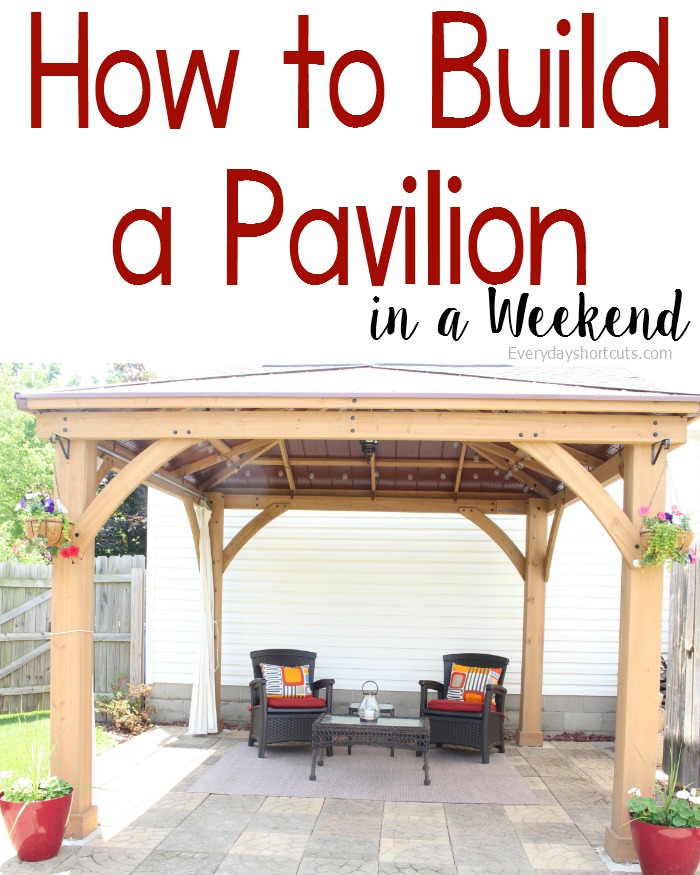
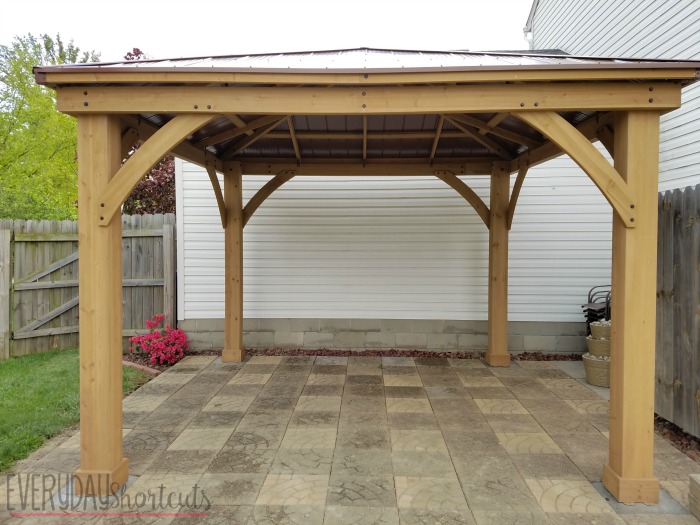
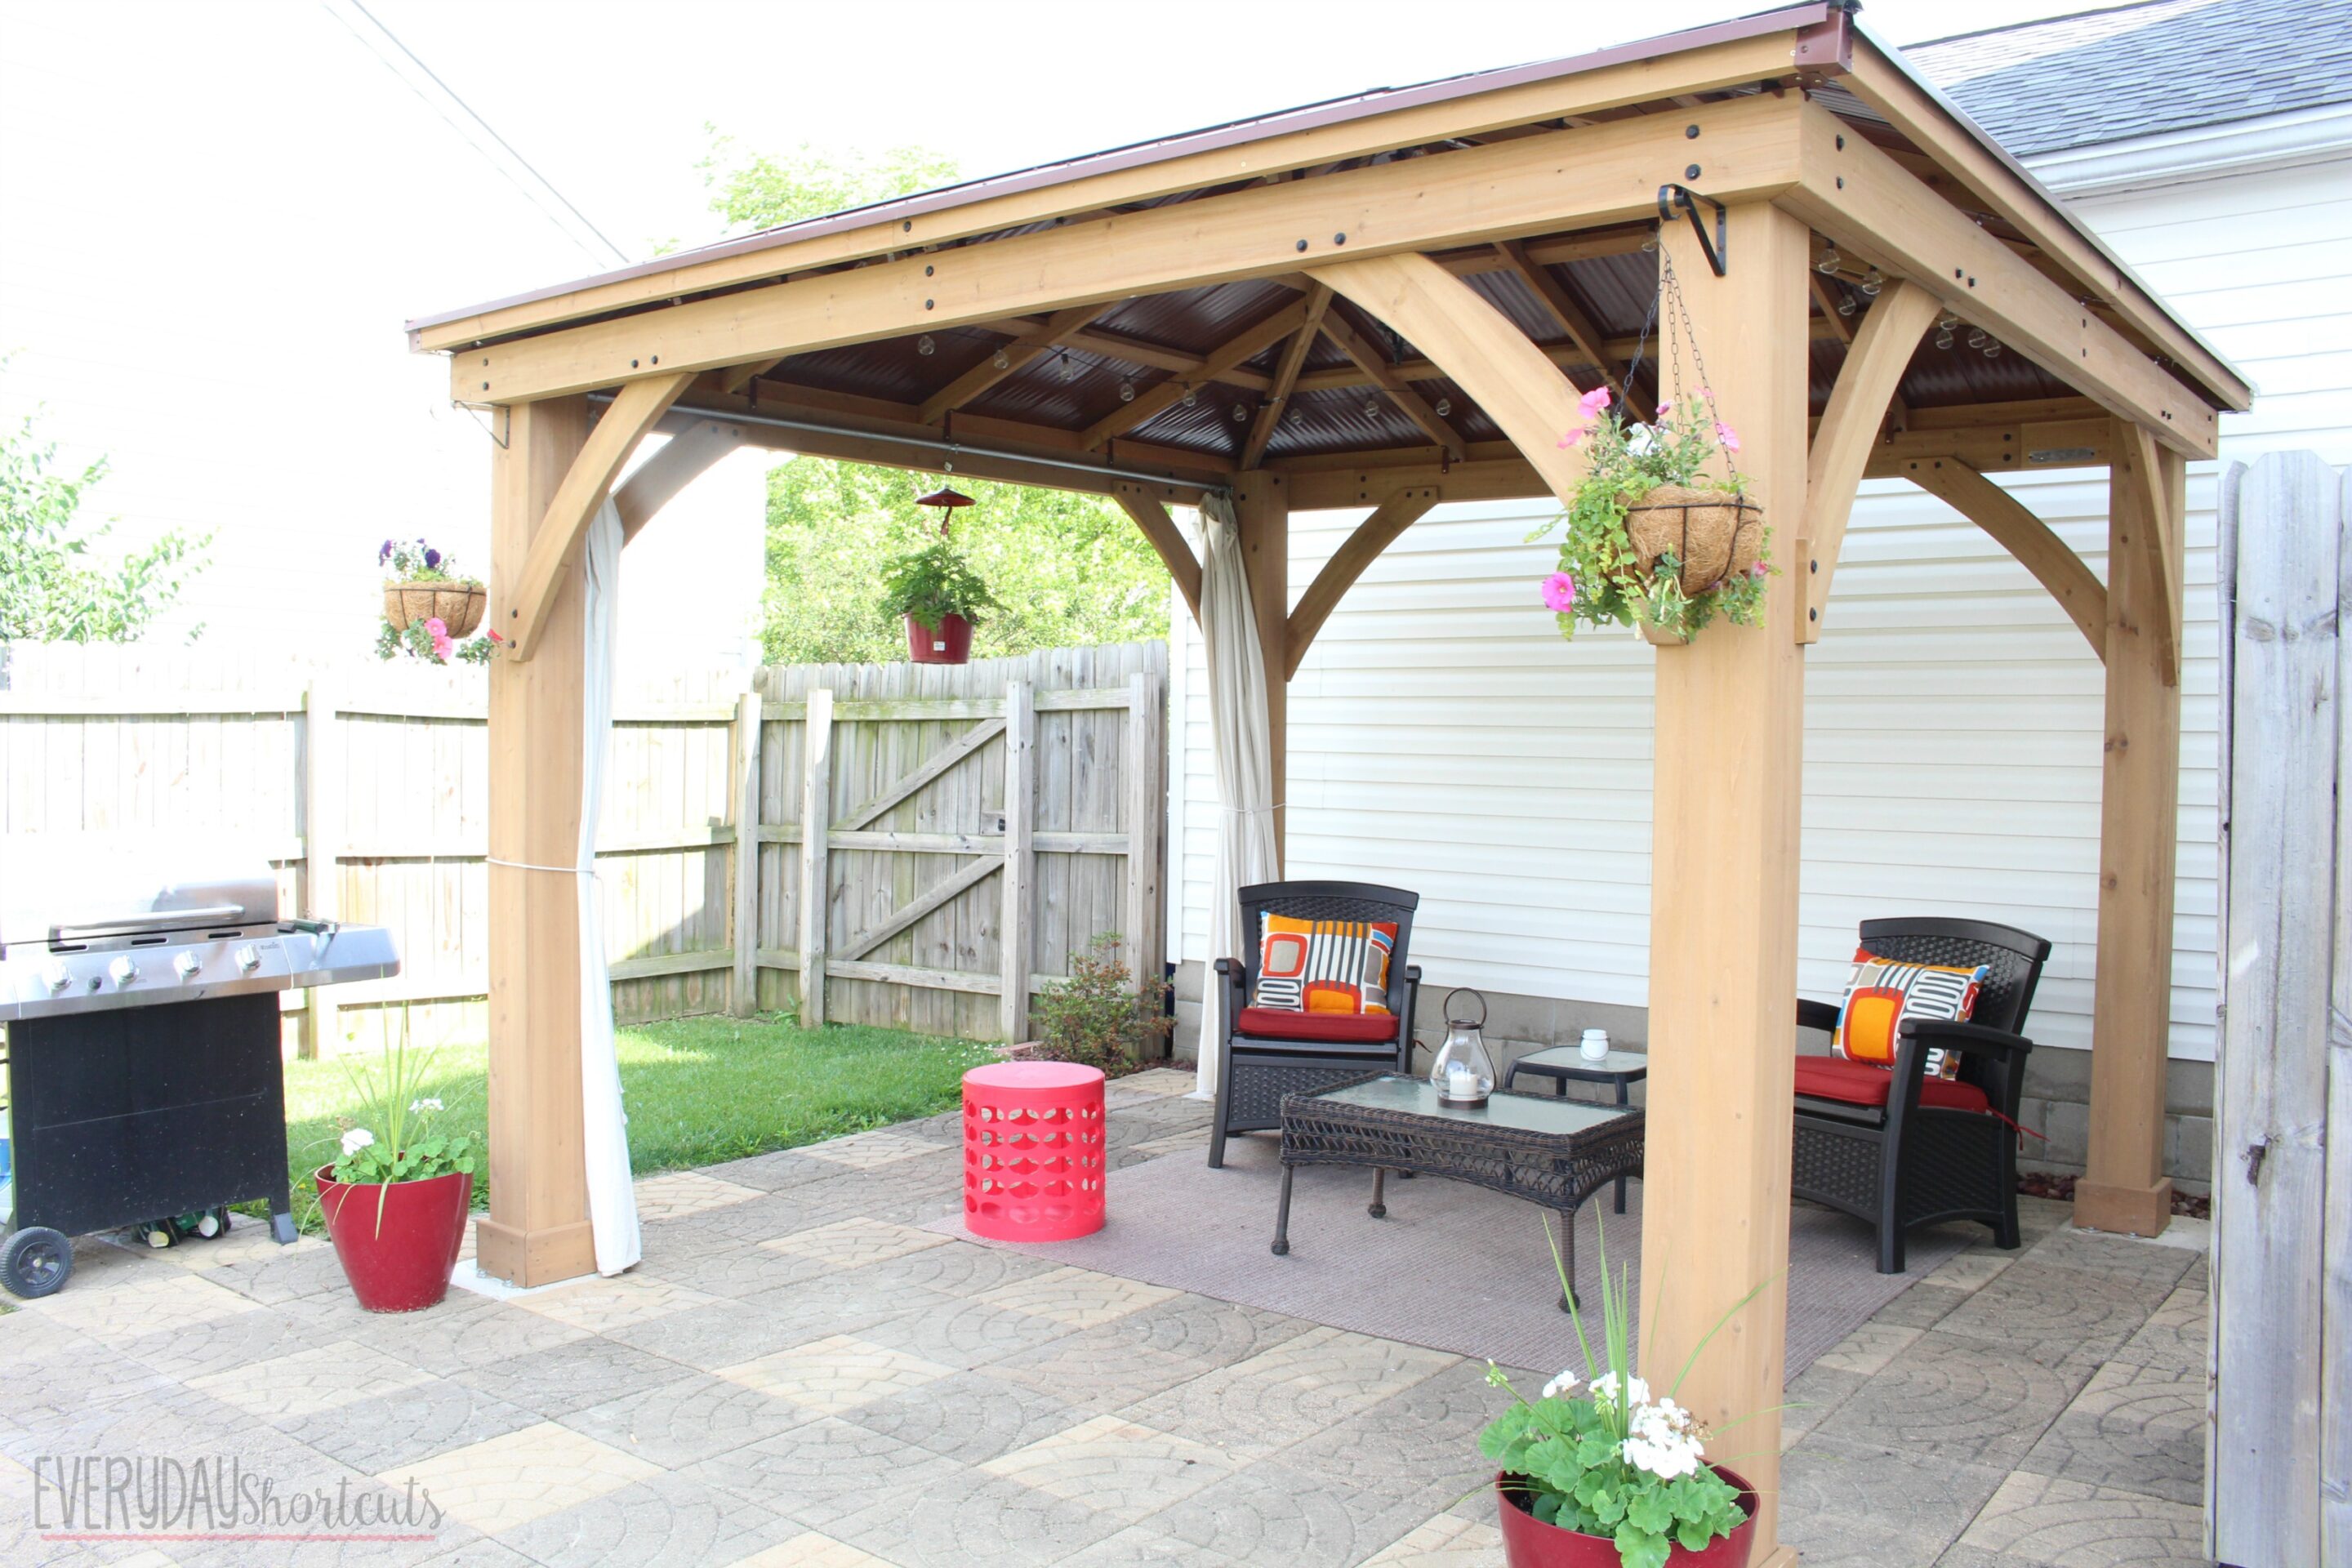
With summer finally here we tend to spend more time outdoors from cookouts, to movies, to swimming in the pool. We have had a paver stone patio for years but it tends to get hot during the day because it is uncovered. After discussing of what DIY project we can do to solve that problem we decided to build a Pavilion to keep the patio cool during the day. We purchased a kit from our local Costco but I’ve found similar ones on Amazon or you can build your own using this tutorial.
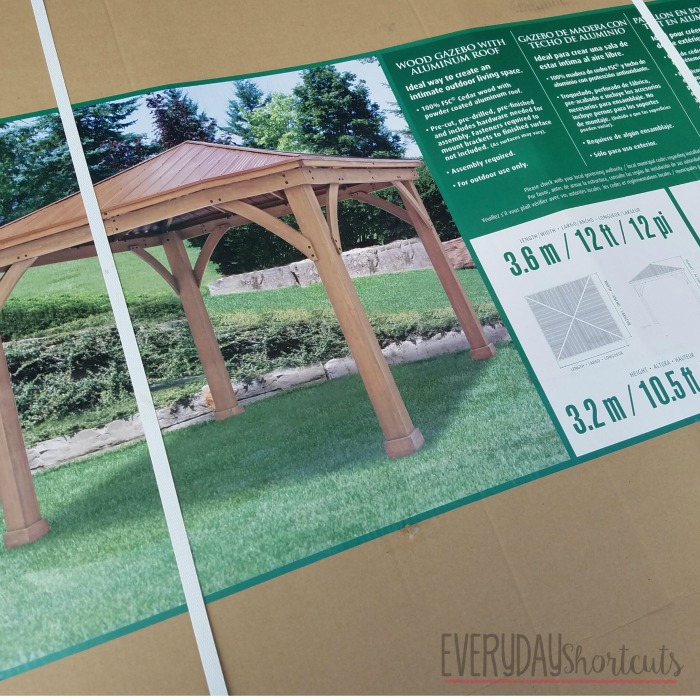
Before you get started on any kind of project like this you should check to see if you need a permit of any kind. We used a 12’X12′ kit that was made out of cedar lumber and an aluminium roof. This made the whole process go together smoother as we didn’t have to cut any materials, we just had to put the pieces together. It took about 1 1/2 days for 2 people to complete but could probably go faster with more help.
The overall dimensions are (L x W x H): 12 ft. x 12 ft. x 10 ft. 6 in. Base dimension (outside of post): 11 ft. 2 in. x 11 ft. 2 in. Base dimension (inside of post): 9 ft. 8 in. x 9 ft. 8 in. Center height: 10 ft. 6 in.
How to Build a Pavilion
Tools Required
- Tape Measure
- Carpenters Level
- Standard or Cordless Drill
- #2 Phillips Bit or Screwdriver
- 7/16” & 9/16” Wrench
- 8’ Step Ladder
- Safety Glasses
- Adult Helper
- Safety Gloves
- Hard Hat
- 6’ Step Ladder x 2
- Square Rachet
- 7/16, 1/2 & 9/16 Socket
Directions
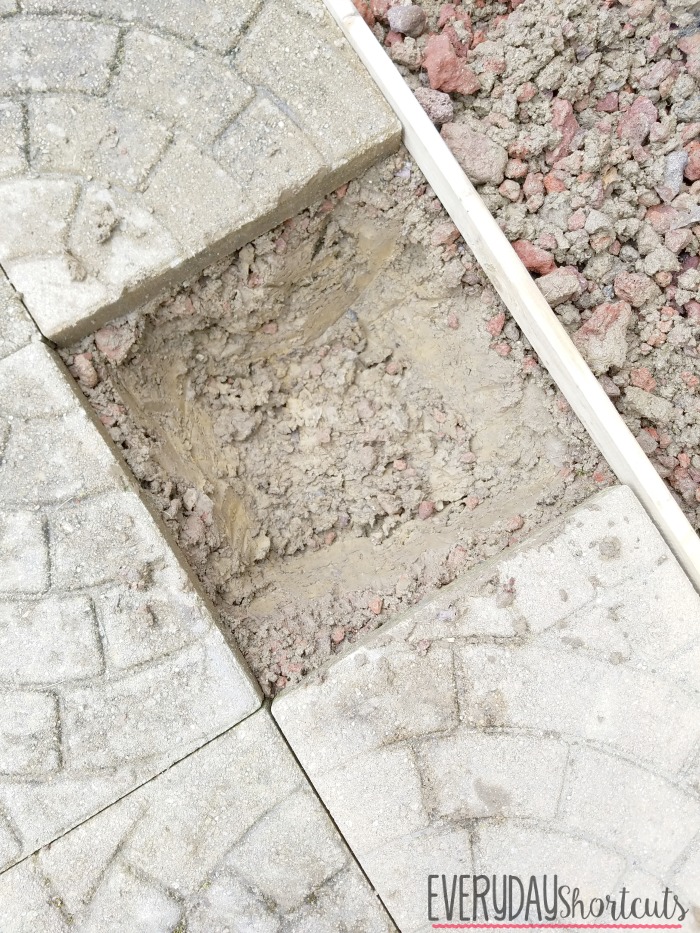
Do this step first before you start building to secure the structure. Dig a 2′-3′ hole where each pole is going to be and pour concrete. Allow to cure before building.
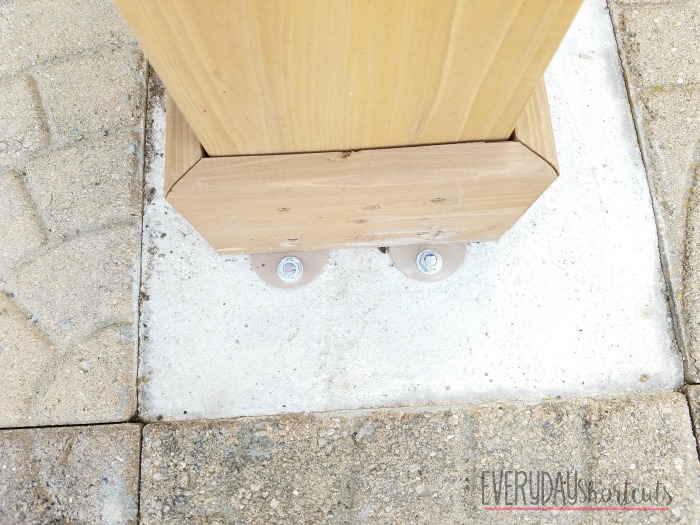
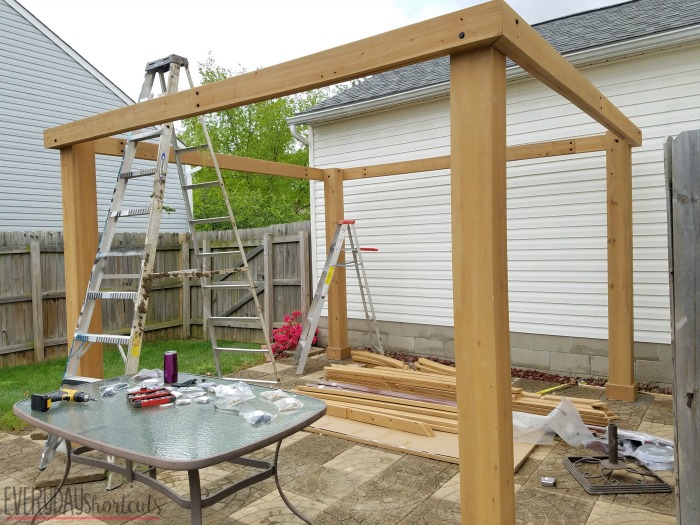
Once the concrete is cured attach the 7 in. X 7 in. wooden posts to each concrete slab by using post anchors and screws.
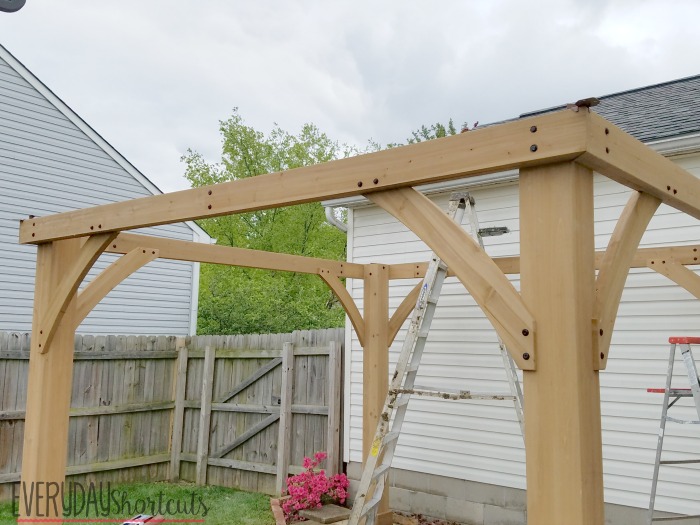
Attach the beams to each post using a ladder until all 4 are connected.
Then attach one Roof to Post Bracket with two #10 x 1-1/4” Pan Screws and continue to do so on all 4 sides.
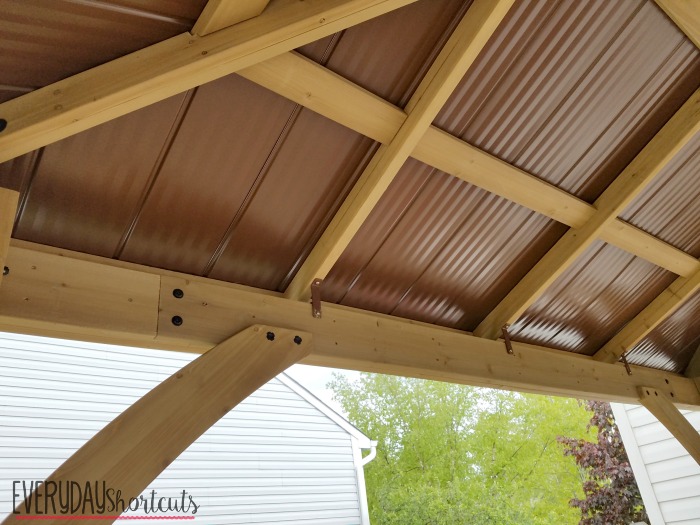
Complete the roof rafter by notching each piece together and screwing it in tightly according to the directions in the kit.
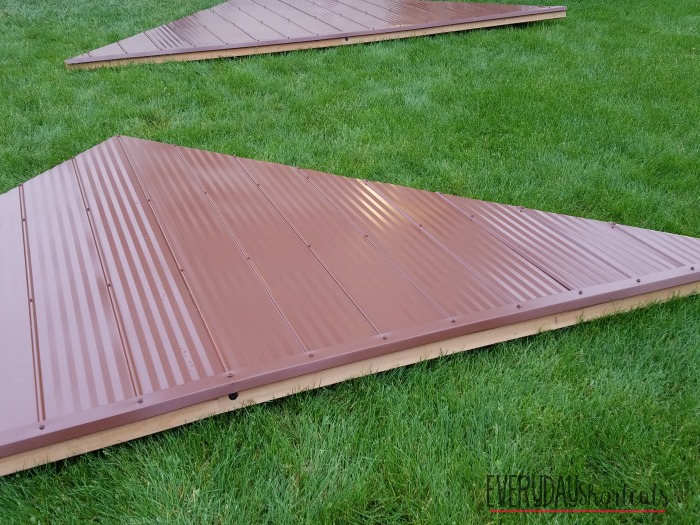
Once the roof rafter is complete build the aluminium roof by sections. (We laid them out in our yard.)
Attach each roof panel piece to the rafters and try not to over tighten the screws as it will bend the material, make it snug and fit.
Attach Ridge Clips and Roof Edges.
Attach roof panels to frame.
Assemble the roof peak and attach to roof panels.
Secure roof corners.
Attach corner and beam caps.
Secure roof and roof to beam brackets and roof peak brackets.
Attach ridge caps to roof panels by sliding one Ridge Cap over the Ridge Clips.
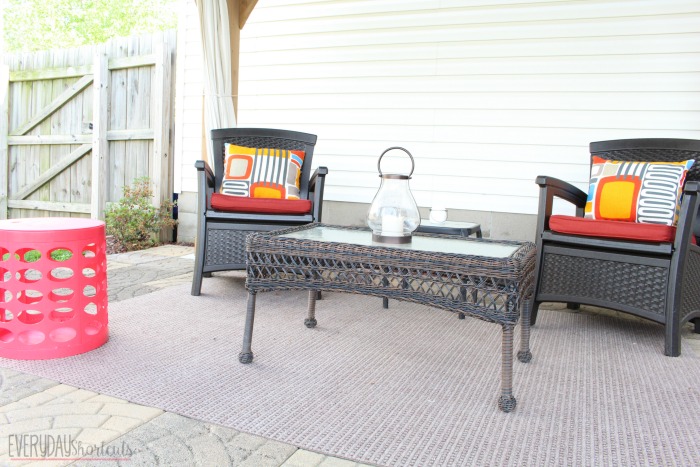
Now all you have to do is decorate and enjoy!




dorothy
where do i get the “kit”? because it says to follow directions in the kit for the roof……..
Alison
The Pavilion kit can be found at Costco. The brand is called Yardistry.
Cheryl
How much does it cost?
Alison
I think it was around $1400.
Carl stevens
Where can I get one of them pavilion kits at i live in Ironton Ohio
Alison
I got this one at Costco.
Alison
Costco
Ed
1700!!
Susan Lambrose
where can I get this?
Alison
Costco
Gadget
Should be titled, “How to assemble a pavilion kit from Costco in one weekend” The only way to make it easier would be to have them deliver and assemble.
Appslotz
Great post!!
rape of a woman
Having read this I thought it was extremely enlightening. I appreciate you spending some time and energy to put this content together. I once again find myself personally spending a lot of time both reading and leaving comments. But so what, it was still worth it!