


DIY Raised Flower Box with Legs
Building a raised flower box is a great way to display an array of colorful flowers. If you have extra wood laying around it’s also a great way to recycle those pieces. We already had a wood box and just added legs to it to create this flower box but if you don’t have a wood box on hand you can make one with these instructions.
Supplies Needed
- 2- 2′ x 1′ cut cedar boards
- 2 1′ x 1′ cut cedar boards
- 2 - 1″ x 2″ x 8′ cedar board
- 2″ screws
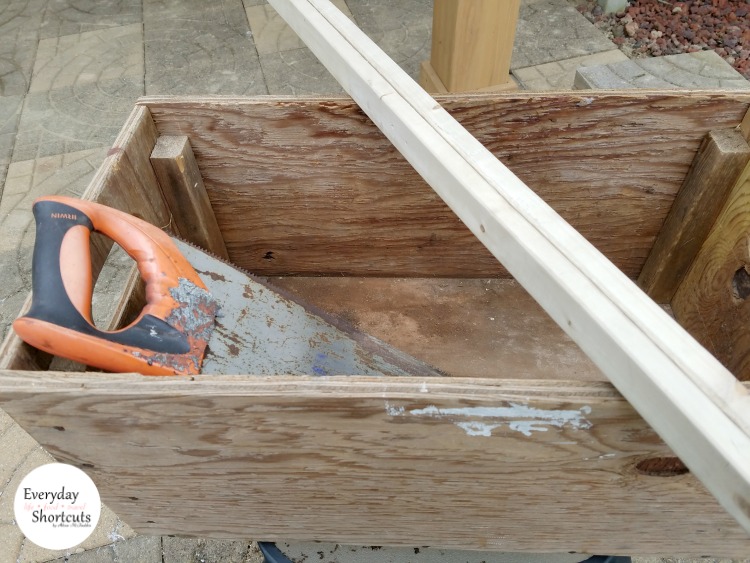
- Circular or hand saw
- Drill Driver
- Tape measure
- Potting soil
- Flowers
Instructions
Cut one 1″ x 2″ x 8′ cedar board into four 2 ft sections for the 4 legs with the saw.
Cut one 1″ x 2″ x 8′ cedar board into four 10″ boards to support inside of the box.
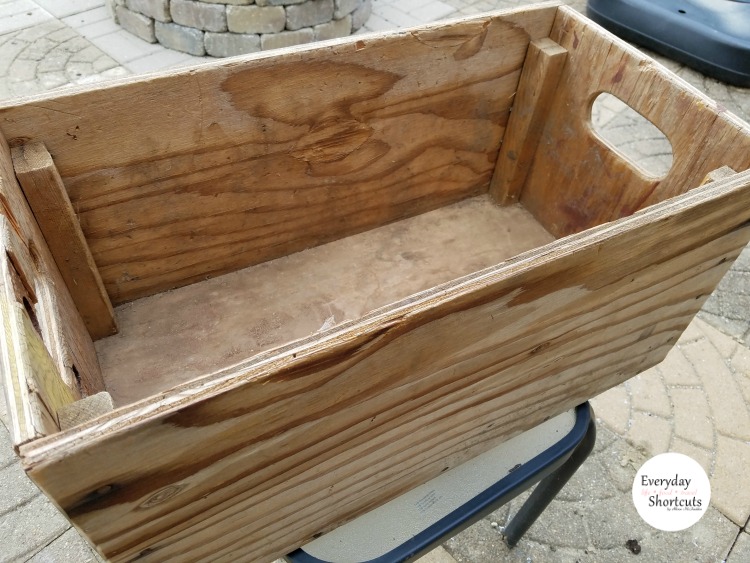
Create your box by putting the two 2′ x 1′ cut cedar boards long ways and the 2 1′ x 1′ cut cedar boards at the ends in between the long boards to form a box. You will need extra hands to help hold the box in place while you screw together.
Place a 10″ board inside each corner of the box and screw from the outside to keep the box together and give support.
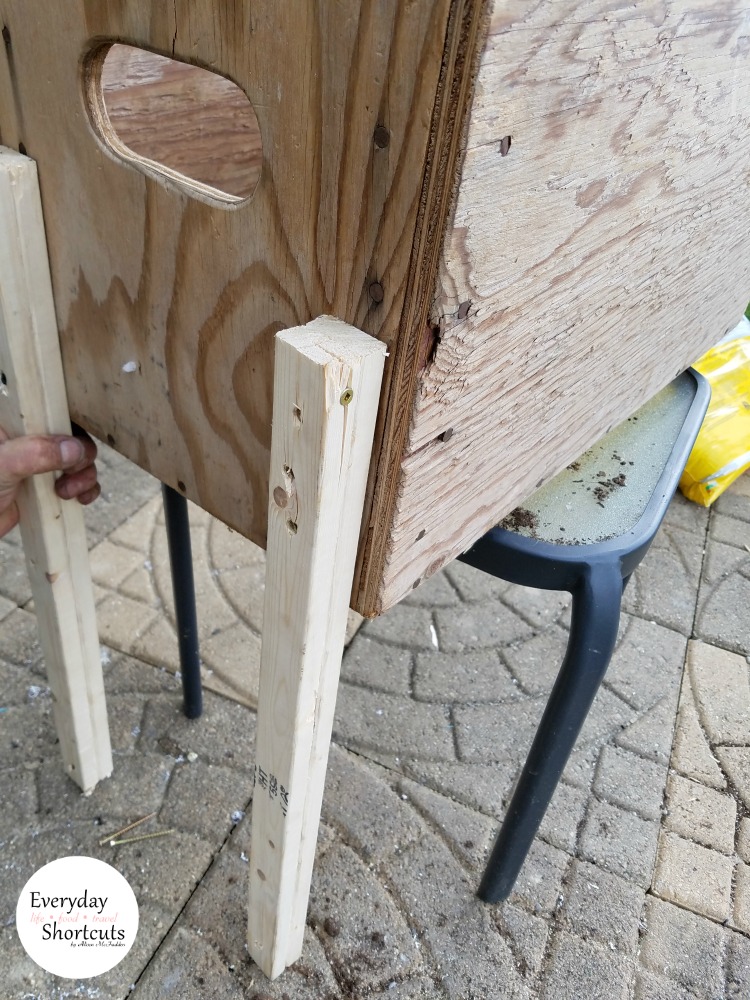
Take the four 2 ft sections and create the legs for the box. Line each piece to however tall or short you want the box to be and screw it into the box with 4 screws. Make sure to drill slowly to prevent the wood from splitting.
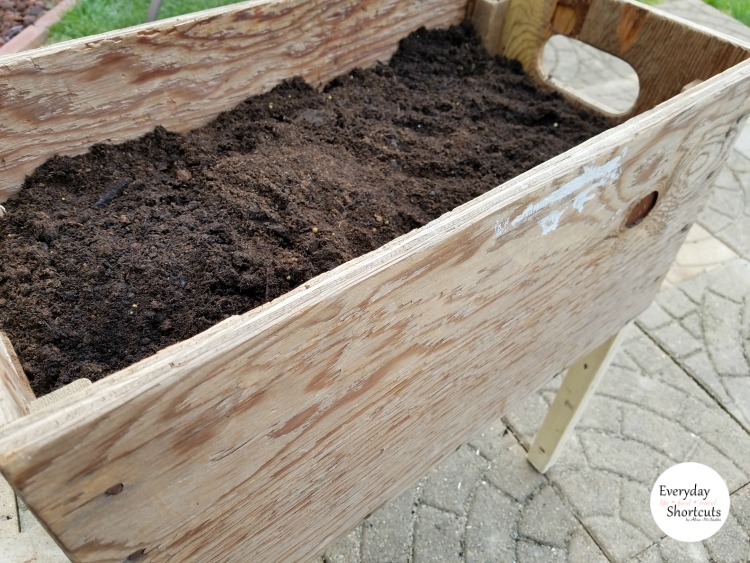
You can choose to drill a few small holes in the bottom of the box before adding the dirt so the water excess water can drain or you can opt not to. Lastly, add potting soil and plant flowers.
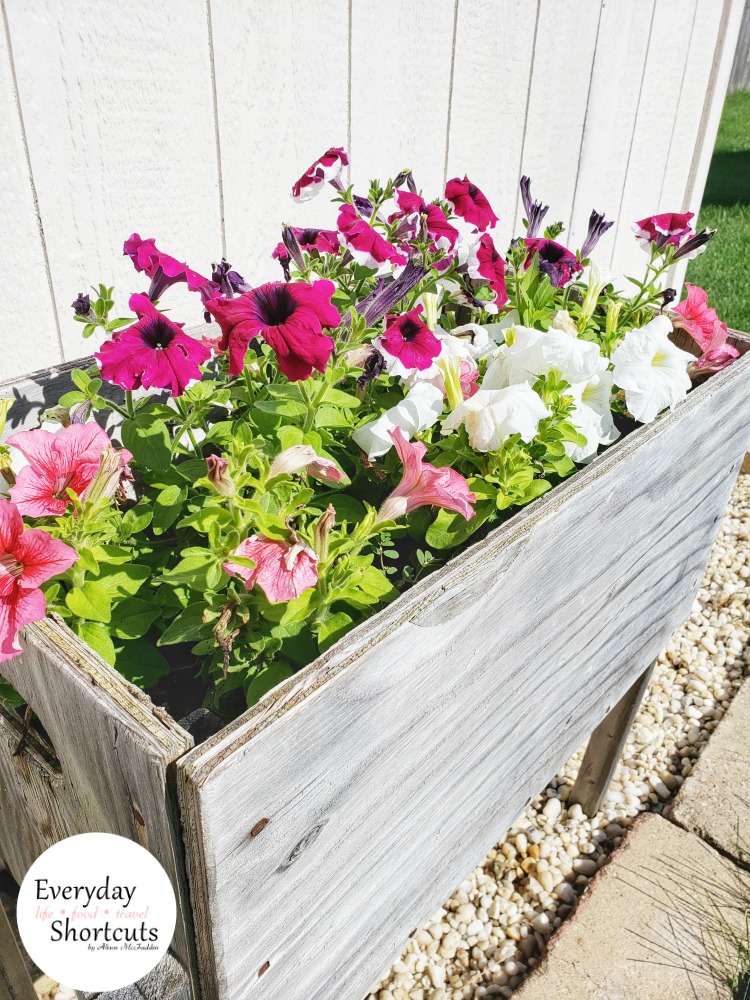 You could also paint or stain your flower box if you desire, I chose to leave mine the way it is for now. When you’re finished, place your flower box in a location for everyone to see.


Leave a Reply