

These easy Mini Pumpkin Pies are a cute, bite-sized Thanksgiving dessert made with store-bought pie crust, and creamy pumpkin filling. Perfect for holiday parties, Friendsgiving, and make-ahead desserts!
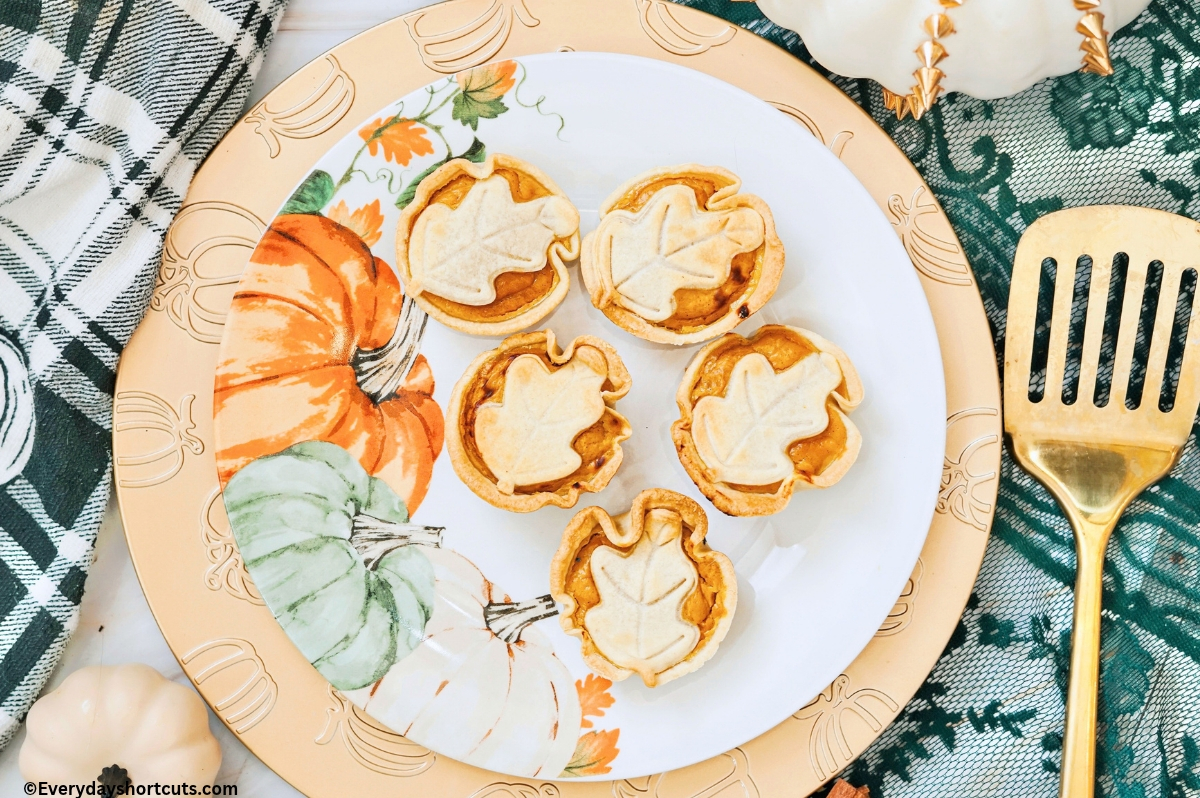
If you love pumpkin pie, you’re going to love these little versions! They’re perfect for Thanksgiving and great when you want something sweet without committing to a whole slice of pie.
Plus, they’re already individually portioned, so there’s no slicing or serving needed! Just grab on and enjoy!
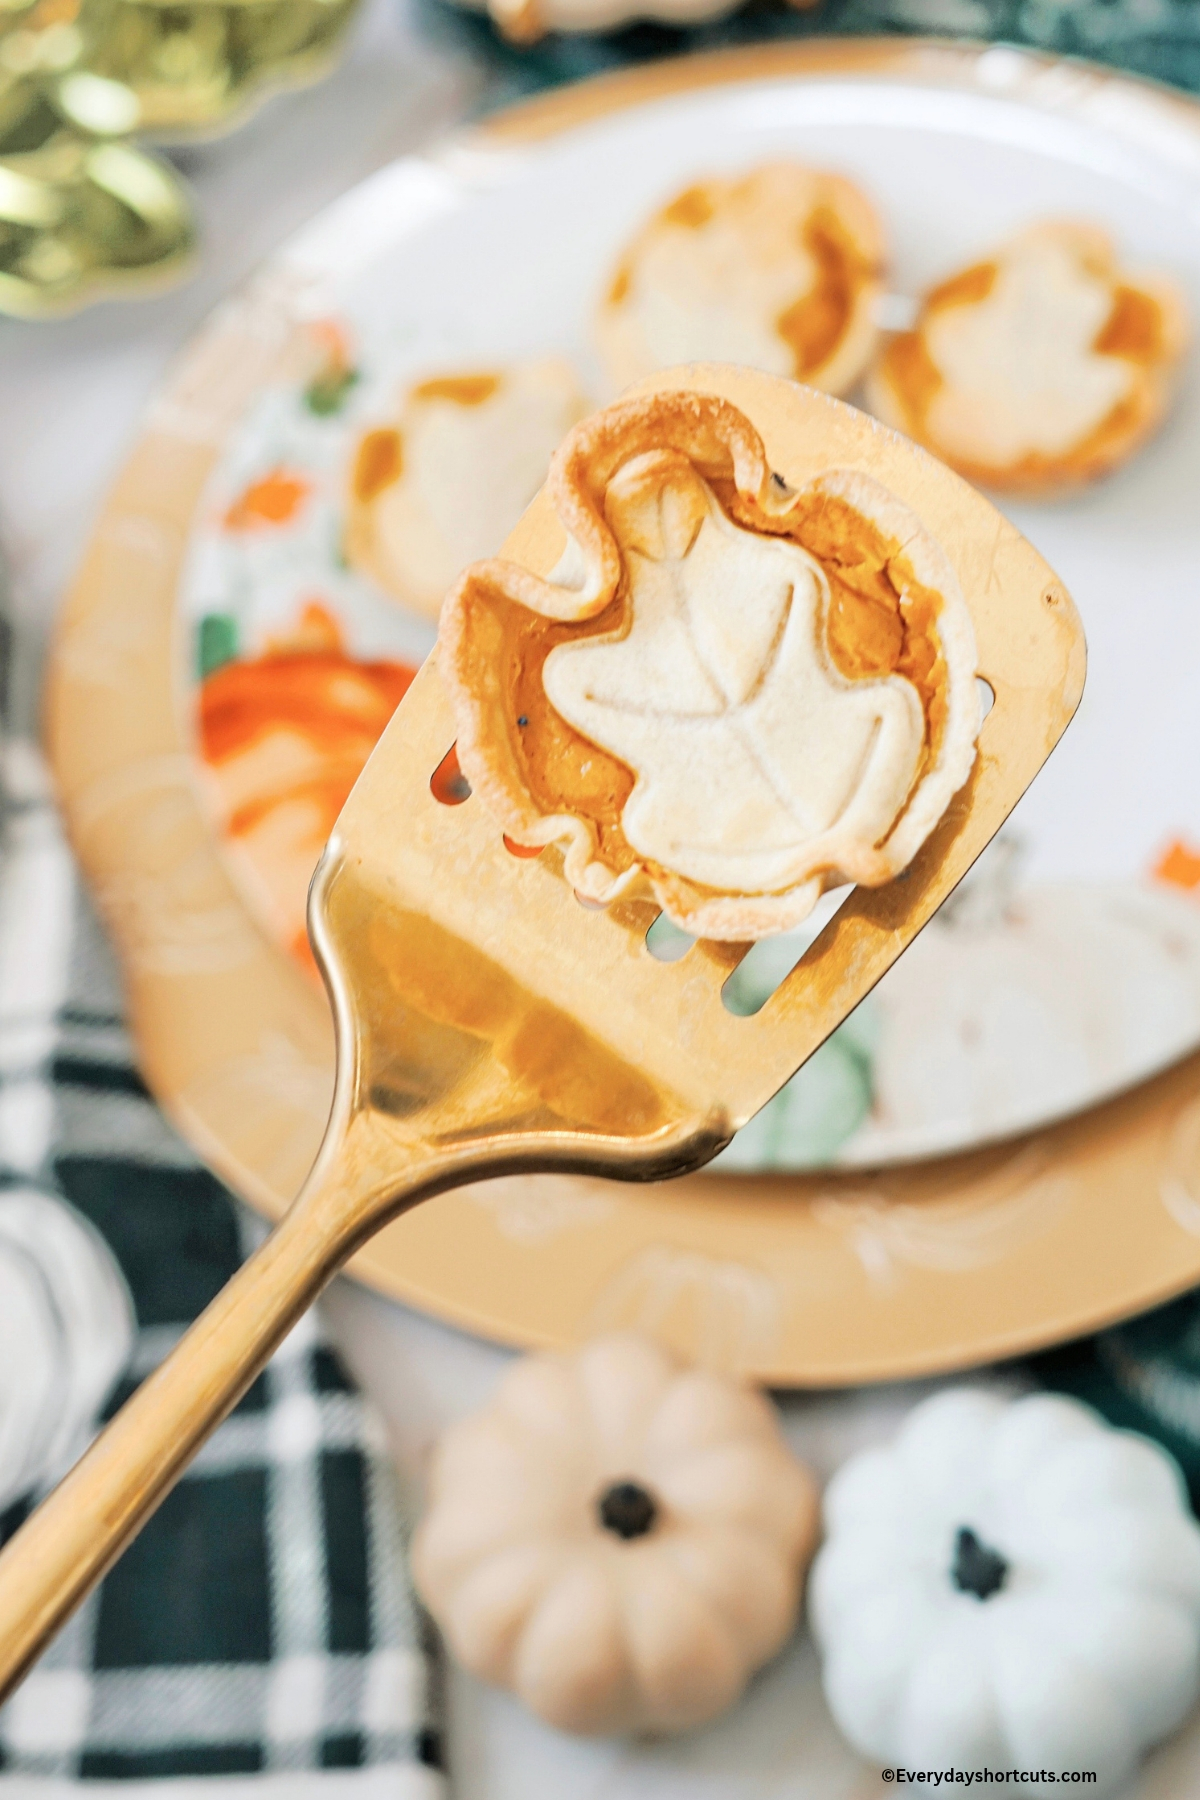
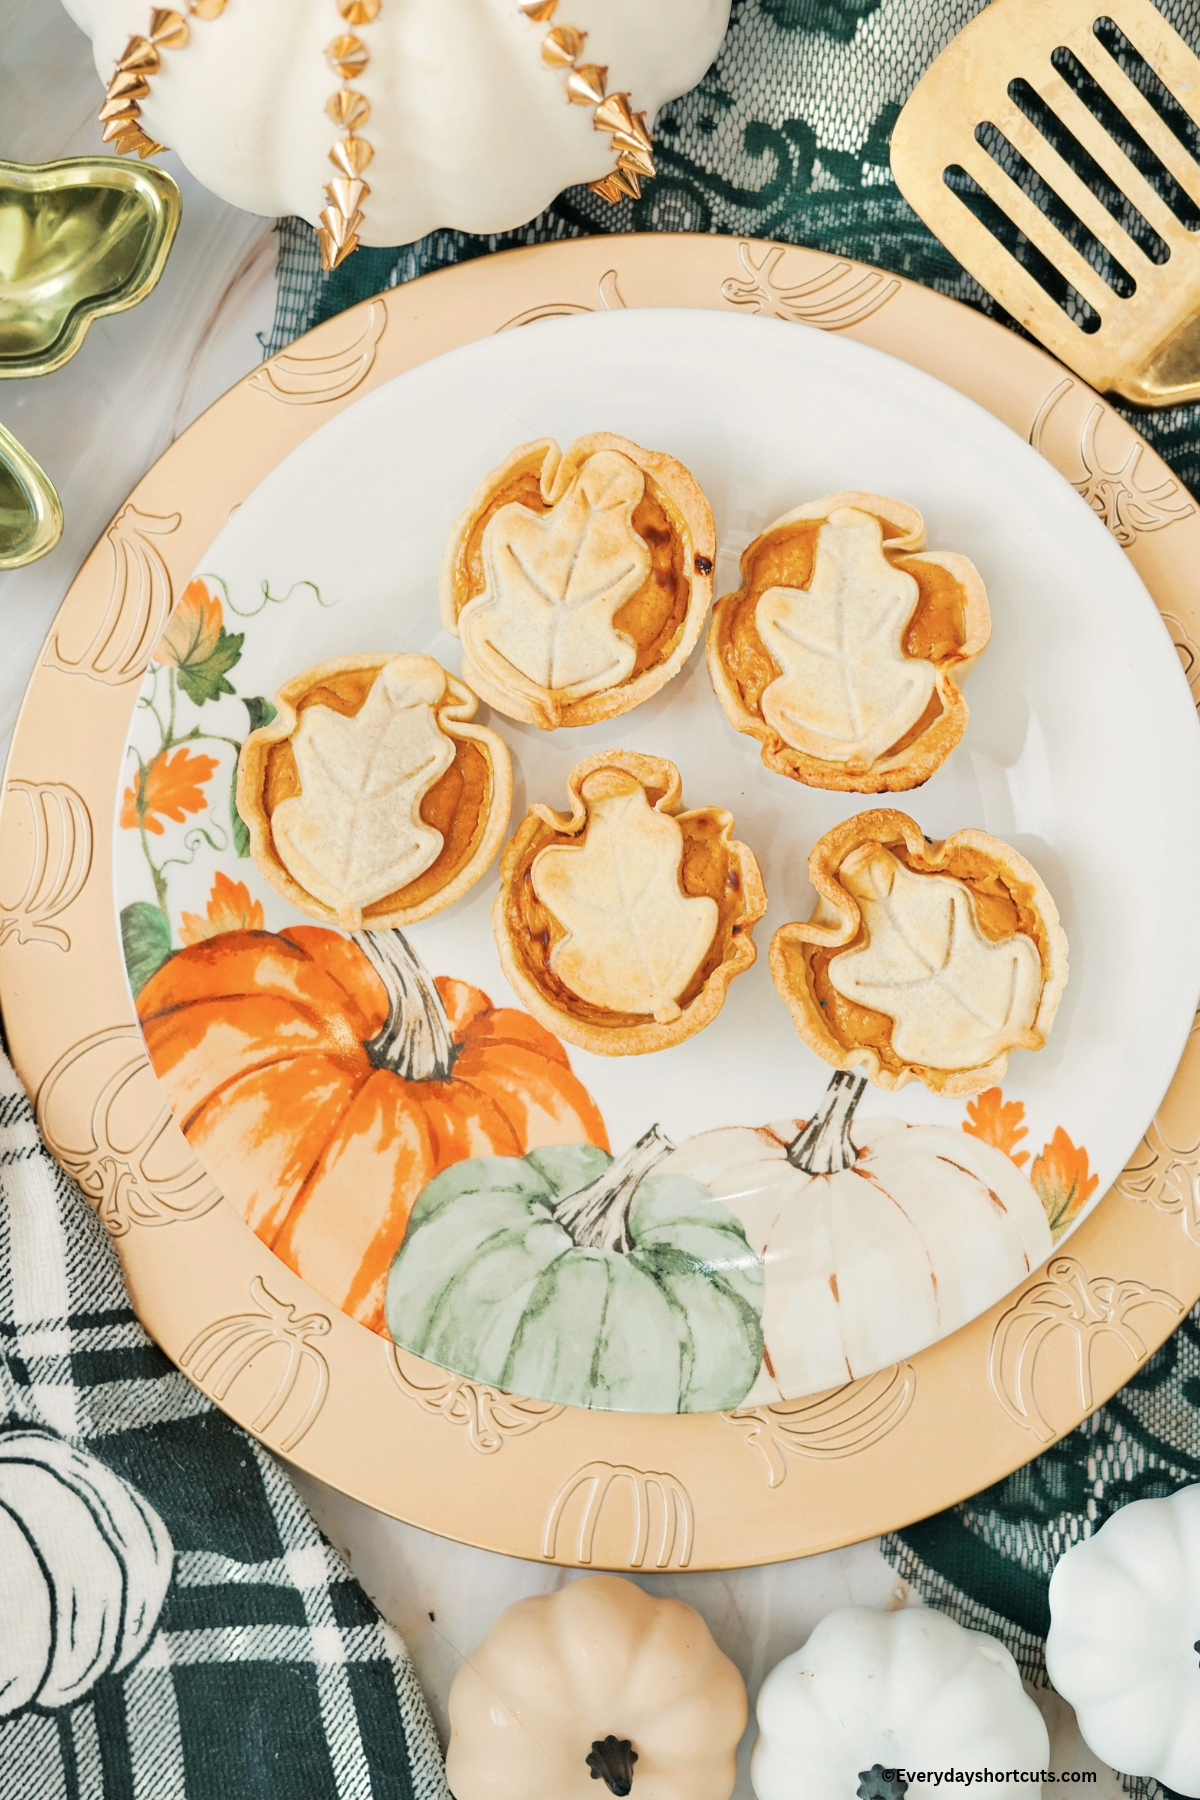
This recipes uses a shortcut of store-bought pie crust to save time, but you can use homemade pie crust if you prefer. The little leaf decorations make them look extra fancy without much additional work.
If you love this easy Thanksgiving dessert, try my Crockpot Apple Crisp or Sour Cream Apple Walnut Pie for more delicious holiday treats.

Why You’ll Love This Recipe
- You don’t have to make a whole pie.
- You don’t need to be a great baker, this is the perfect dessert for beginners!
- Great for smaller gatherings.
- No special baking equipment needed.
- Easy to grab off the dessert table.
- Dress it up with a sprinkle of pumpkin pie spice on top or whipped cream.

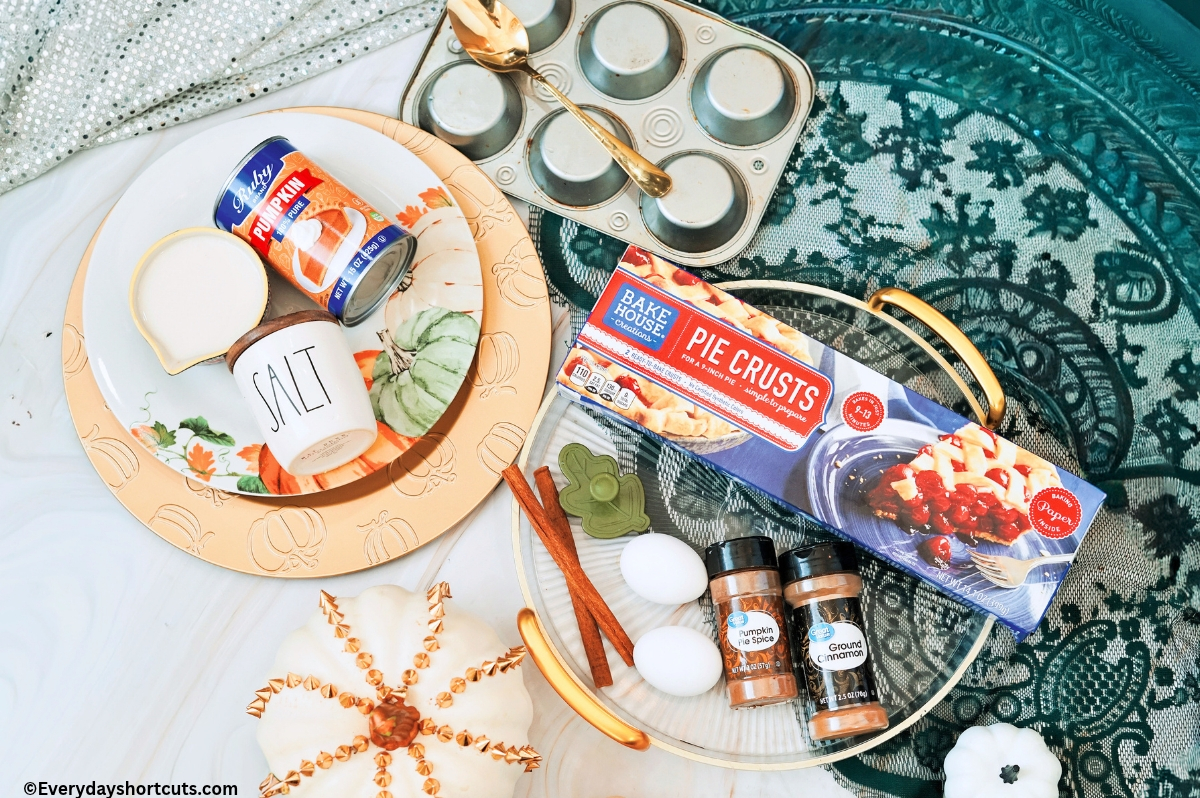
Mini Pumpkin Pie Ingredients
- Pre-made Pie Crust: Choose refrigerated pie crust so you can roll out and cut
- Pumpkin: Use canned pumpkin puree, NOT pumpkin pie filling
- Eggs: Helps to hold the pumpkin filling together and give it a smooth, custard-like texture
- Evaporated milk: Helps give a thicker, creamier pumpkin filling
- Brown sugar: Light or dark
- Seasonings: Pumpkin spice, cinnamon, salt
- Whipped cream: For topping
- Will also need: Muffin tin, leaf cookie cutter, round cookie cutter or drinking glass to cut small circles
How to Make Mini Pumpkin Pies
Step 1: Preheat your oven to 350℉ and lightly grease a muffin tin.
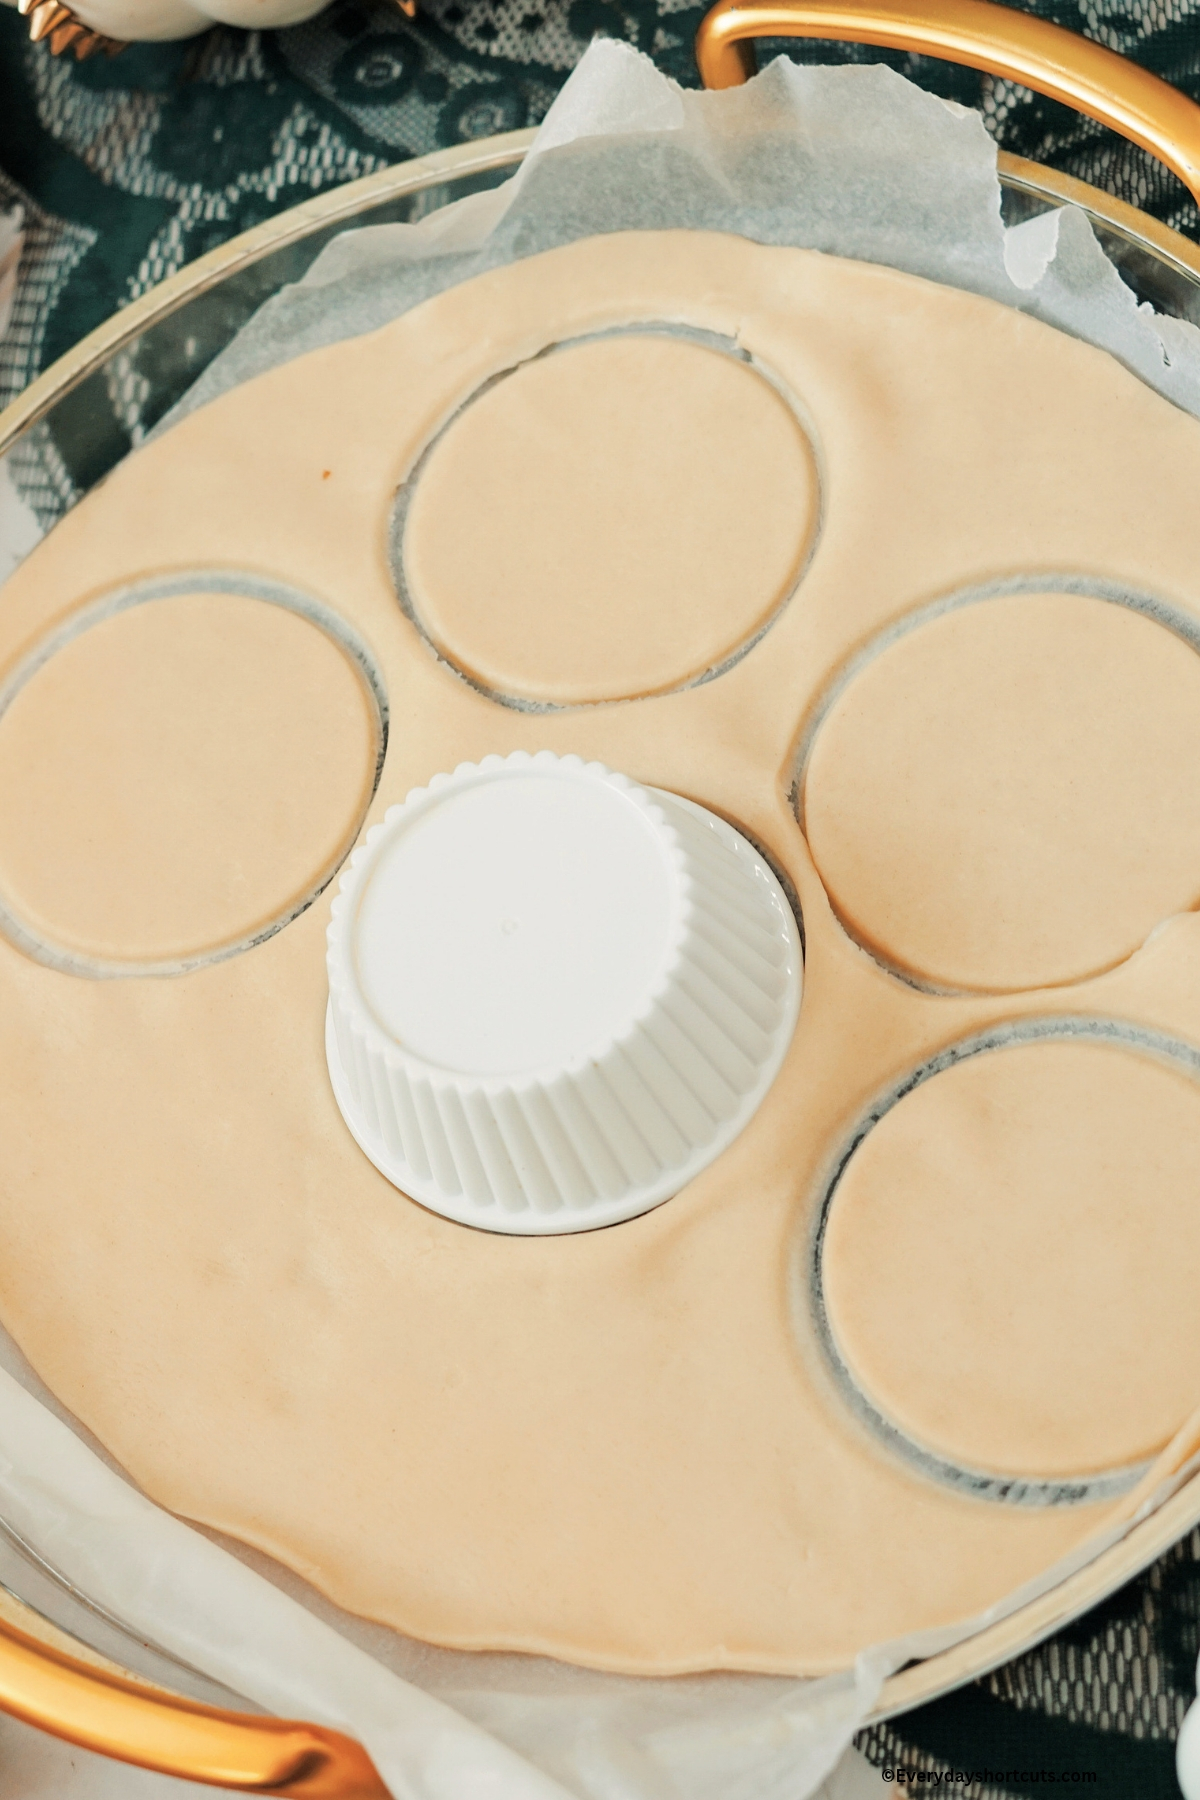
Step 2: Roll out the refrigerated pie crust on a lightly floured surface. Use a round cookie cutter or drinking glass to cut circles slightly larger than the muffin cups.
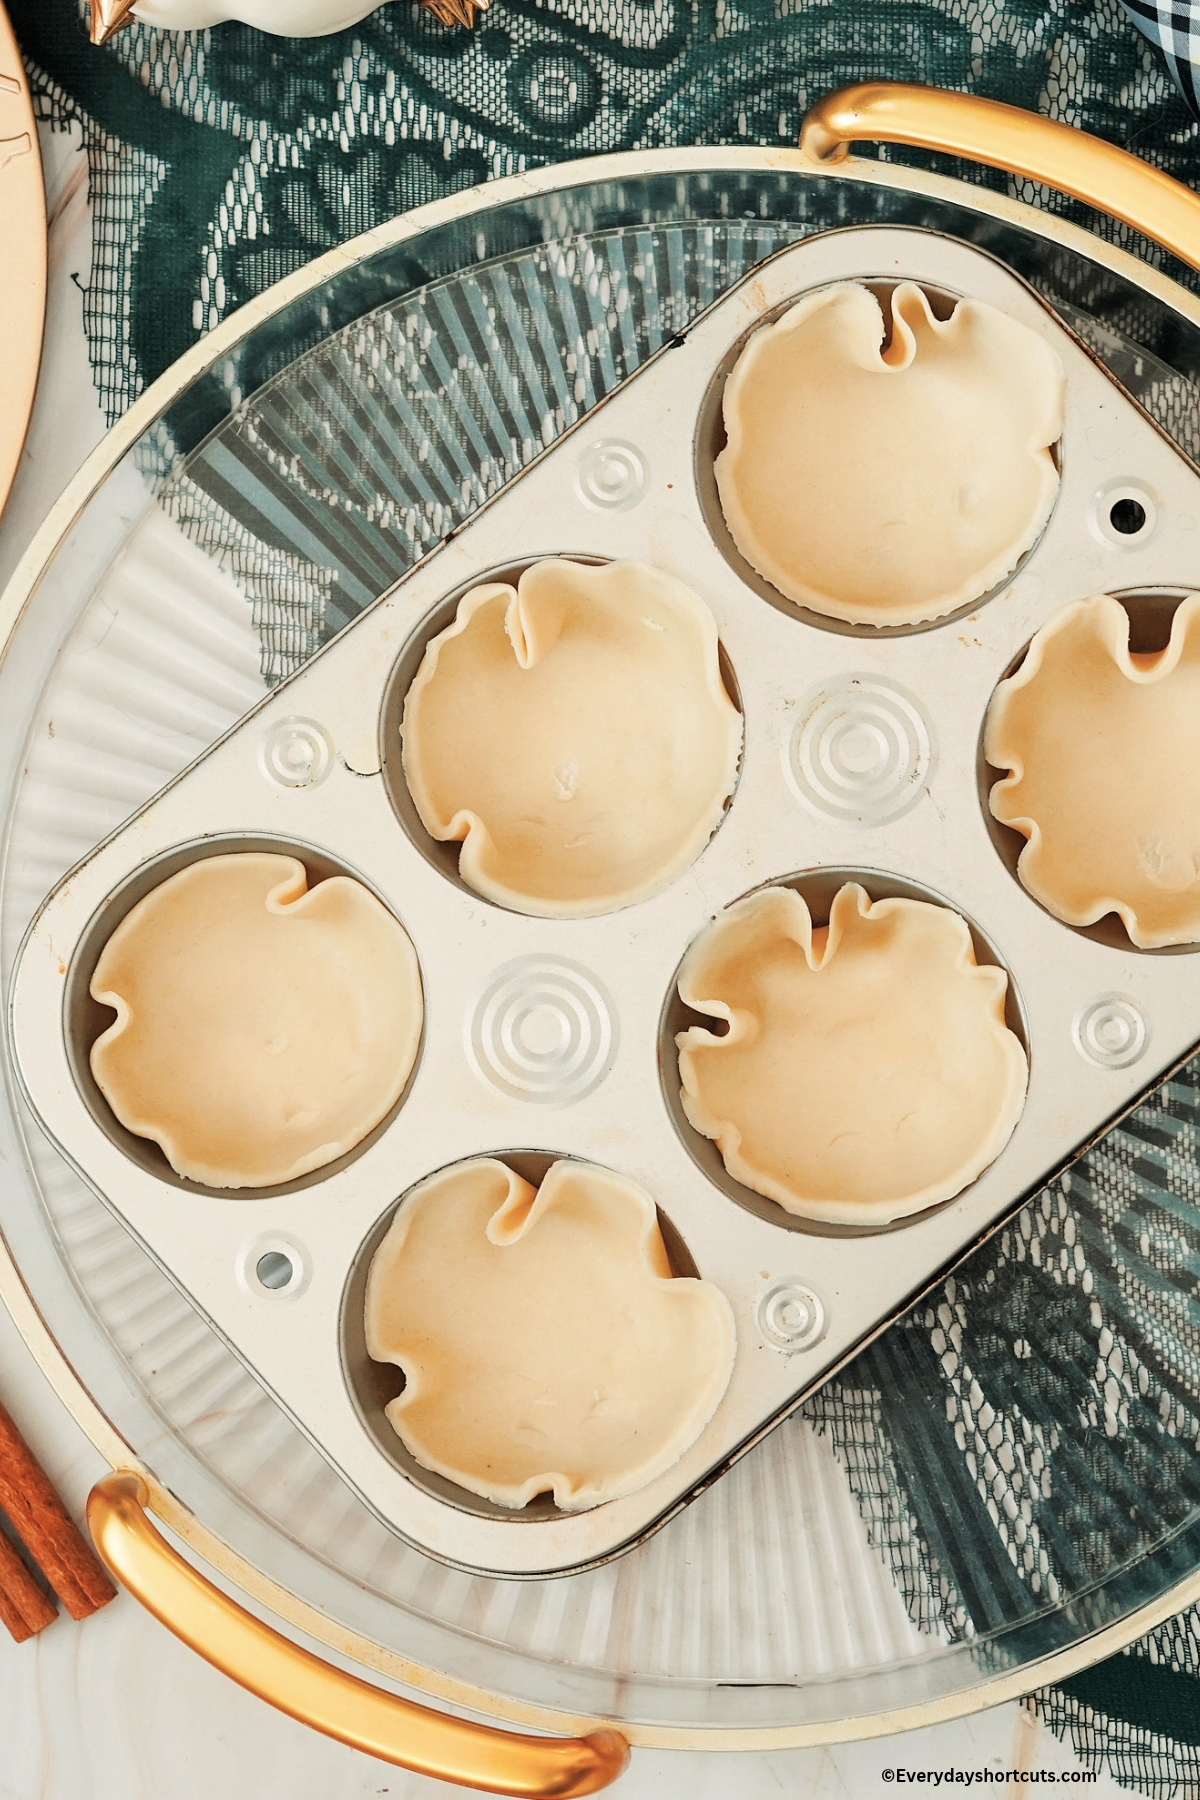
Step 3: Gently press each pie crust circle into the muffin tin, making sure the dough covers the bottom and sides.
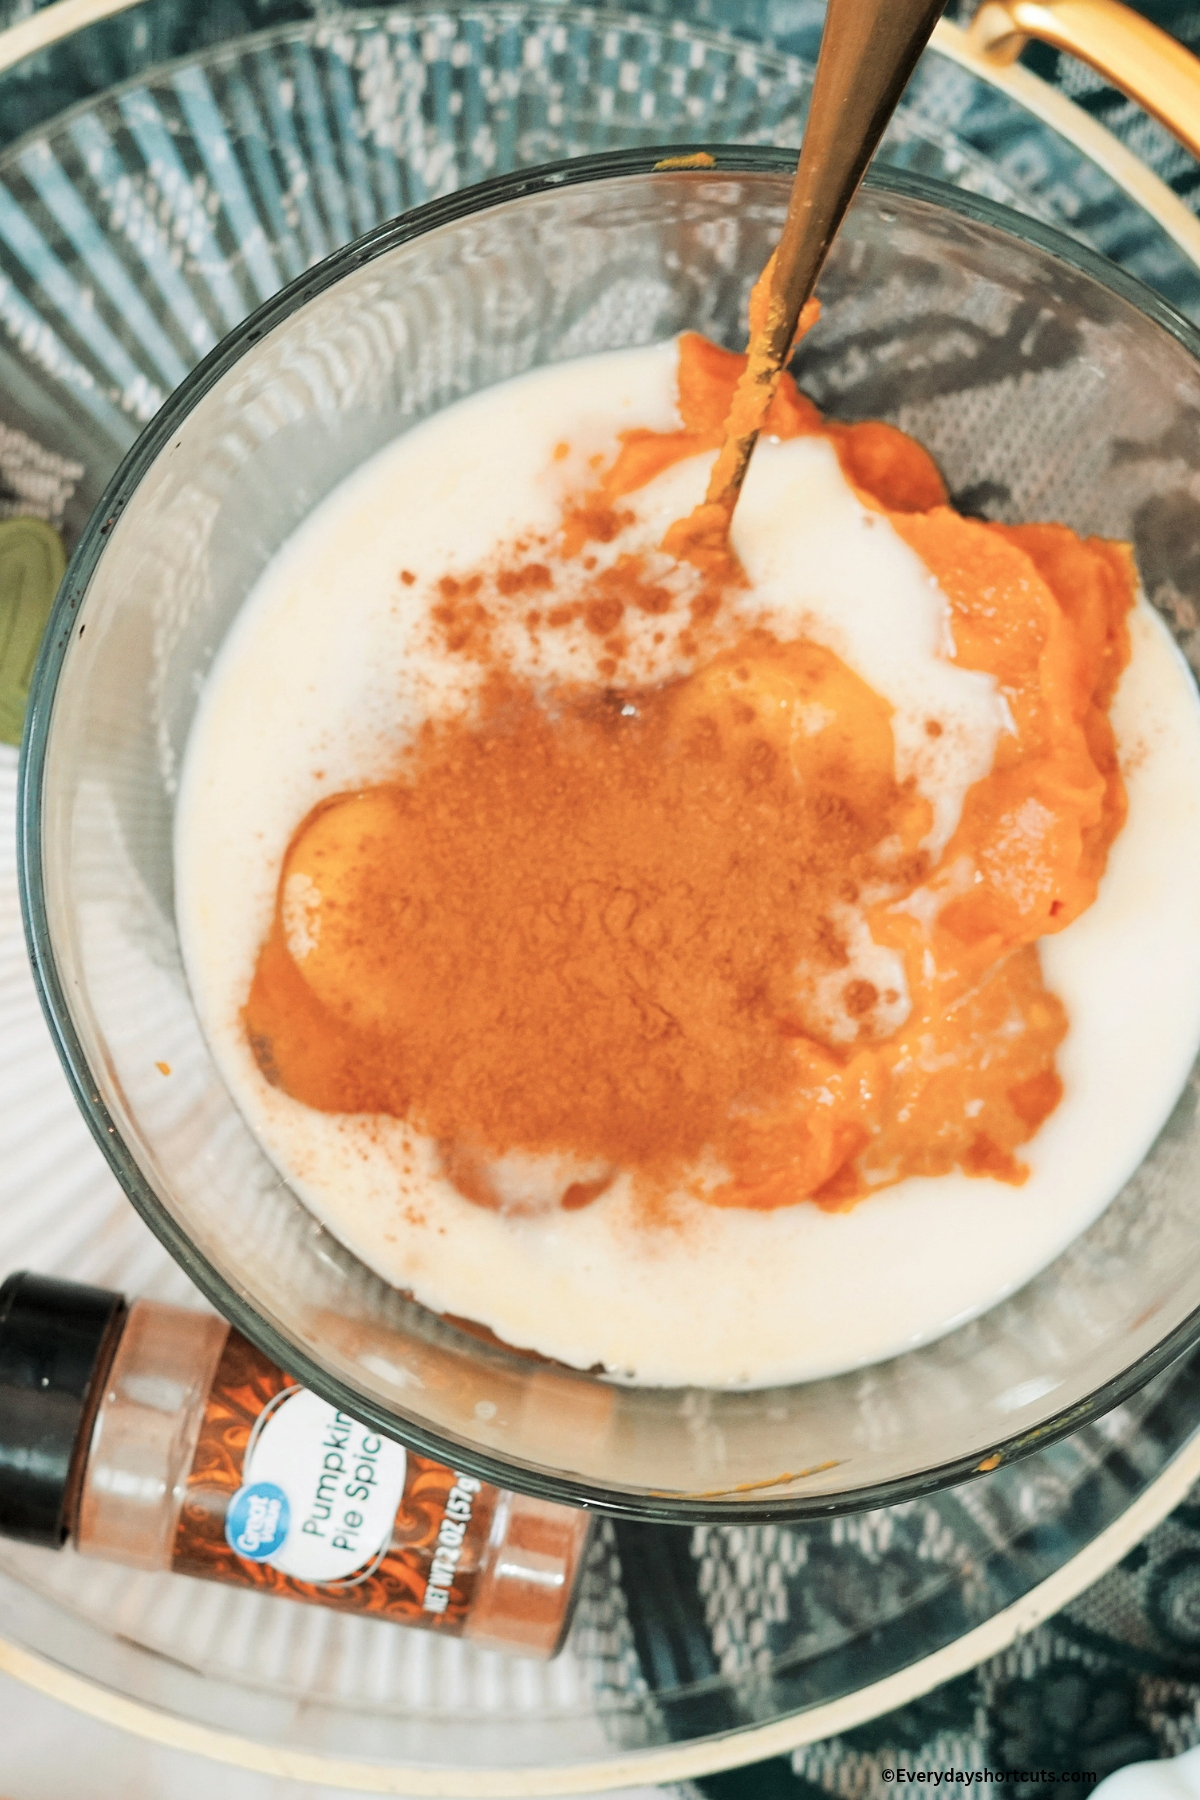
Step 4: In a large mixing bowl, whisk together the pumpkin puree, eggs, evaporated milk, brown sugar, cinnamon and pumpkin pie spice until smooth and combined.
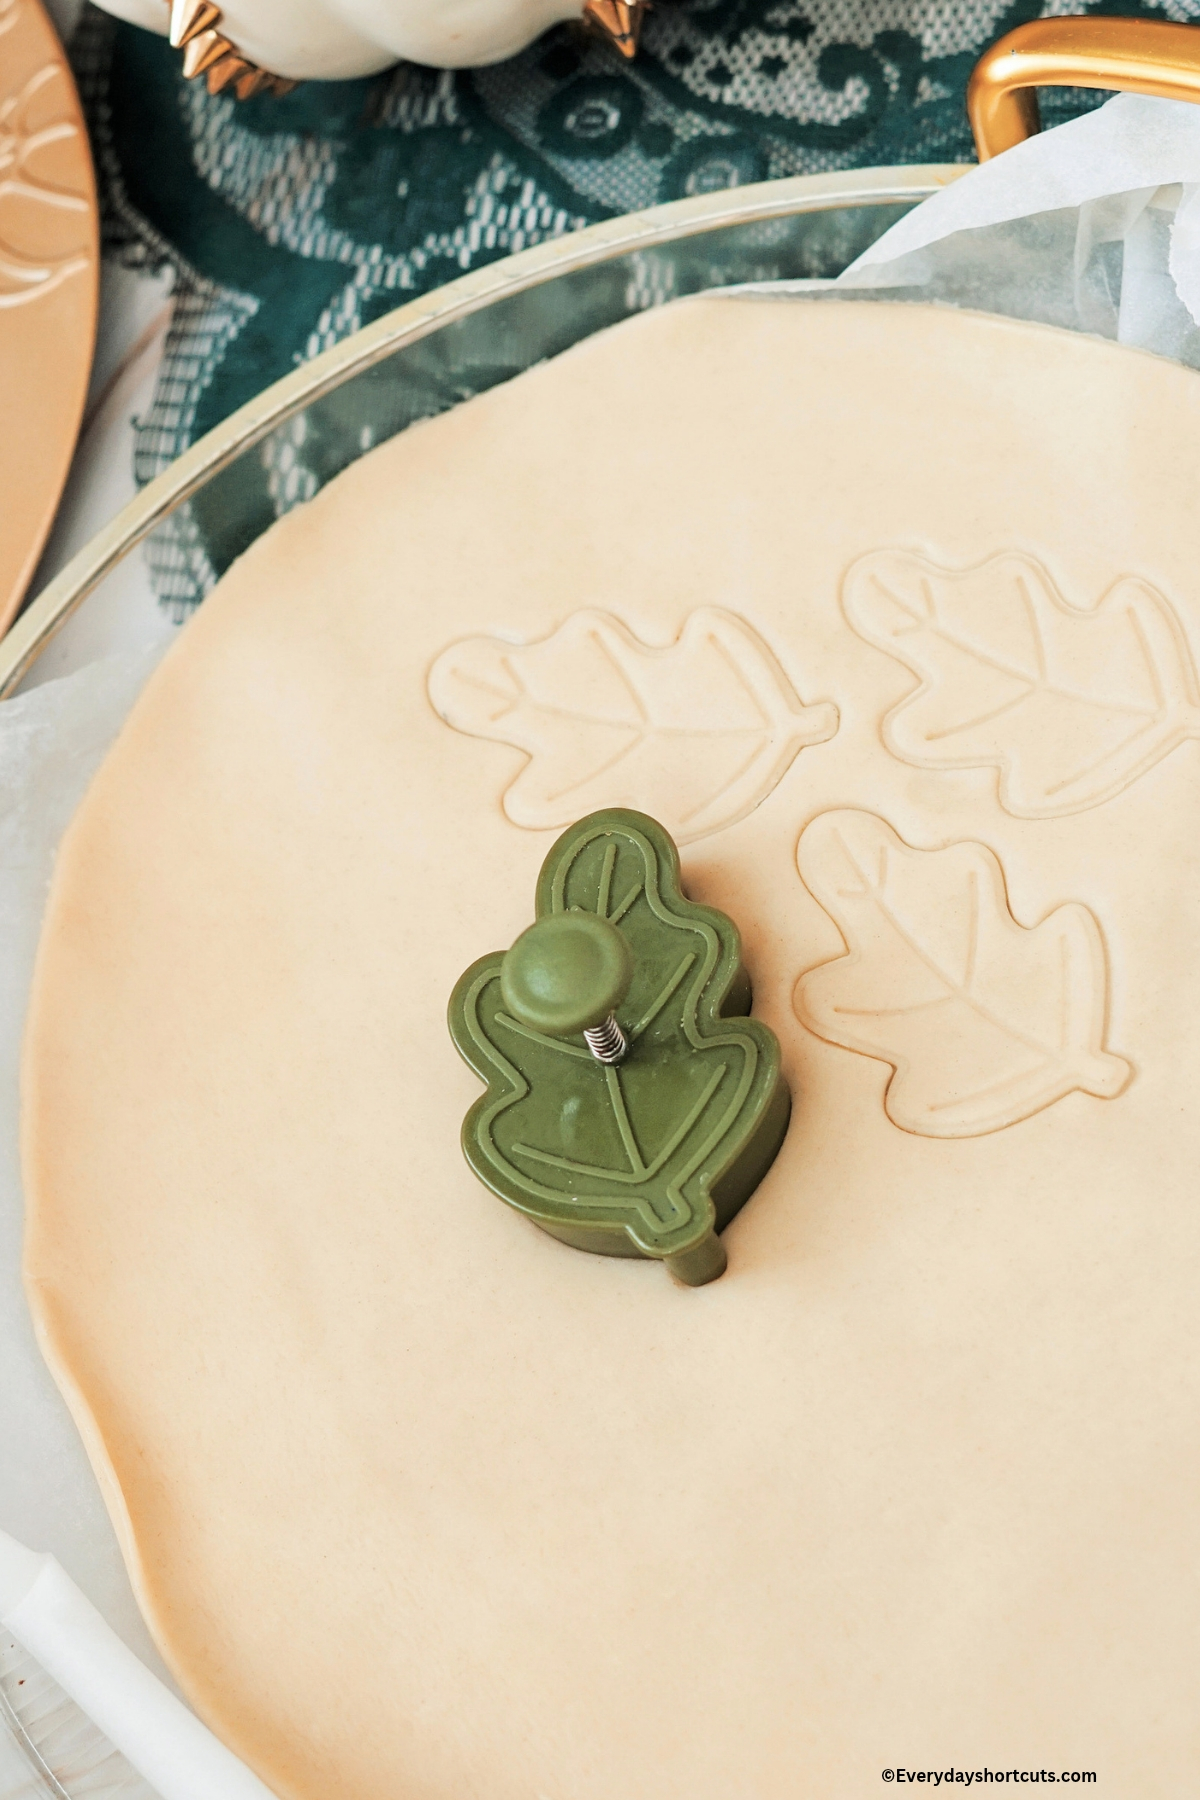
Step 5: Roll out the remaining pie crust and use a leaf-shaped cookie cutter to stamp out small leaves.
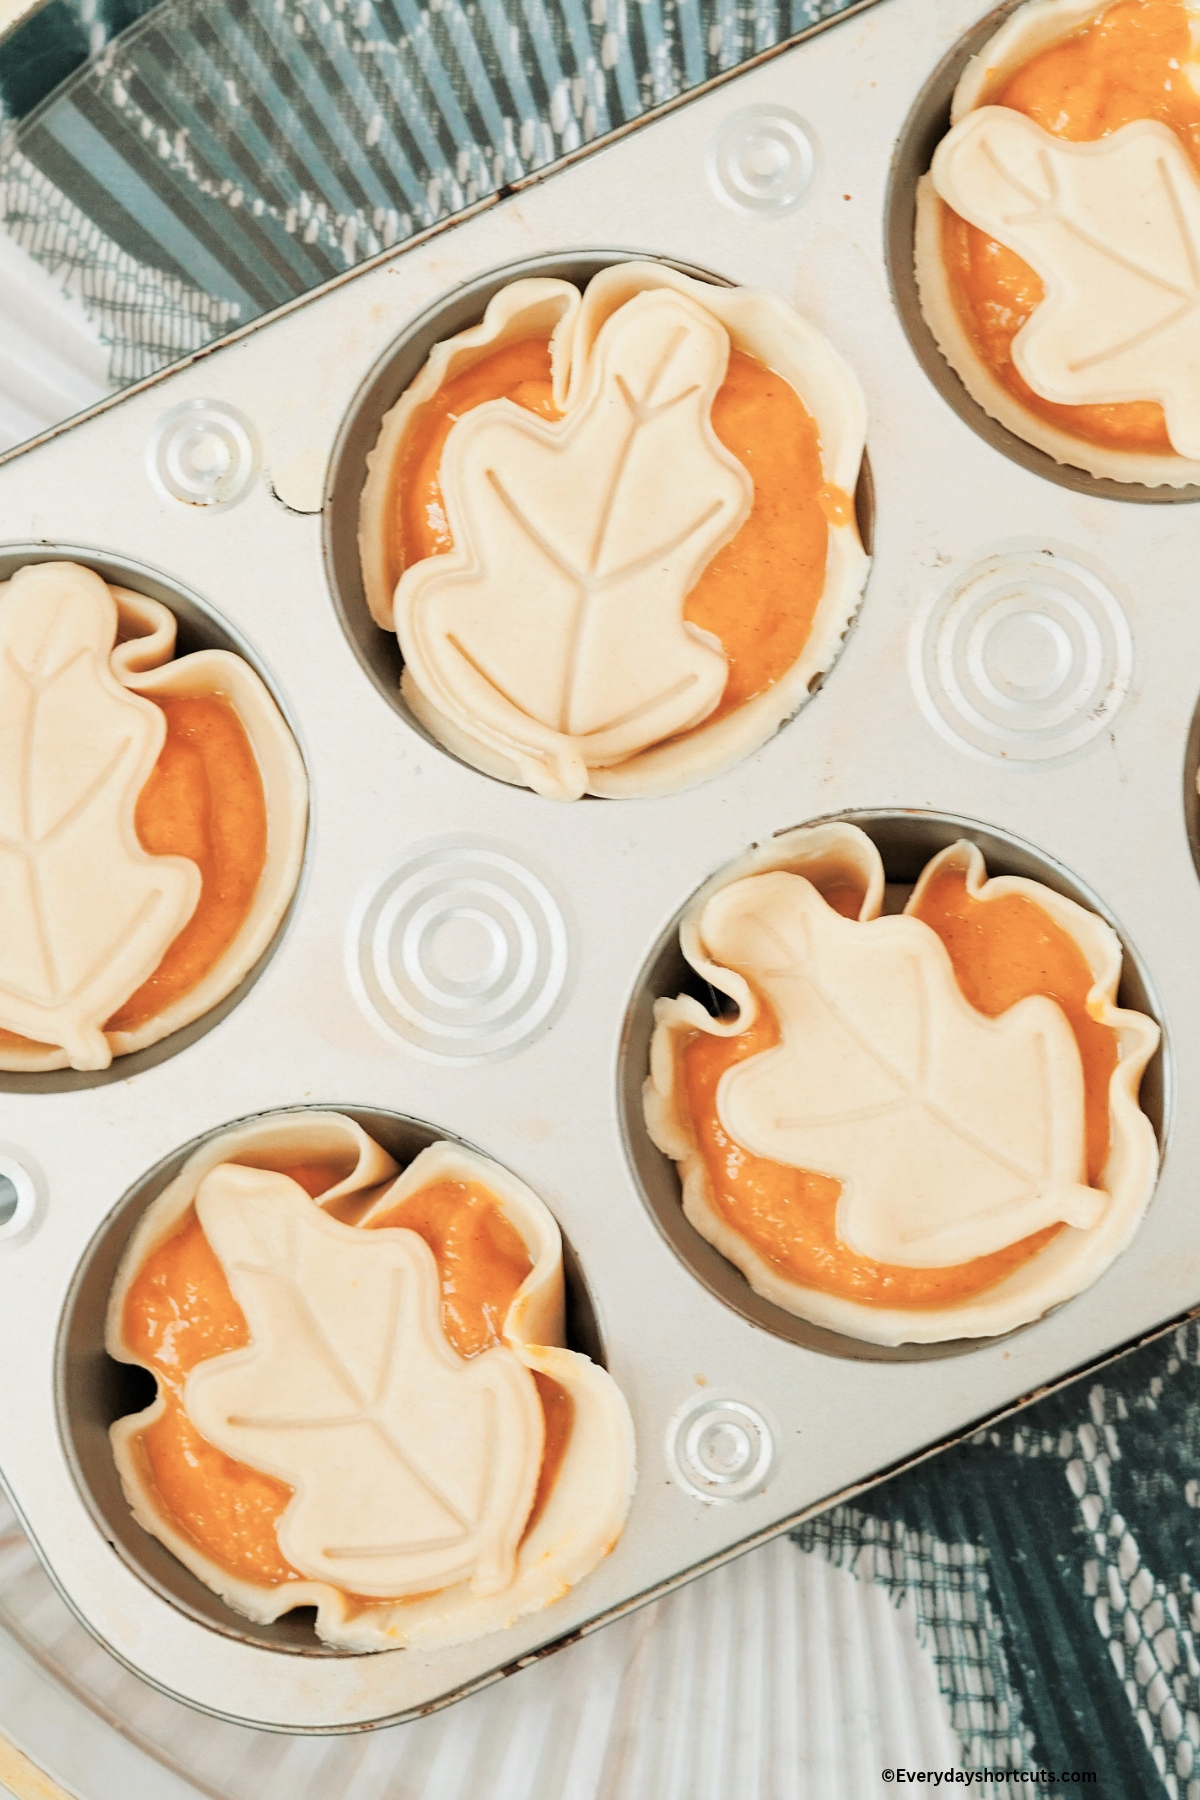
Step 6: Spoon the pumpkin mixture into each pie crust cup, leaving a little room at the top. Place a pie crust leaf on top of each mini pie and bake for 25-30 minutes or until filling is set.
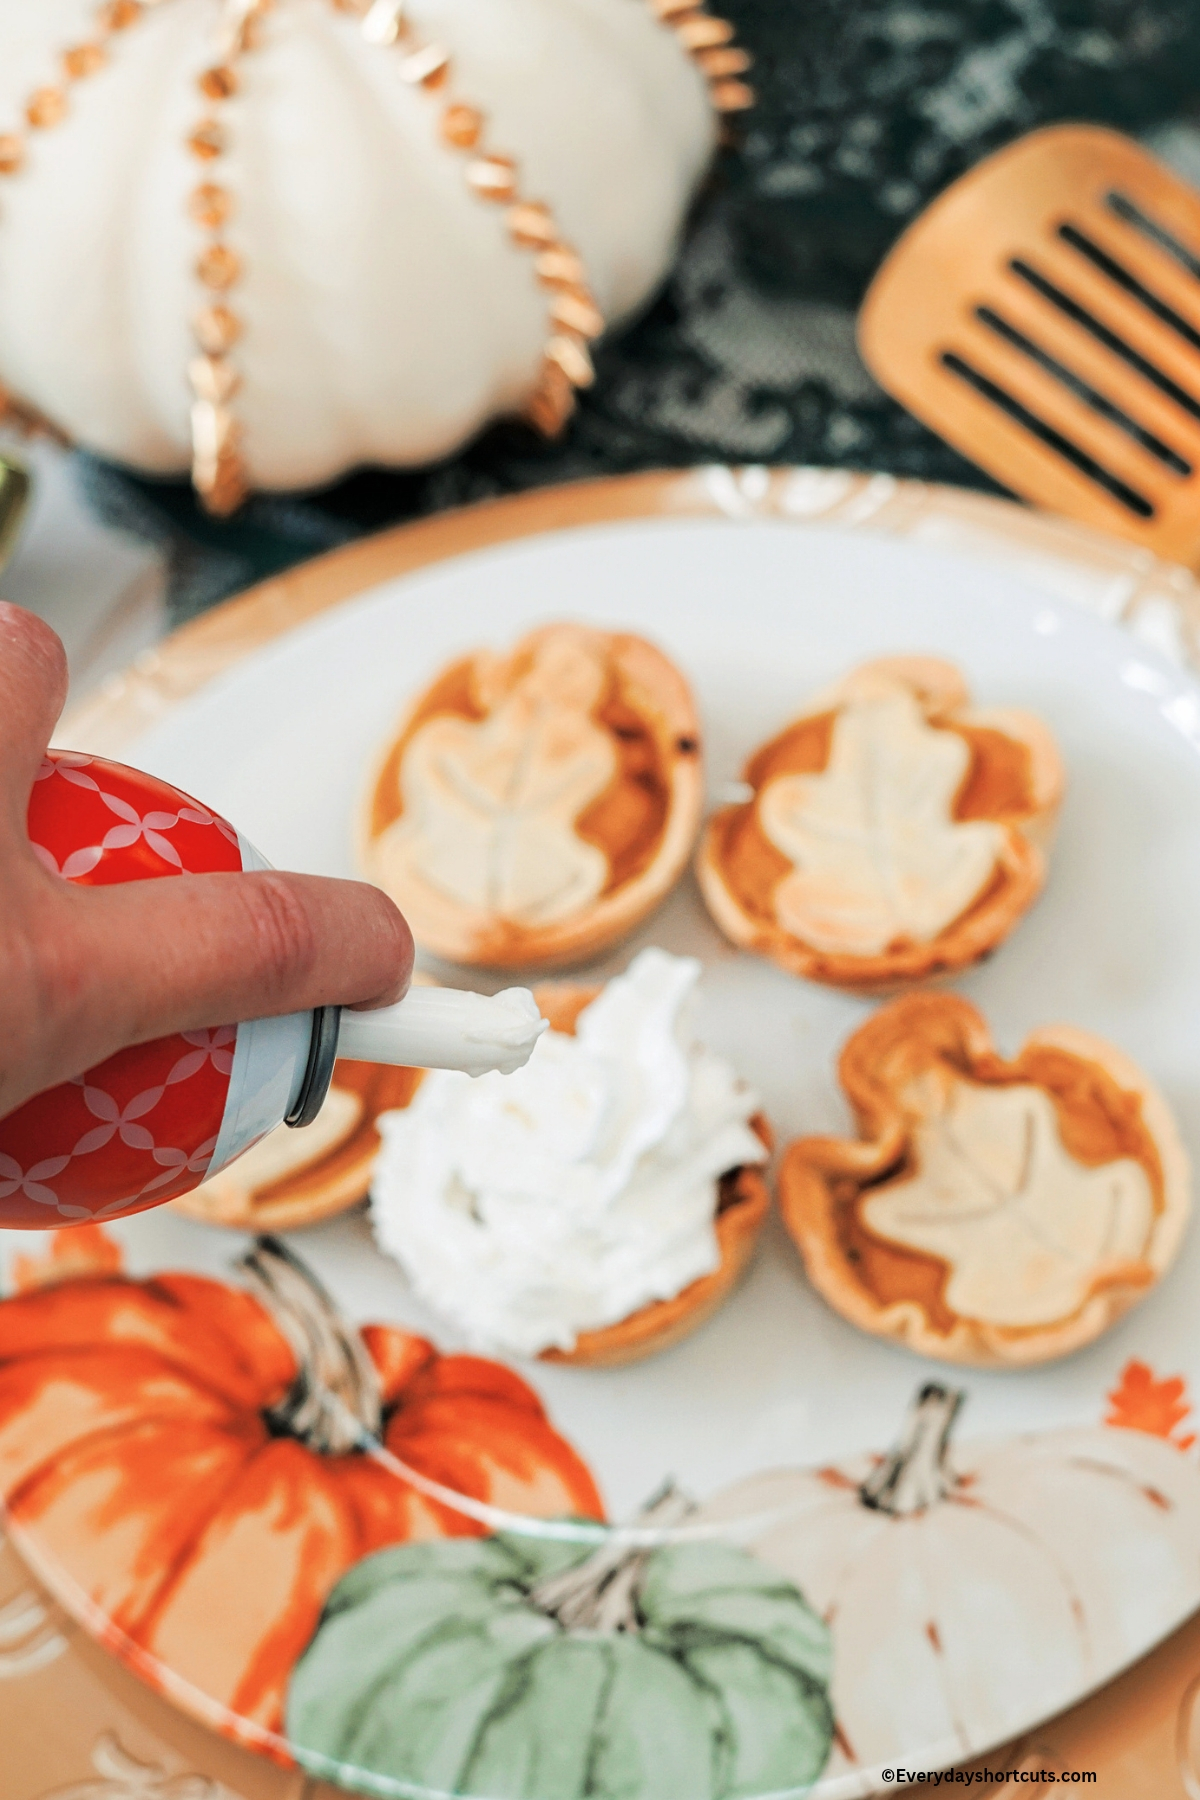
Step 7: Allow them to cool in the muffin tin before removing and top with whipped cream if desired.
Helpful Tips & Recipe Variations
- Don’t overfill the crusts. Leave a little space at the top so the pumpkin filling doesn’t spill over while baking.
- Use room-temperature ingredients. This helps the filling mix together more smoothly.
- Make them ahead of time. These mini pies taste just as good the next day, making them perfect for Thanksgiving prep.
- Try different shapes. Use pumpkin, acorn, or other fall-themed cookie cutters to decorate the tops.
- Skip the leaves. If you’re short on time, leave off the pie decorations. They’ll still taste delicious!
How to Store Mini Pumpkin Pies
- Refrigerator: Once they have completely cooled, place them in an airtight container and store in the fridge for up to 4 days.
- Freezer: These mini pies also freeze well! Place the cooled pies on a baking sheet and freeze until firm. Transfer them to a freezer-safe container and freeze for up to 2 months. Thaw in freezer overnight before serving.
- Reheating: Warm in oven at 350℉ for about 5 minutes or until warmed through.
Frequently Asked Questions
No, you don’t. The pie crust and pumpkin filling can bake together.
The edges of the crust should be lightly golden and the pumpkin filling should be set with just a slight jiggle in the center.
Cracks usually happen when pumpkin pie filling is overbaked. Be sure to remove pies once filling is set.
Recipe
Mini Pumpkin Pies
Ingredients
- 1 box refrigerated pre-made pie crust, (2 crusts)
- 1 (15oz.) can pumpkin puree
- 2 eggs
- 2 teaspoons pumpkin pie spice
- 1 teaspoon cinnamon
- ¾ cup evaporated milk
- ¾ cup brown sugar
- ¼ teaspoon salt
Instructions
- Preheat your oven to 350℉ and lightly grease a muffin tin.
- Roll out the refrigerated pie crust on a lightly floured surface. Use a round cookie cutter or drinking glass to cut circles slightly larger than the muffin cups.
- Gently press each pie crust circle into the muffin tin, making sure the dough covers the bottom and sides.
- In a large mixing bowl, whisk together the pumpkin puree, eggs, evaporated milk, sugar, cinnamon and pumpkin pie spice until smooth and combined.
- Spoon the pumpkin mixture into each pie crust cup, leaving a little room at the top.
- Roll out the remaining pie crust and use a leaf-shaped cookie cutter to stamp out small leaves.
- Place a pie crust leaf on top of each mini pie and bake for 25-30 minutes or until filling is set.
- Allow them to cool in the muffin tin before removing and top with whipped cream if desired.
Notes
How to Store Mini Pumpkin Pies
- Refrigerator: Once they have completely cooled, place them in an airtight container and store in the fridge for up to 4 days.
- Freezer: These mini pies also freeze well! Place the cooled pies on a baking sheet and freeze until firm. Transfer them to a freezer-safe container and freeze for up to 2 months. Thaw in freezer overnight before serving.
- Reheating: Warm in oven at 350℉ for about 5 minutes or until warmed through.
Nutrition
Nutrition Disclosure
Nutritional facts are estimates and are provided as a courtesy to the reader. Please utilize your own brand nutritional values to double check against our estimates. Nutritional values are calculated via a third party. Changing ingredients, amounts or cooking technique will alter the estimated nutritional calculations.


Leave a Reply