
Eventually we will be remodeling our kitchen but still don’t have the definite plans of what we are going to do yet. So we are focusing on our kitchen sink for now since it was in dire need of help. One company that knows kitchen sinks is Moen as they are the #1 faucet brand in North America and offer a large selection of kitchen and bath faucets, shower heads, accessories, bath safety products and kitchen sinks for residential and commercial.

The sink and faucet we originally had (not Moen) was supposed to be scratch resistant but as you can see that it was not what it said it to be and filled with scratches. Plus, I never felt like it got clean enough as it always looked dirty. The soap dispenser pump did not work after several months and the spray barely sprayed water and a piece broke off within 6 months. For several years we went along with this sink and faucet and finally just got fed up with it not working for us.

I teamed up with Moen to try out a new sink and faucet for the start of our kitchen renovation. We chose the following items listed below.
1800 Series 33″x22″ stainless steel 18 gauge double bowl drop in sink
- Brushed finish
- SoundSHIELD
- Double bowl
- Stainless steel
- Drop in
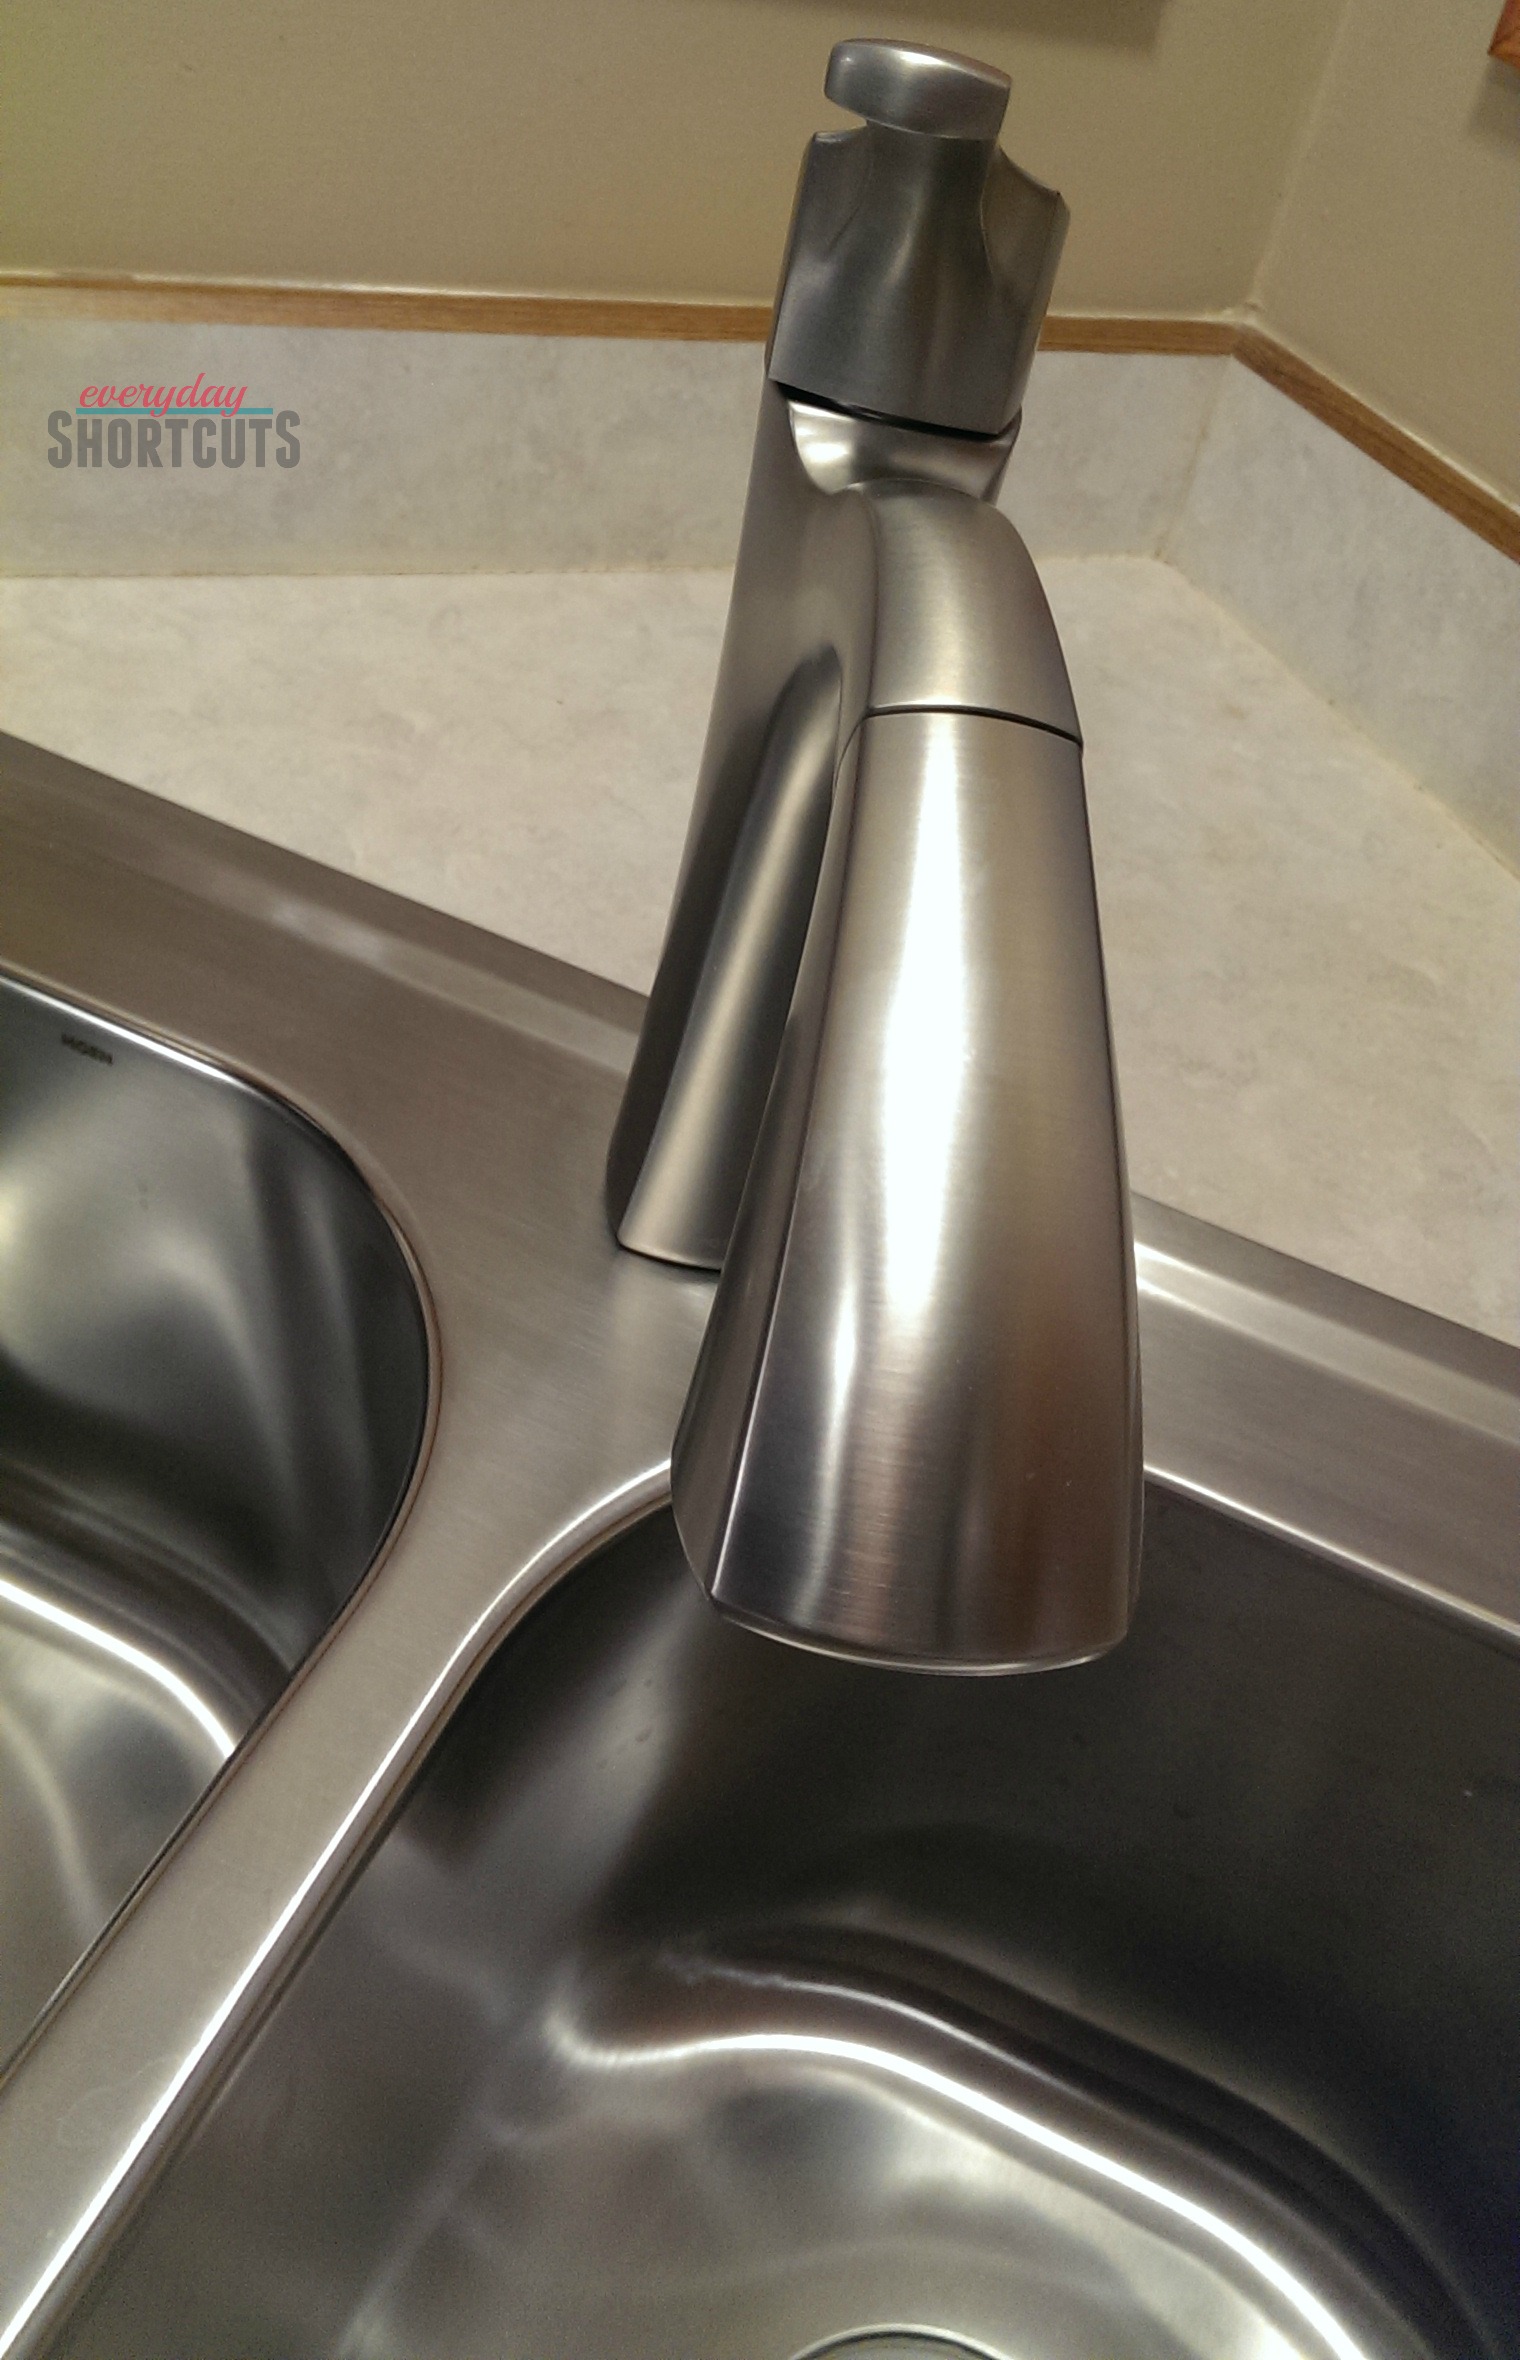
Voss spot resist stainless one-handle high arc pullout kitchen faucet
- Spot Resist
- Stainless finish
- Easy movement and secure docking of the pulldown/pullout spray head
- Duralock (quick connect system for easy installation)
- One–handle lever
- Aerated stream for powerful cleaning
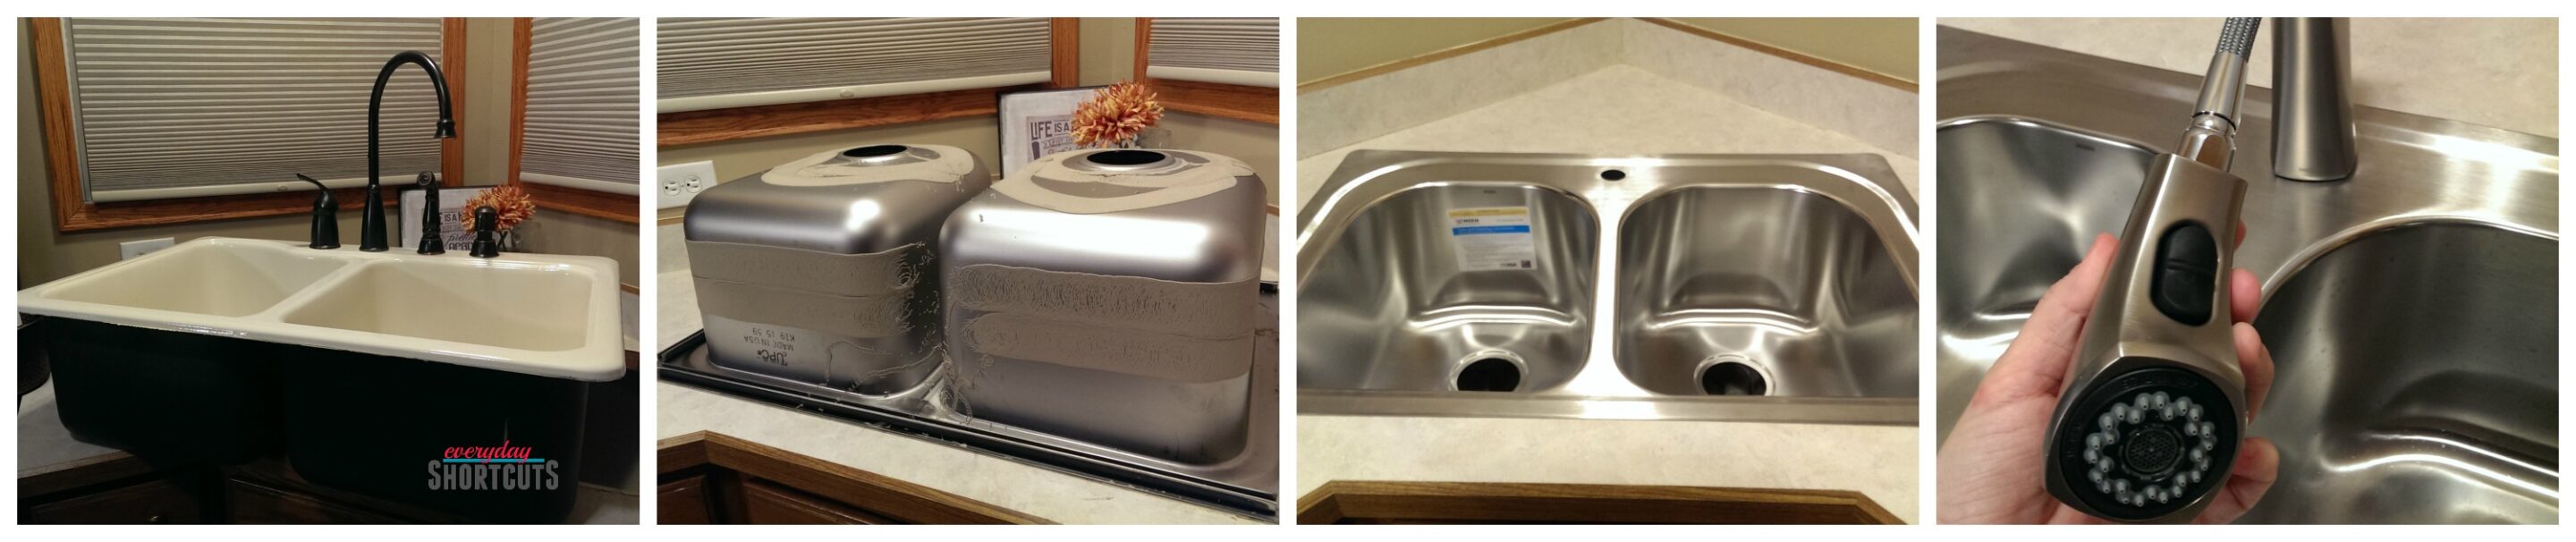
Setup was easy as it came with clear instructions and there are some videos on the Moen website to follow along with. Instructions may vary for dishwasher, disposal, and ice maker hookup. Below is how we installed our Moen Kitchen Sink and Faucet.
How to Install a Moen Kitchen Sink and Faucet
- Measure the width and depth of the sink area prior to picking out sink.
- Shut off the water line.
- Remove the old sink and hot and cold lines.
- Loosen drains.
- Place the Moen sink in the hole to guarantee it is a sure fit.
- Remove the sink and apply clips before or after you install the sink depending on your countertop.
- Place a bead of caulking around the edge of the sink hole.
- Place the sink back in the hole and press firmly.
- Tighten clips.
- Remove any access caulk around the sink.
- Install the faucet into the sink and attached hot and cold lines.
- Install drains into sink and re-attach.
- Turn on watering to make sure there are no leaks.
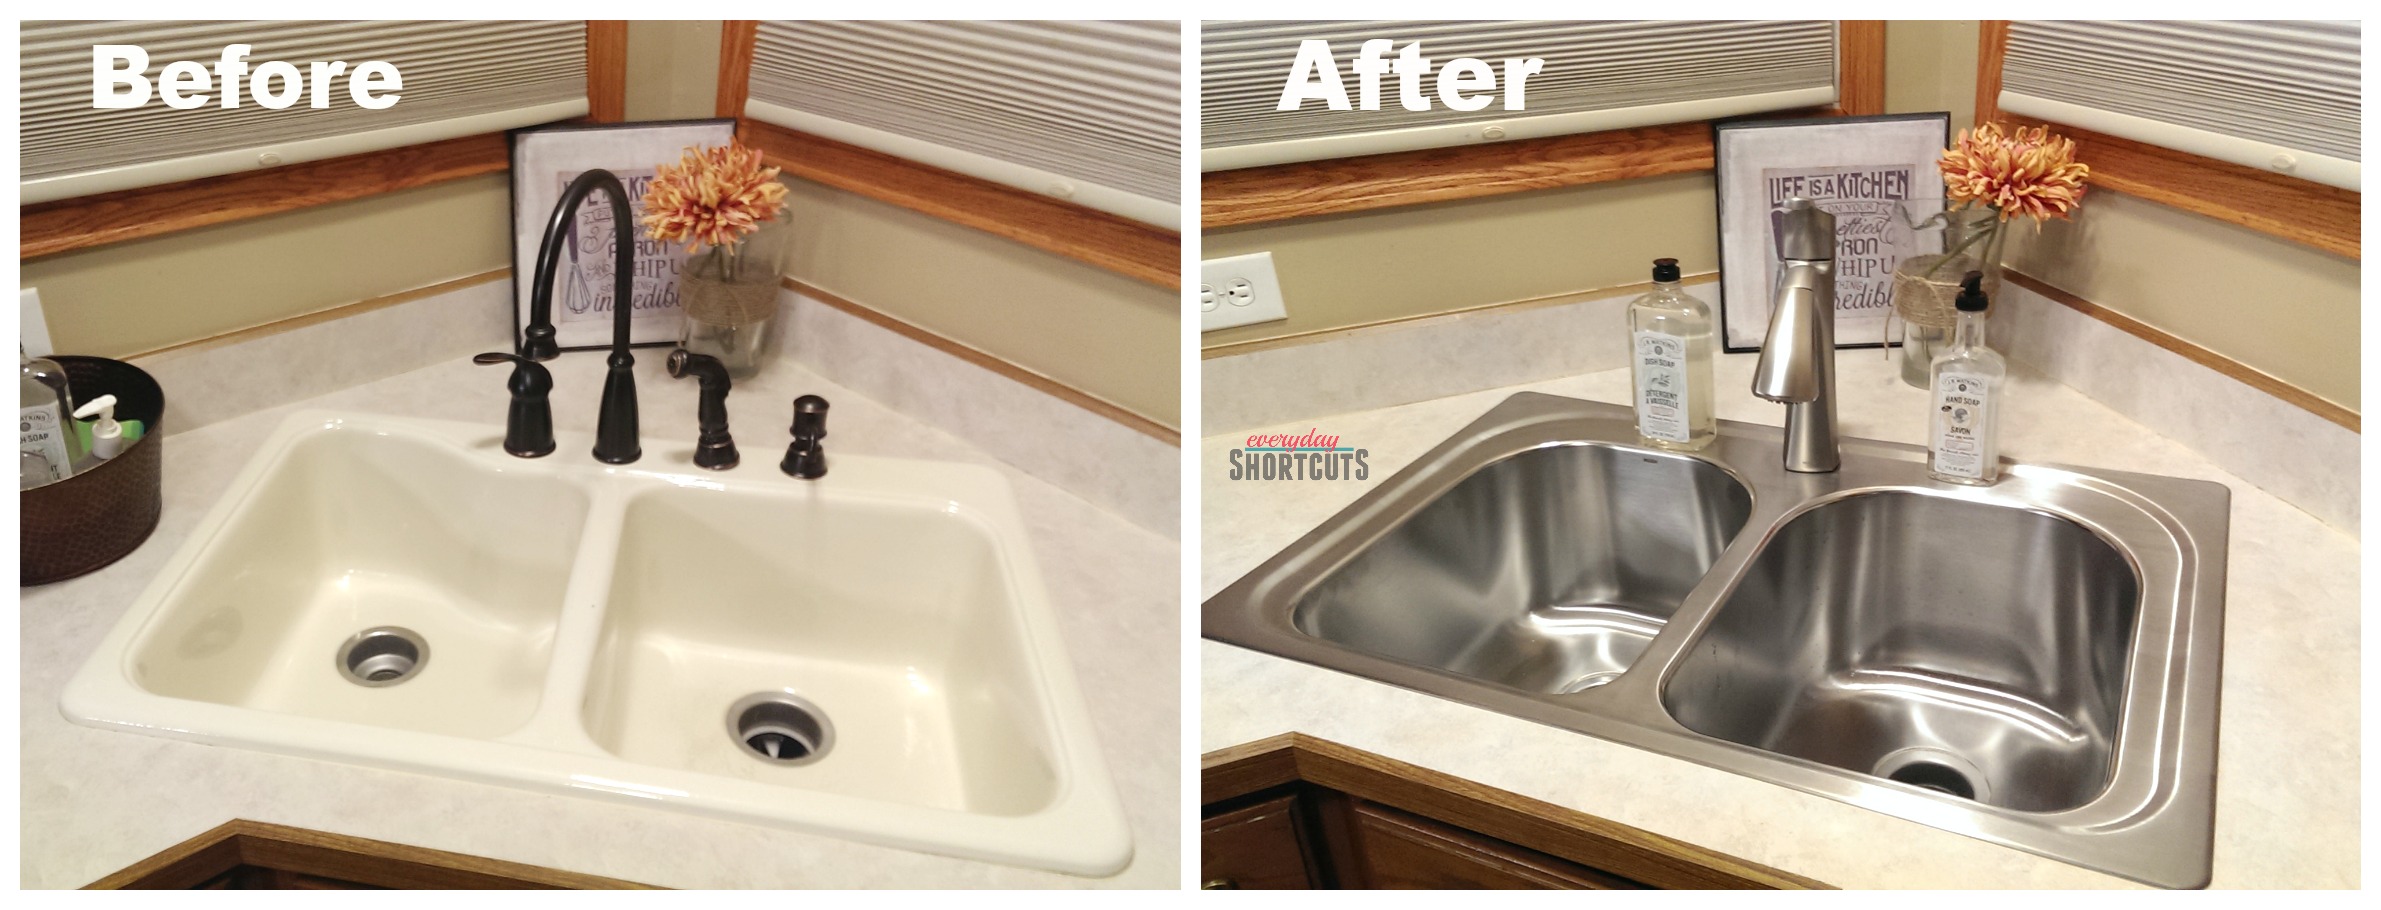
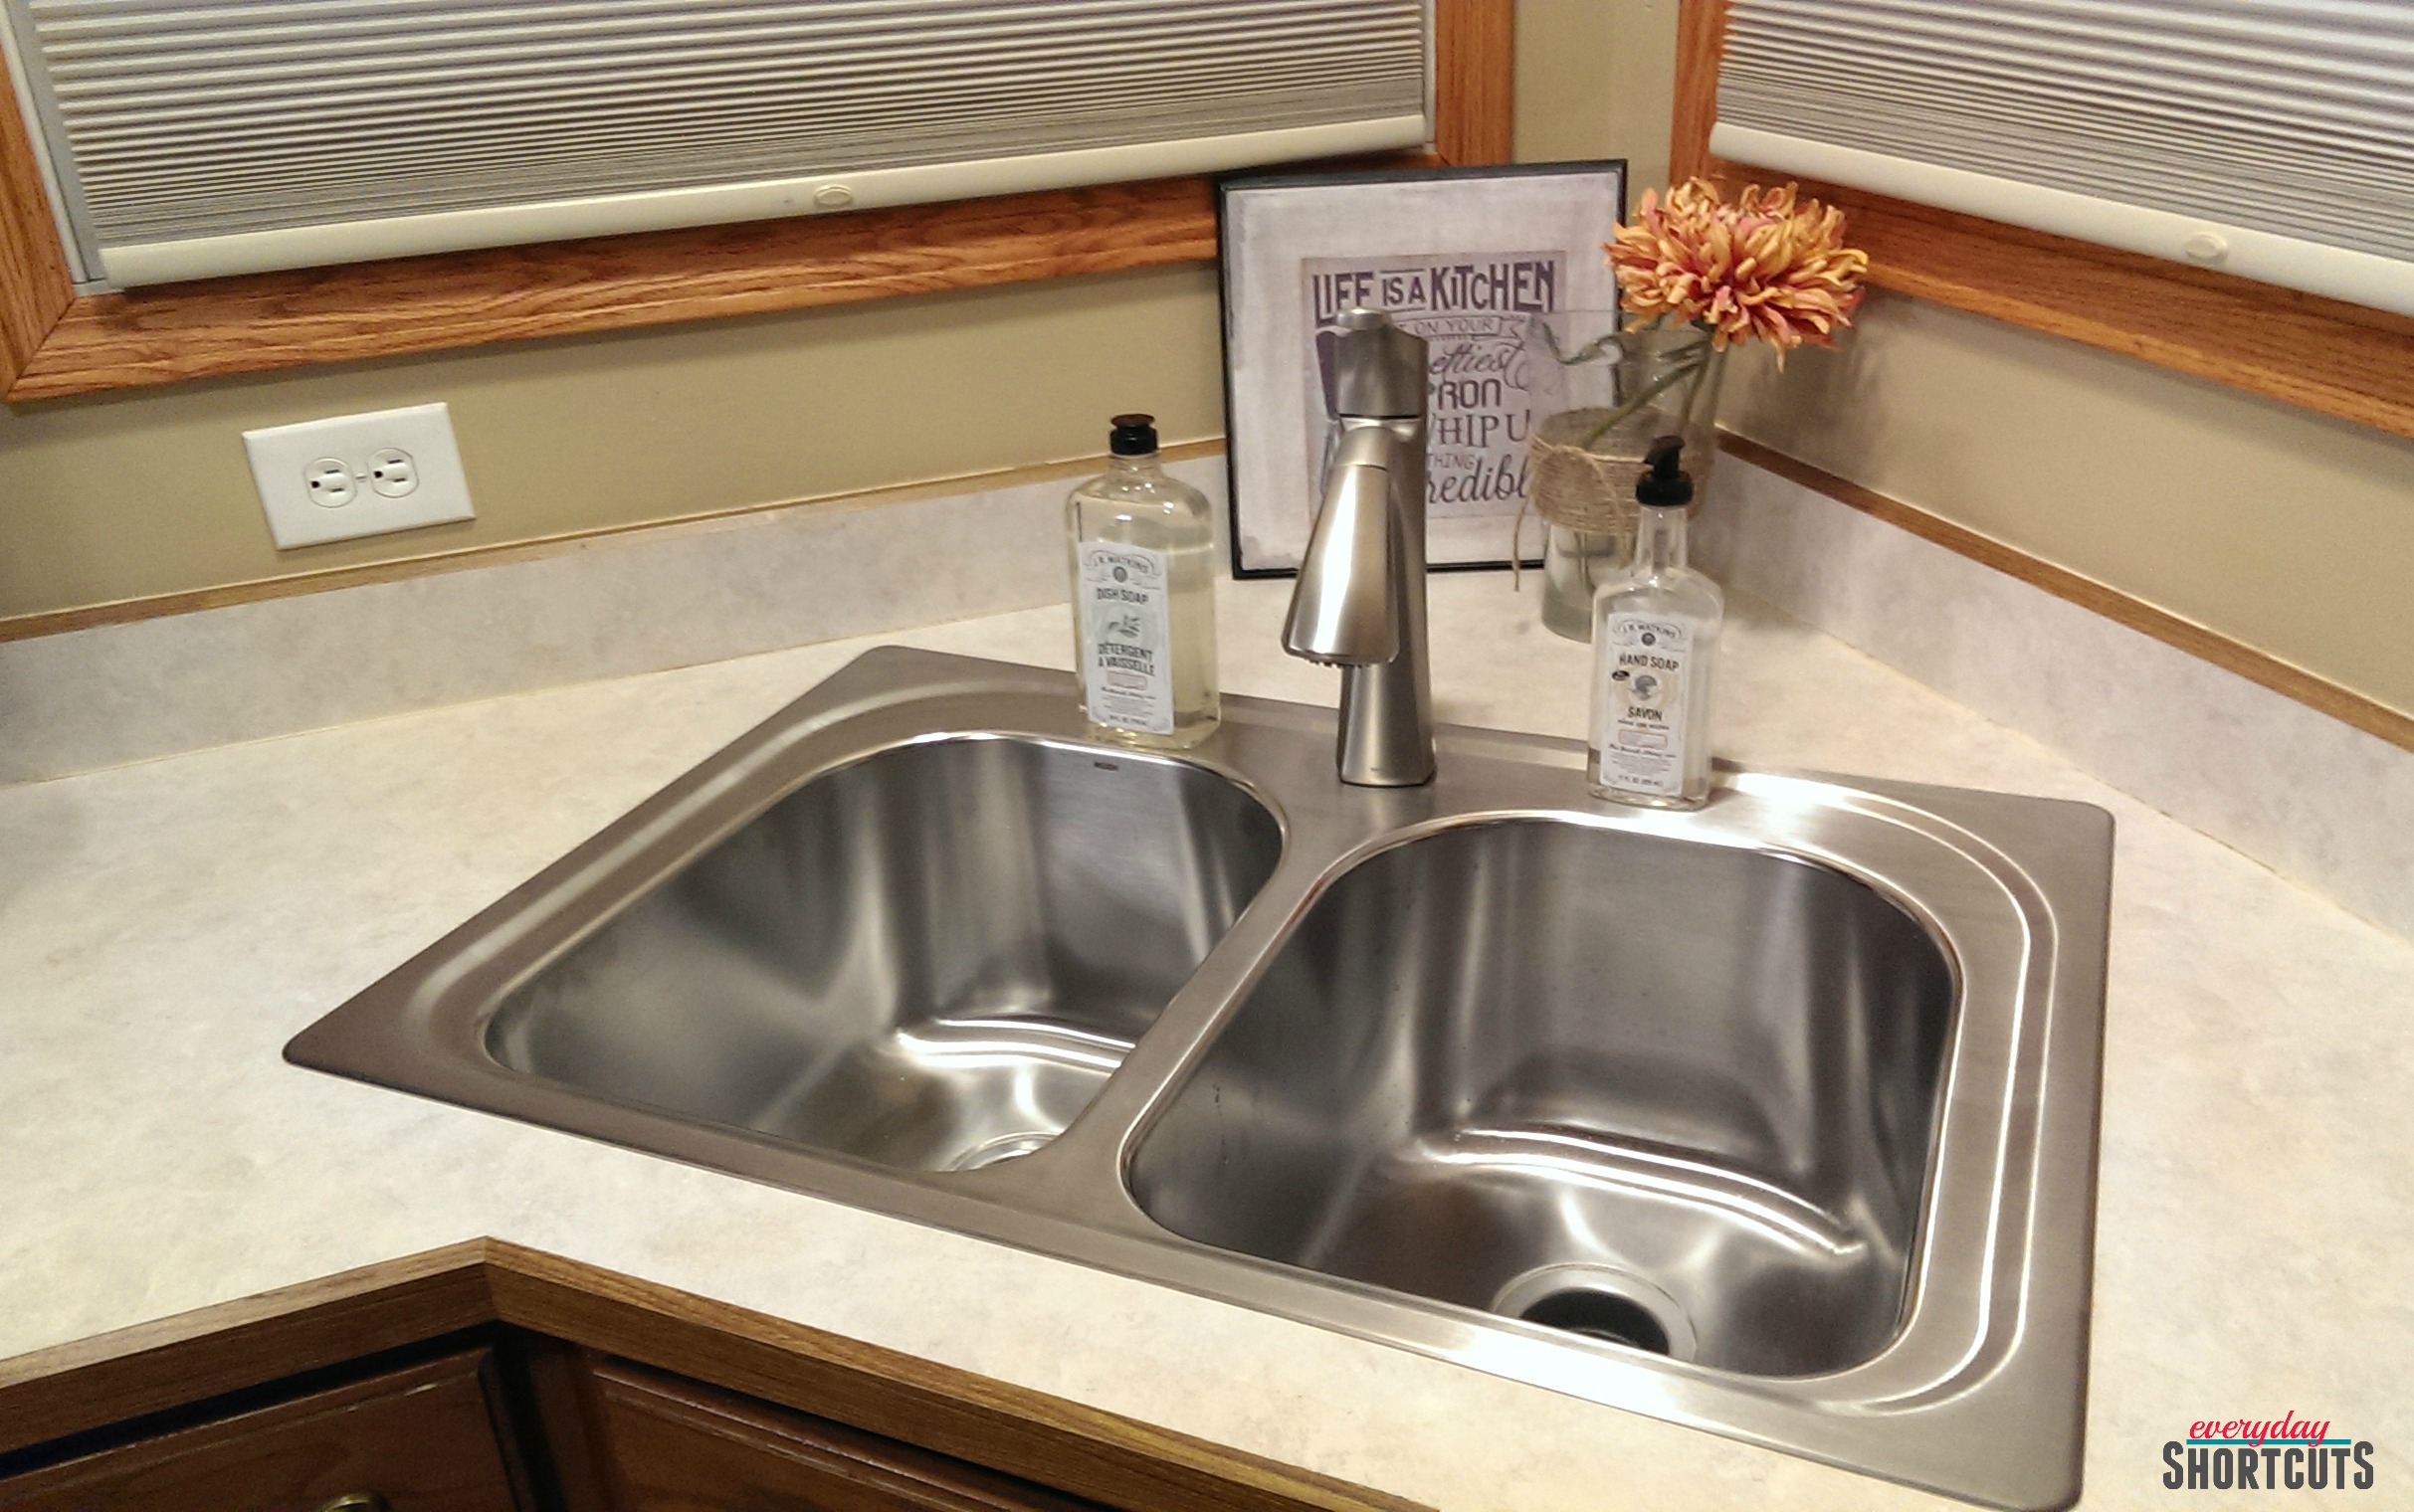
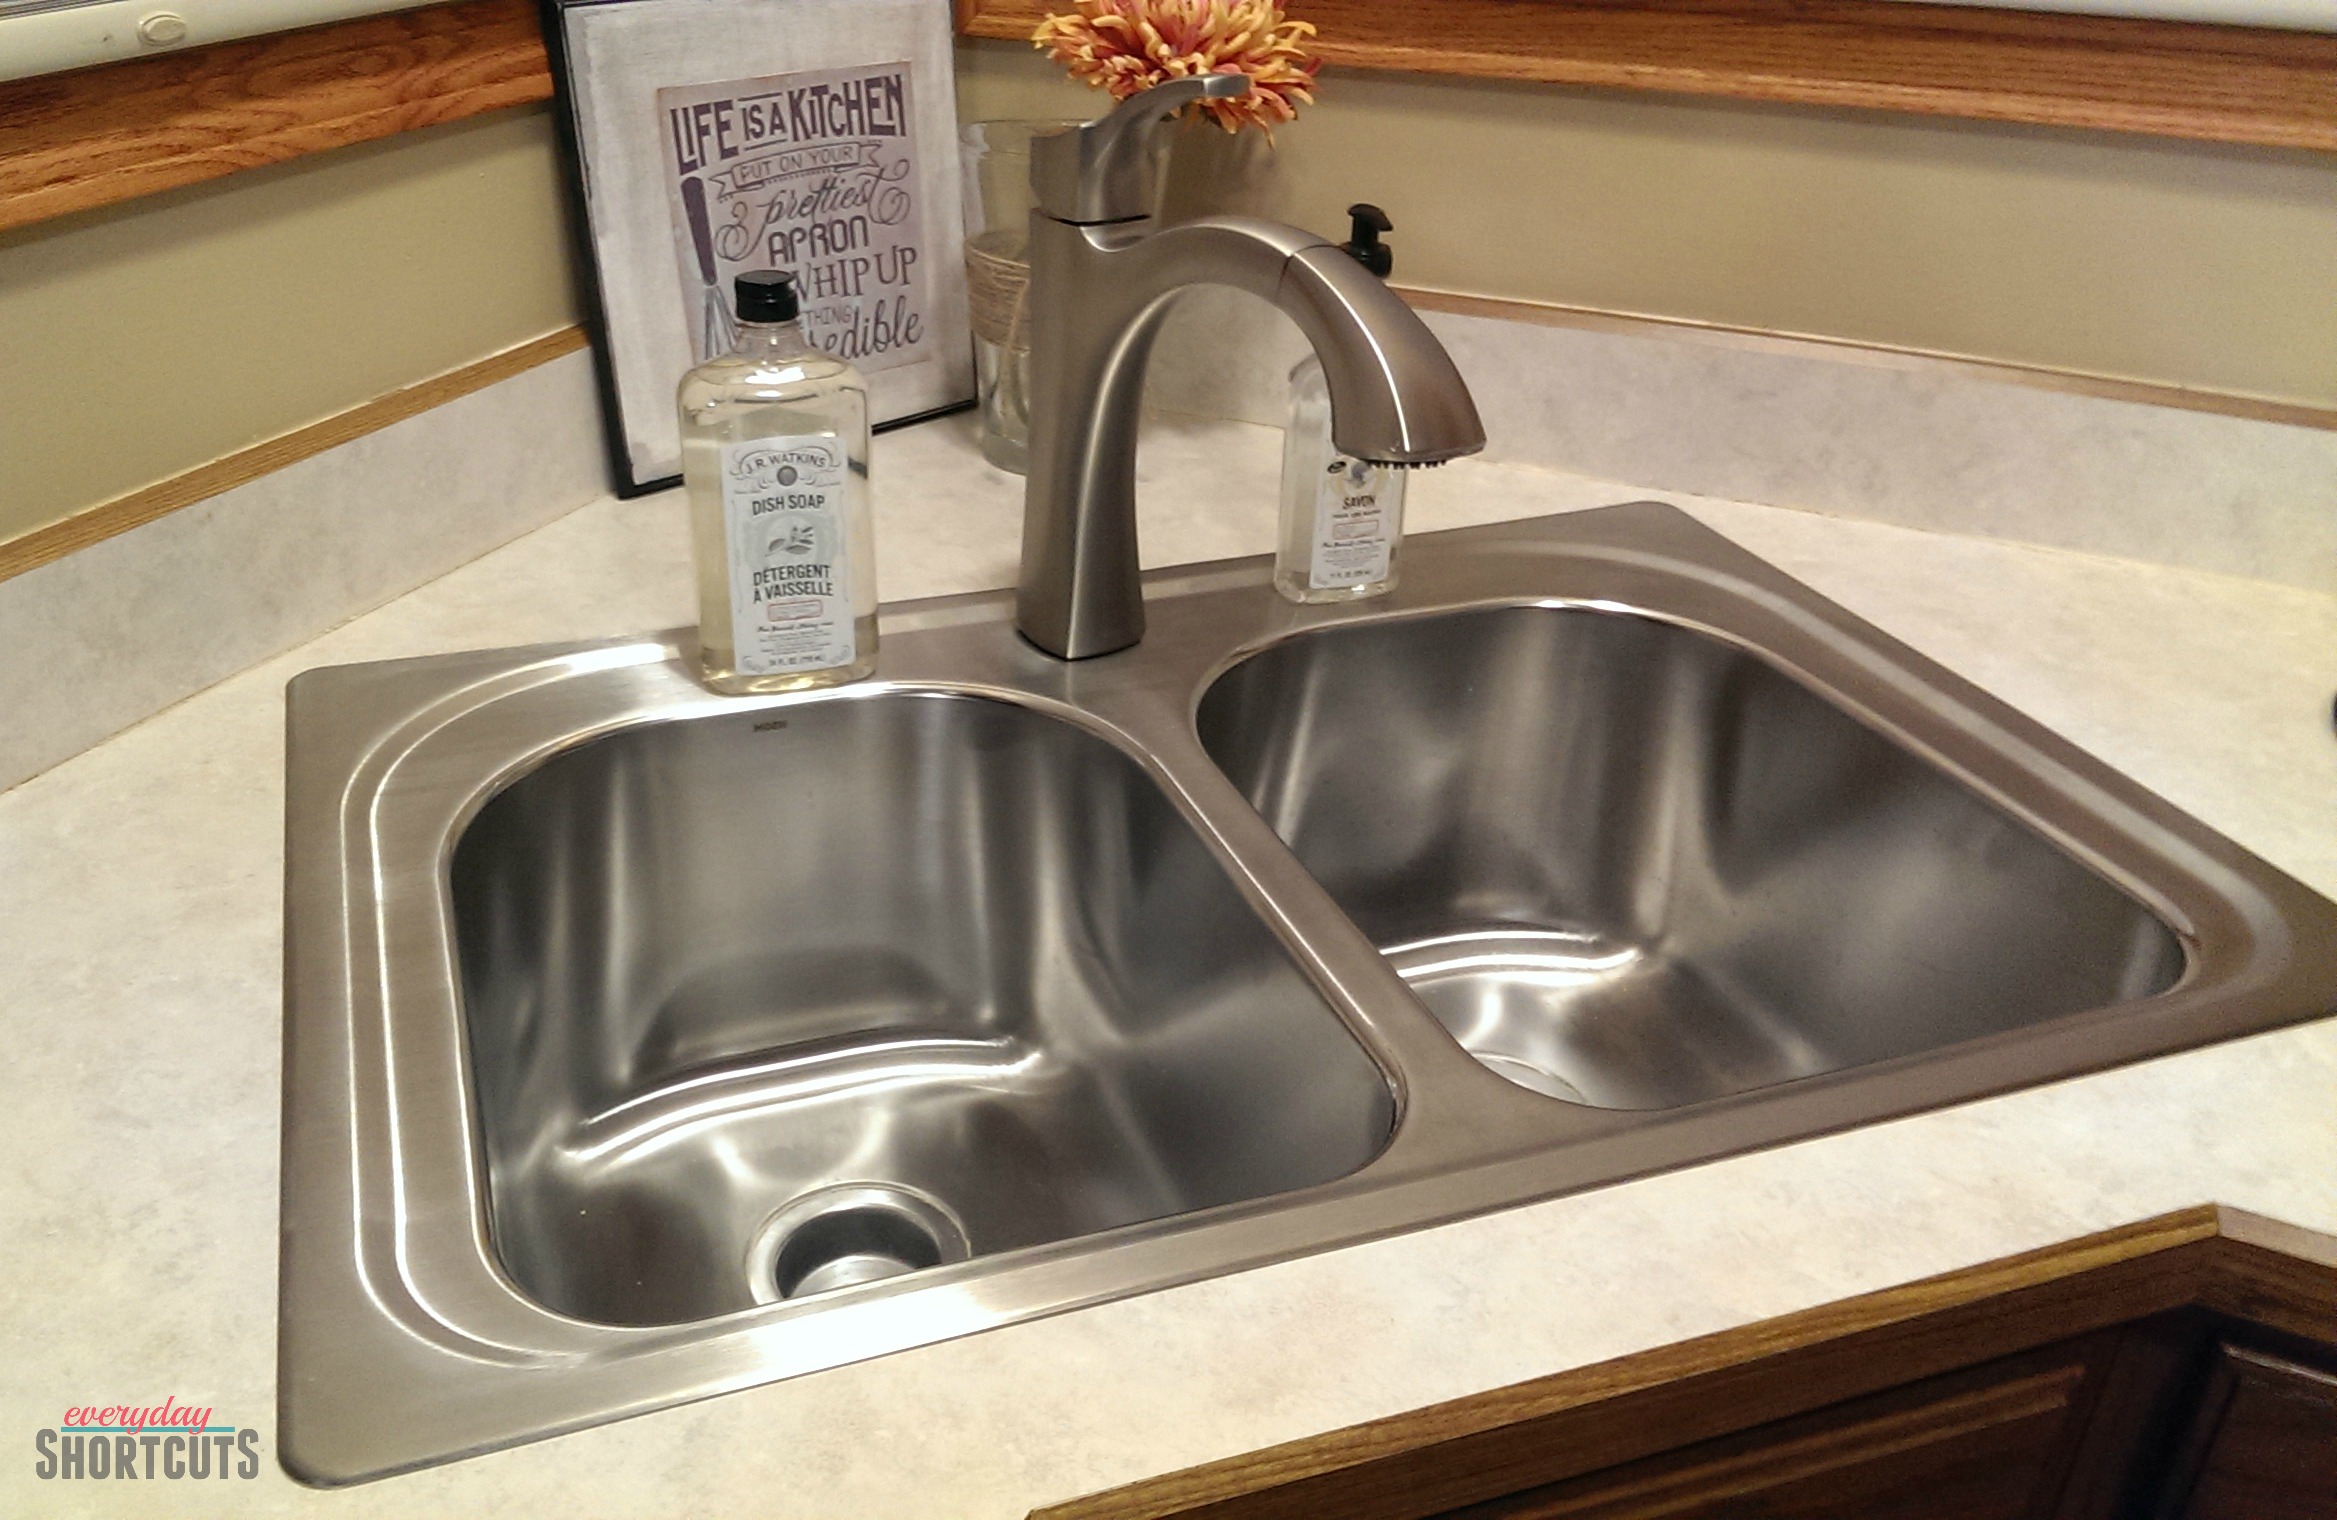
Look at how nice and shiny the new sink and faucet are! The transformation of the before and after is amazing. I am loving the deep wells and the fact that I now have a working sprayer again. With the push of a button on the sprayer I can make the stream more powerful getting every bit of food off the dishes. The handle to turn the faucet on and off moves easily with a great amount of pressure.
Visit the Moen website for more information and to check out the variety of products they offer.
Disclosure: I was given the product featured in this post as part of my review. All opinions are 100% my own.


Leave a Reply